|
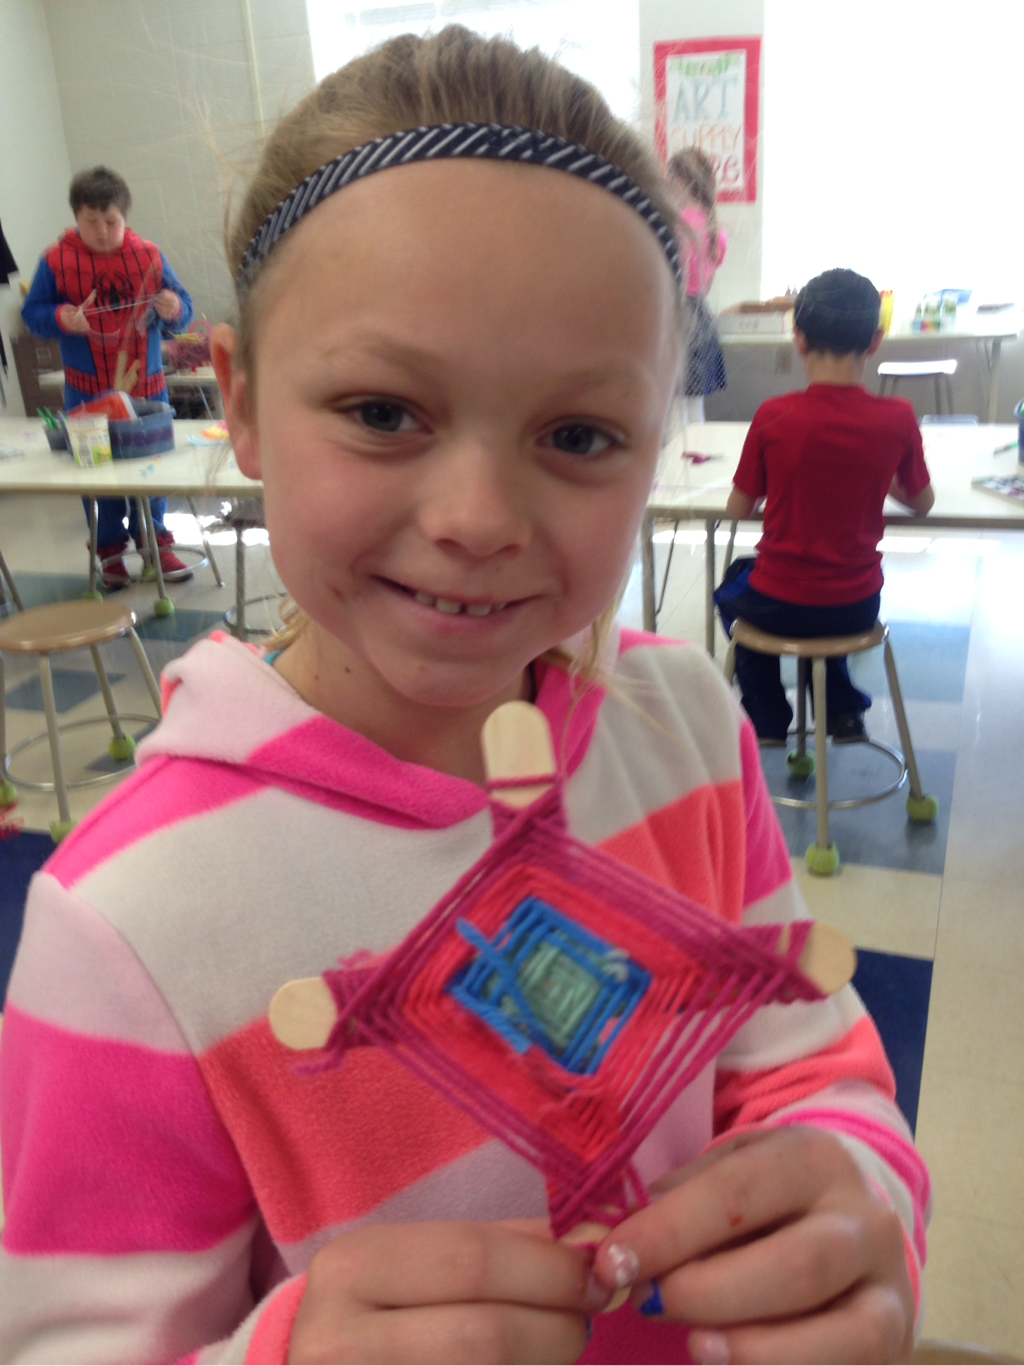
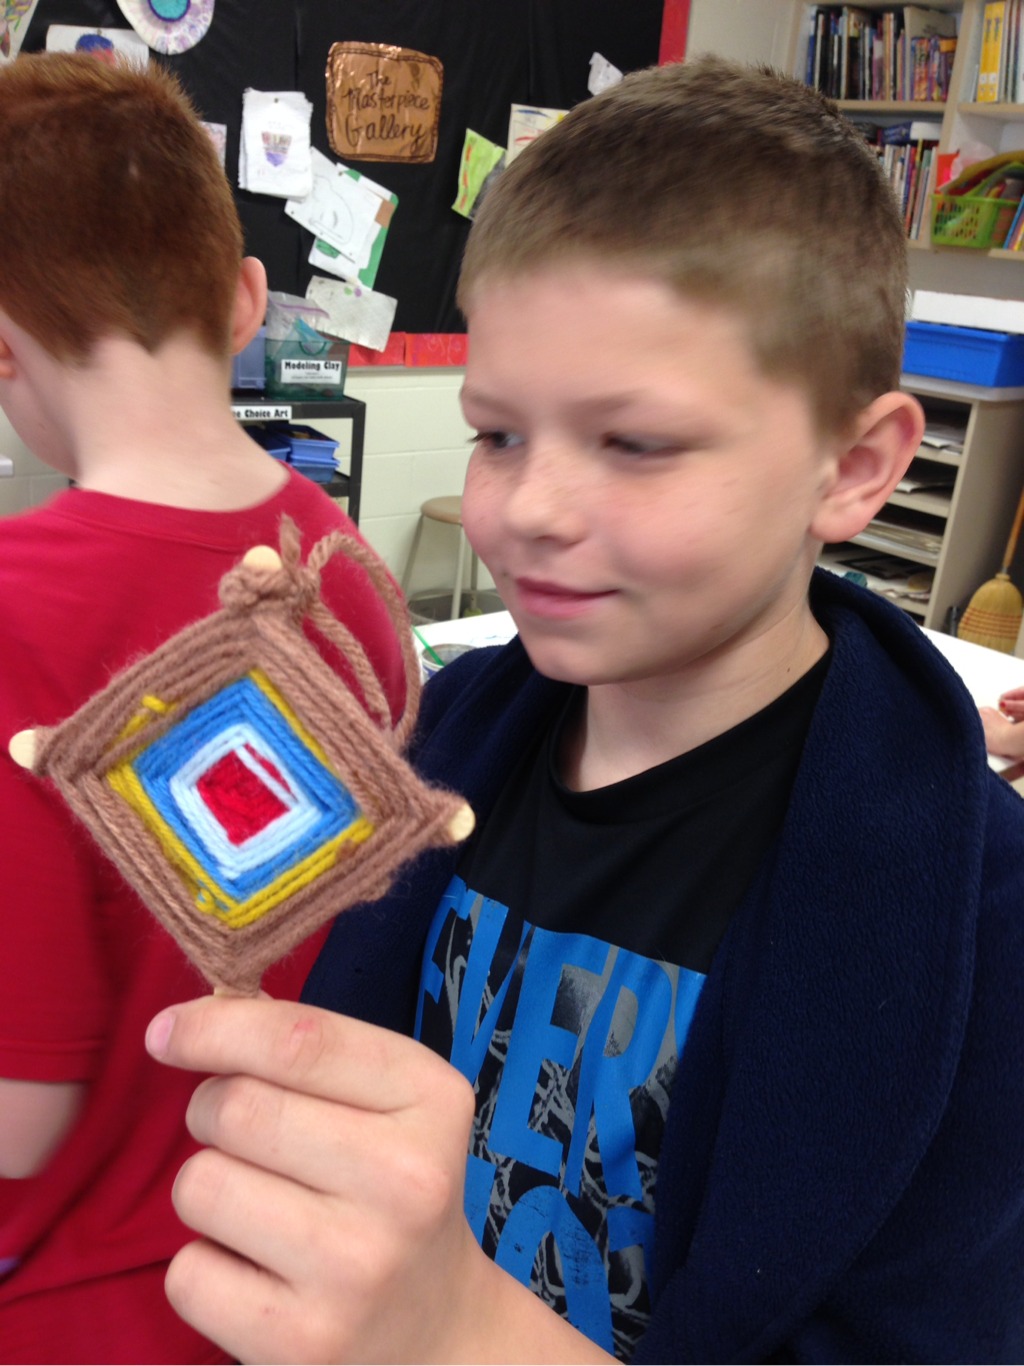
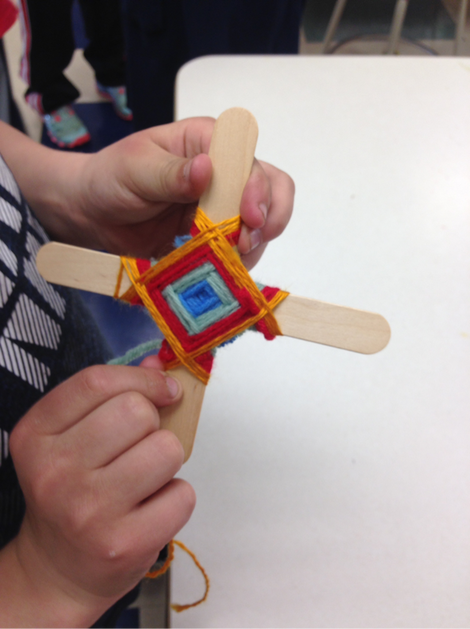
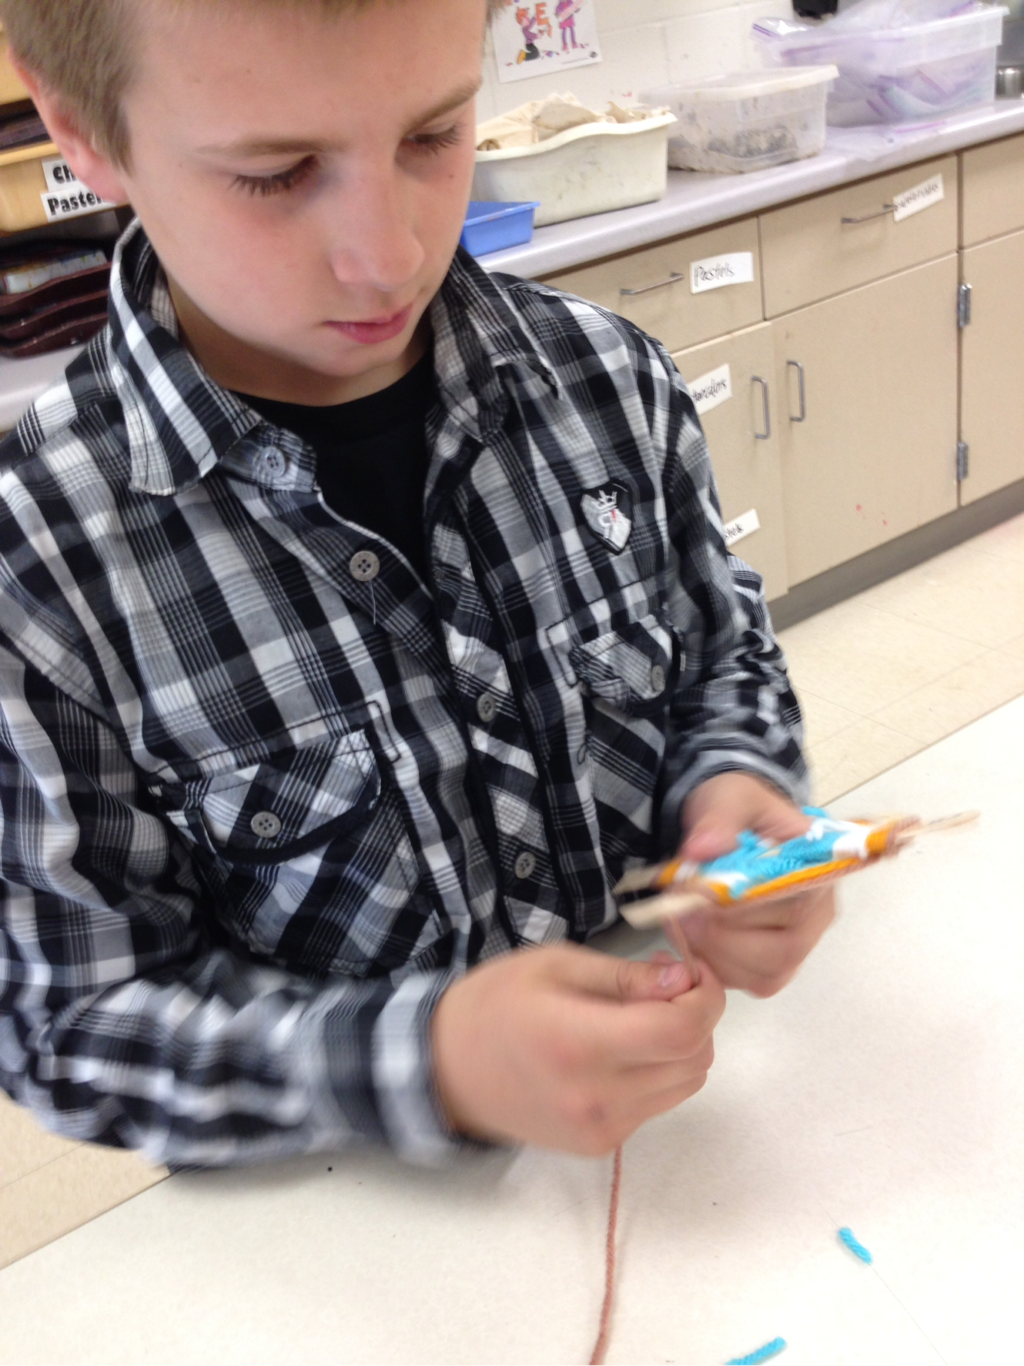
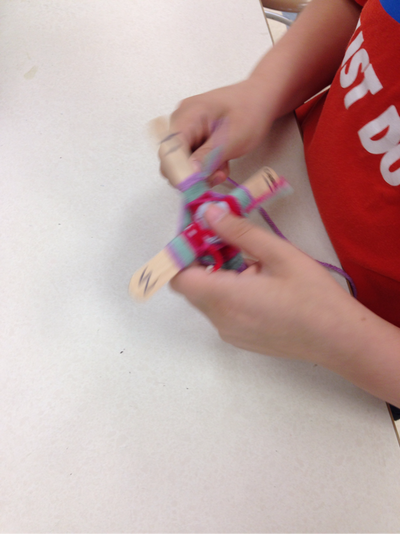
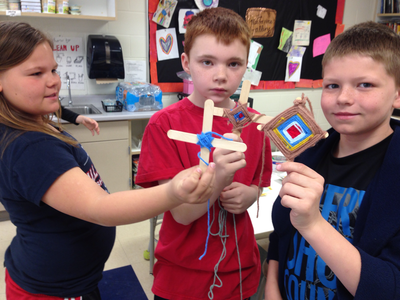
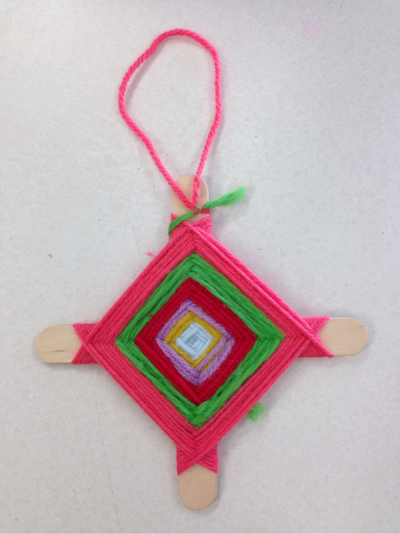
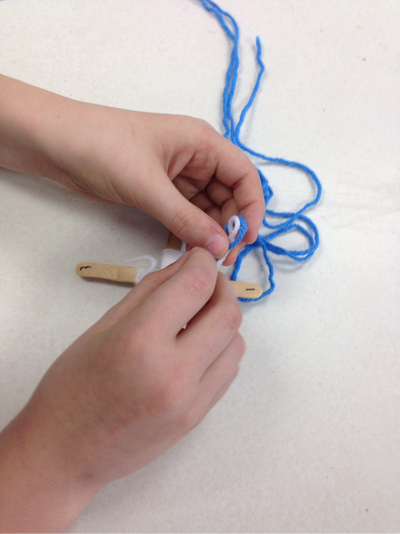
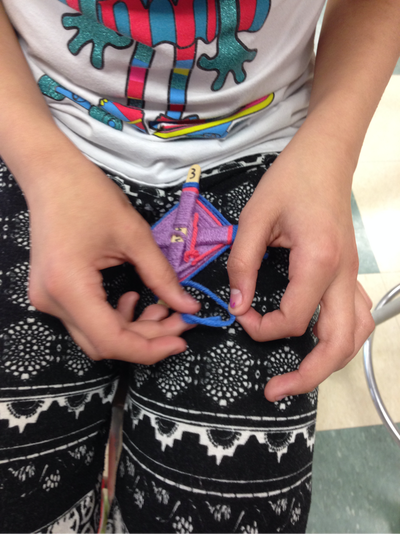
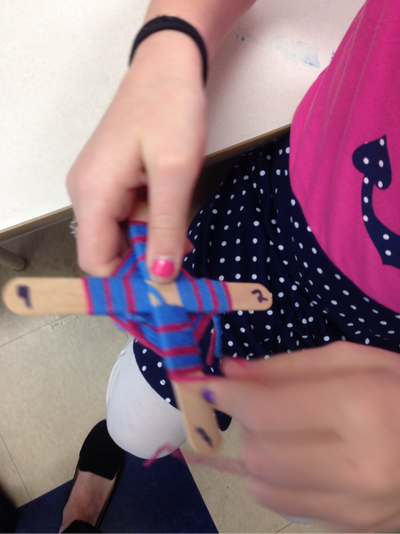
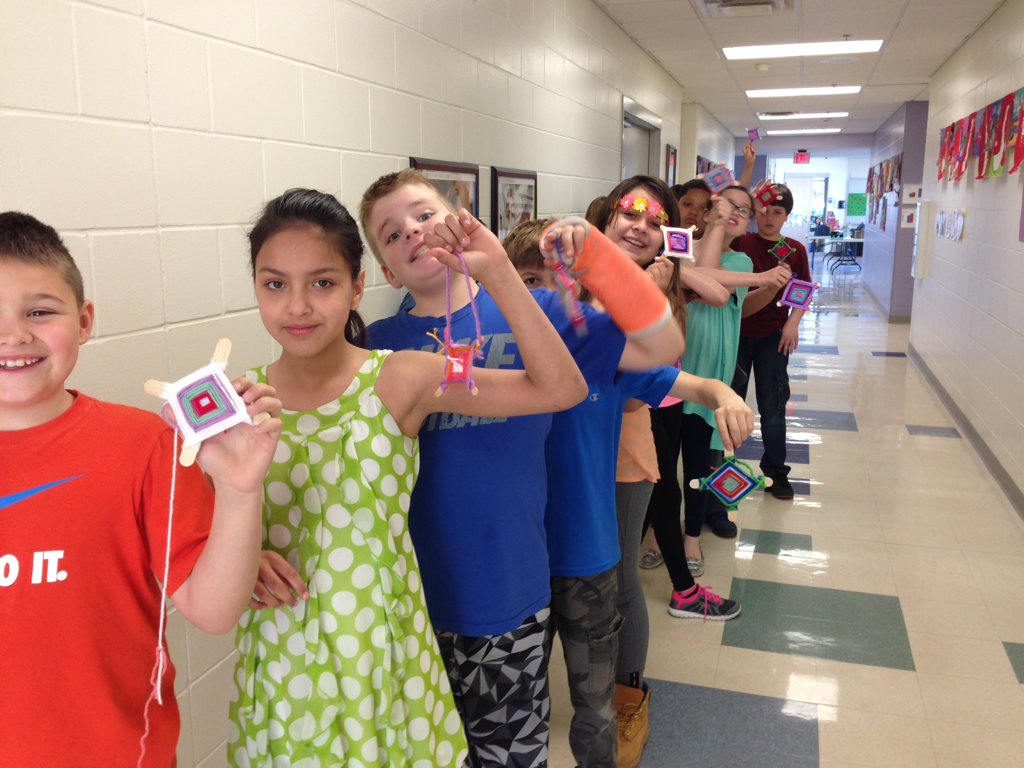
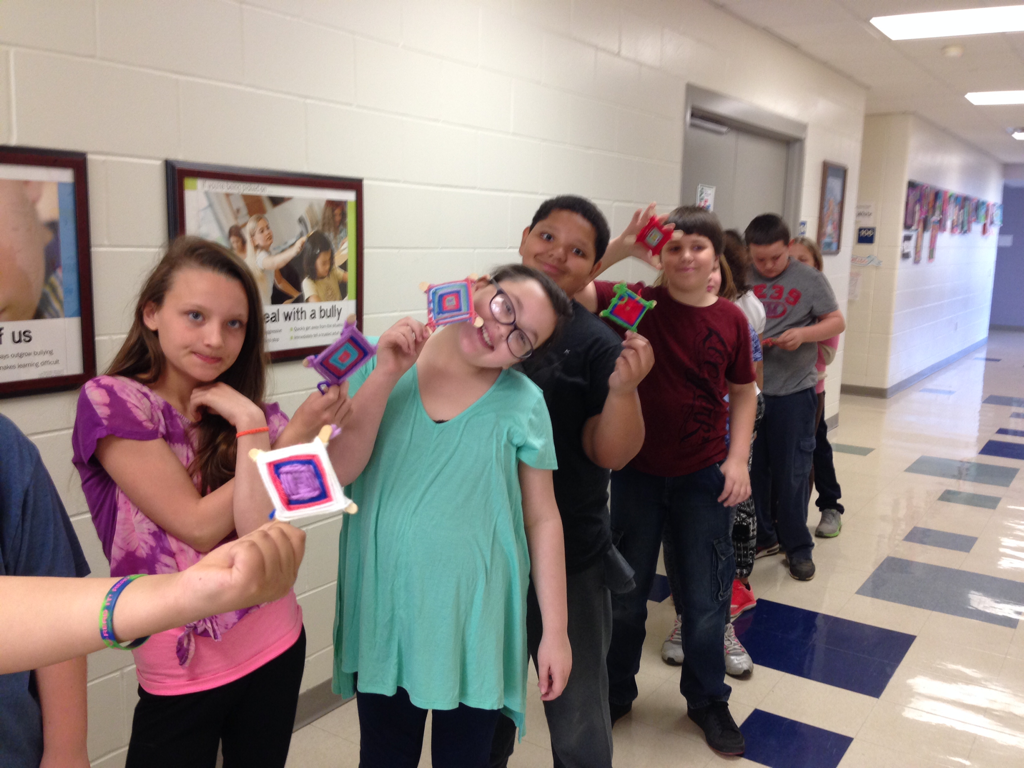
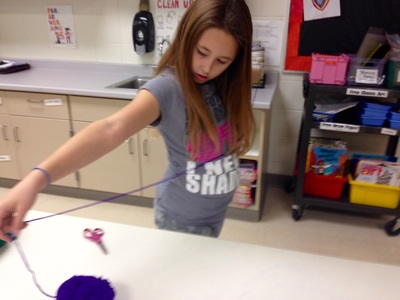
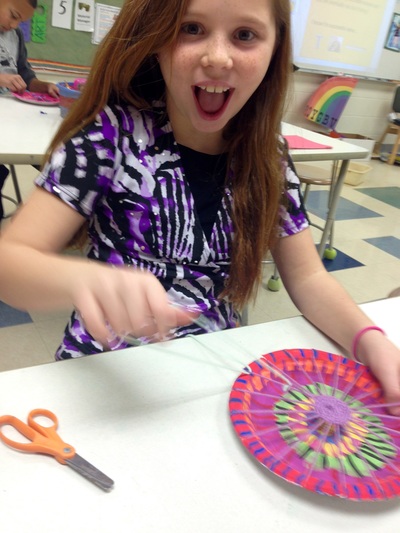
This early-finisher project was so popular, everyone wanted to do it! Every student 3-5 grade has started or completed a "God's Eye" this year and 2nd grade may make one soon, too. Cassie Stephens recently posted about creating Ojo de Dios in her classroom and I was inspired. I remember learning how to make a God's Eye in vacation Bible school at Land's Church in Canton, SD when I was younger. This little weaving project would keep me occupied if I was bored outside: I would find two similar-sized twigs on the ground and tie together blades of grass for my "yarn." For the classroom, I hot-glued together 2 pop sickle sticks and we used colorful yarn.
0 Comments
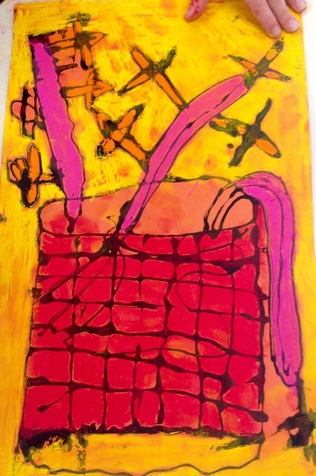
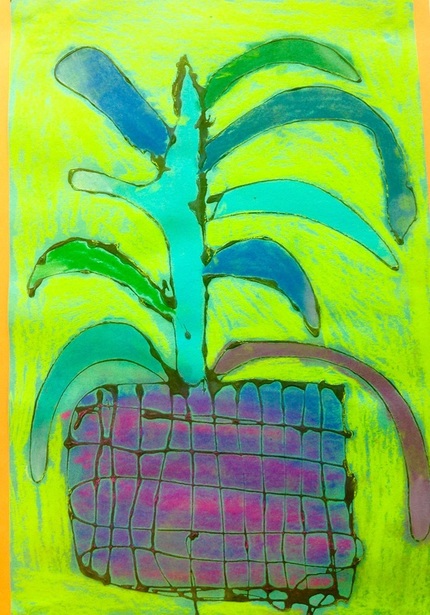
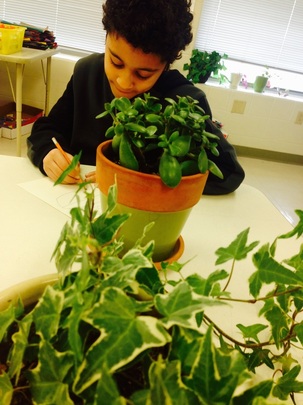
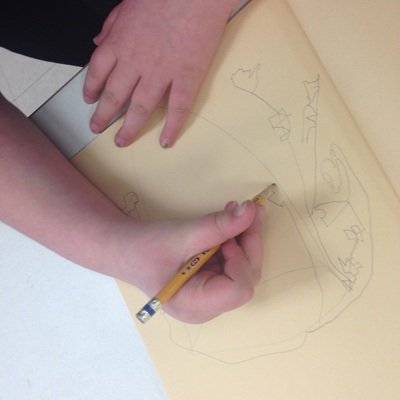
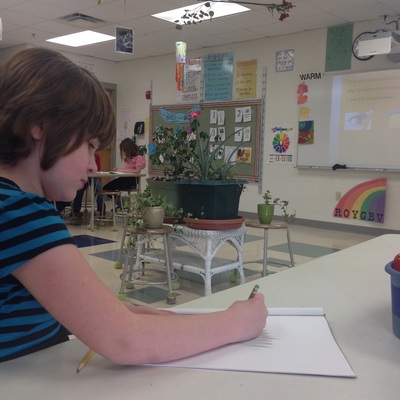
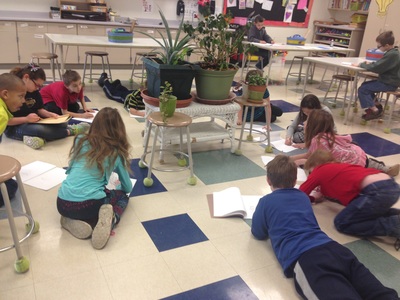
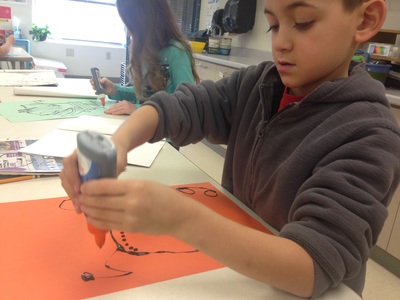
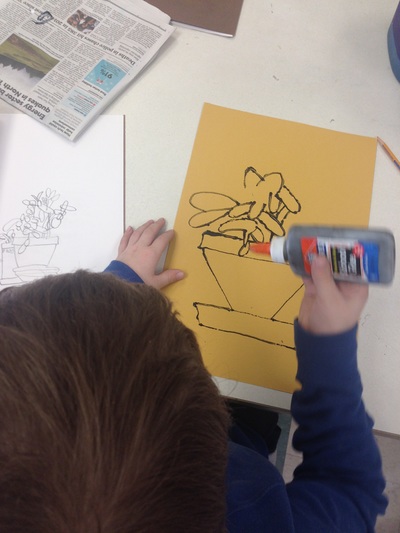
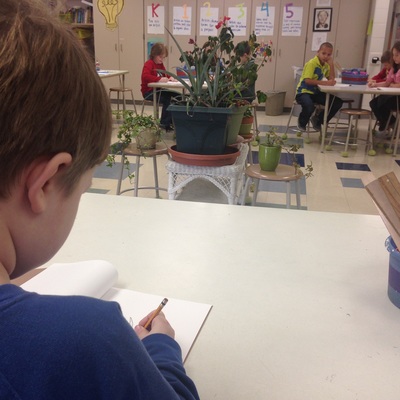
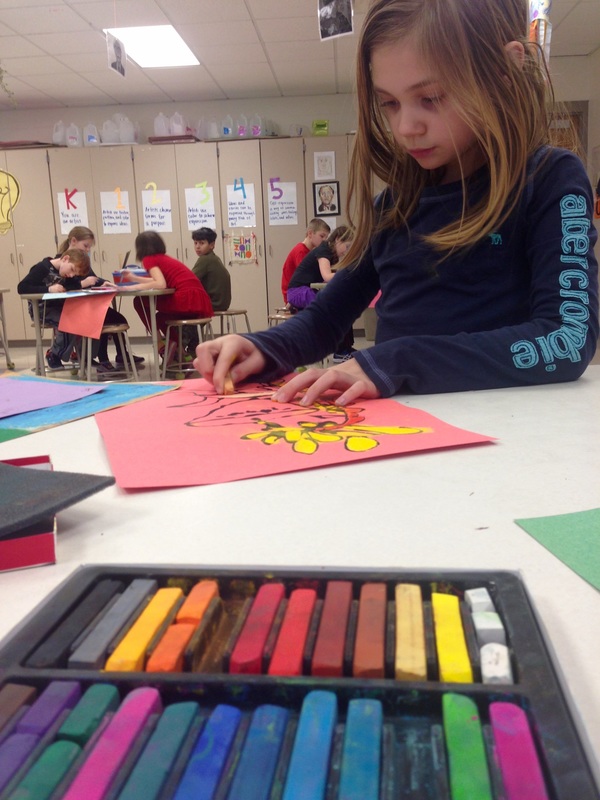
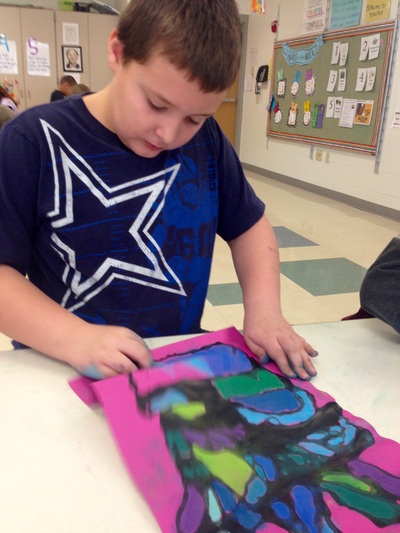
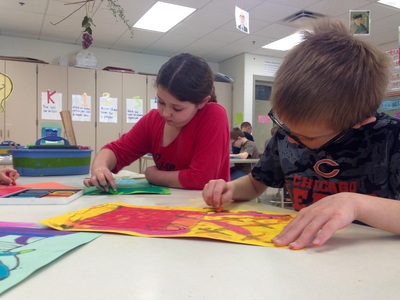
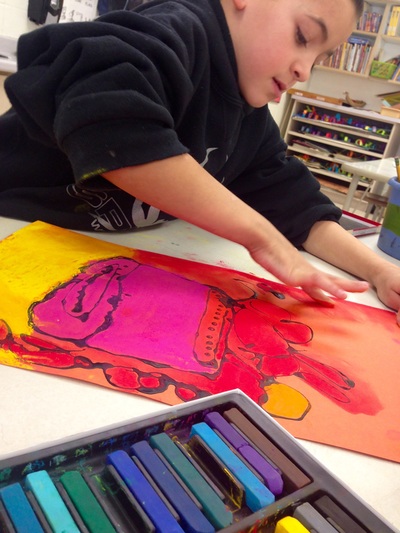
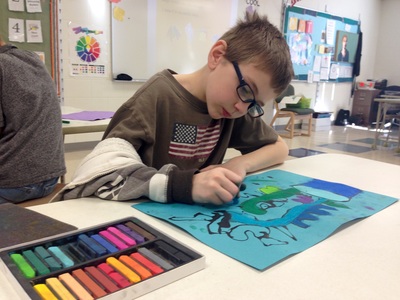
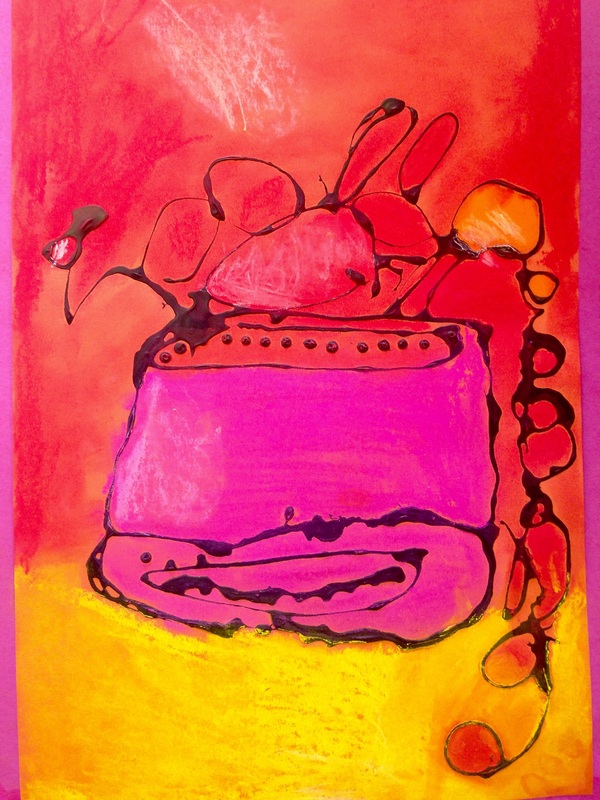
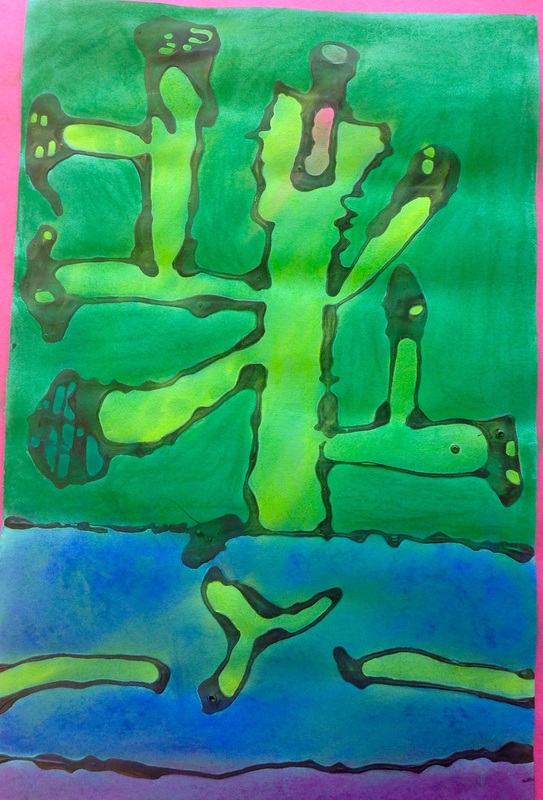
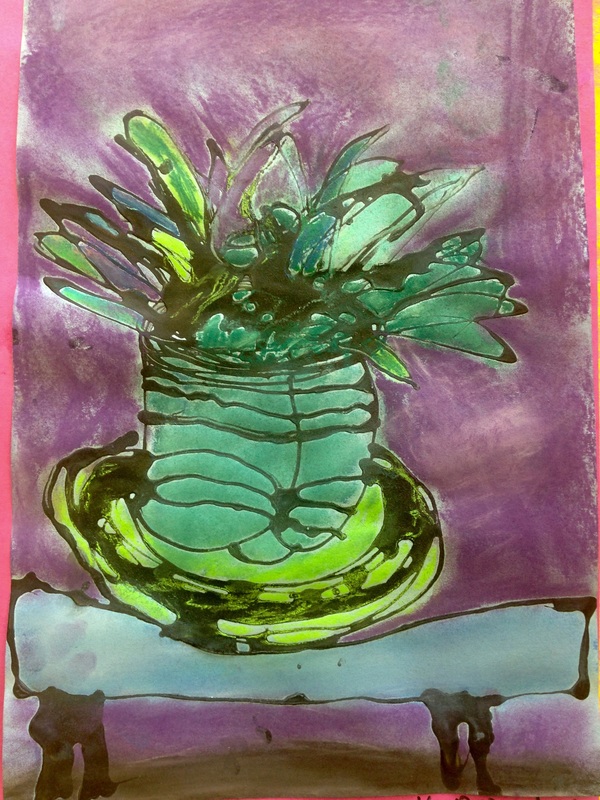
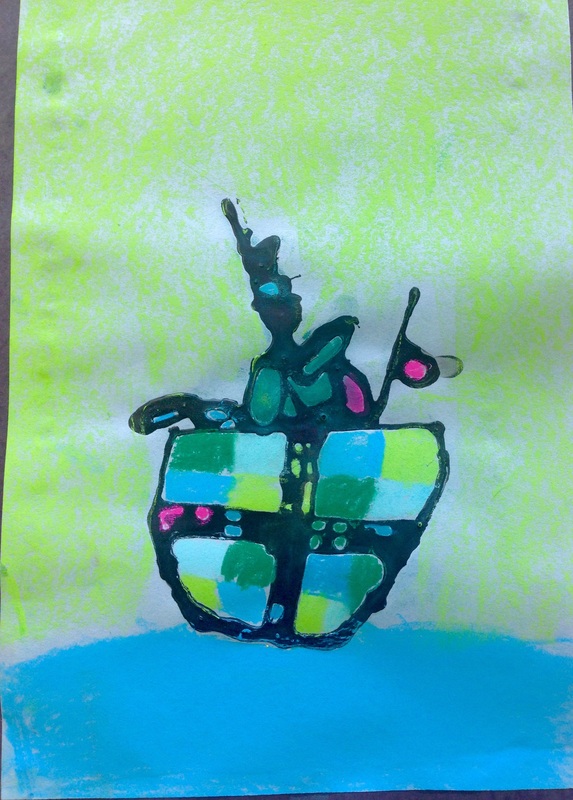
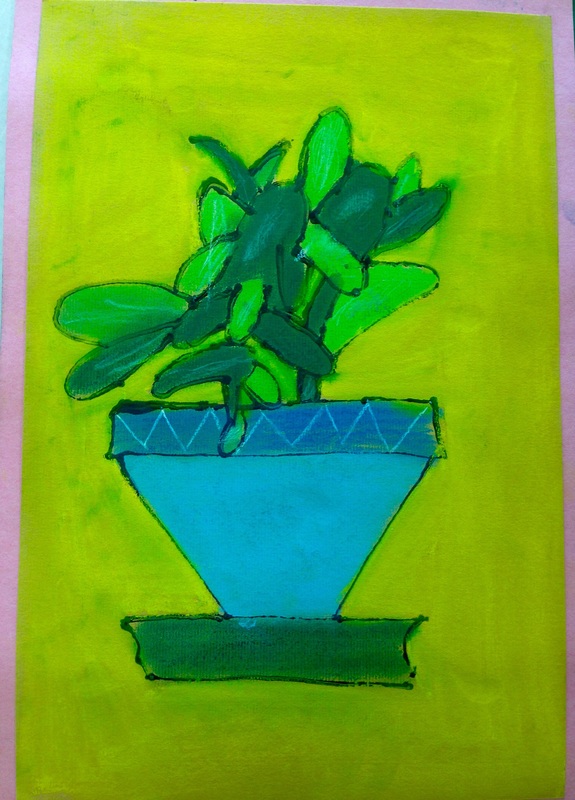
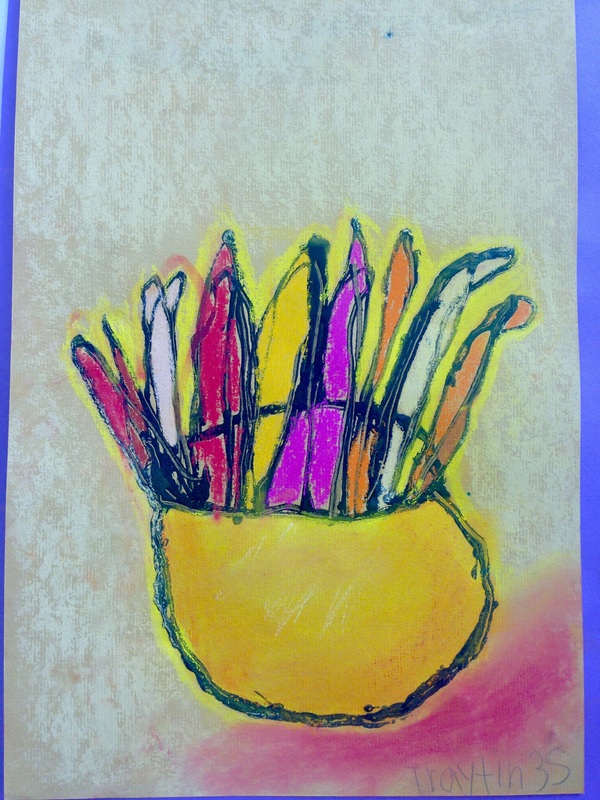
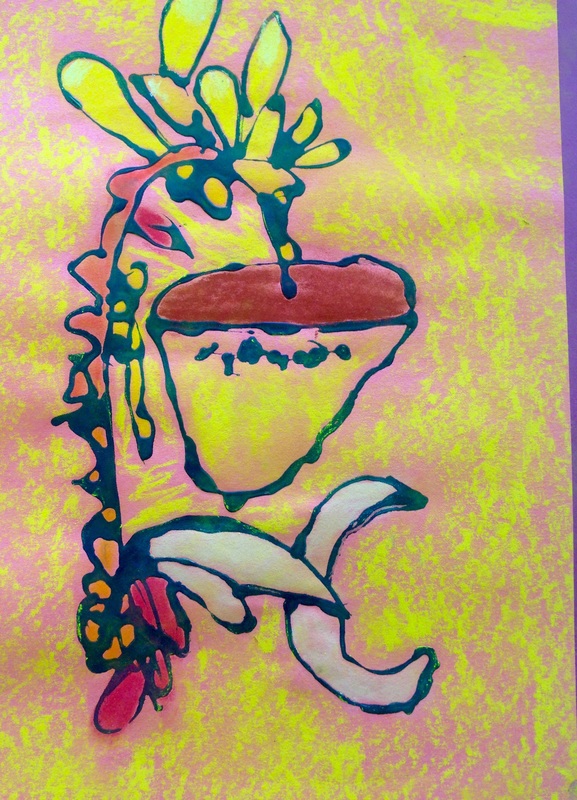
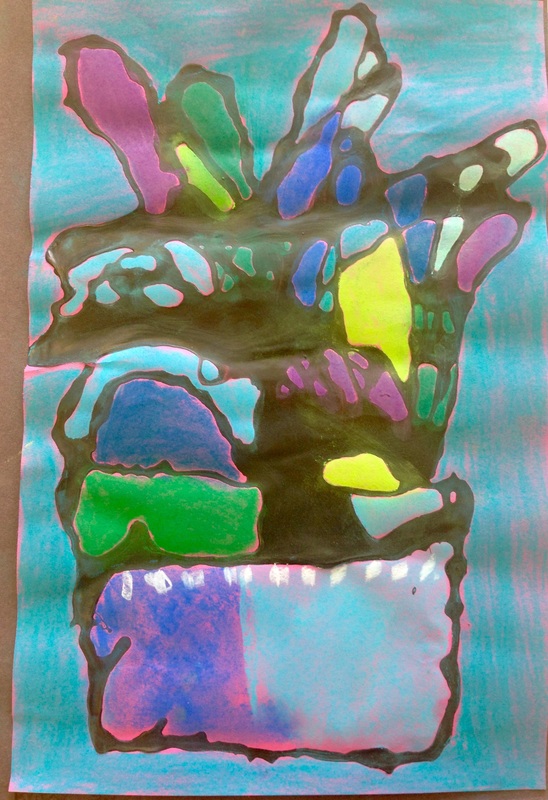
3rd grade artists combined their observational drawing skills and knowledge of warm and cool colors on this quick, 2-day project. I brought in my plants from home and borrowed 2 from the kindergarten pod and placed them in the center of the art room. I modeled how I follow the contour of each leaf on the plant with my eyes and my pencil at the same time. After a few drawings in their sketchbook, the students loosened up and were ready to draw with black glue. To make the black glue, I mixed Elmer's glue and black powder tempera paint in a bow with a little water (you want it to be the consistency of normal white glue)l and then scooped it back into the glue containers. After writing their name with pencil on a 11 x 17 piece of construction paper, they grabbed a black glue, tested it on a piece of scrap paper, and began drawing. Once complete, they placed it on the drying rack to dry. Drawing with glue was a new process for all of them and they did a great job with this new medium! The following art class, we used warm and cool color chalk pastels to add more color. Using these color schemes was a review since they just completed their Warm/Cool Color Chalk Landscapes. If their paper was a warm color, they stuck with warm colors. If their paper was a cool color, they had to stick with cool-colored chalk pastels. Adding color took most of them only one 45-minute class period. They matted it, wrote their name with a Sharpie, and were done! I love how they turned out. Thanks to Davenport School art teacher Stacey Houk for the lesson idea!
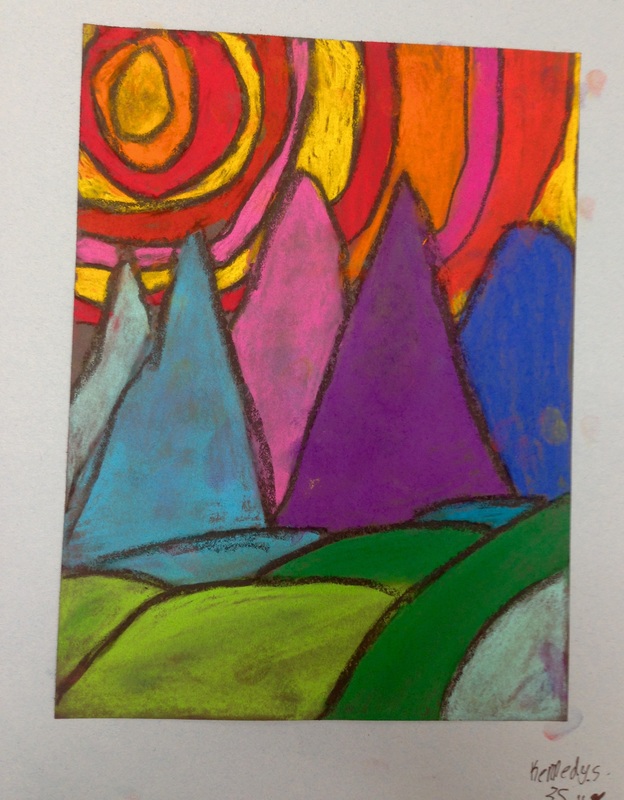
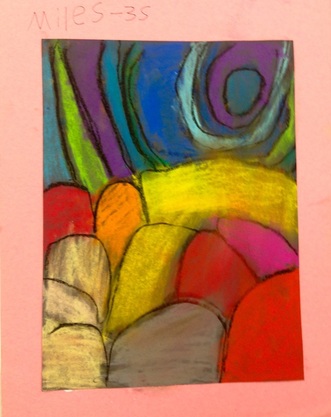
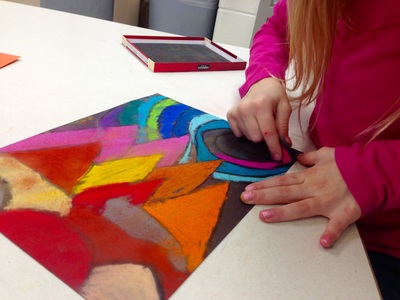
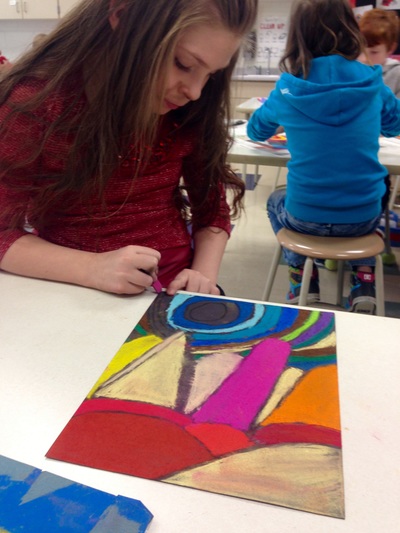
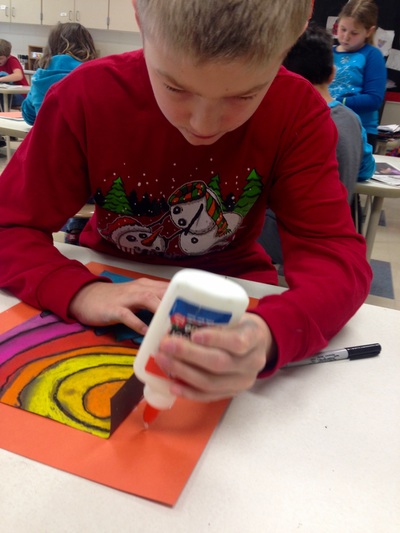
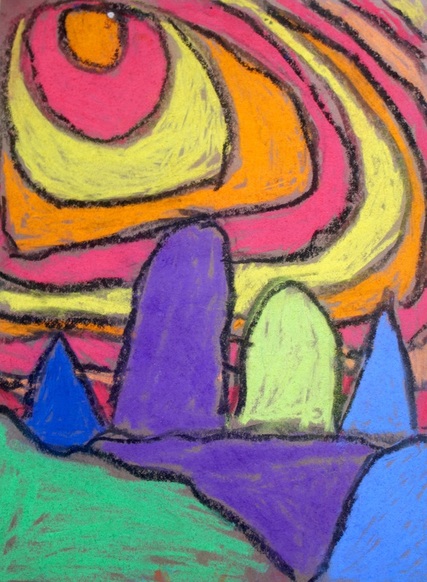
To create these colorful landscapes, 3rd grade artists used a black oil pastel to draw rolling hills, rounded mountains, and a sun with concentric lines around it. We showed distance by overlapping the hills and mountains. We reviewed the warm and cool colors and the artists had a choice: warm or cool colors for the sky and the opposite for the land. Cool colors created a night sky, warm colors made it a daytime sky.The final step was to outline with the black oil pastel again, as the chalk pastel gets the outline pretty messy. These look beautiful in the hallway next to their circle loom weavings! So many bright colors!
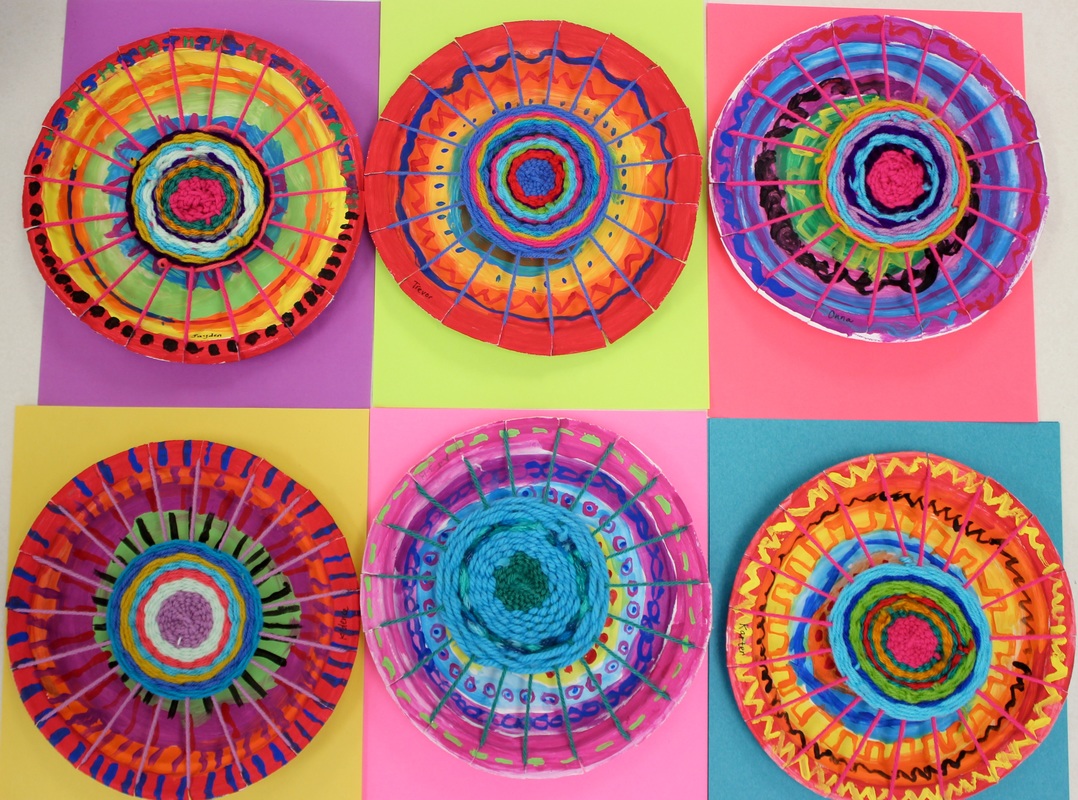
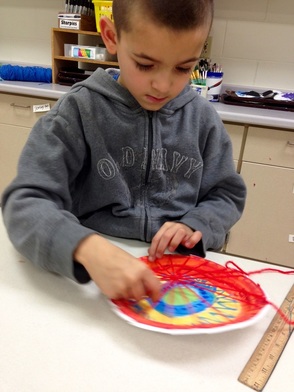
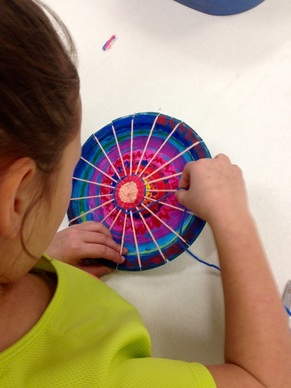
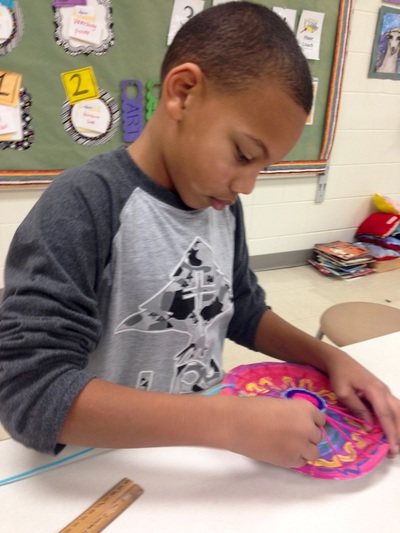
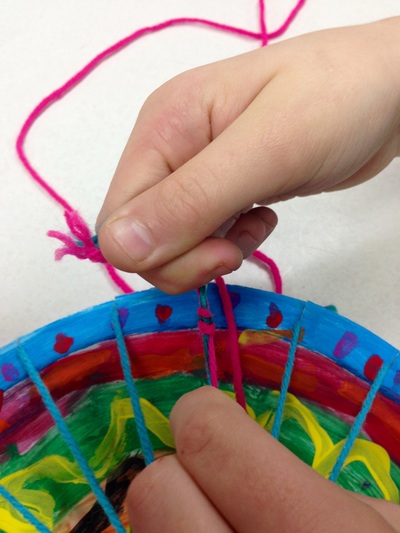
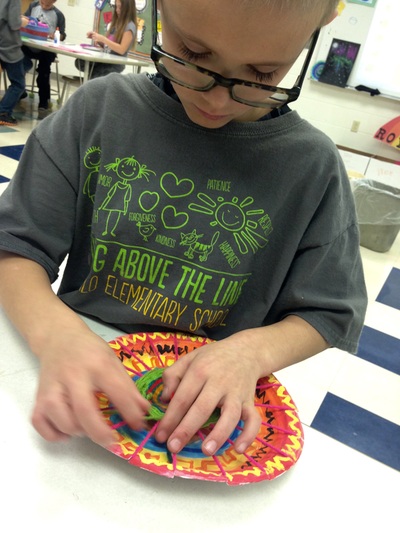
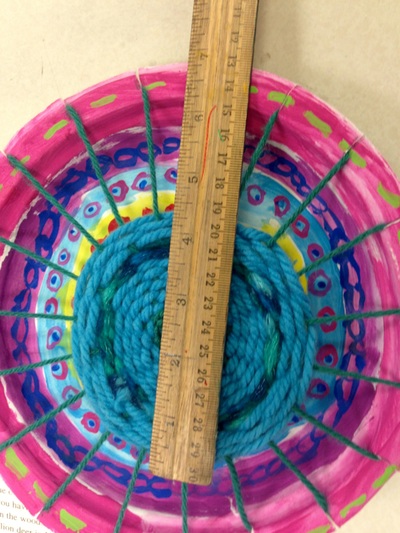
Lesson from Deep Space Sparkle. This is one of the favorite projects of the year for a lot of my kids. My current 4th graders created a circle loom weaving last year and many of them have asked if they can weave another one this year!
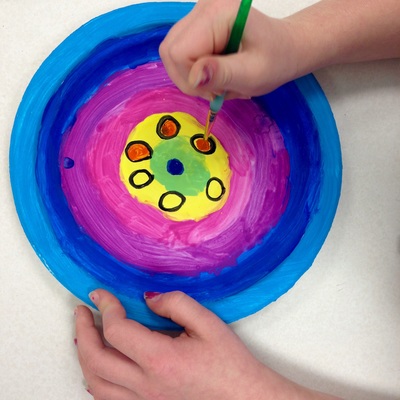
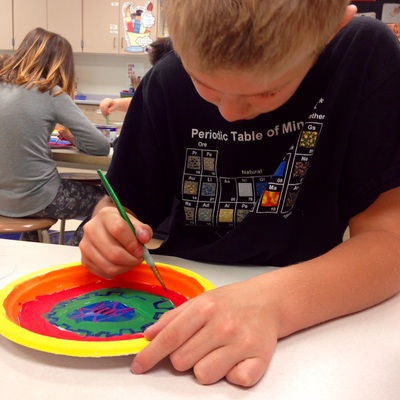
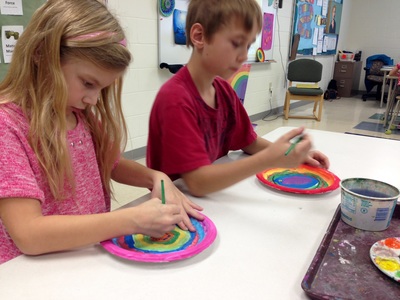
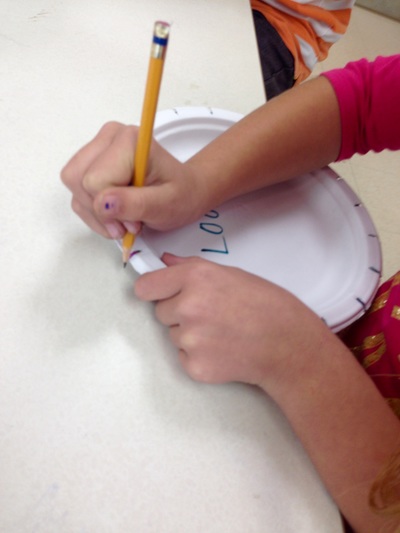
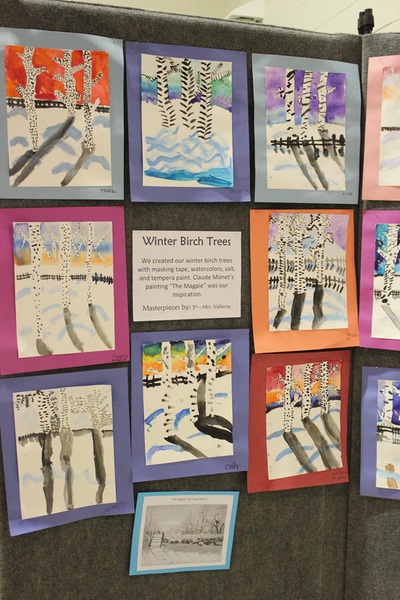
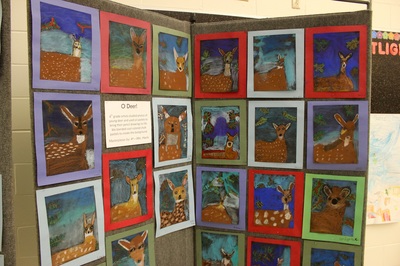
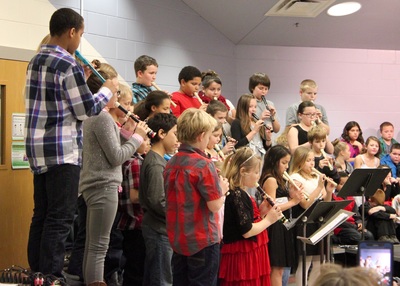
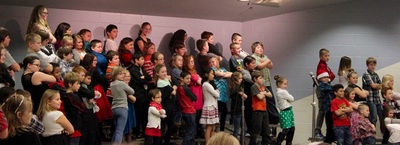
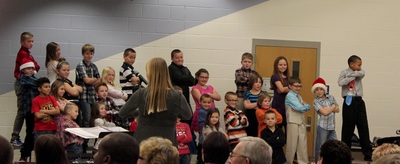
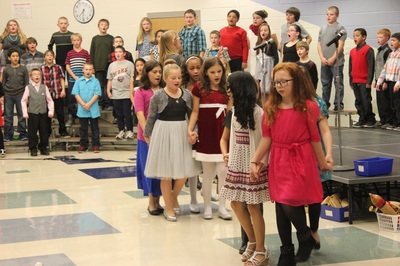
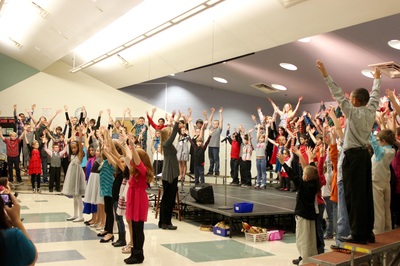
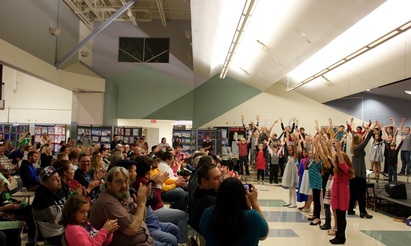
Day 1: Paint a Chinet plate with rings of colorful tempera paint (all occasion size). Day 2: Paint patterns on the plate. Day 3: Cut notches on the outside of the plate using a loom template. I created the loom templates with 19 notches. The students mark each notch with a pencil, count the pencil marks to make sure they have 19, and cut just to the end of the rim. Once this step was complete, they grabbed a long piece of yarn and joined me on the floor. I showed them how to add the warp to their loom. Once the warp was completed, we began to weave with the weft. Day 4 & 5: Students continued to weave and add more string until their weaving was 4 inches a cross. They were able to add beads to their weaving if desired. This amazing project is from Cassie Stephens. You will find more detailed directions there if you want to create your own! The 3rd, 4th, and 5th grade students performed in the winter concert on December 10. I displayed seasonal artwork from each class on art panels.
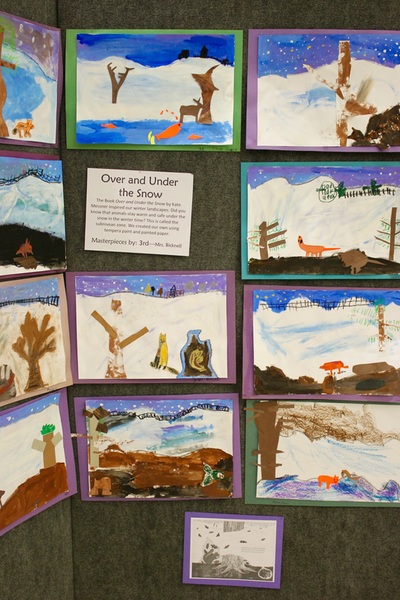
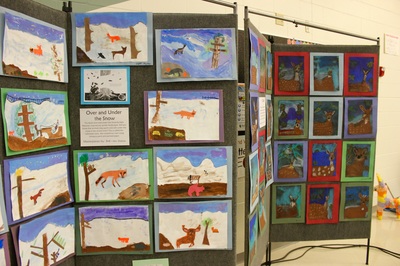
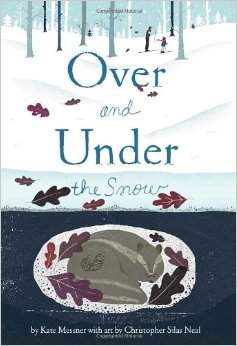
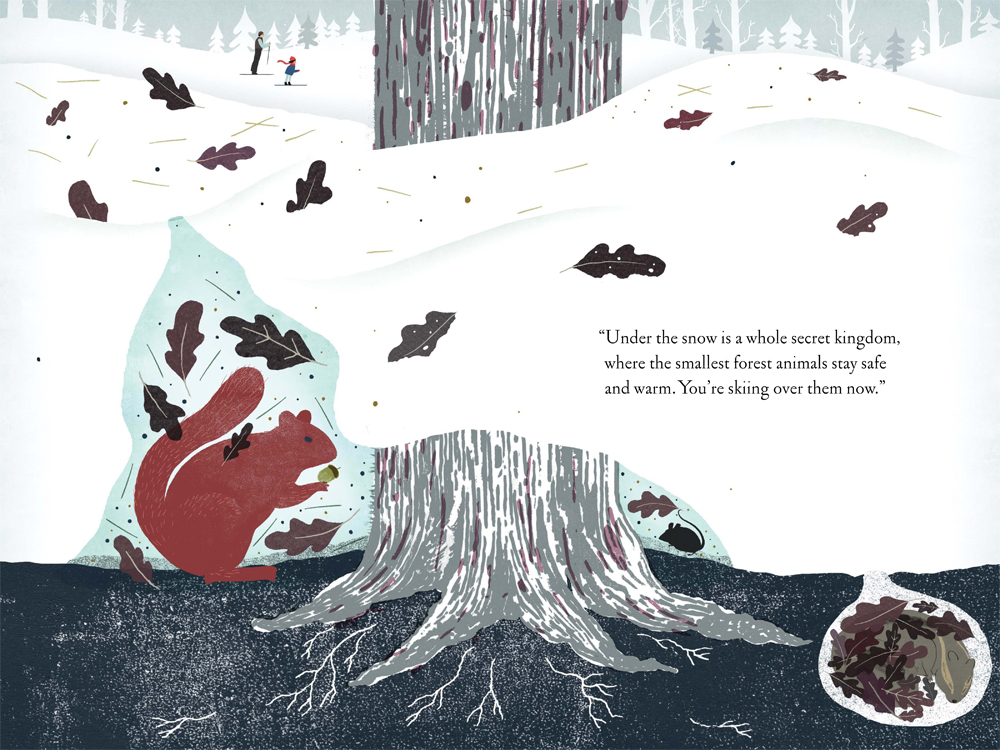
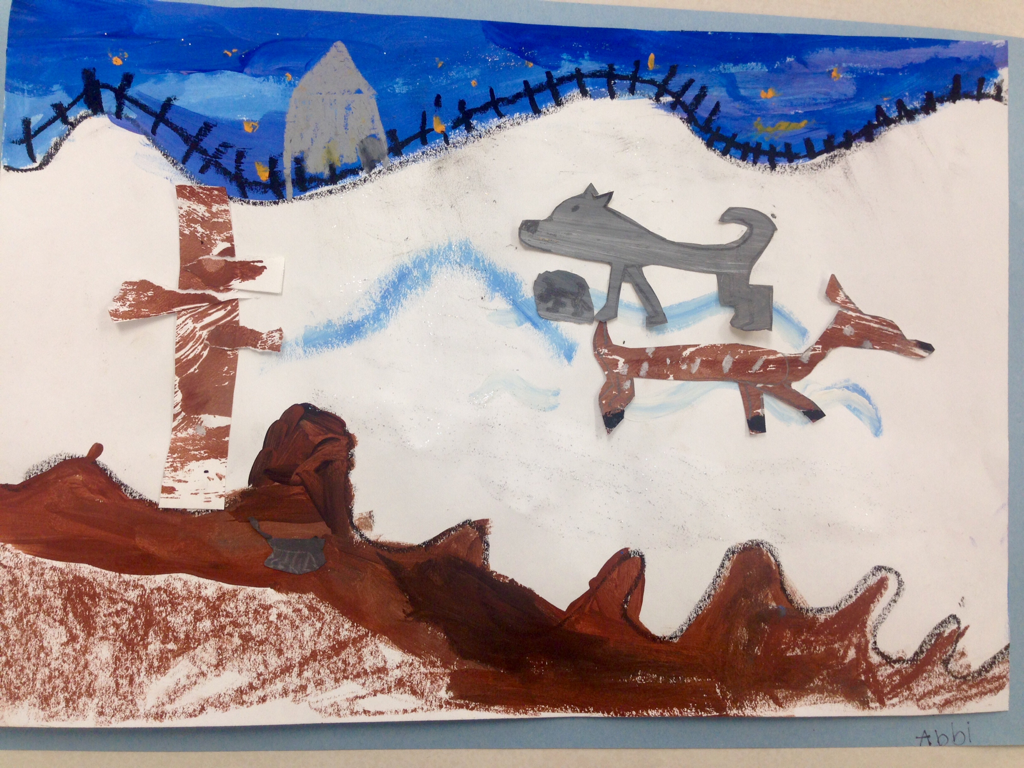
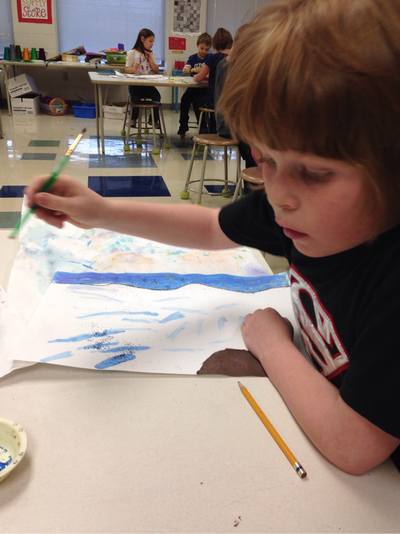
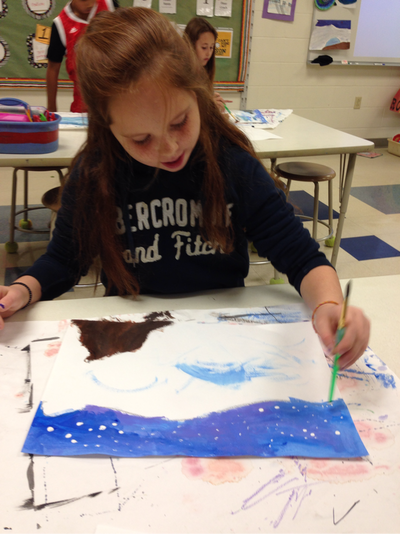
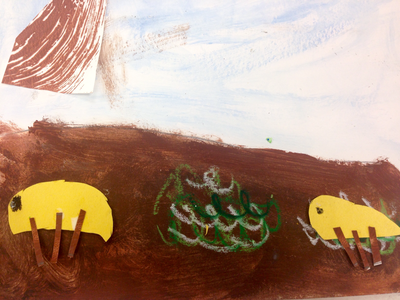
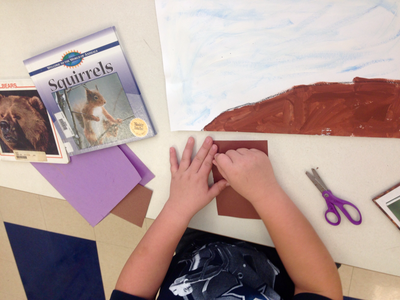
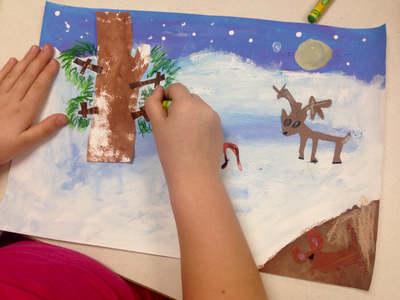
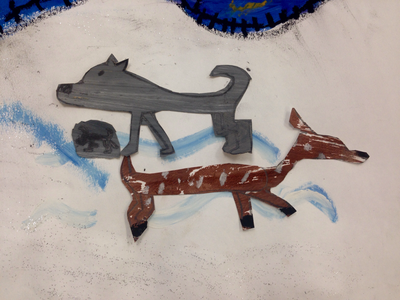
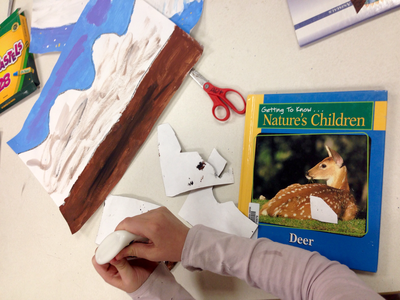
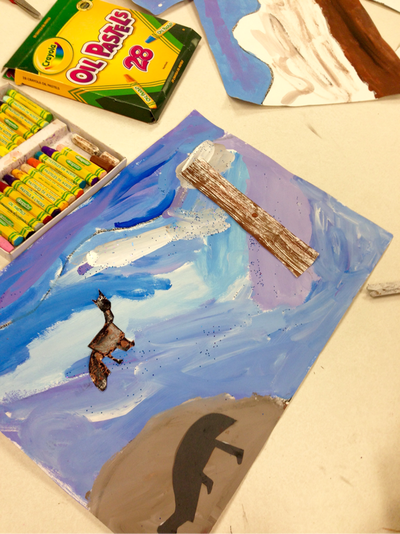
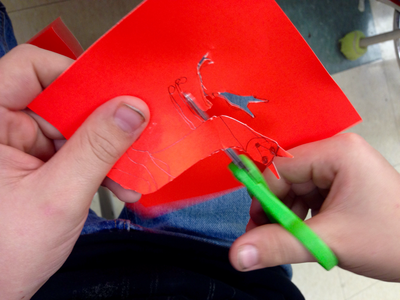
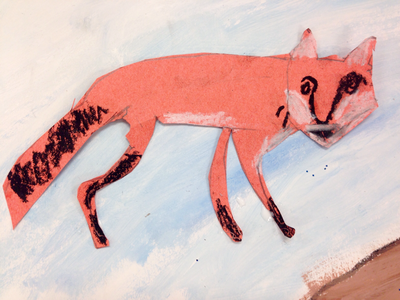
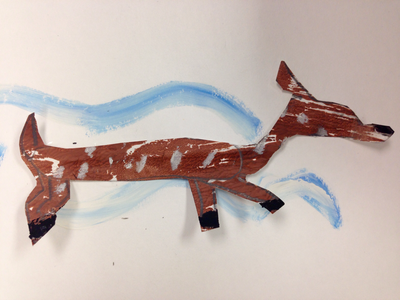
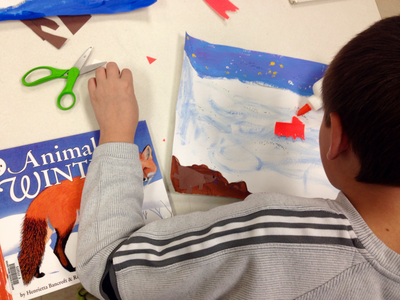
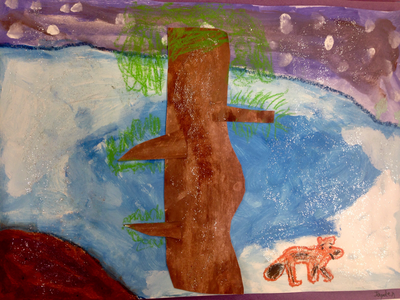
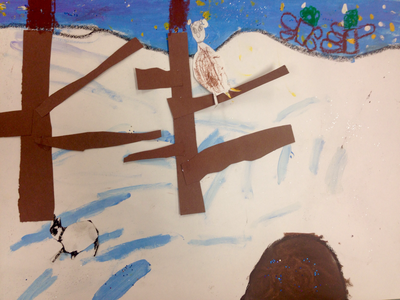
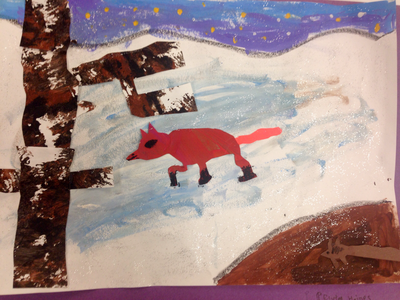
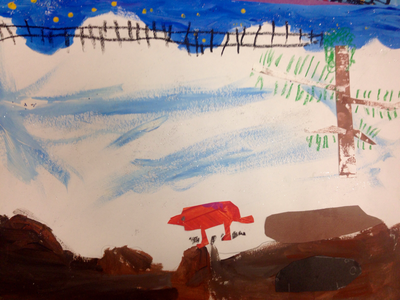
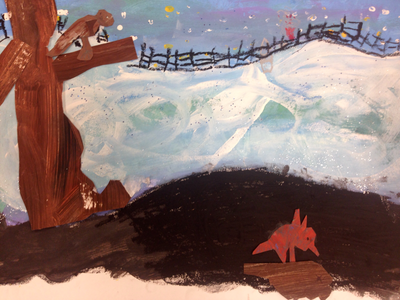
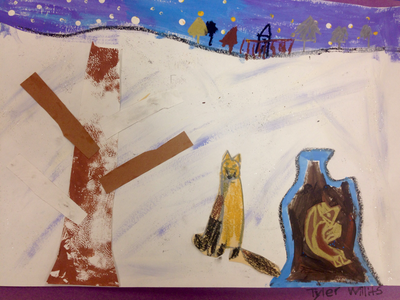
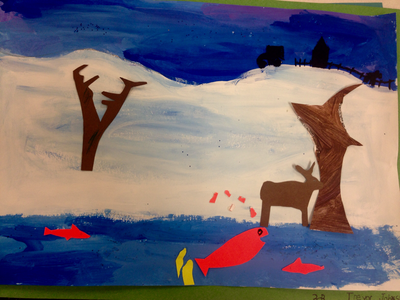
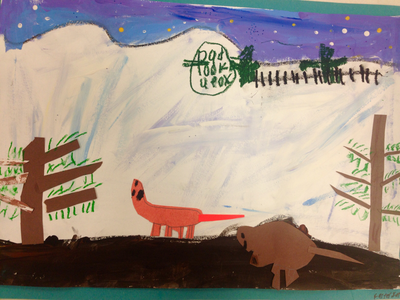
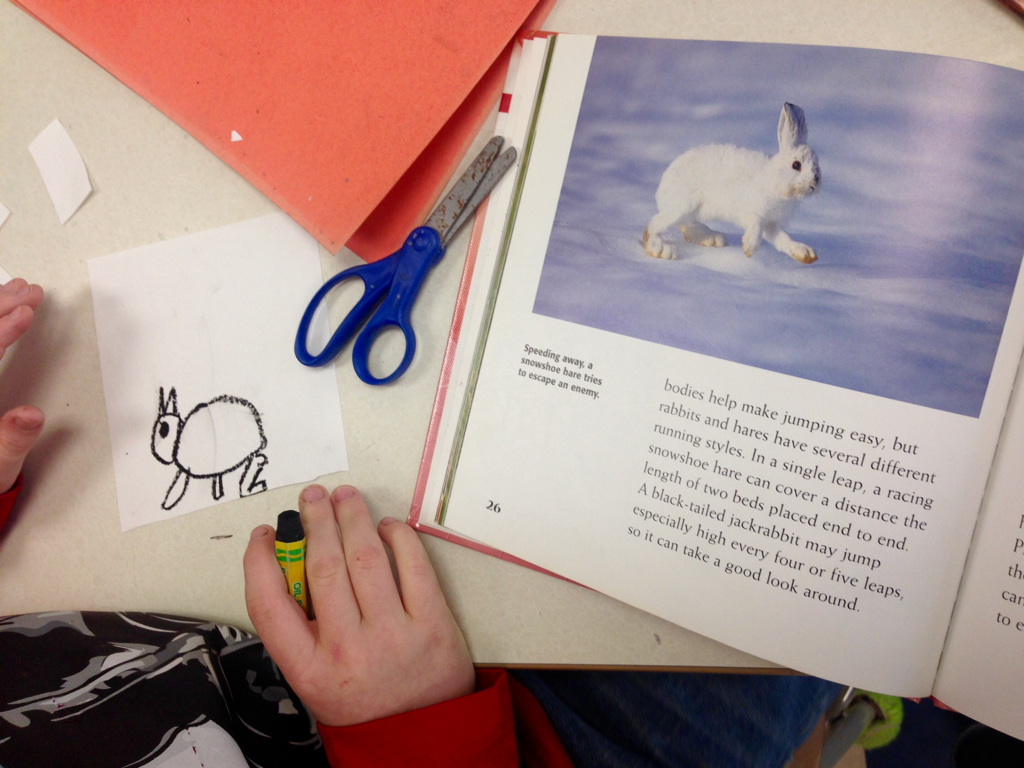
Our inspiration for this seasonal artwork was the book Over and Under the Snow. This incredible book is filled with beautiful images and factual information about the subnivean zone, or the area in and underneath the snow pack. This zone is a secret shelter for many animals such as shrews, voles, mice, squirrels, and queen bumblebees in the wintertime. Our inspiration: Over and Under the Snow by Kate MessnerAfter learning about this secret kingdom under the snow, students drew a horizon line and an "under the snow" line and added color using tempera paint. For the next class, I went the the library and gathered animal books for the students to work form. Animals and trees were cut out of painted paper and construction paper. Oil pastels were used to draw moss, add texture, or add detail.
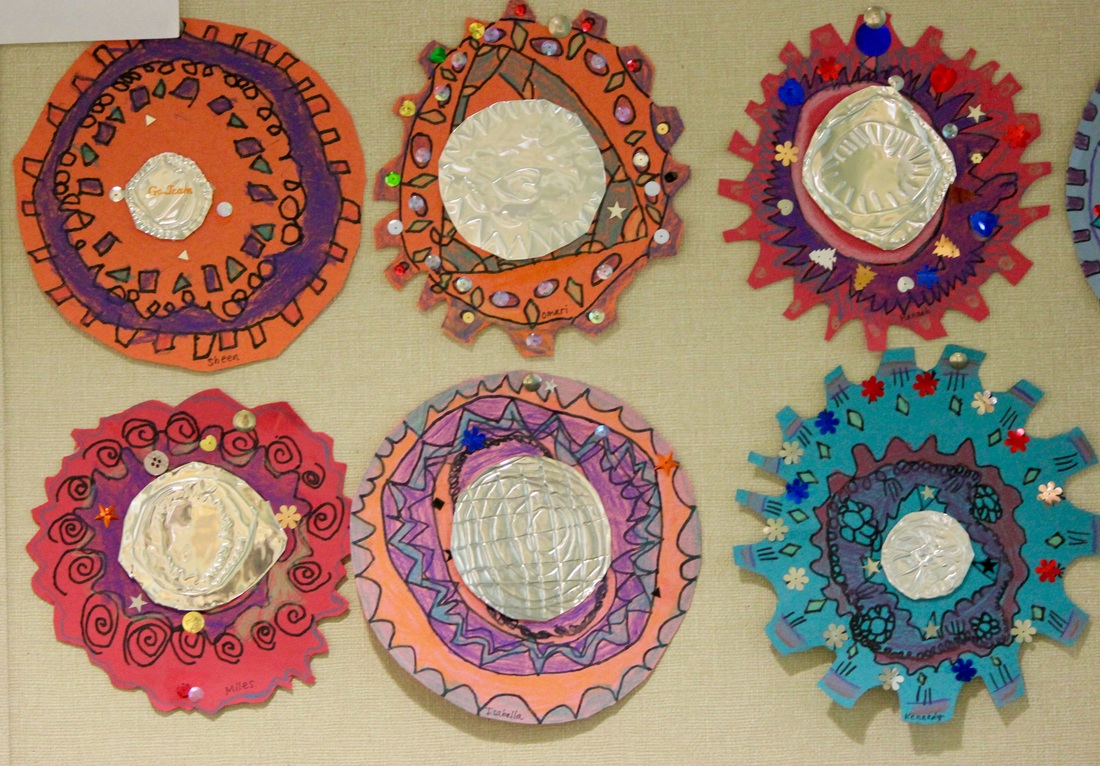
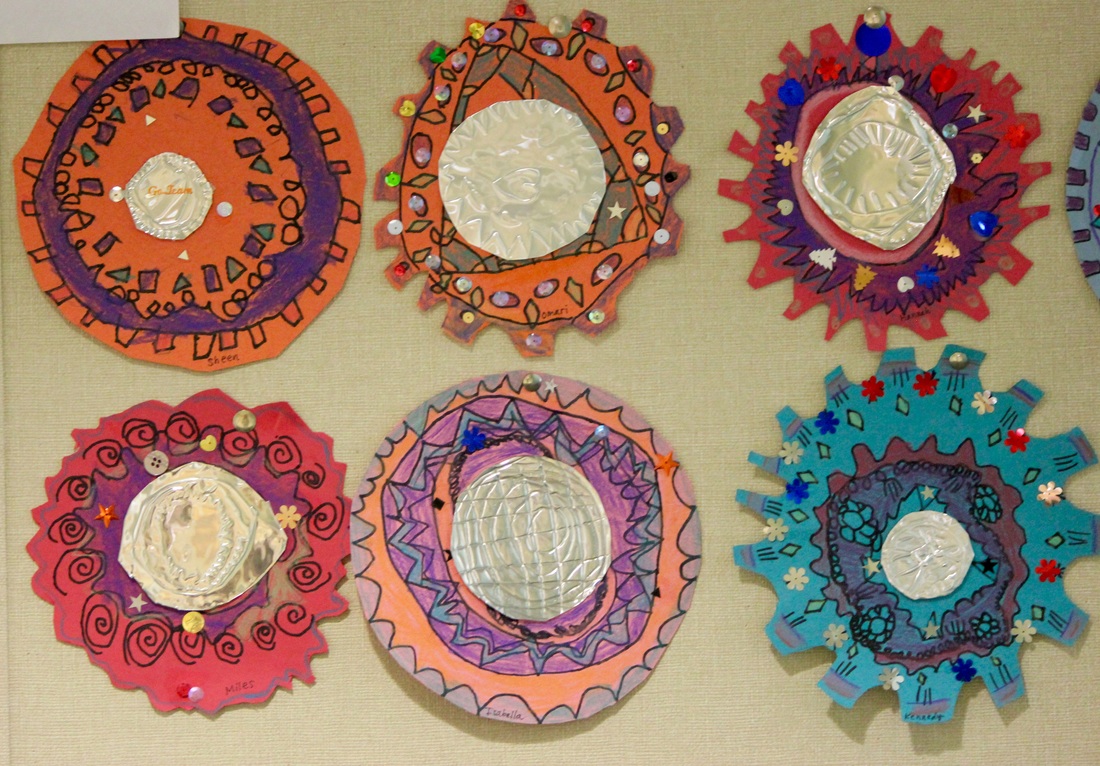
Thank you to Deep Space Sparkle for the project inspiration. One of the learning targets for third grade artists is to demonstrate knowledge of radial symmetry. These Mexican Folk Art Mirrors were created with Sharpies, construction paper crayons, sequins, and metal tooling. Students cut out a circle, added pattern and color, and glued on sequins. We used dull pencils to emboss a pattern in the metal tooling before taping it to the center of our mirrors.
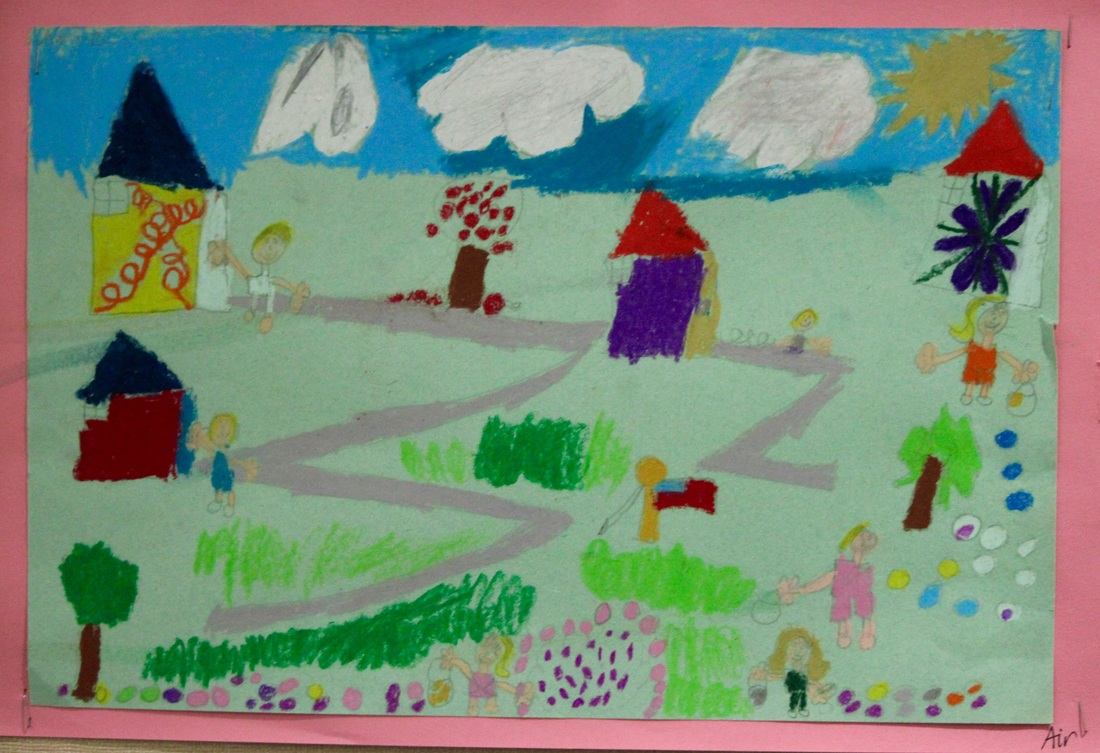
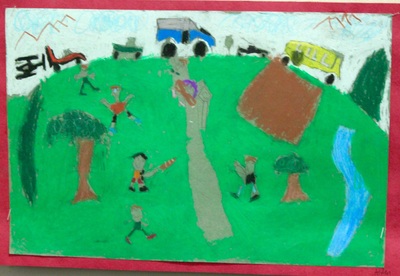
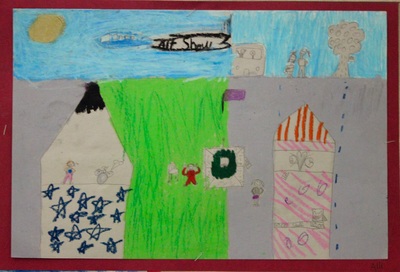
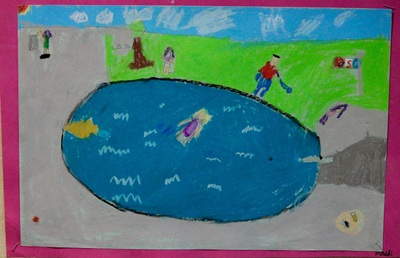
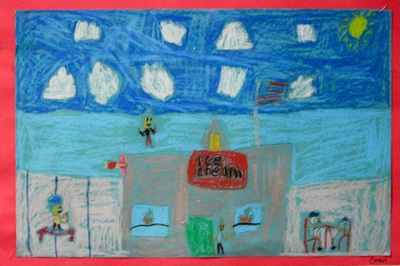
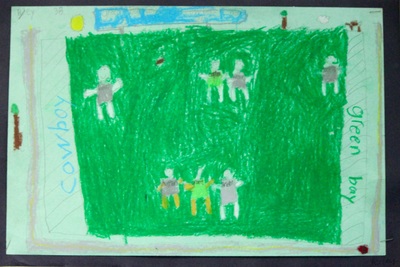
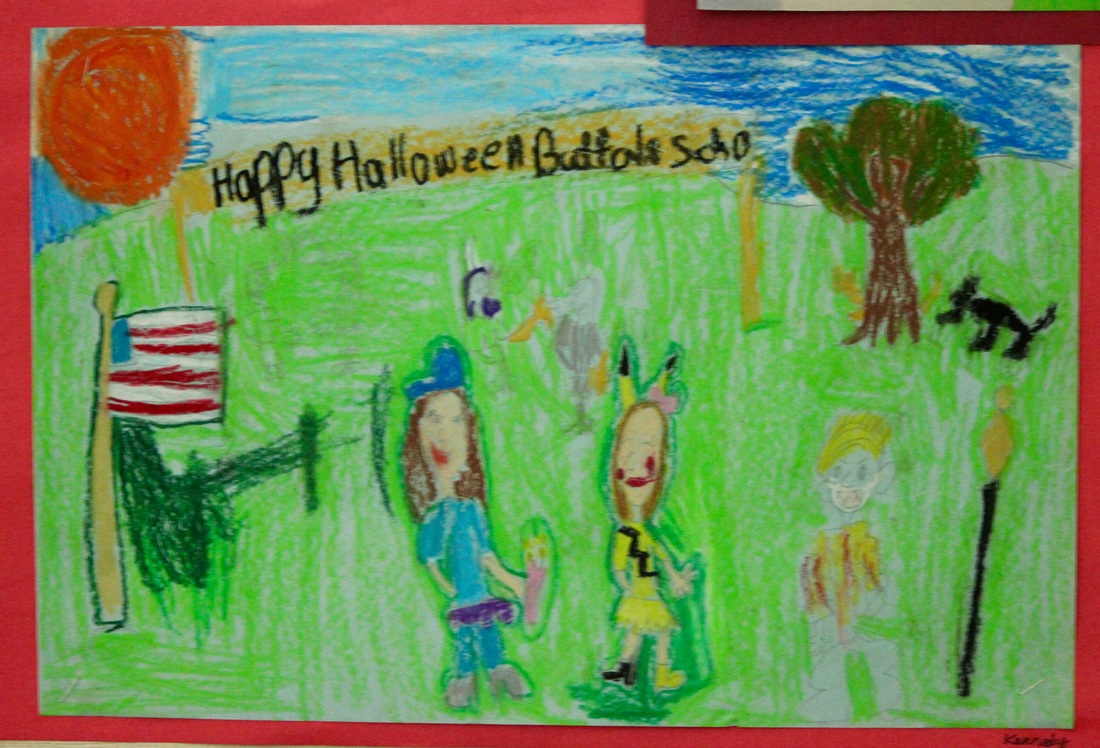
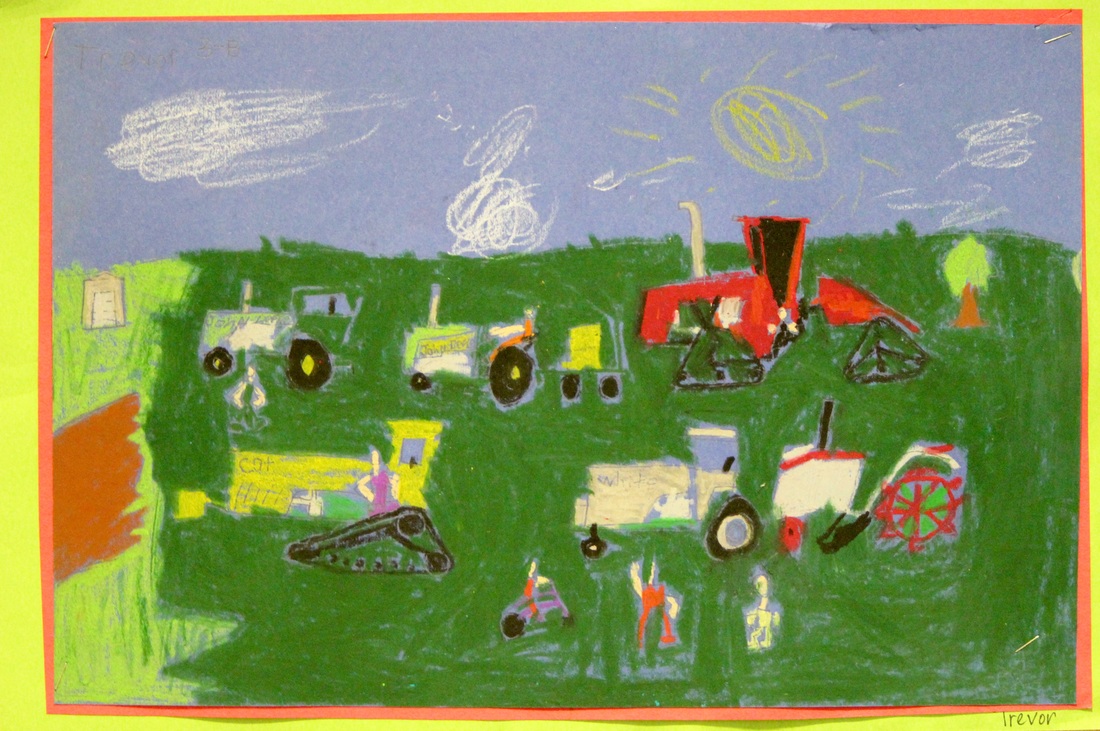
Each student chose a community event to draw. Each drawing included 7 people and 7 details. We added color using oil pastels. A few examples of the events students chose: July 4th celebrations, friends at the pool, Halloween costume parties at school, playing in the park, and tractor shows.
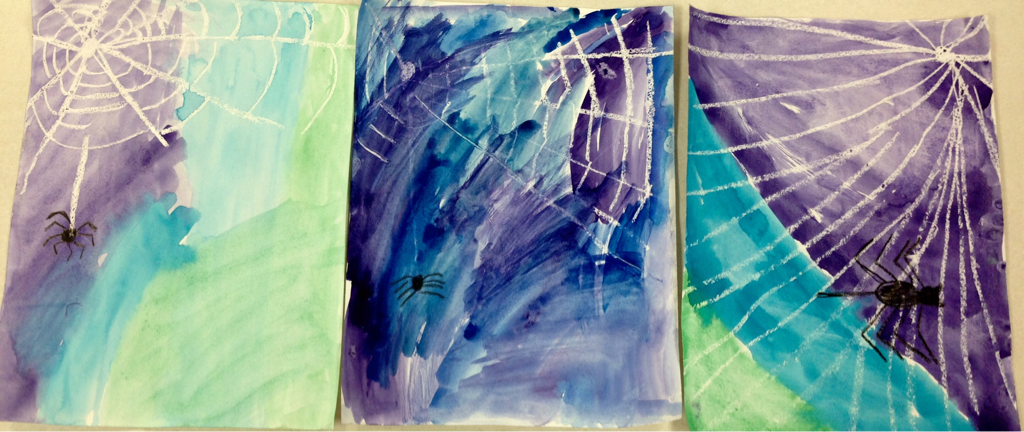
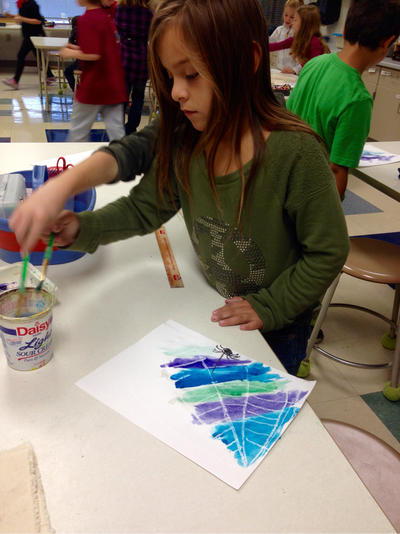
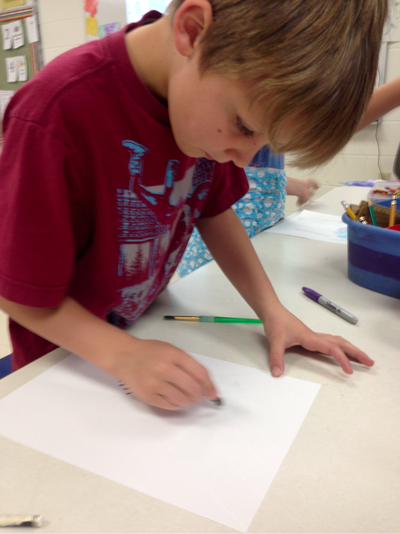
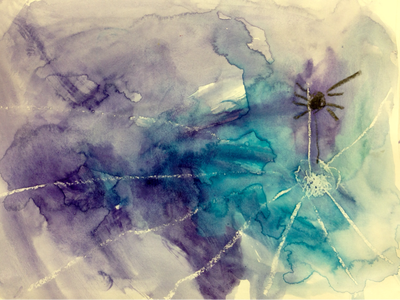
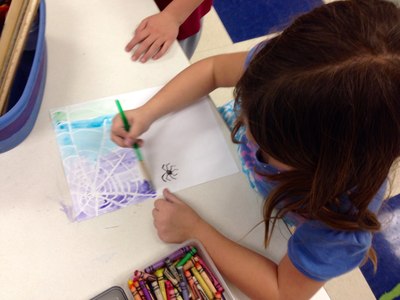
Artist inspiration: Georges Seurat Students that finished early had the opportunity to create a spooky spider web. First, they drew a web on their white paper using a white crayon. It was challenging to see what they were drawing! A spider was added using a black crayon. Cool color watercolors were painted right over the top of their drawing and their web and spider appeared! This is called wax-resist.
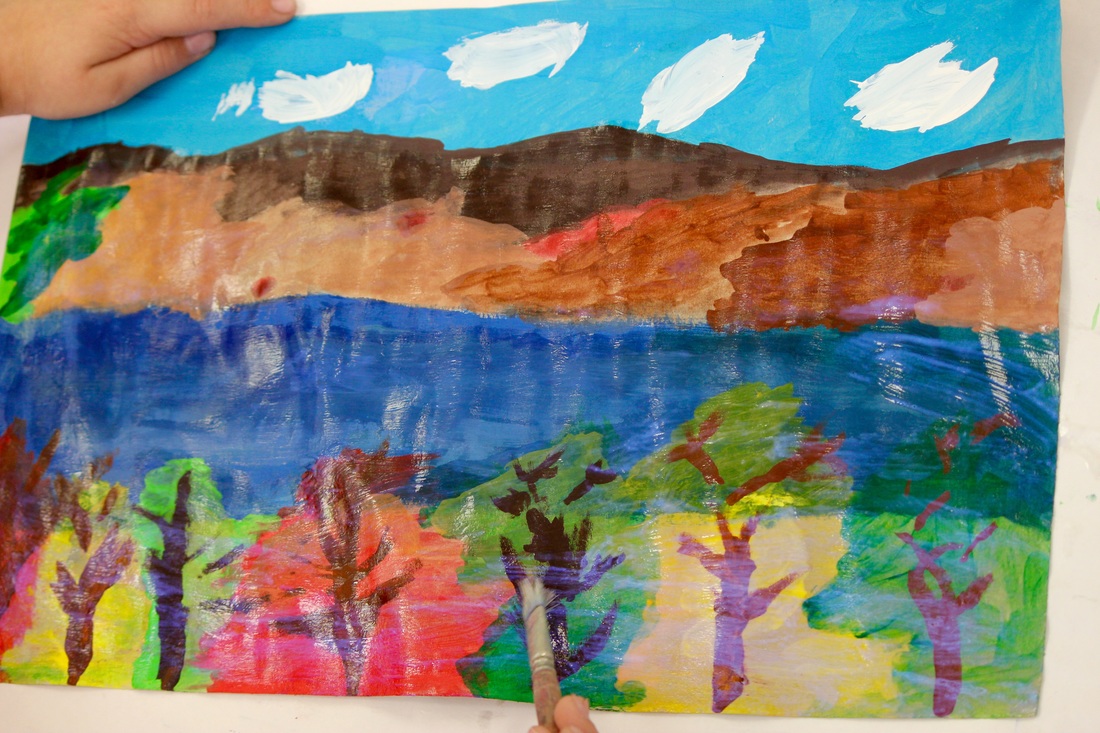
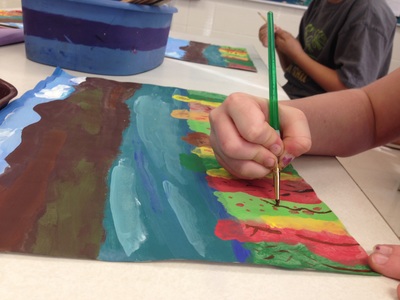
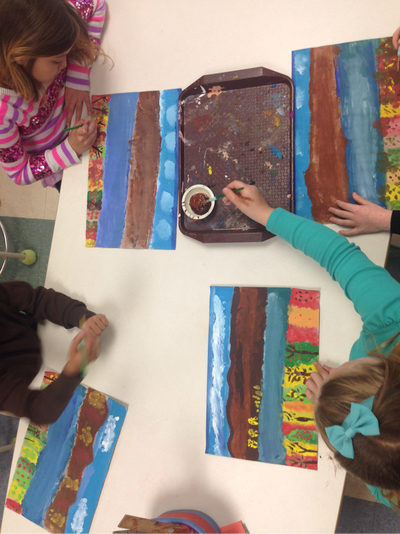
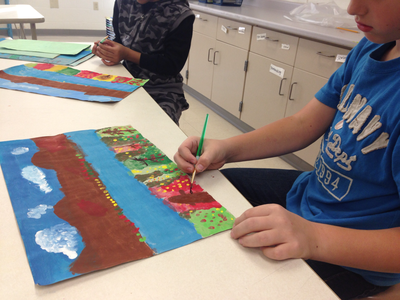
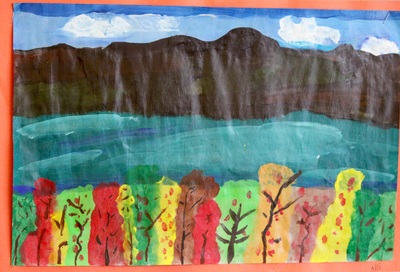
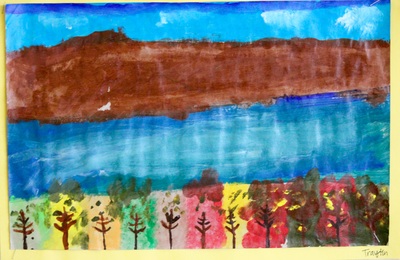
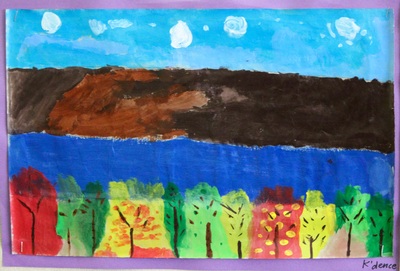
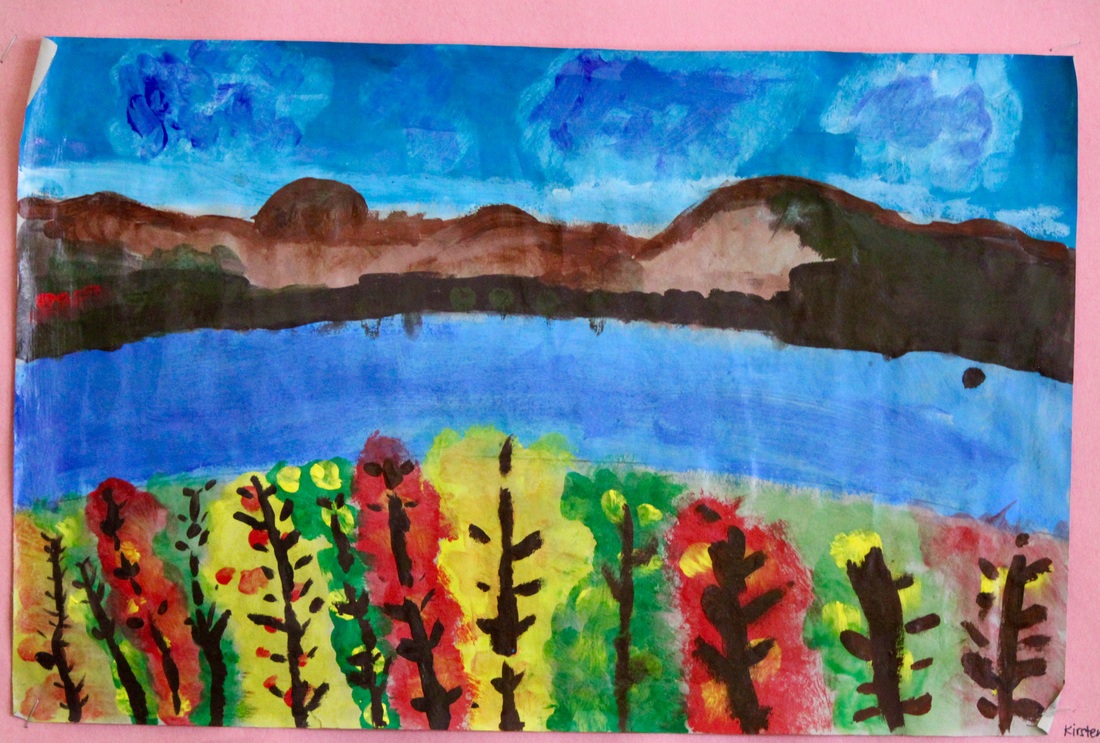
We painted our landscapes using tempera paint in warm and cool colors. The sky and water were painted the first day, mountains and trees the next, and the trunks and branches of the trees were last. Trees are in the foreground, water in the middle ground, and mountains in the background.
Thanks to Painted Paper for the fun project! Artist Inspiration: Georgia O'Keefe |
Author
Archives
June 2016
Categories
All
|




 RSS Feed
