|
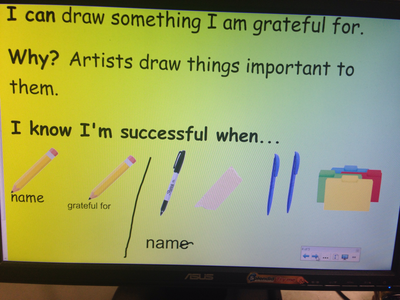
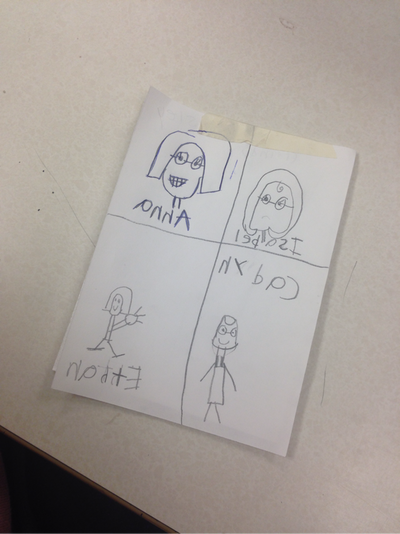
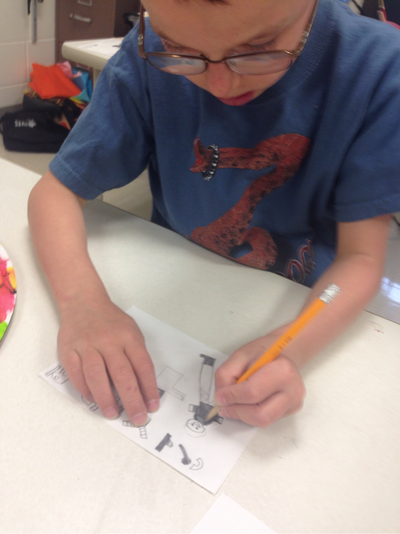
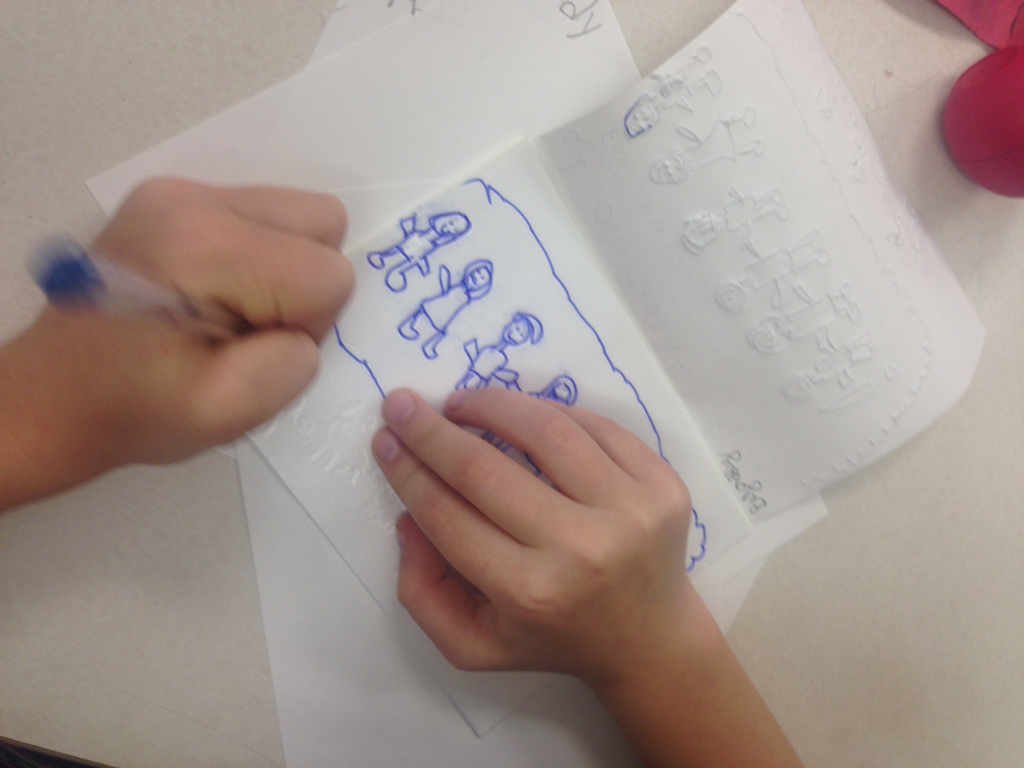
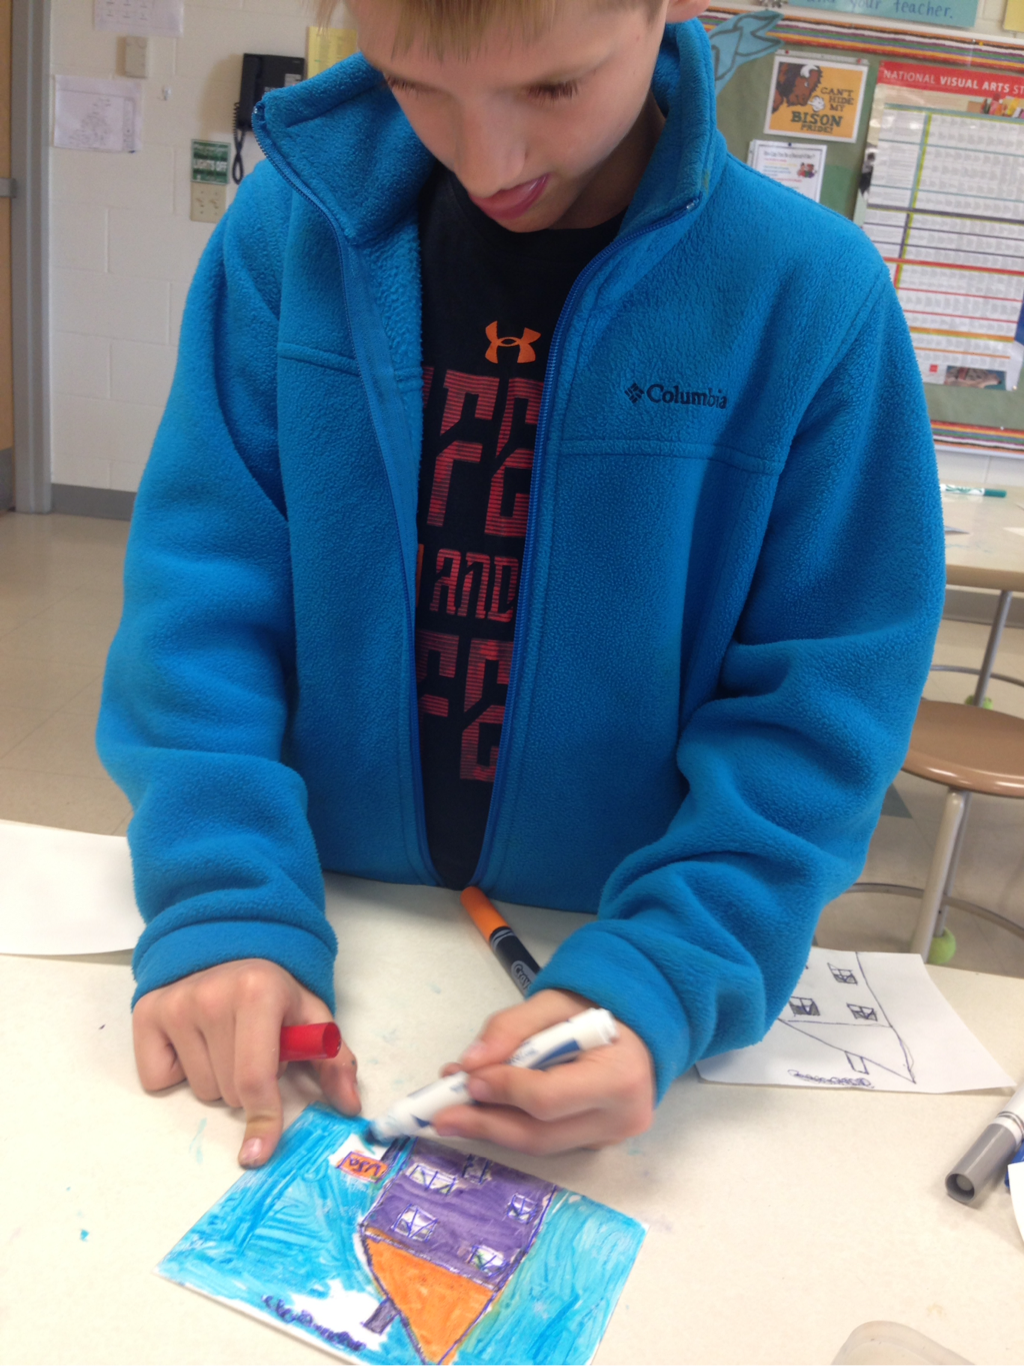
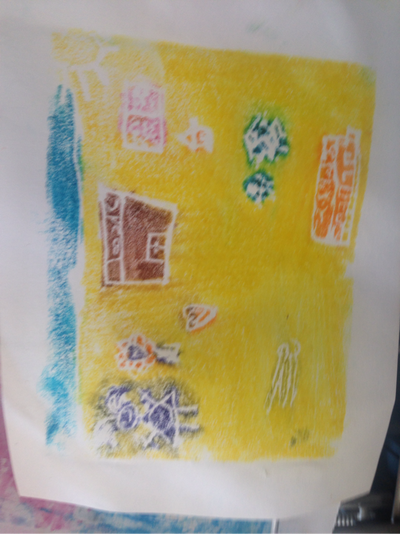
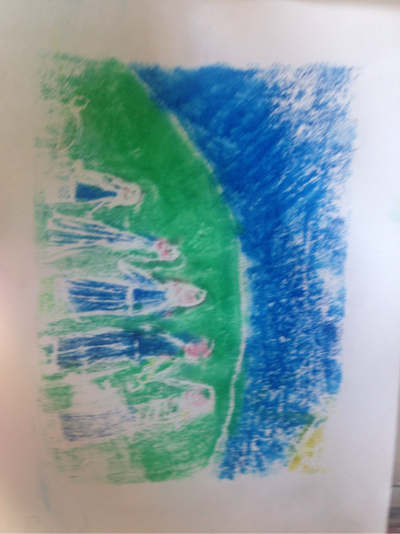
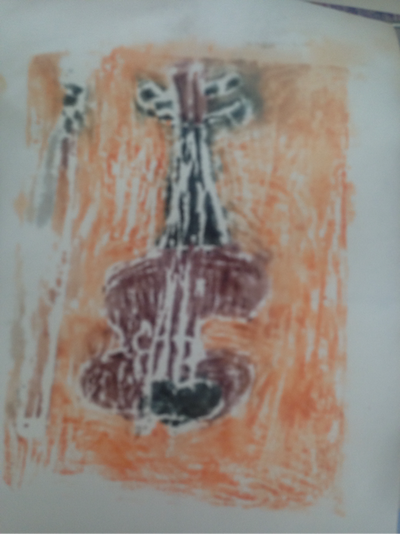
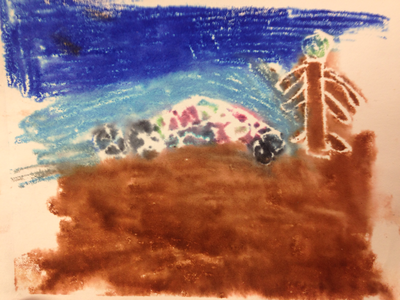
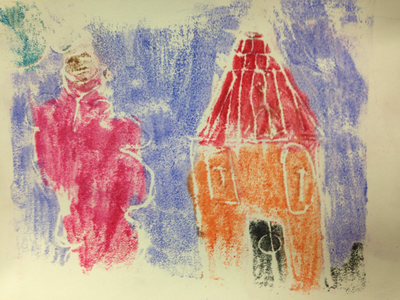
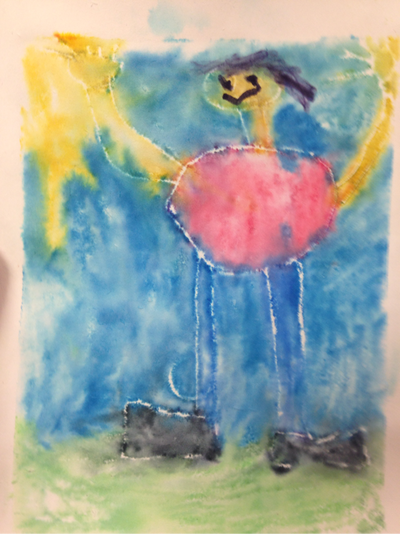
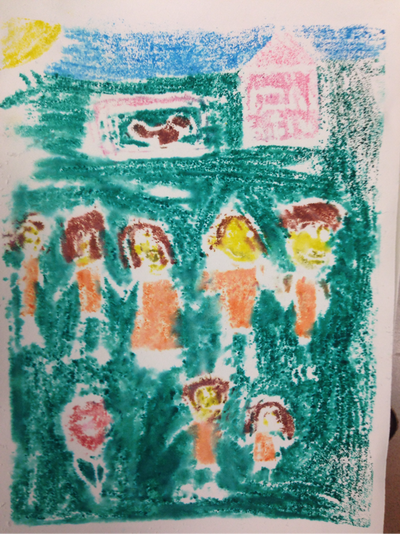
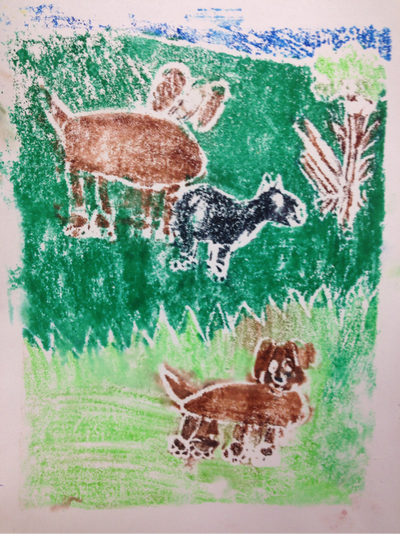
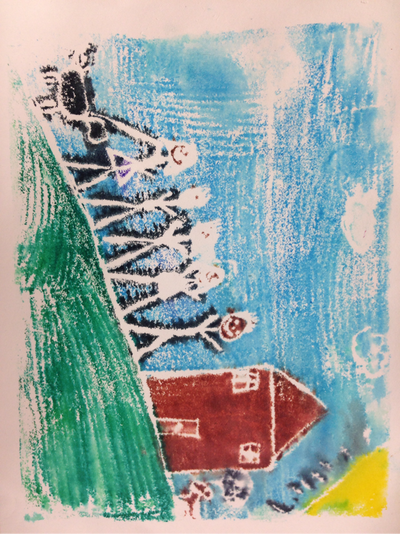
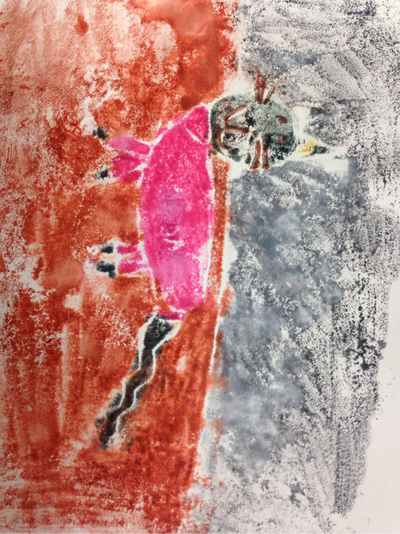
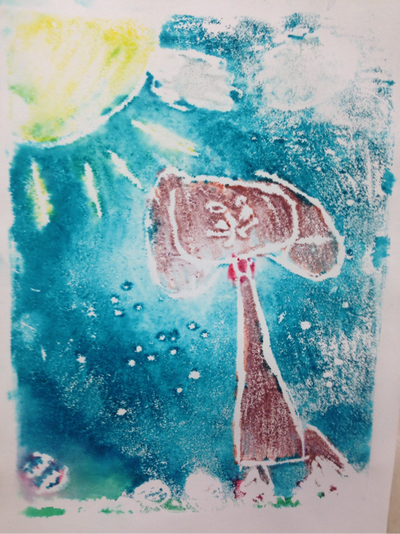
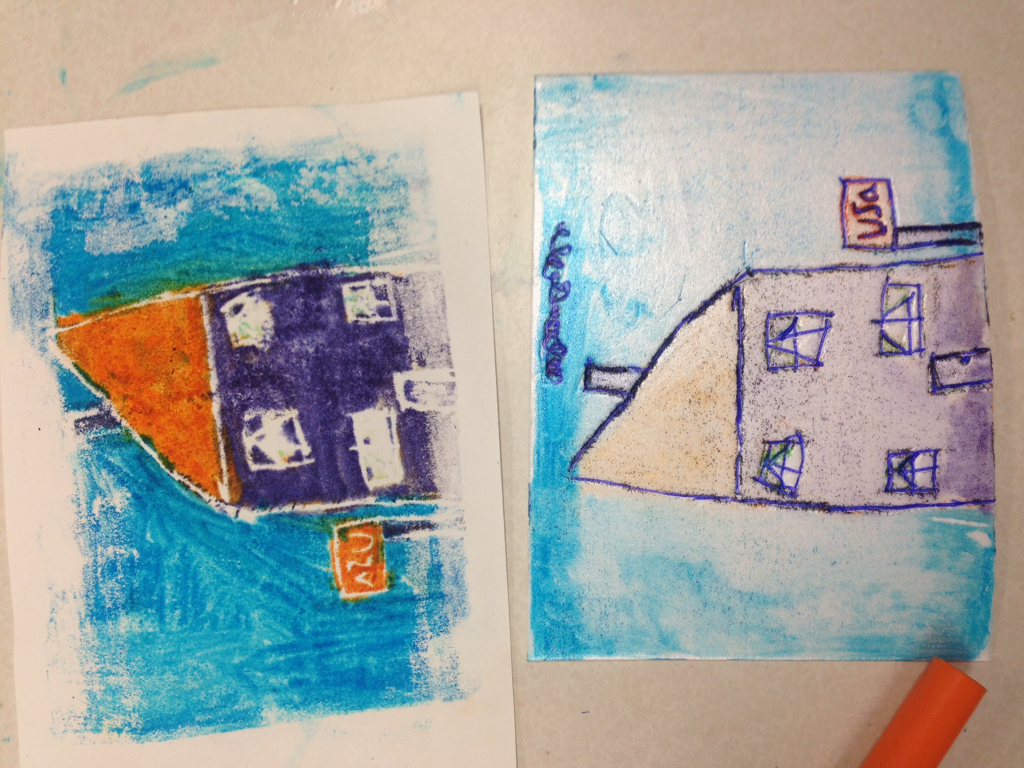
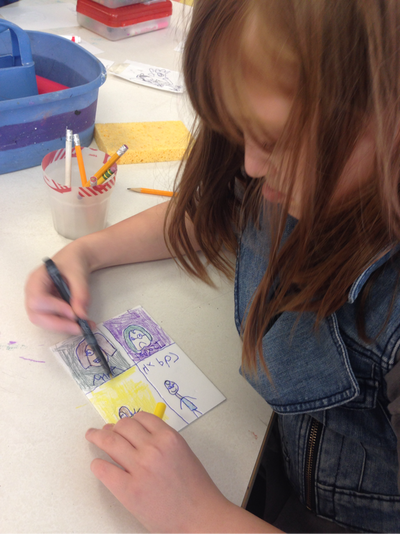
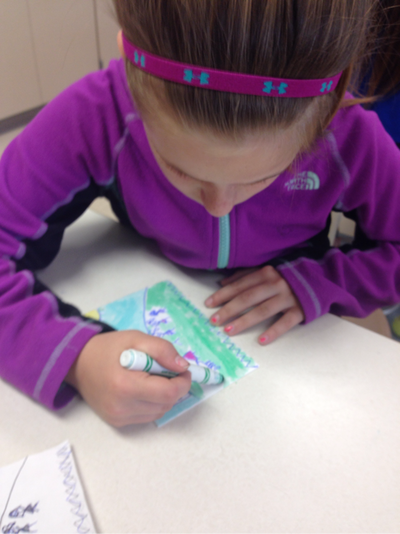
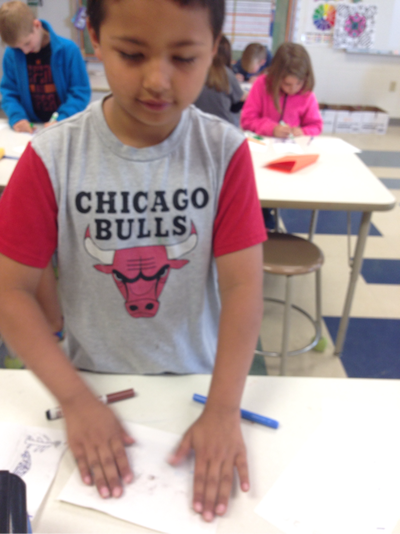
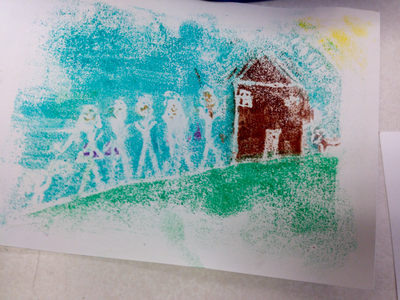
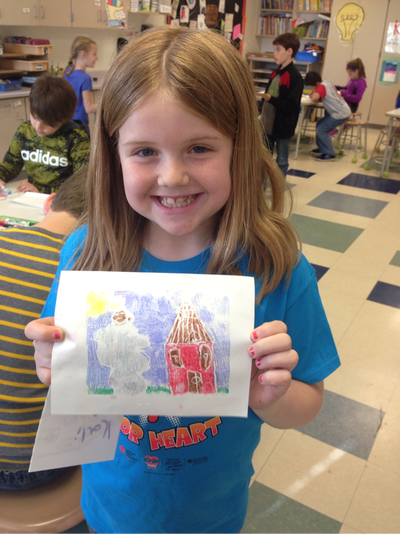
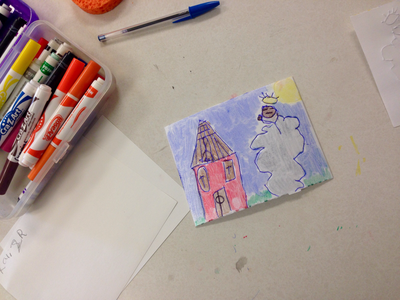
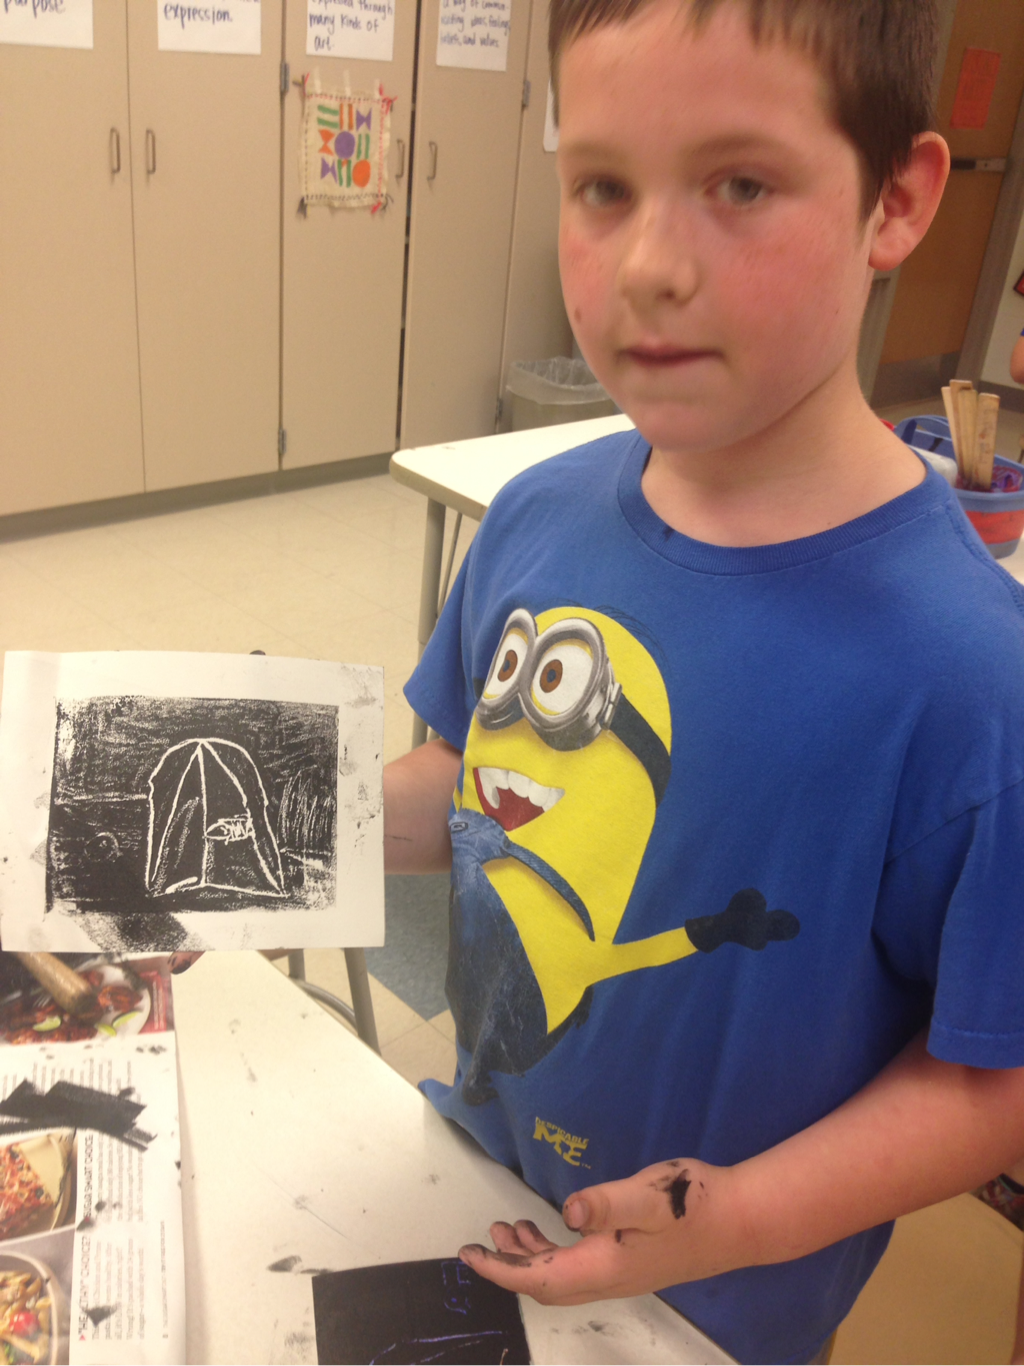
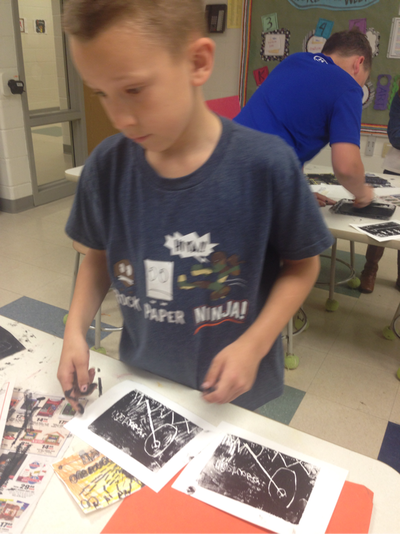
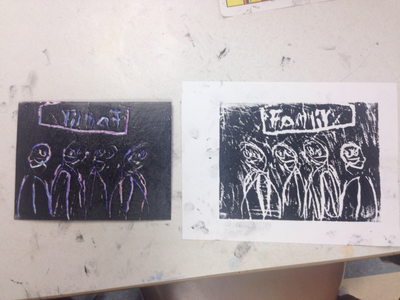
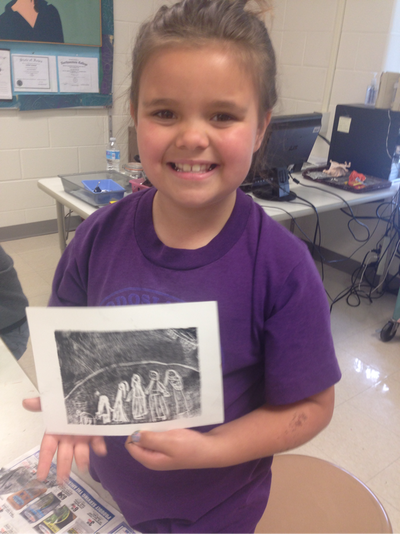
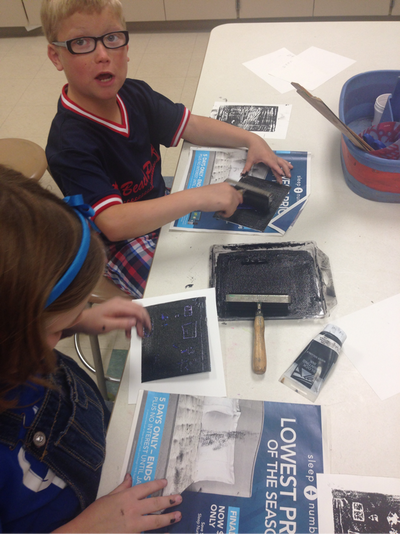
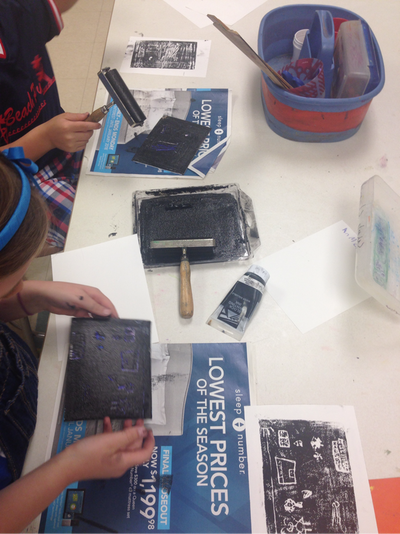
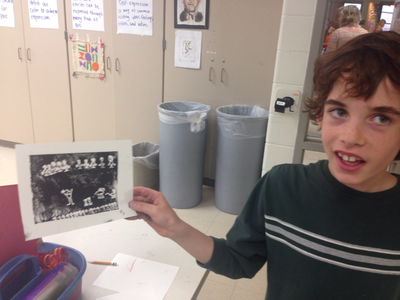
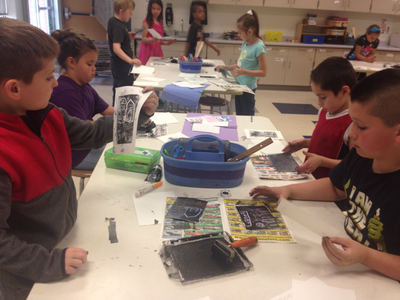
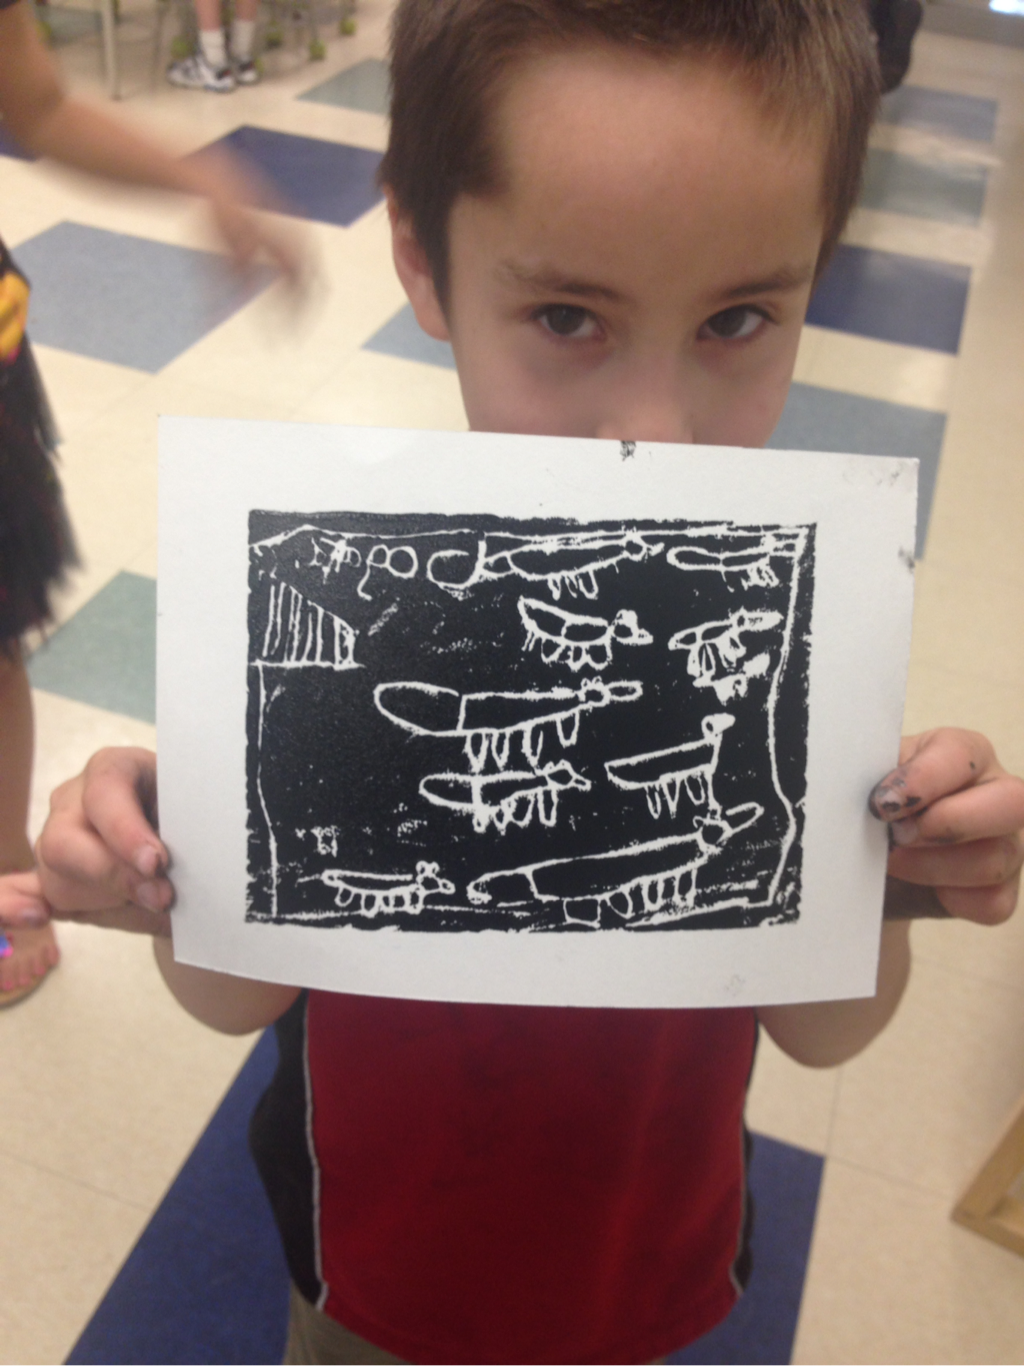
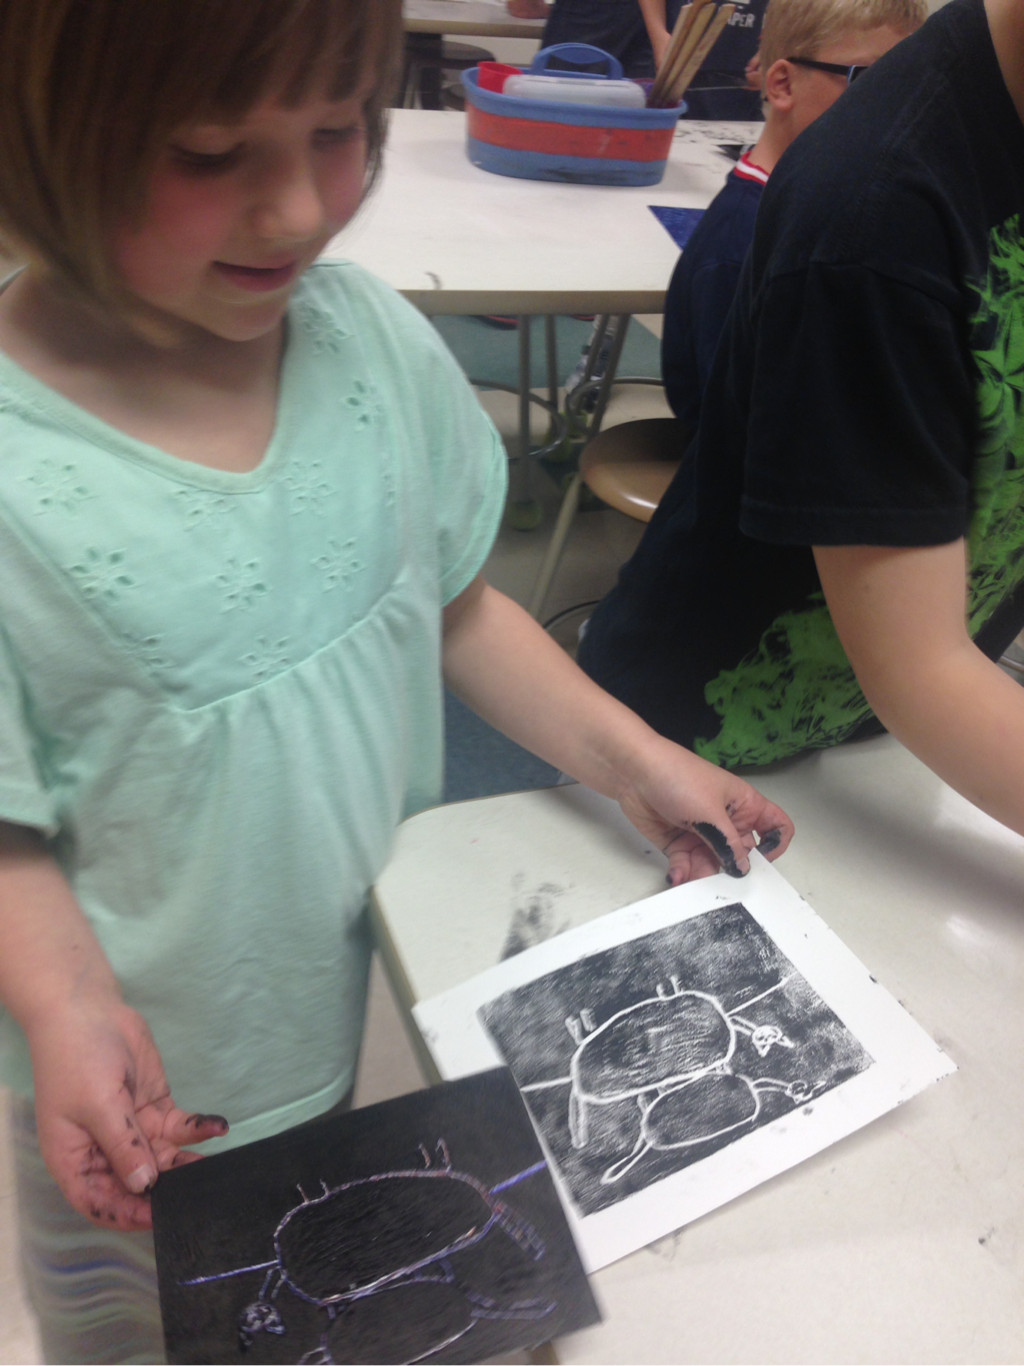
Thankfulness was the topic at a Sunday school event this spring at church. The speaker mentioned that people who purposefully think of things they are grateful for are more successful and healthy. Students that are thankful perform better in school. I immediately began brainstorming a project I could do at school to encourage my kiddos to be more thankful. The 2nd graders were ready for another project and, because we hadn't explored printmaking yet, we created "Grateful for" prints!
0 Comments
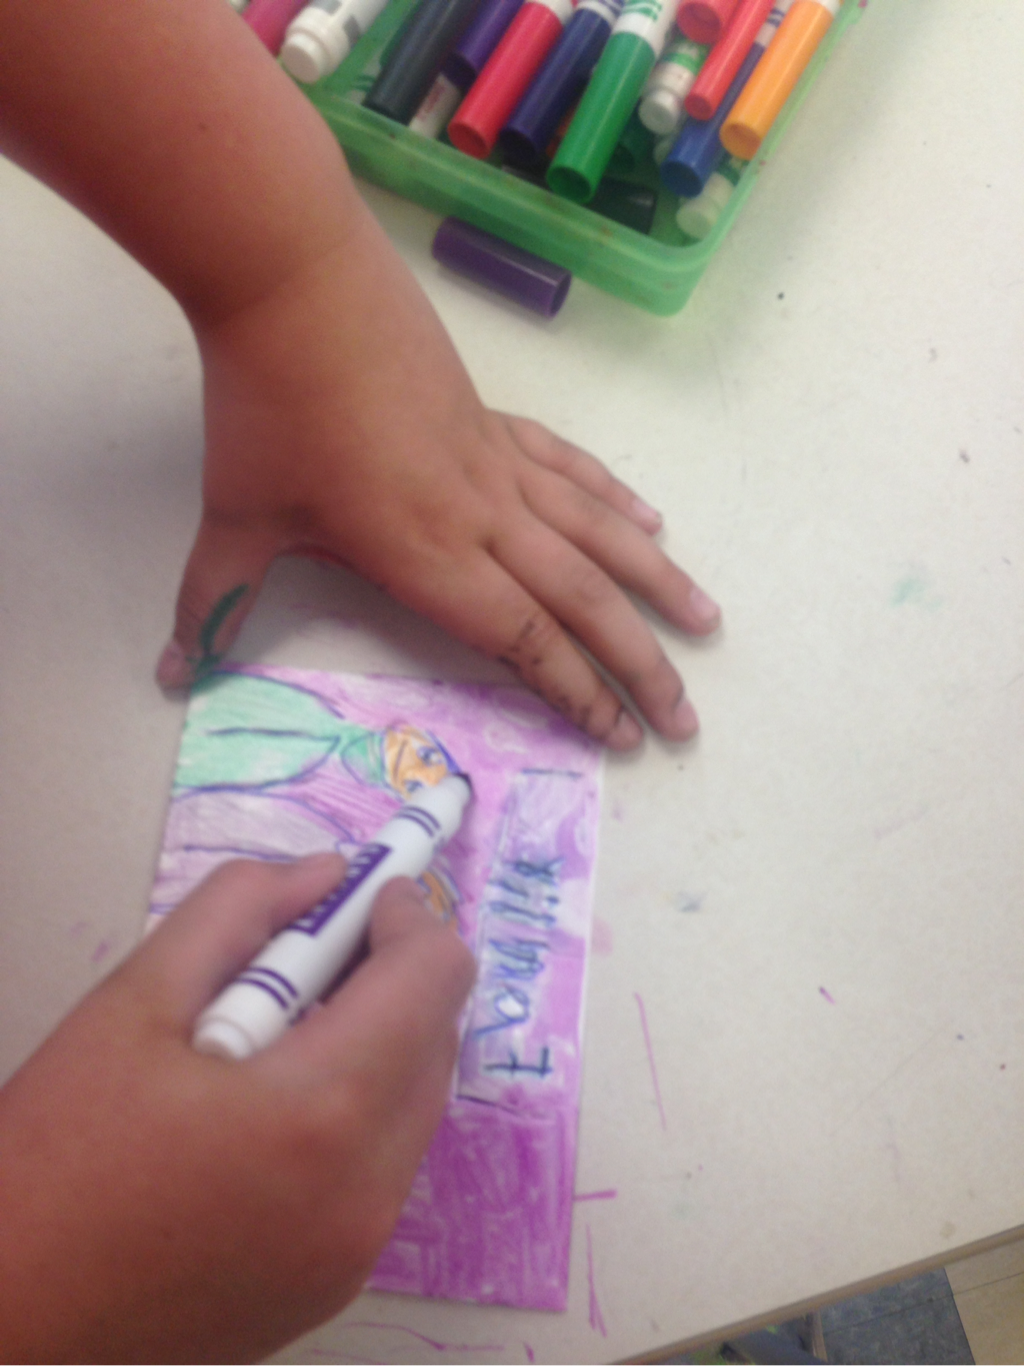
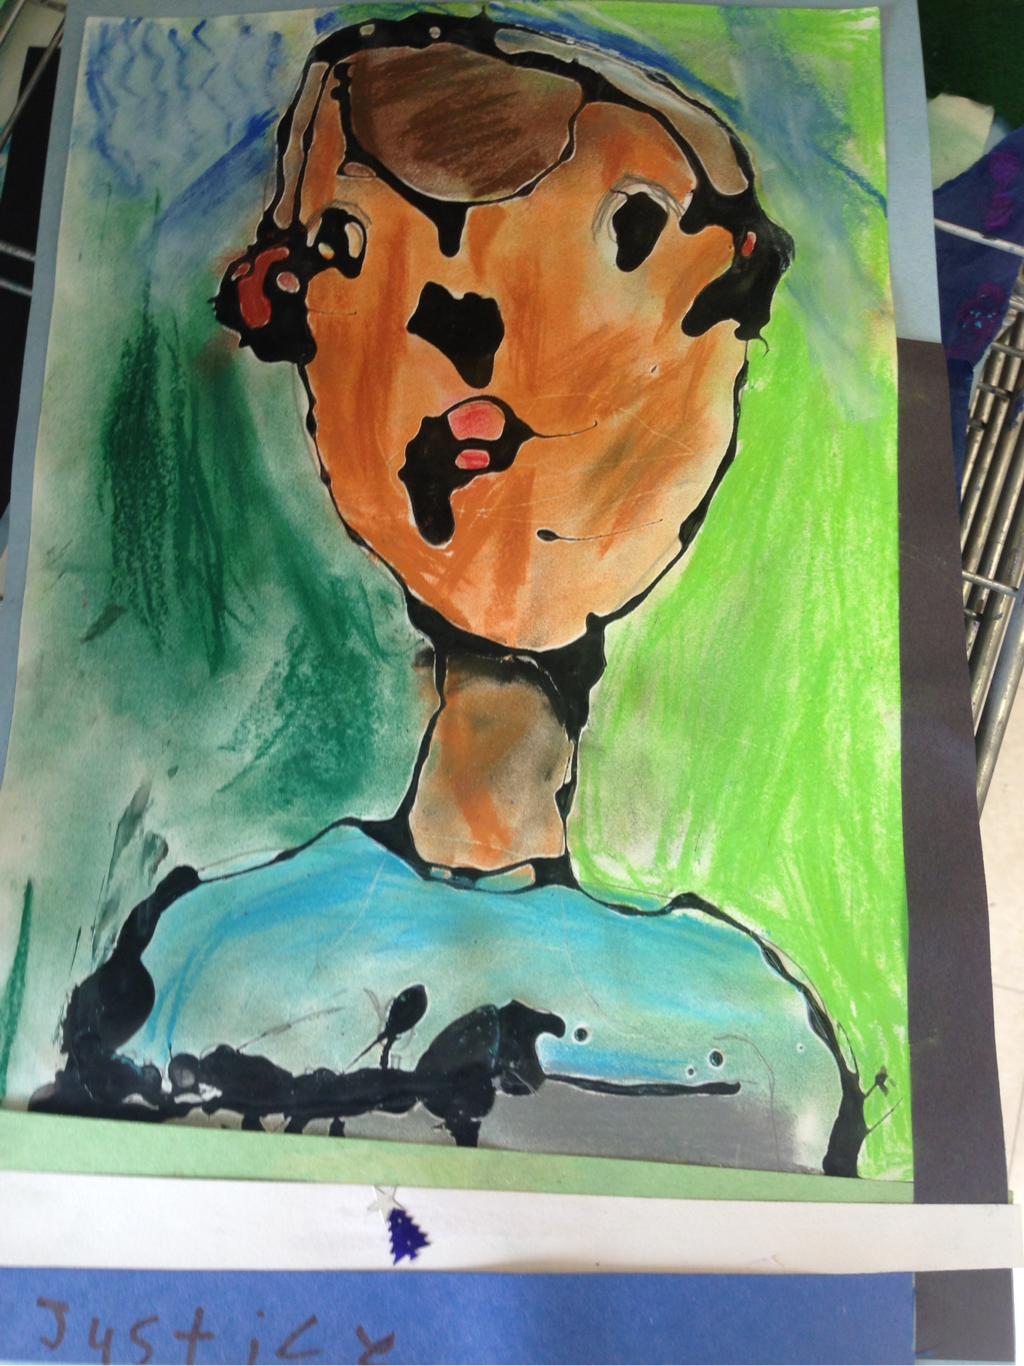
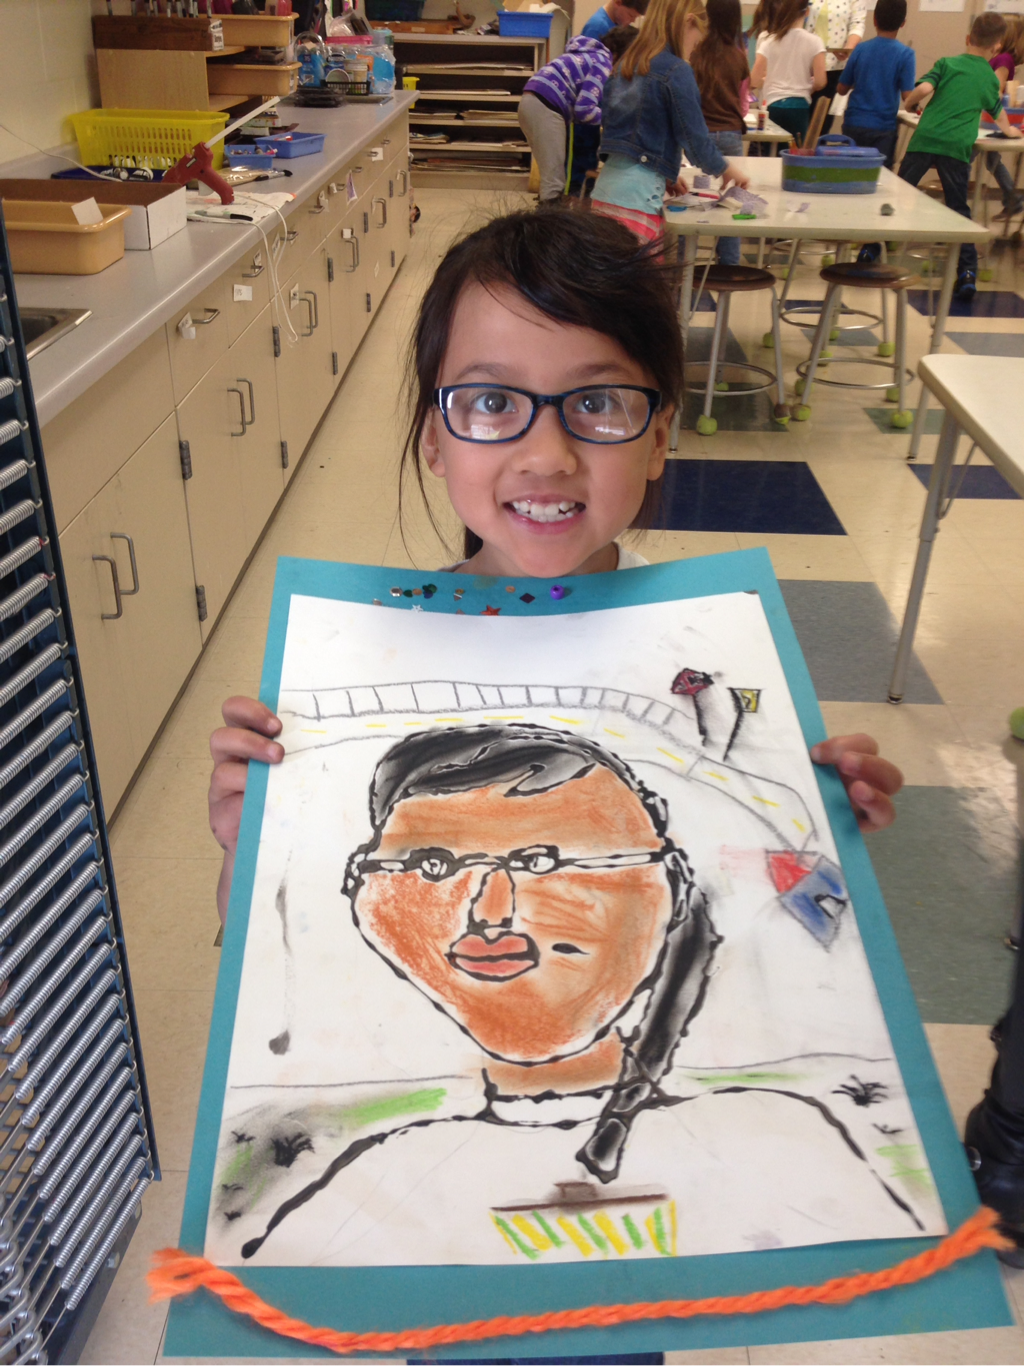
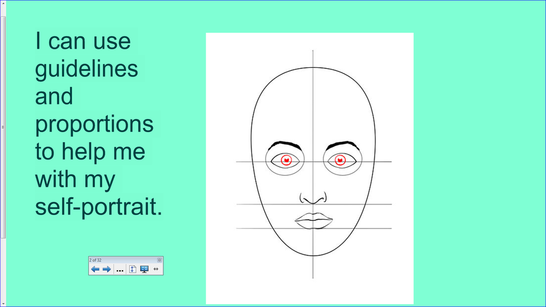
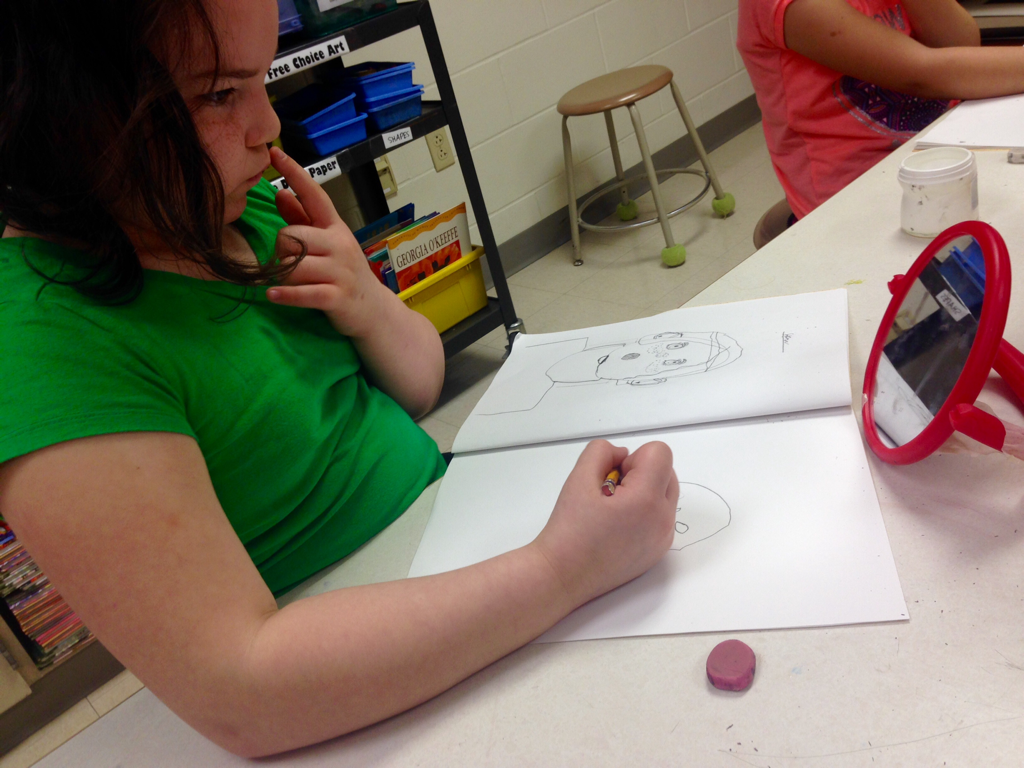
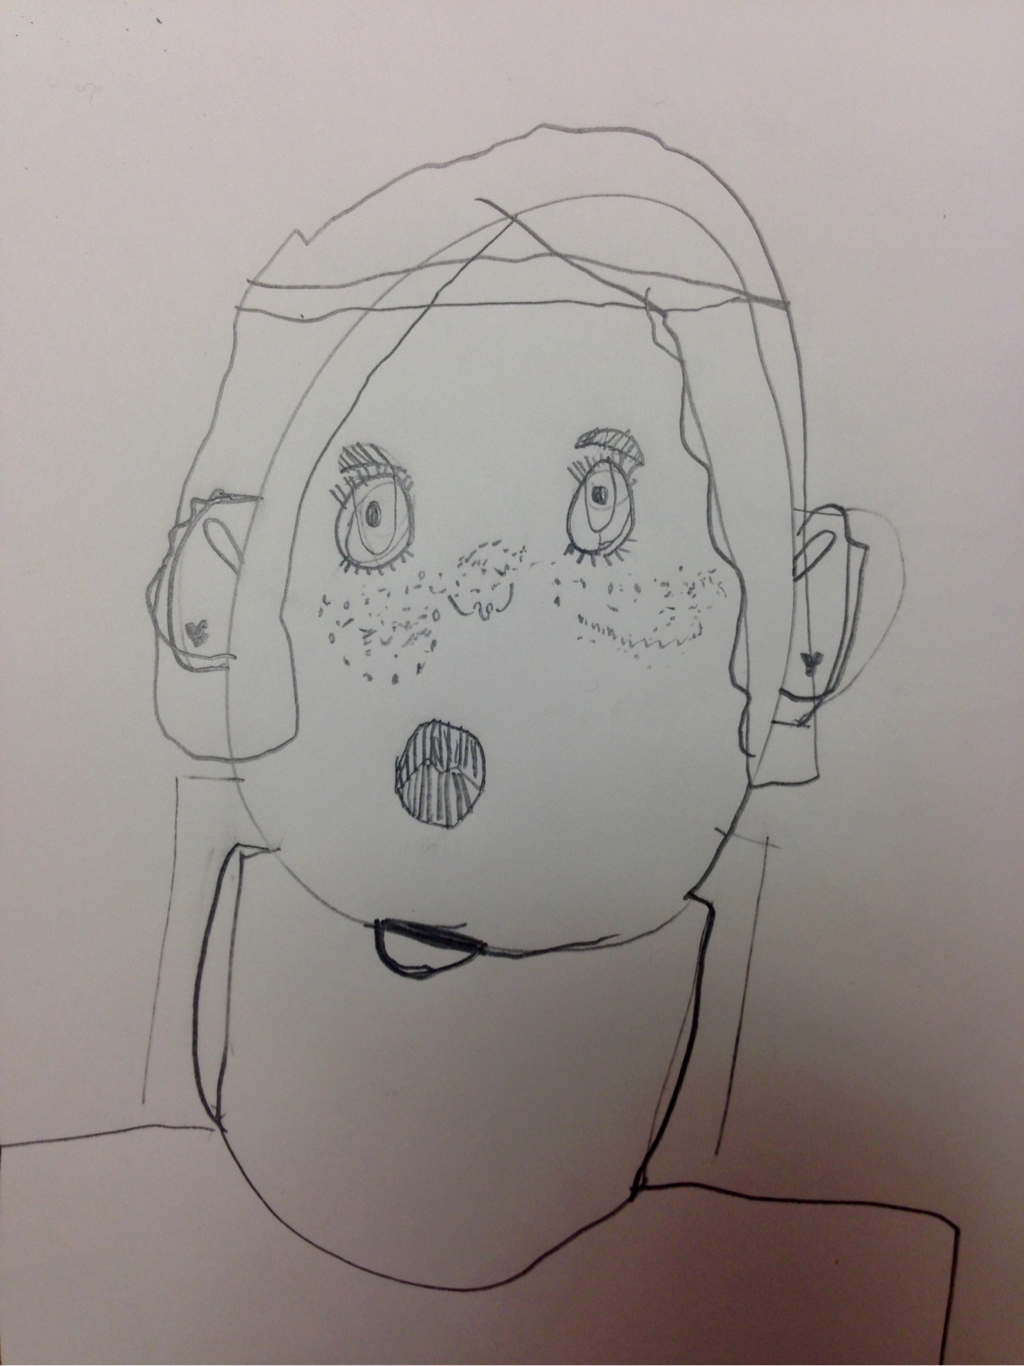
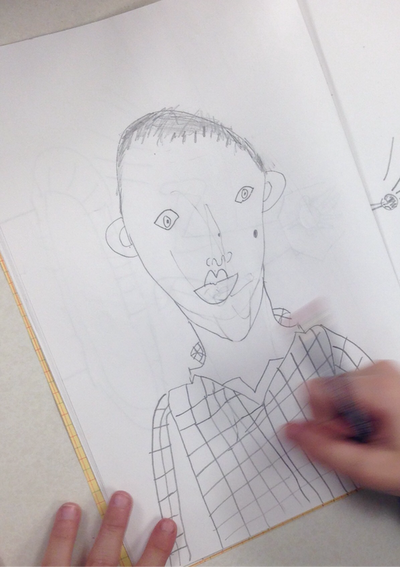
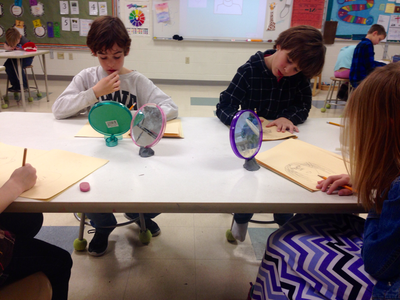
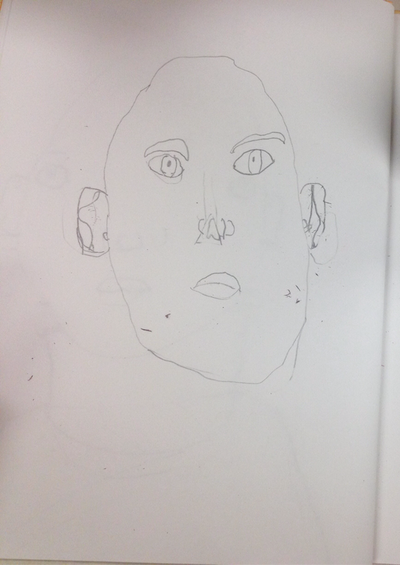
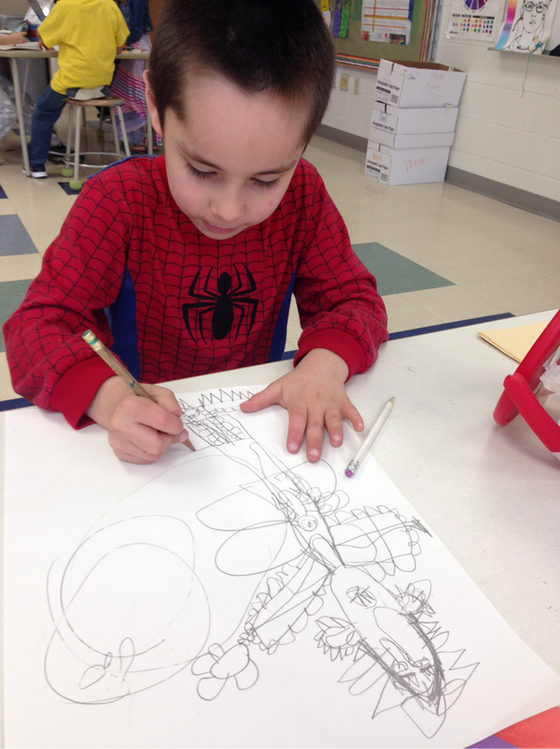
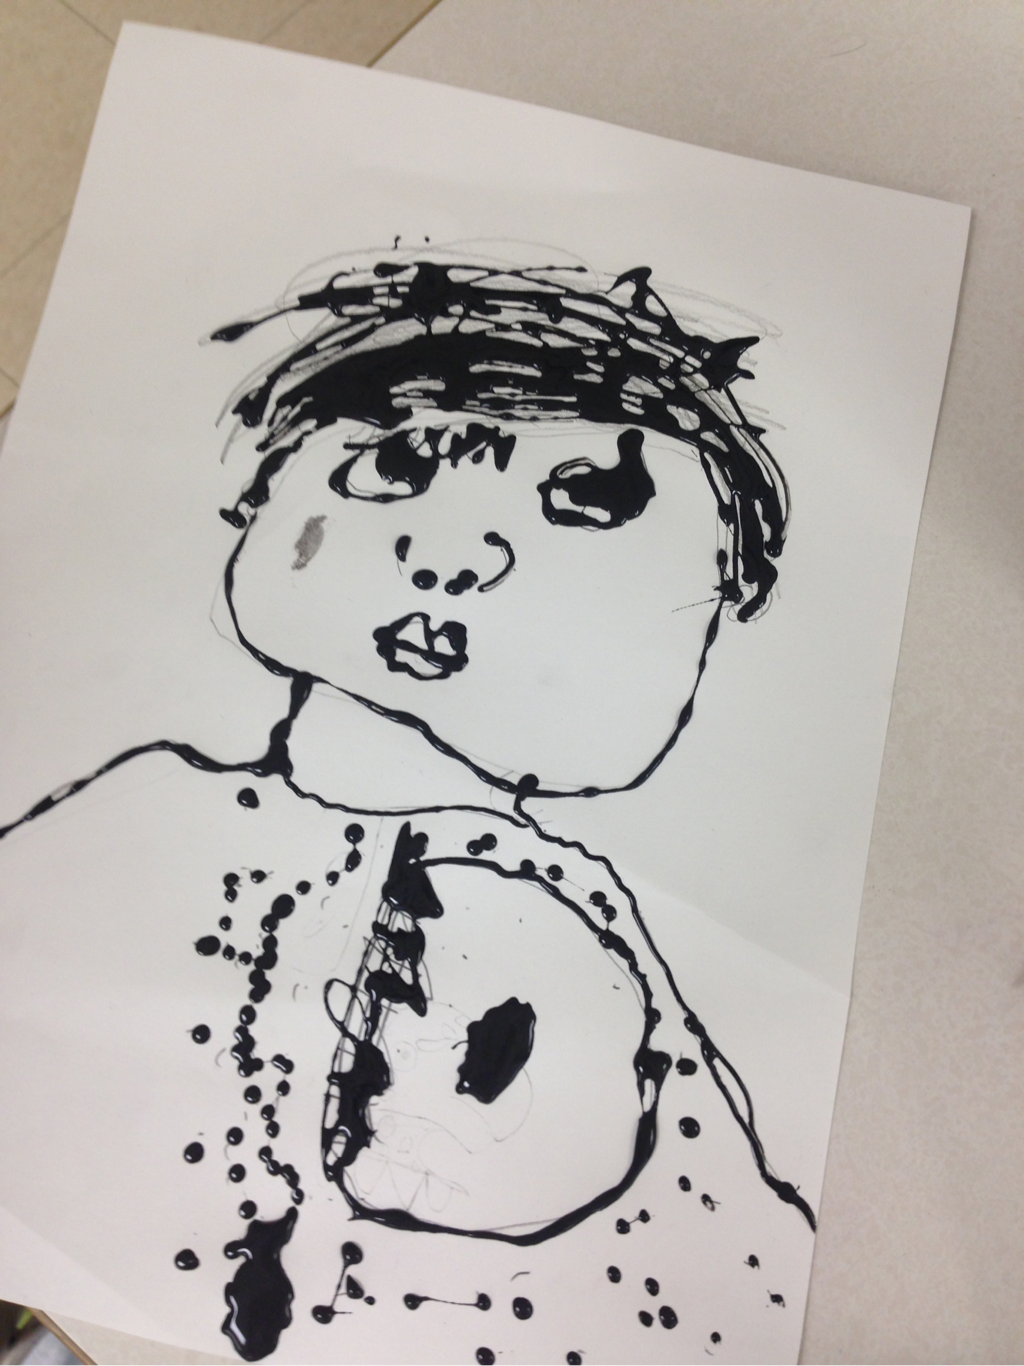
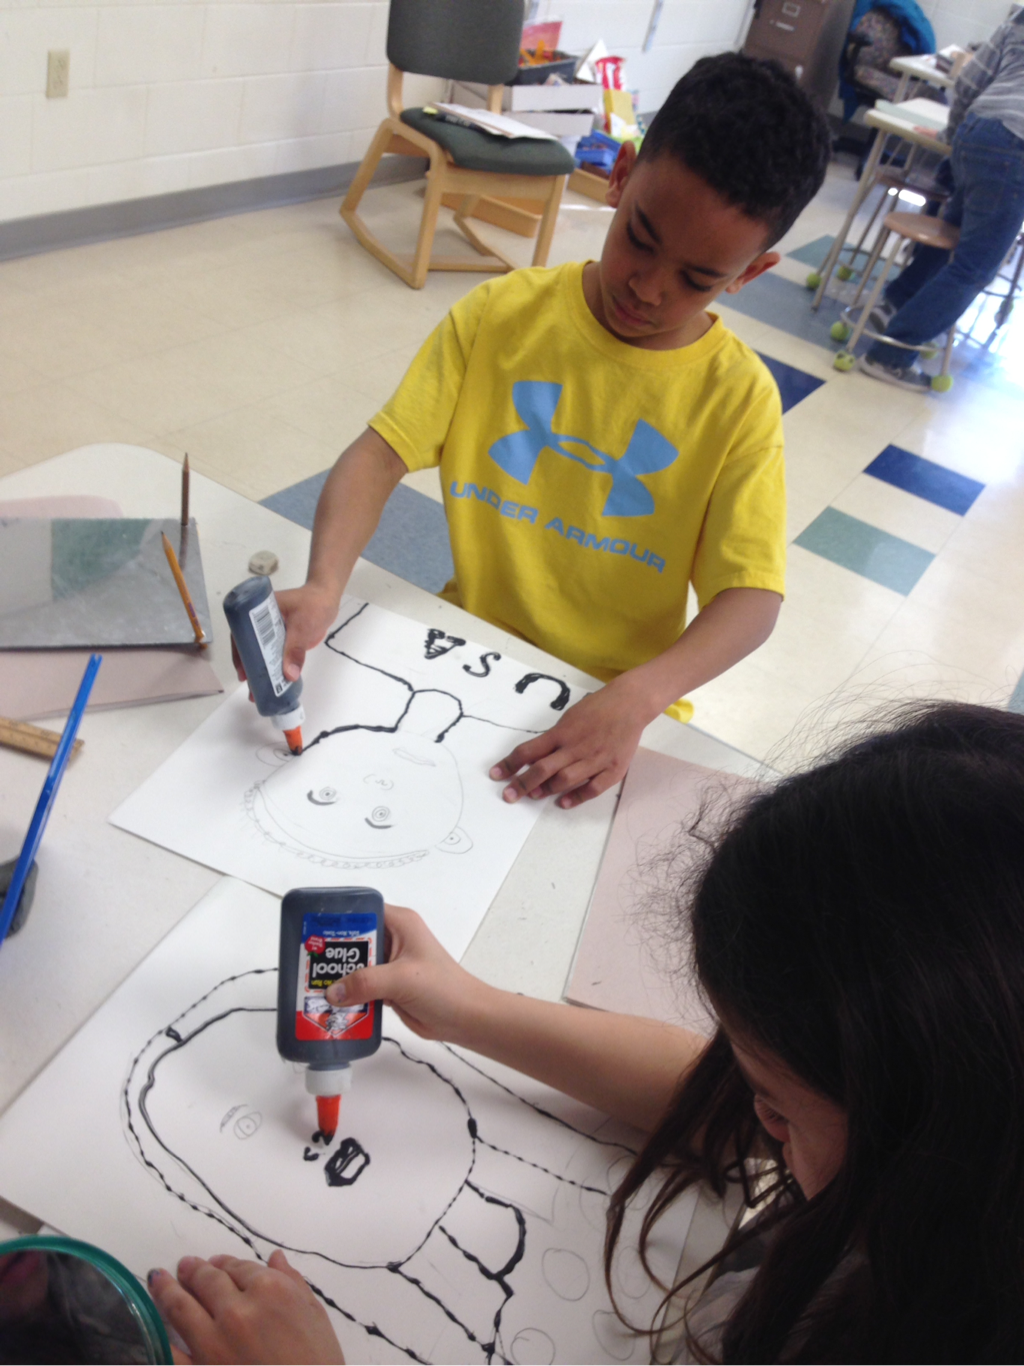
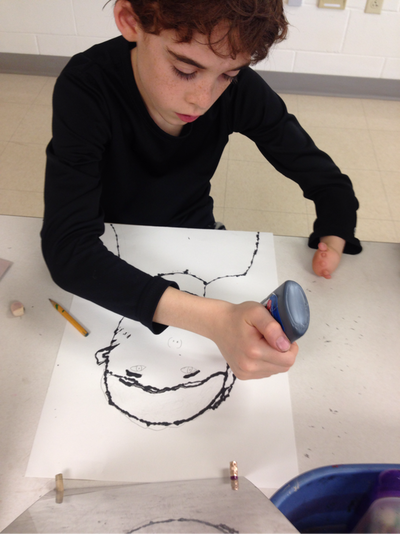
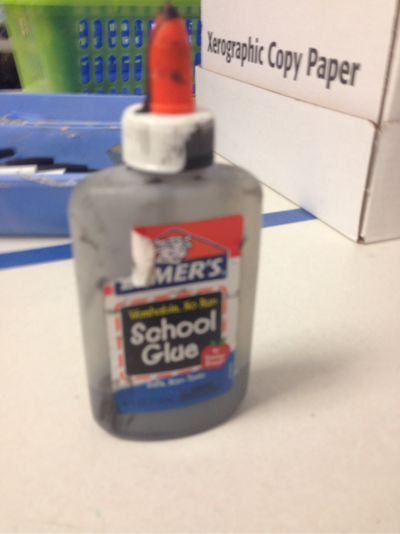
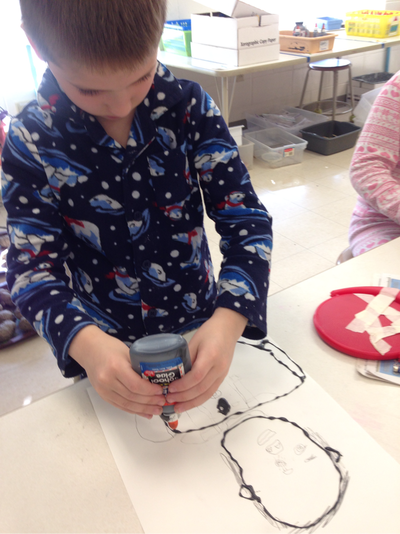
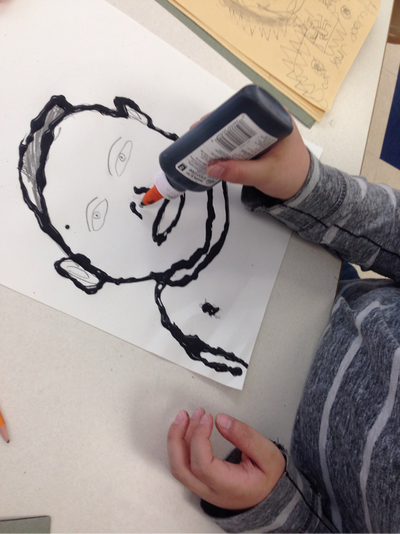
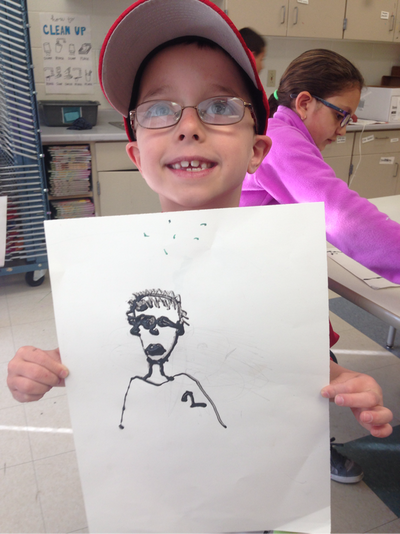
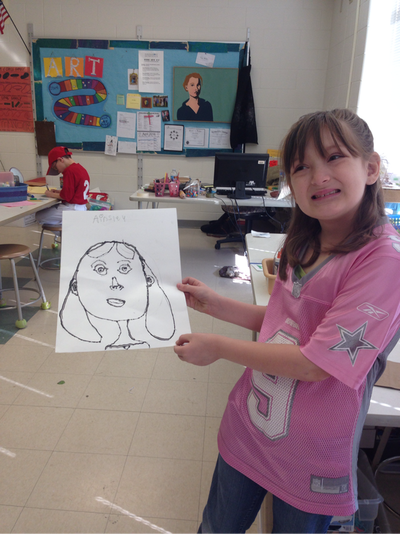
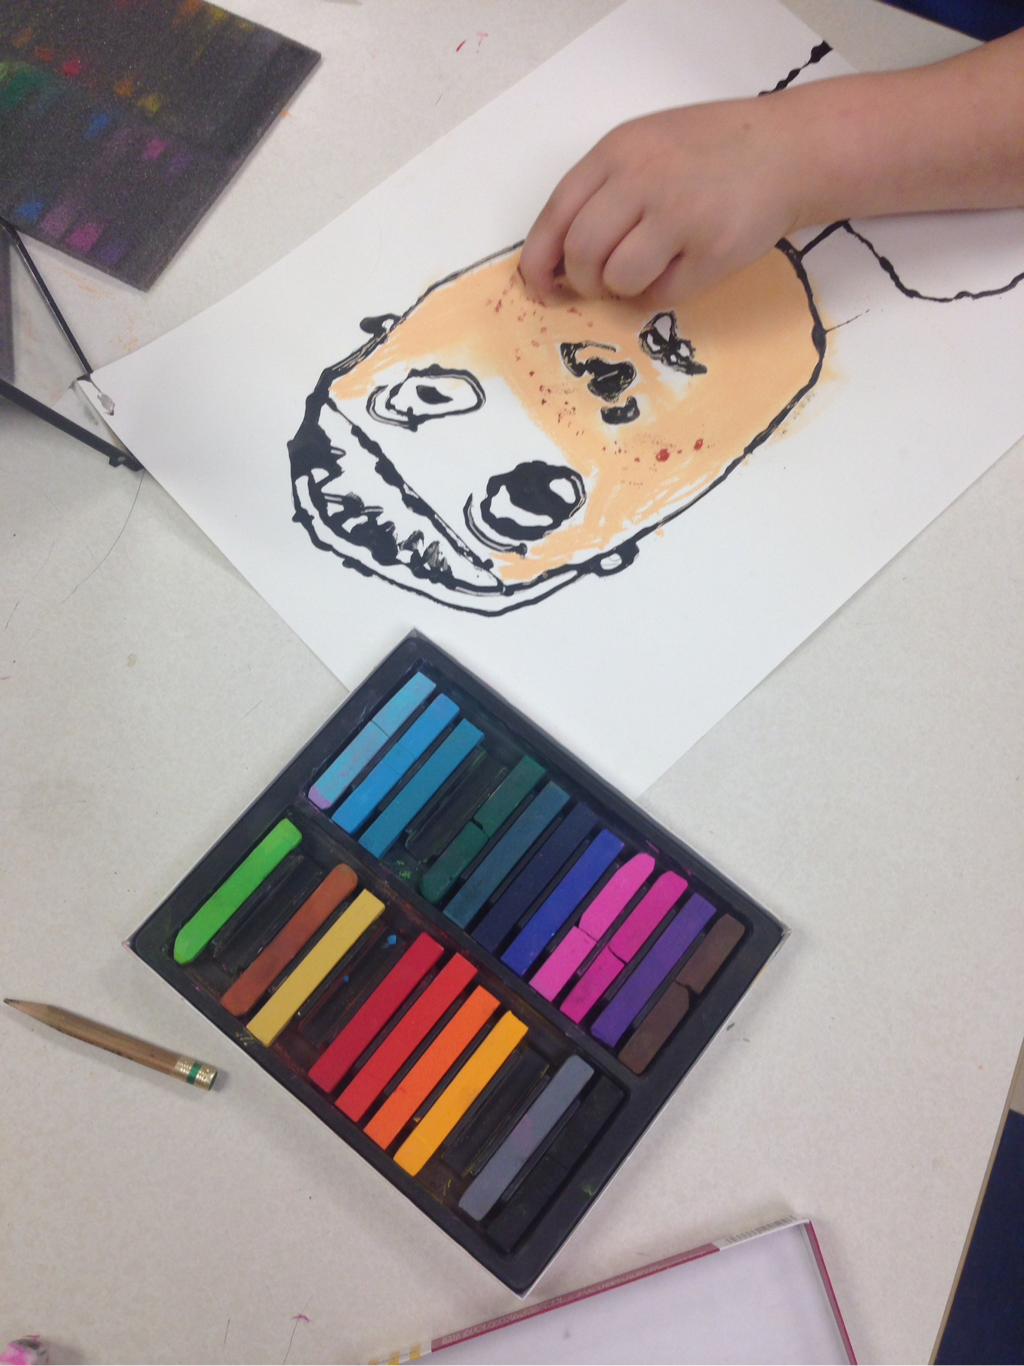
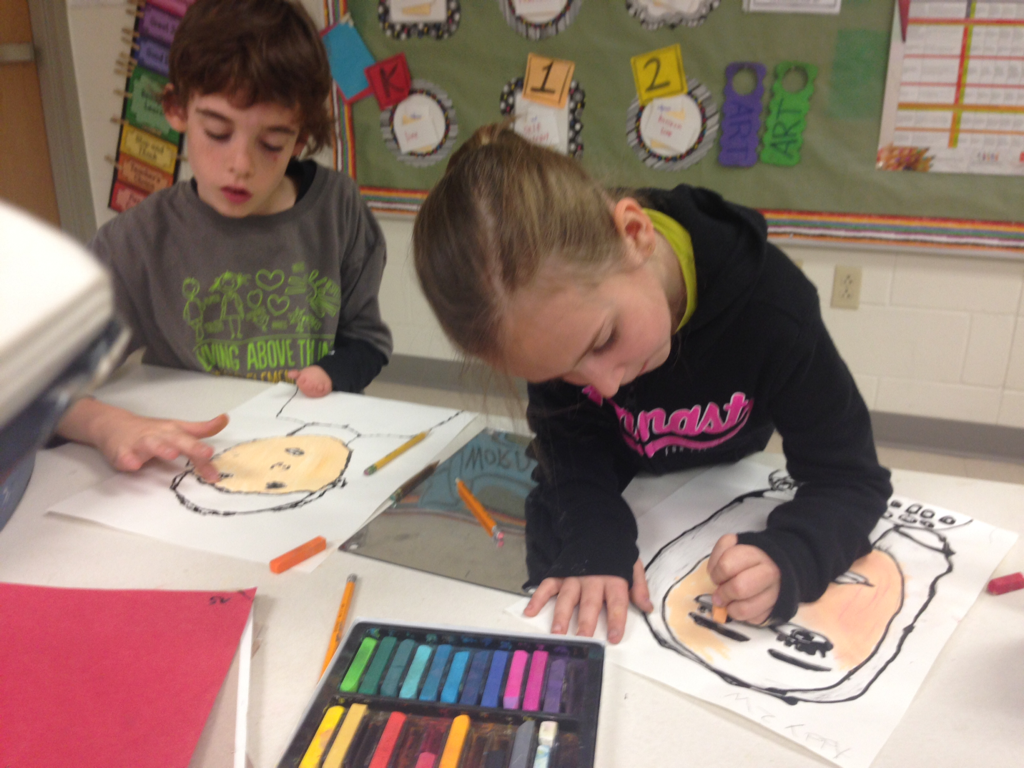
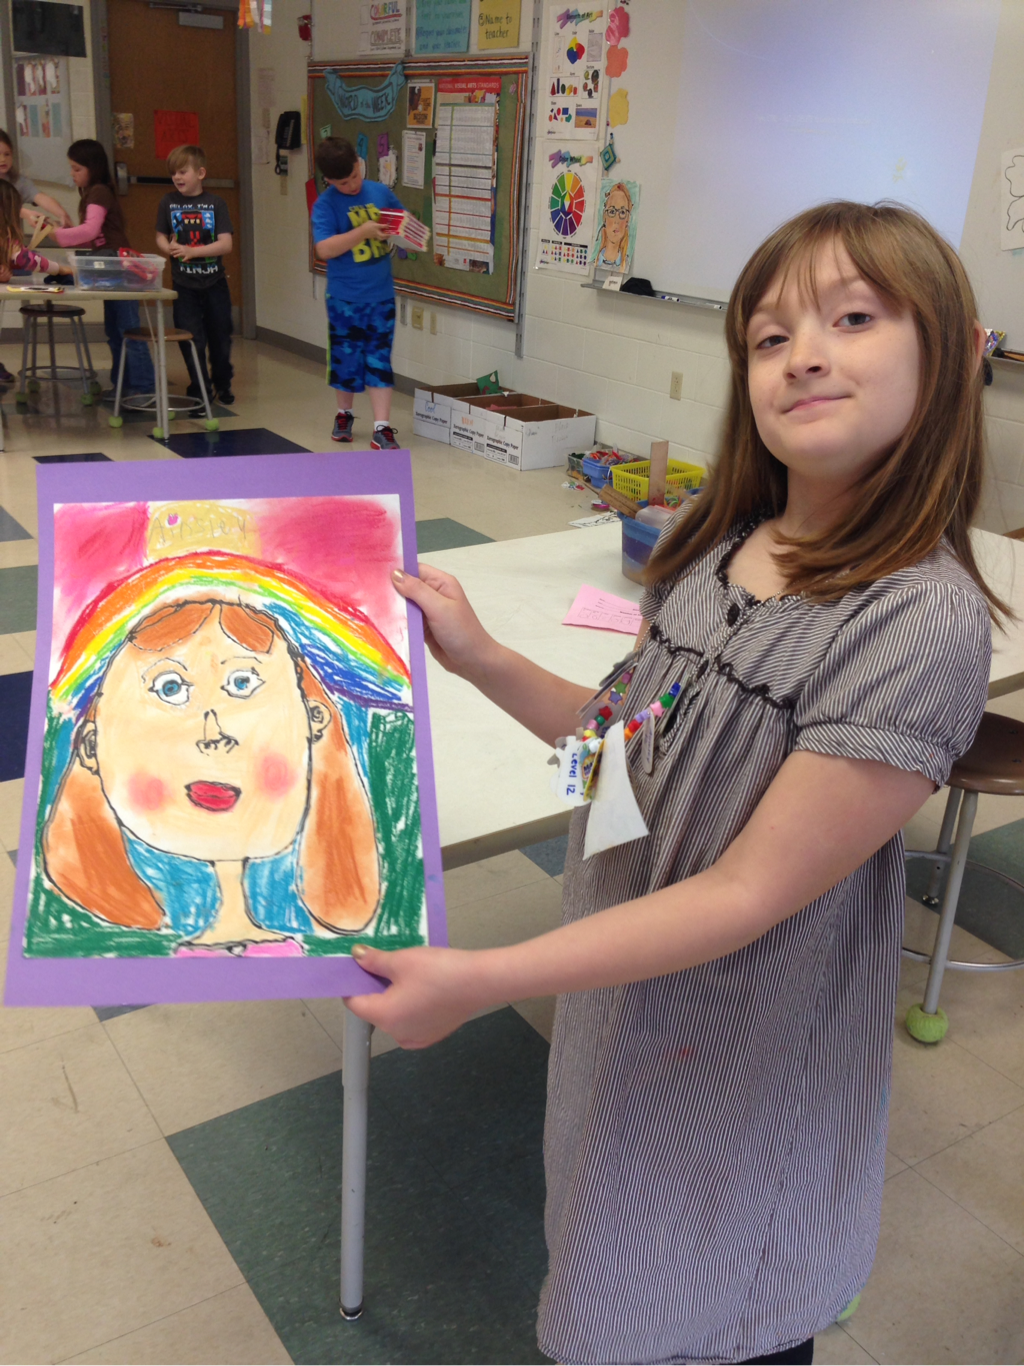
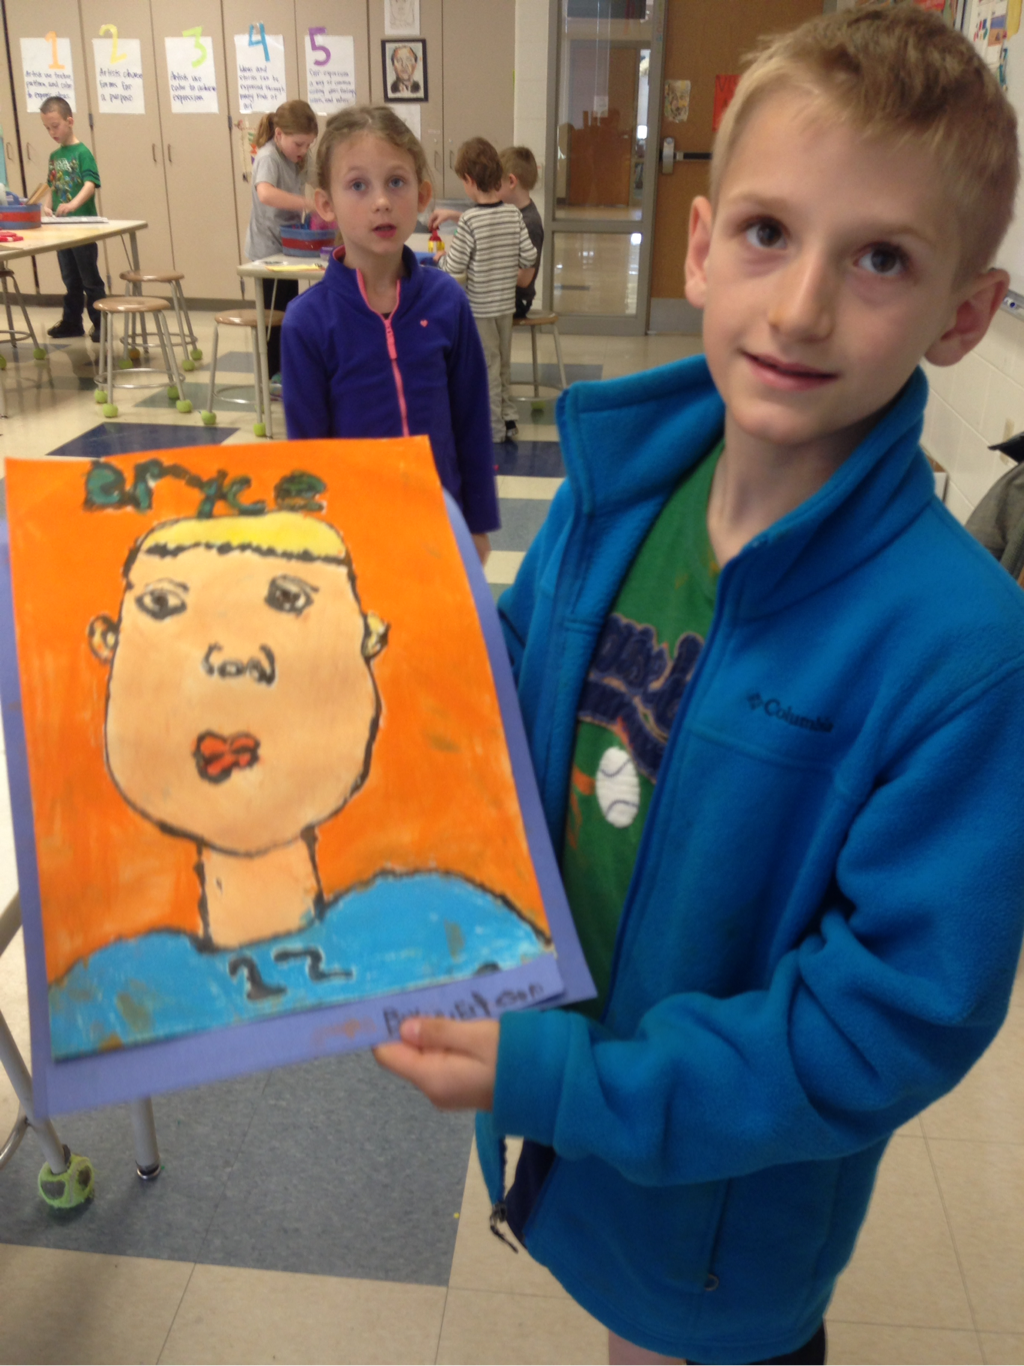
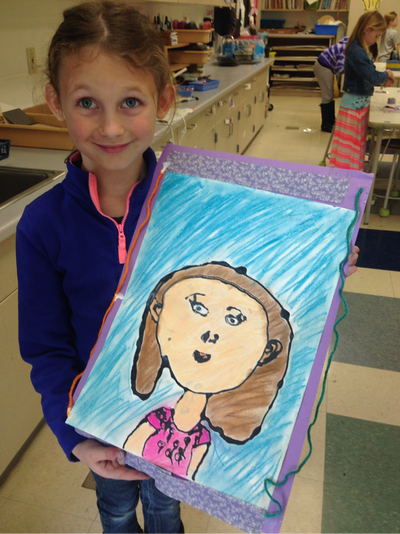
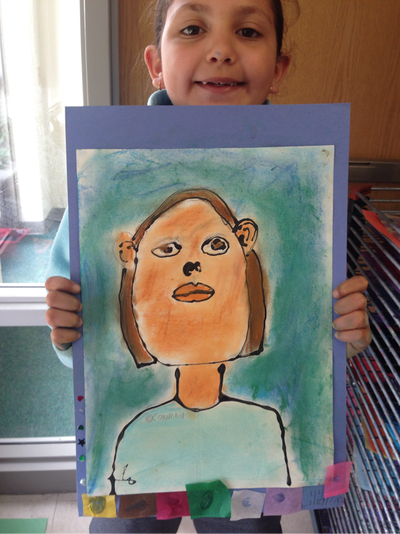
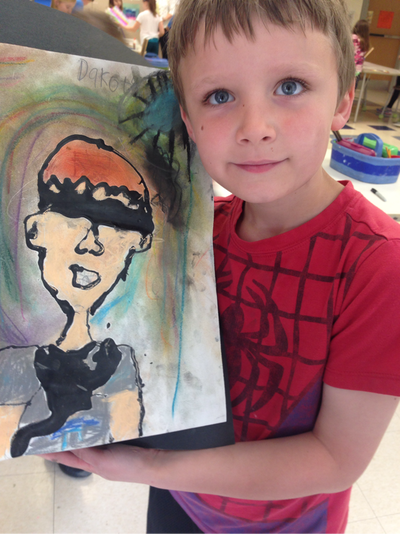
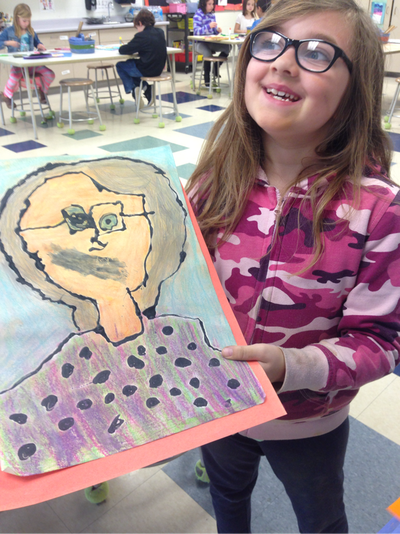
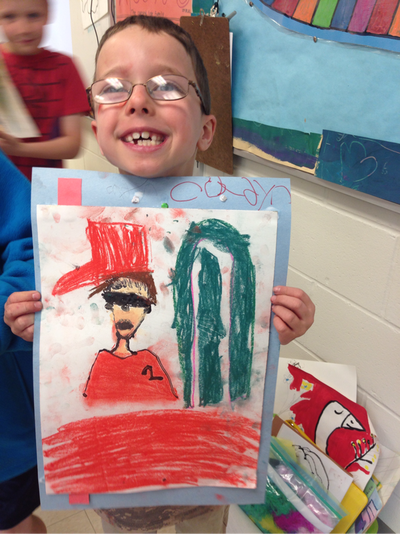
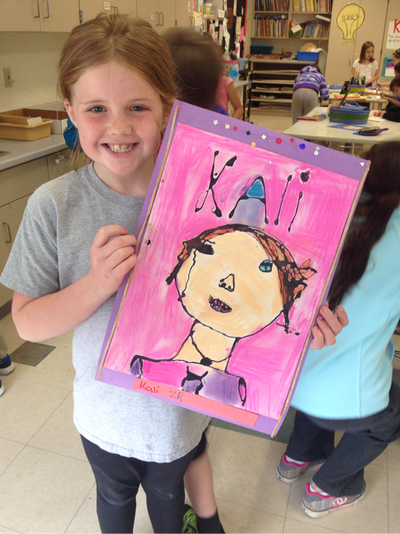
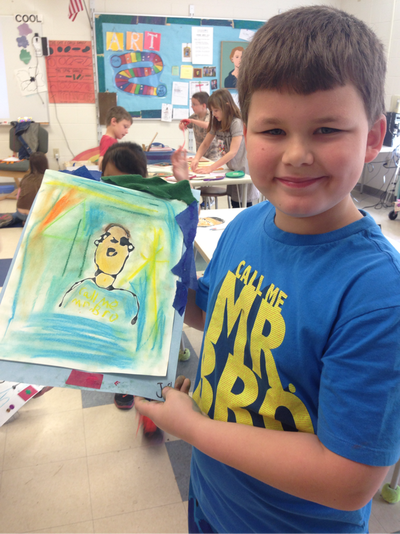
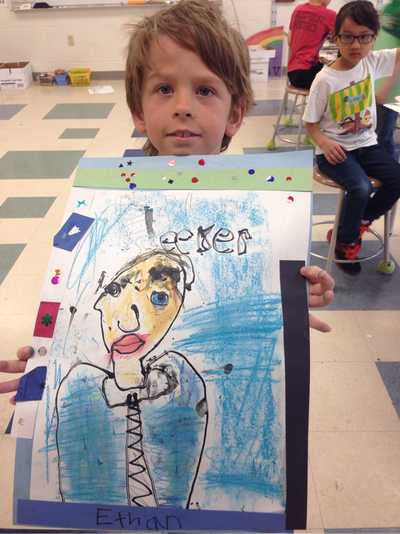
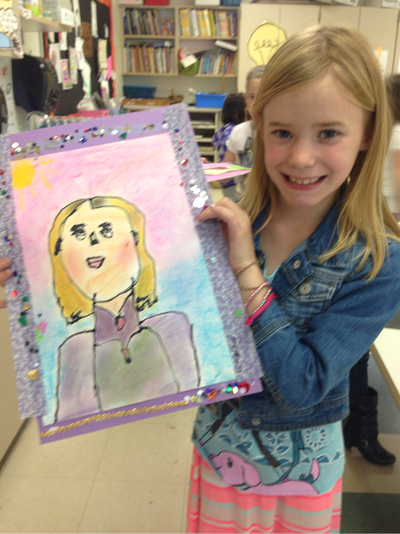
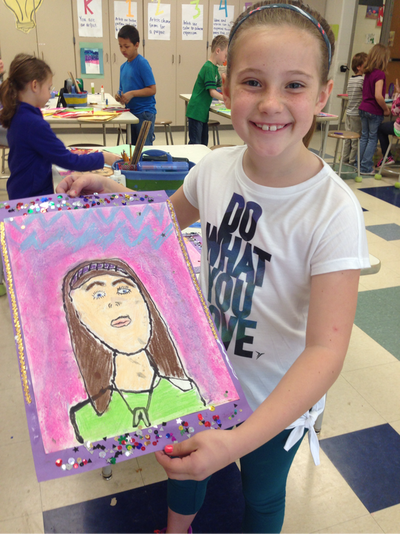
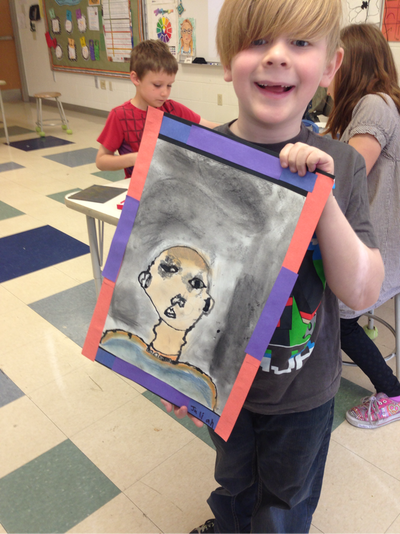
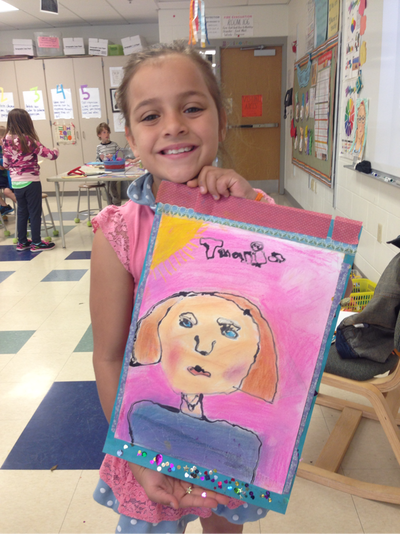
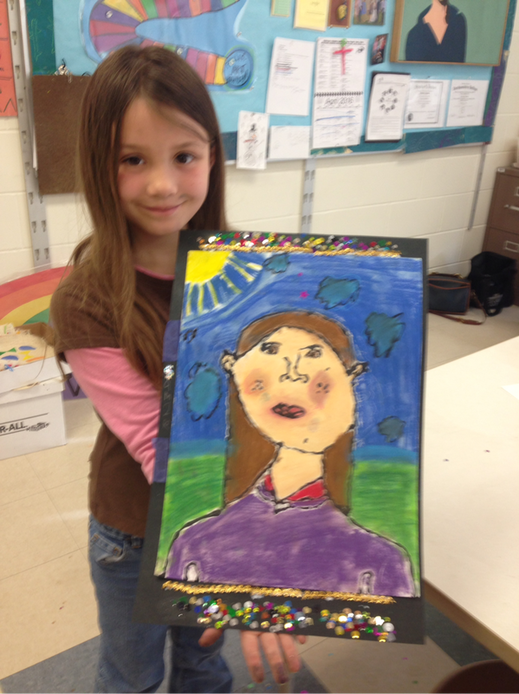
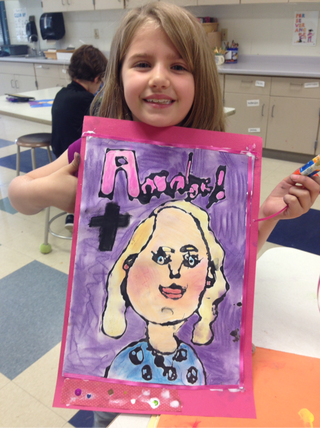
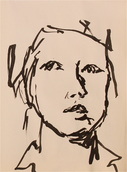
As kids get older, self-portraits can become more and more frustrating. They so badly want their drawing to show likeness and get upset when the nose or the eyes or the hair just isn't looking right! A few of us experienced some frustration and confusion but we must remember: confusion is a natural and necessary part of ALL learning! 1. Learn the proportionsBefore we drew ourselves, we learned how to draw a face using general proportions. We looked at this image I found online and it helped us to see that eyes are halfway down the face and general shapes of the facial features. We practiced in our sketchbook. 2. Practice with a mirrorWe tried a new technique that I learned from star art teacher Cassie Stephens. She posted a video of a technique for drawing a still-life: following the outline of the item one is drawing with one hand and drawing with the other hand at the same time. Synchronized drawing! I thought I'd try it out with the kids for self-portraits. I knew it would be a little more challenging as they would be looking in the mirror and their hands would be further apart, but the kids were SO SUCCESSFUL!! I am so proud of them. 3. Earn three taps and draw BIGGEROnce a student had a successful practice portrait in their sketchbook, they raised their hand. If I saw something they could change or add, I made a suggestion. If they were ready for the BIG paper, I tapped my finger three times on their drawing--this was the signal to go to the art supply store table and get the BIG paper. They drew another portrait on this paper, using the drawing techniques they have learned and practiced and using their sketchbook drawing as a reference. 4. Black glueThe next step involved something the kids had never done before: draw with black glue! I mixed this glue using black powder tempera paint, a little water, and Elmers glue. Before we drew on our self-portrait, we practiced on some newspaper. We touched the tip of the glue to our paper and drew slowly. 5. Chalk PastelSince the artists had already used chalk pastels this year, we just did a quick chat on how to blend the colors, how to bring a little red to our lips and cheeks without looking like a clown, and how to use multiple colors in our hair to show dimension. The kids still referenced the mirrors to help them choose realistic colors. 6. Frame!Artists share their artwork! I usually have the artists frame their artwork and this time I also set out sequins (only a few ended up on the floor!), paper, tissue paper, and ribbon. They love embellishing the frame to bring even more personality to their artwork.
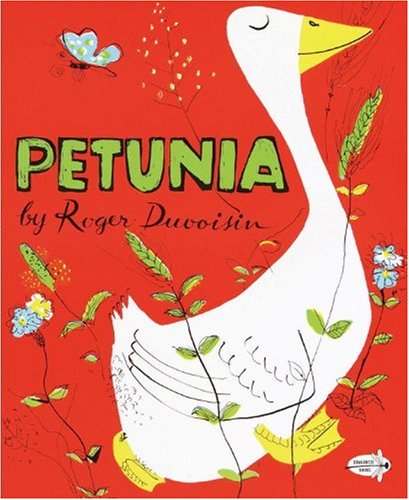
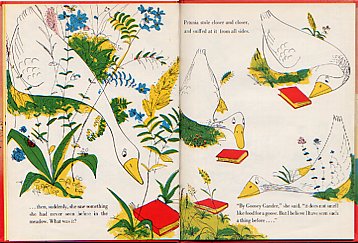
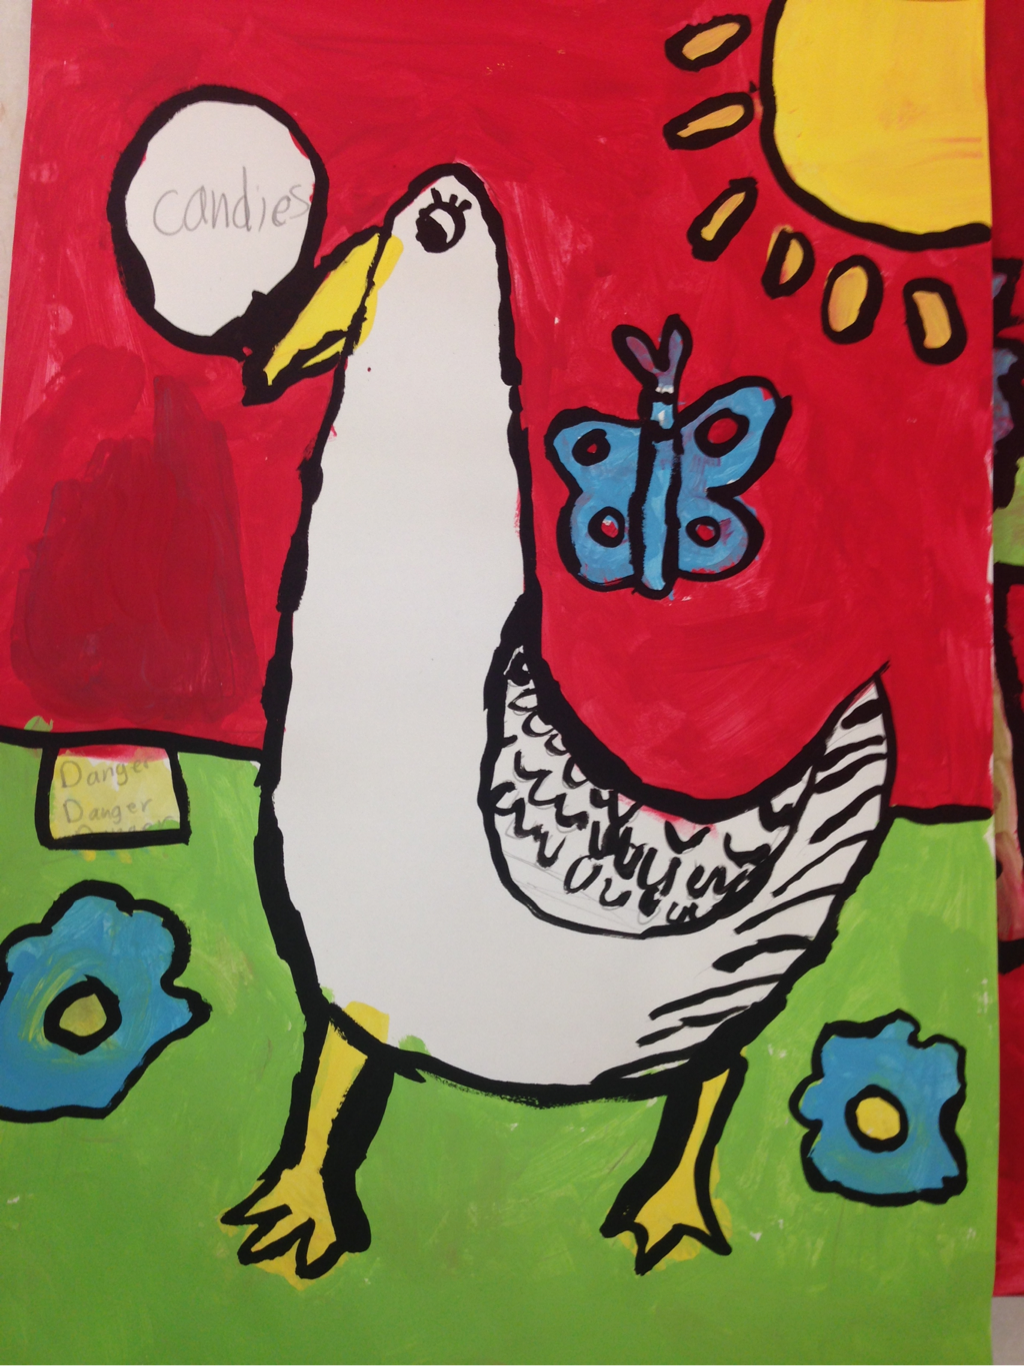
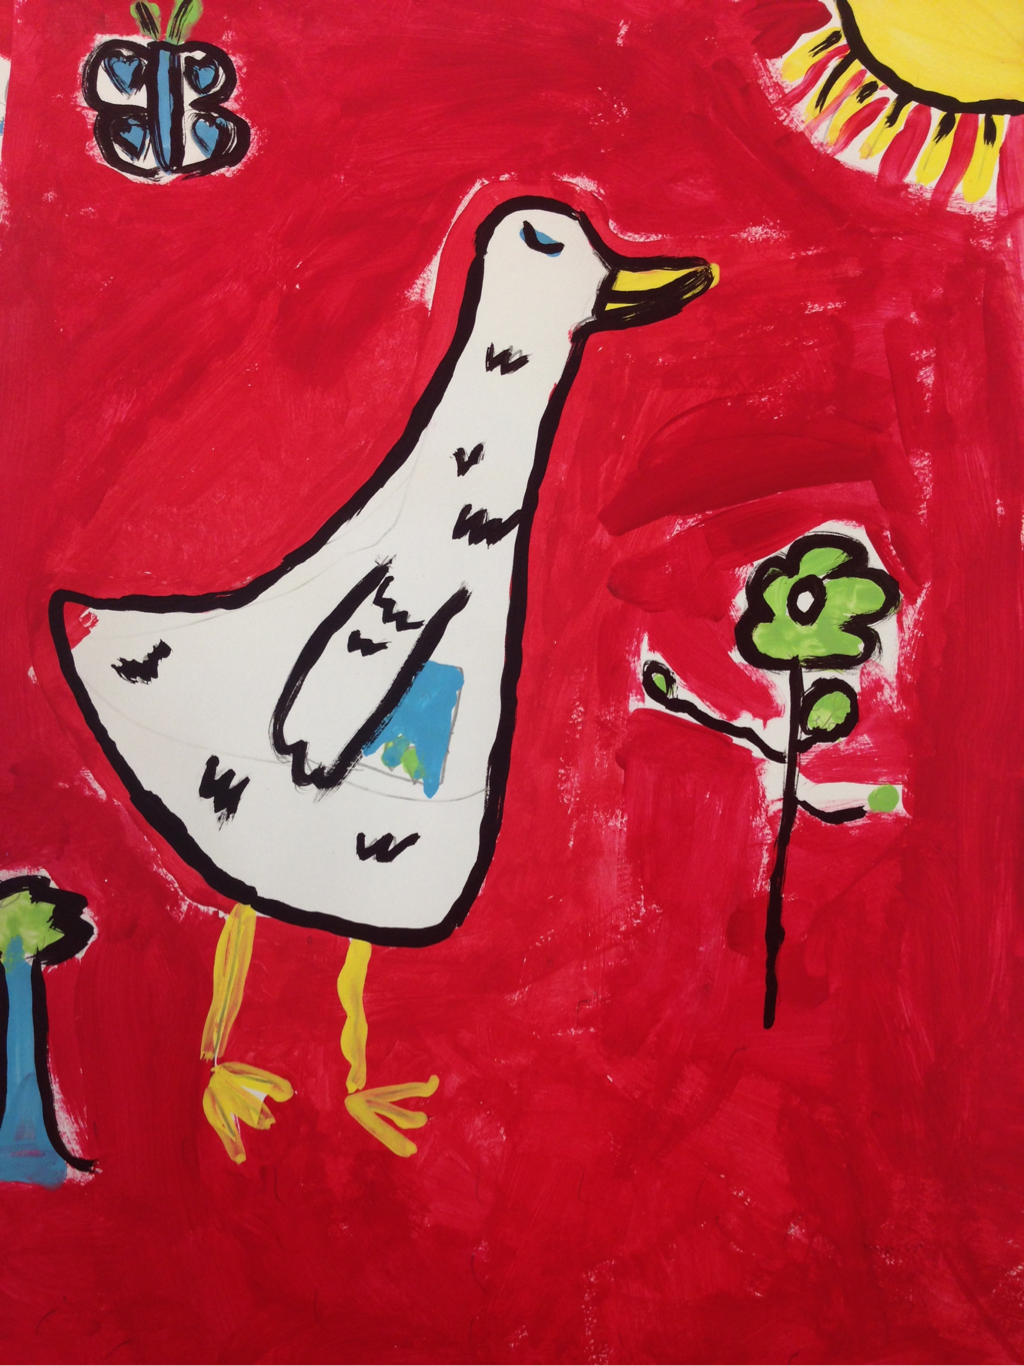
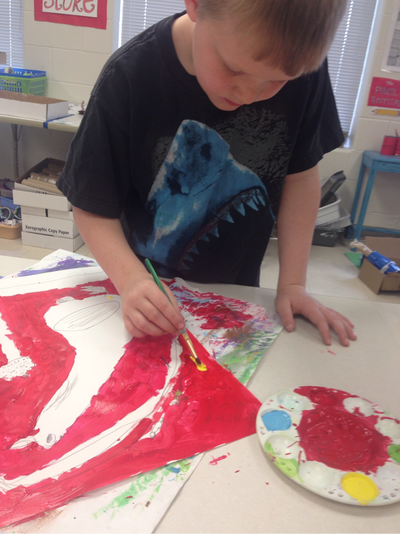
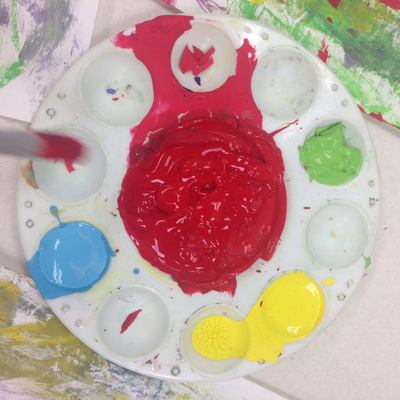
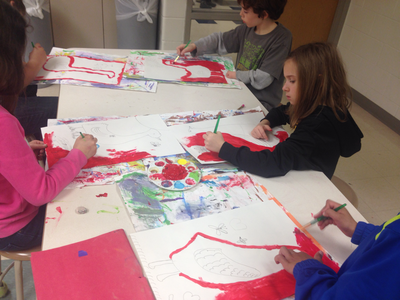
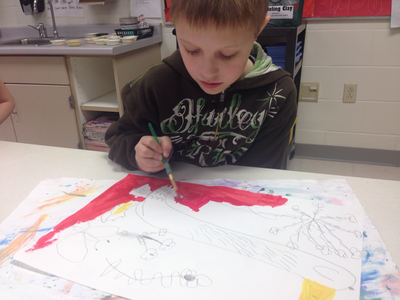
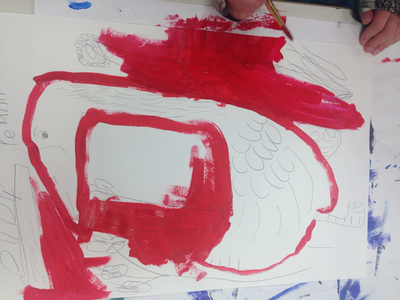
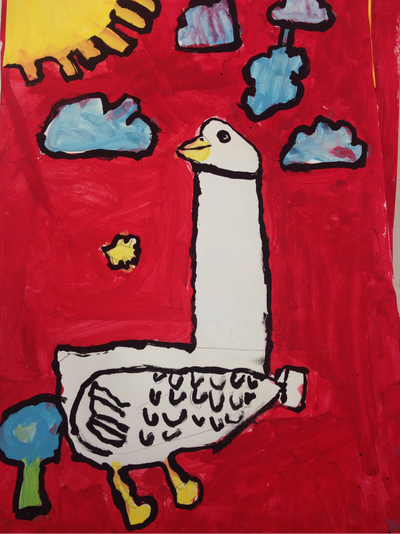
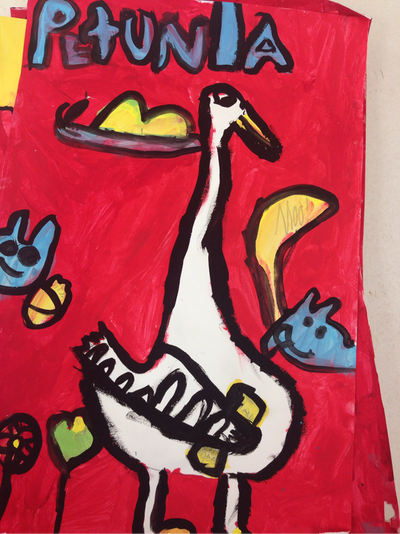
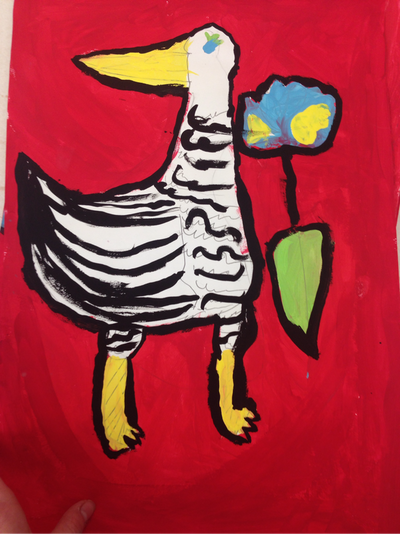
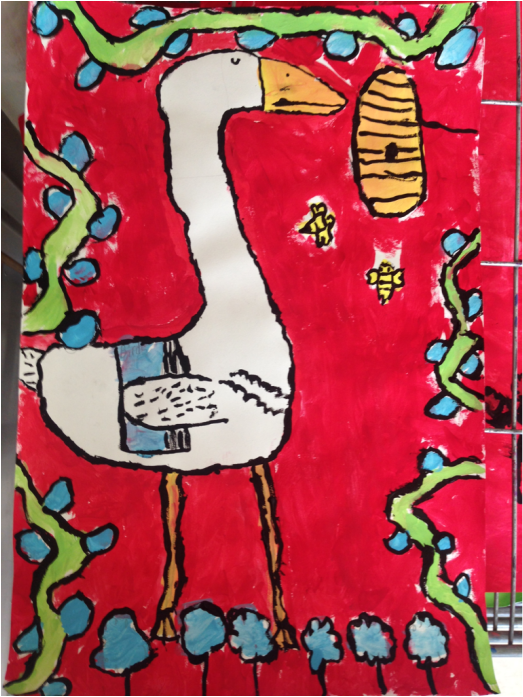
The first day of spring was March 20. These "Petunia" paintings were quick, fun pieces to get us in the mood for spring! Now all we need is the warm spring weather to stay:) After a quick chat about seasons and the first day of spring, we read "Petunia" by Roger Duvoisin. This book is about a silly goose named Petunia who thinks that she is wise because she carries around a book. She provides poor advice to the other animals on the farm and is humbled when many of the farm animals, including her, get hurt in an accident provoked by her advice. She realizes that one does not obtain wisdom simply by possessing a book; one must READ the book in order to be wise! Listen to "Petunia" here. To begin our artwork, we looked at photographs of a real goose and identified the kinds of shapes and lines that make up the goose. I demonstrated place 3 dots on the paper to map our the drawing: one dot for the head placement, 2 dots for the placement of the feet. Students practiced drawing a goose in their sketchbooks and then drew on a larger piece of sulphite paper once they were ready. Bees, butterflies, flowers, books, and other details were added around Petunia. Once the artists decided their pencil drawing was complete, they used red paint to paint their background. Tints (color + white) of blue, yellow, and green were used for details. The last step was to use watered down black paint to outline.
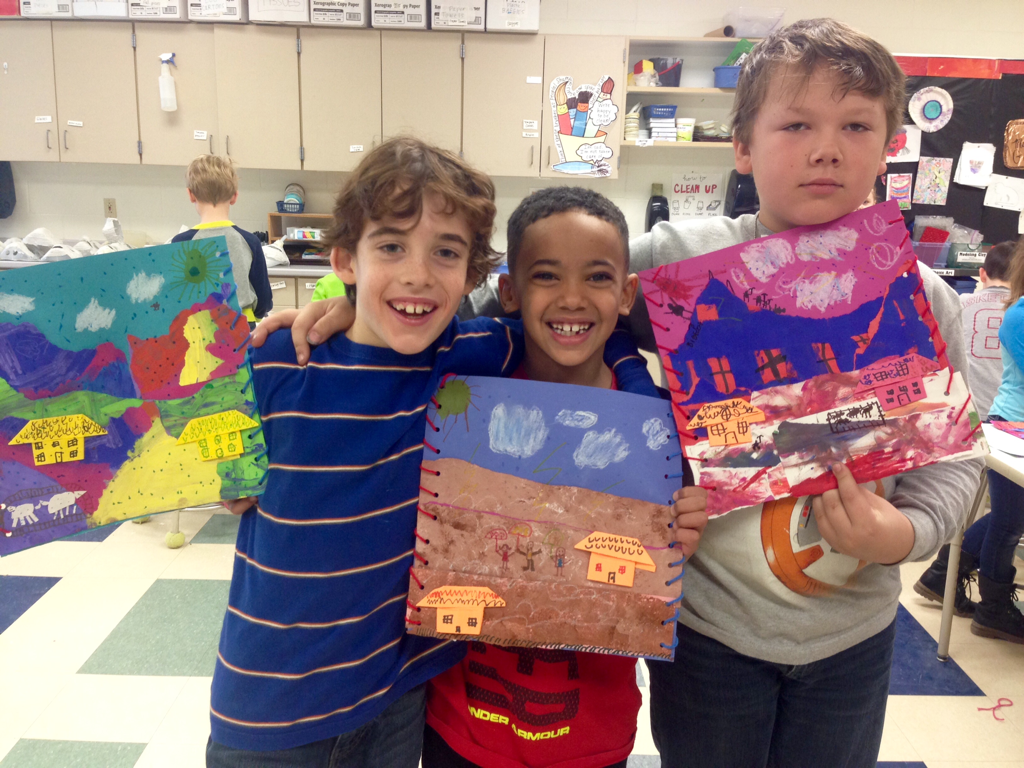
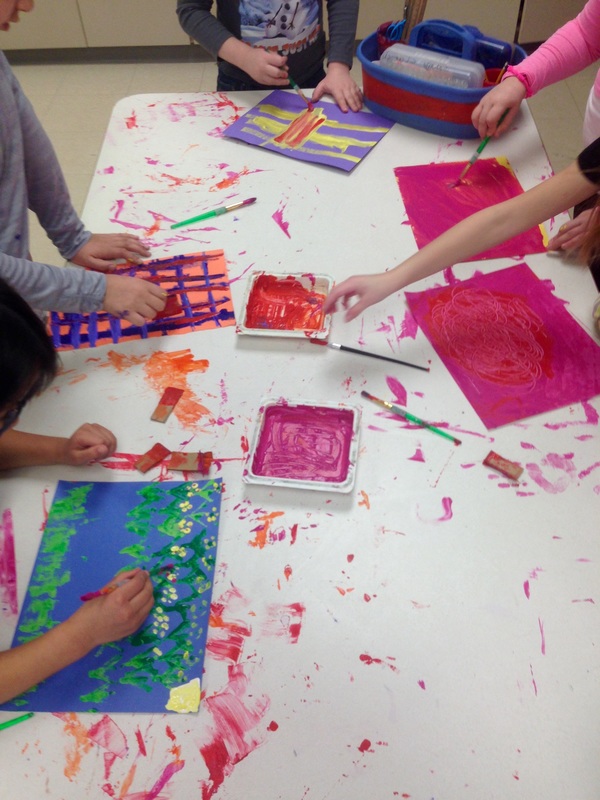
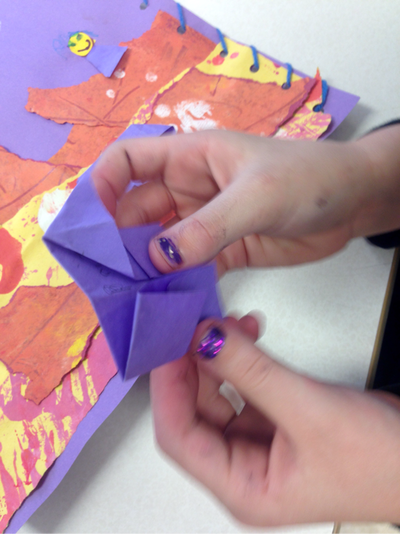
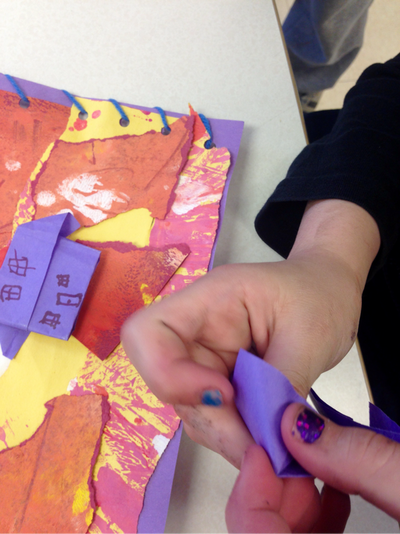
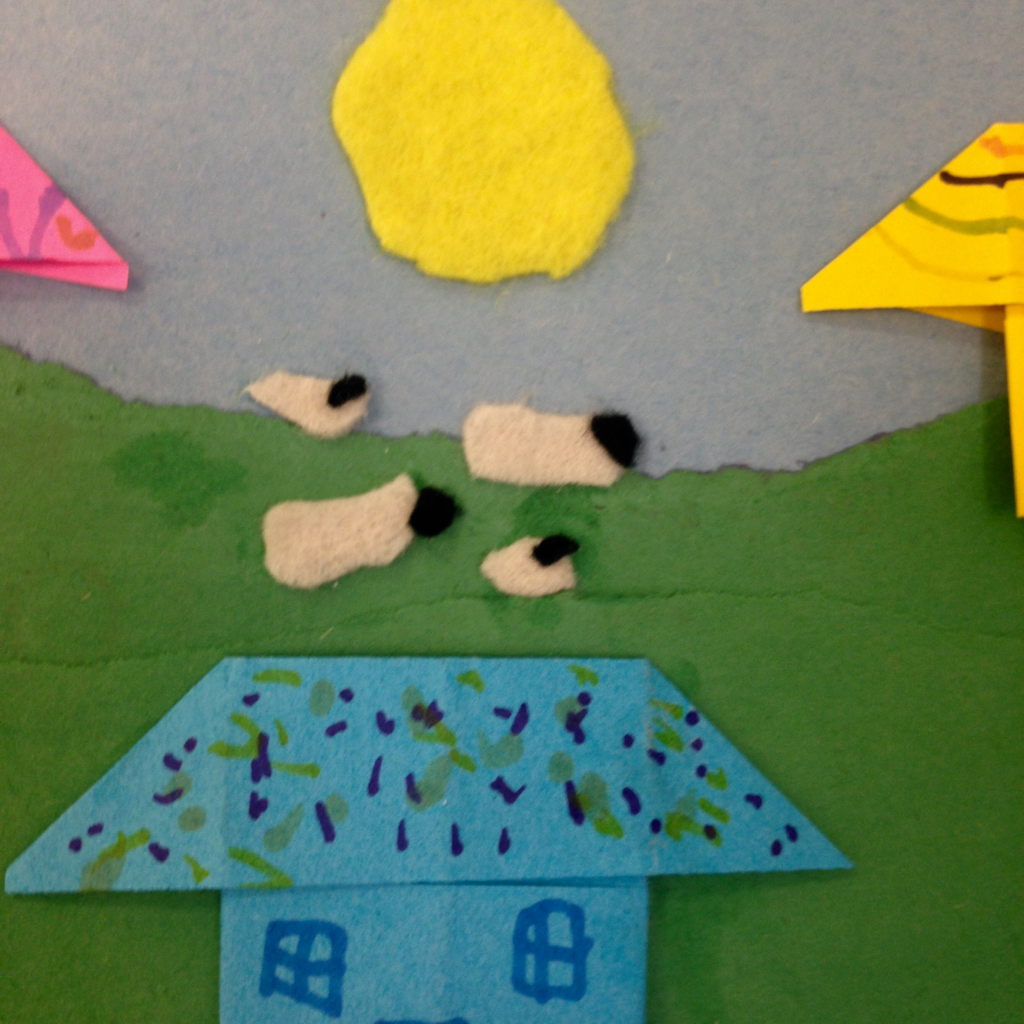
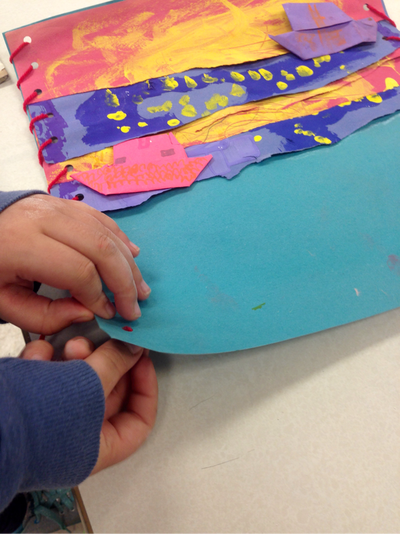
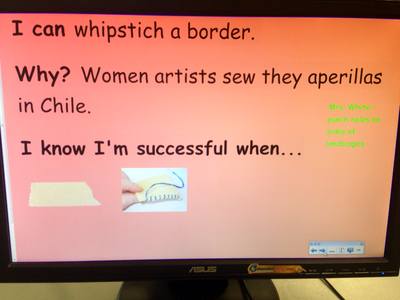
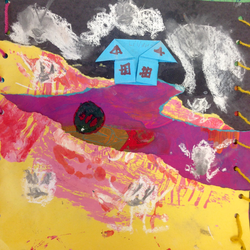
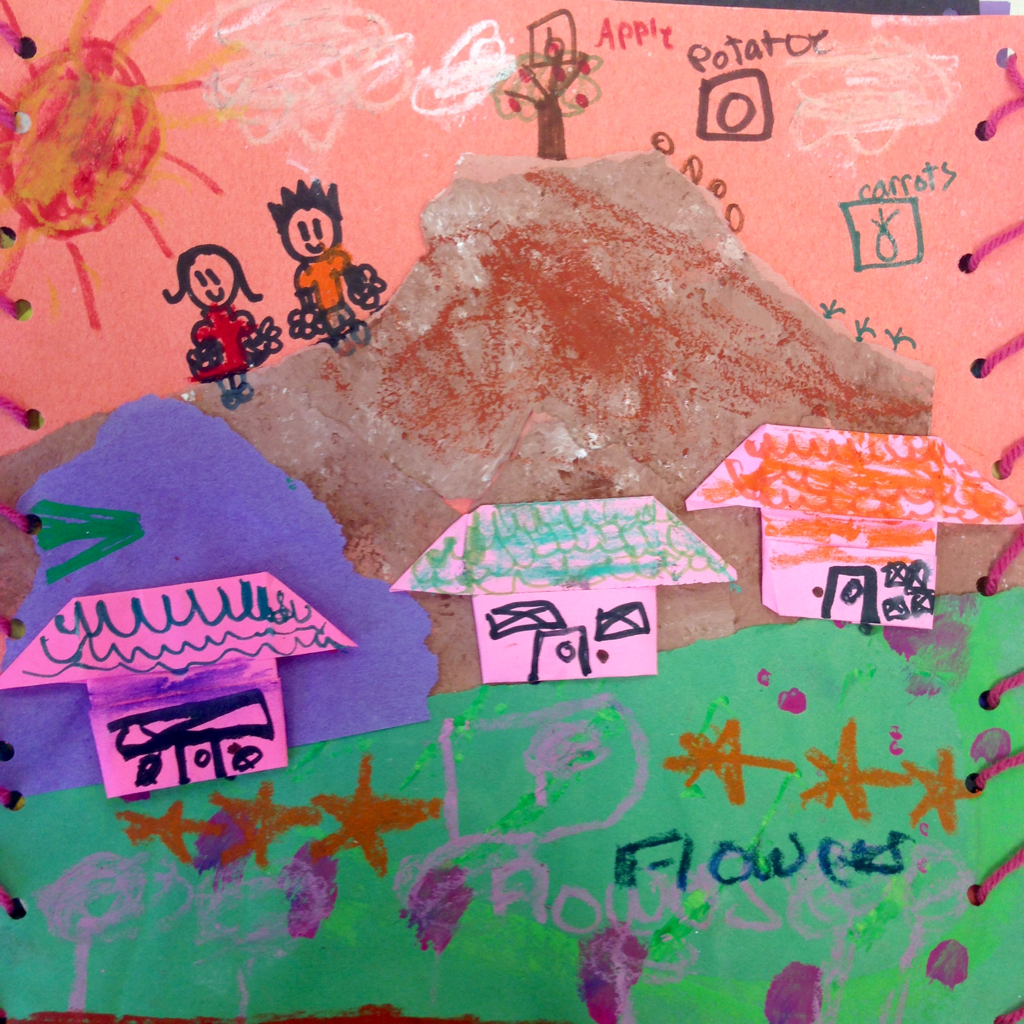
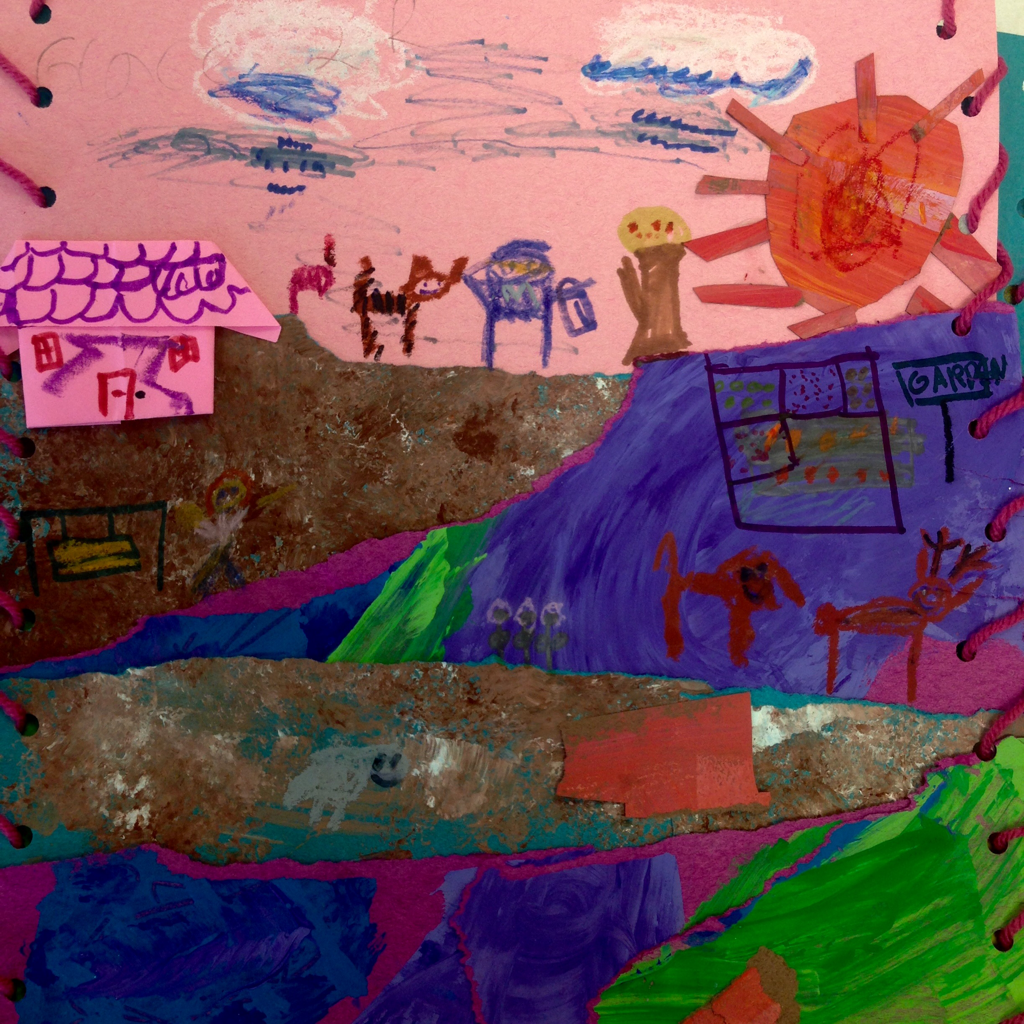
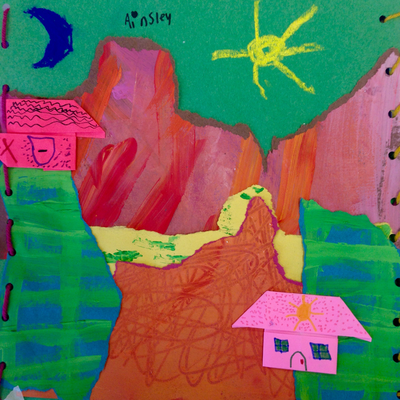
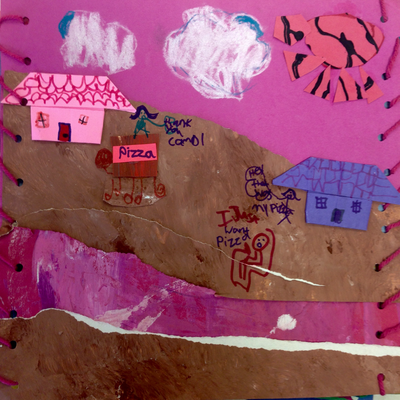
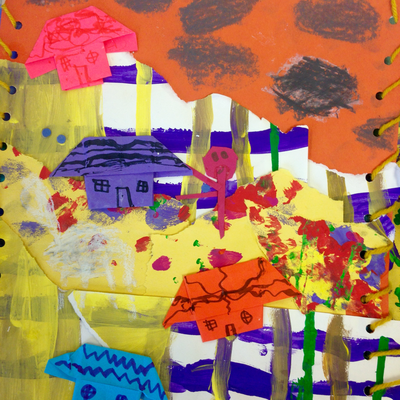
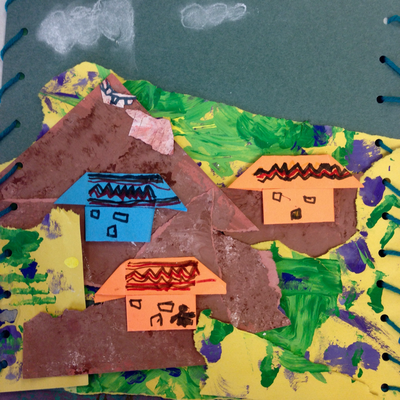
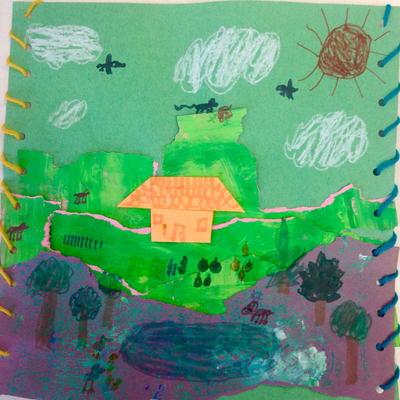
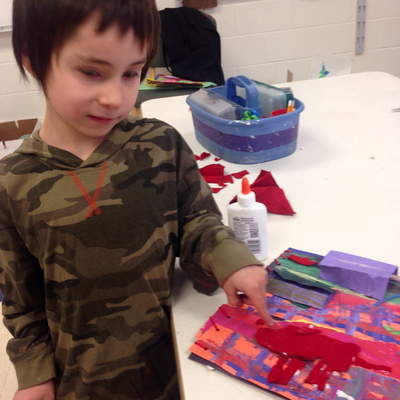
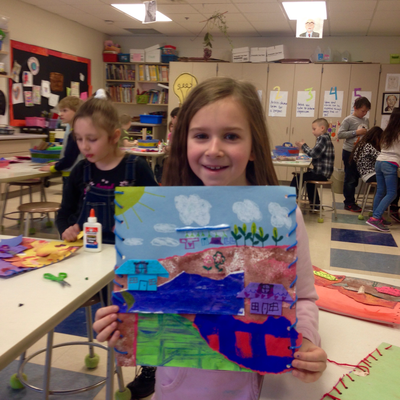
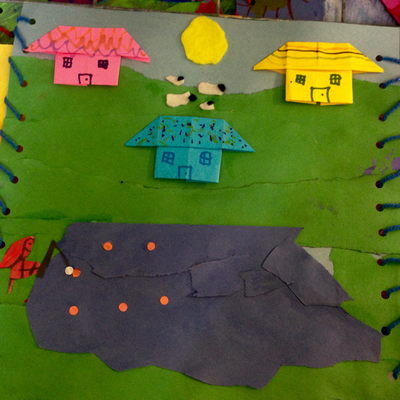
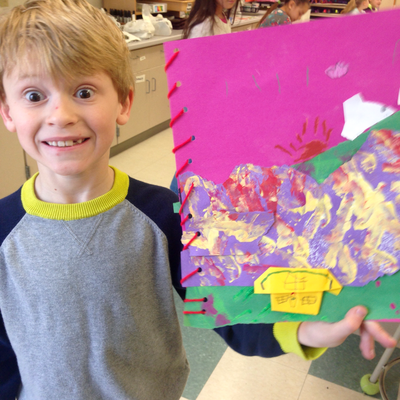
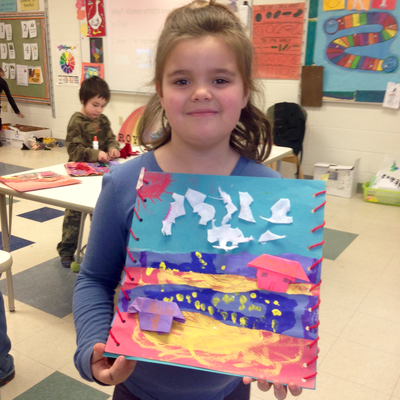
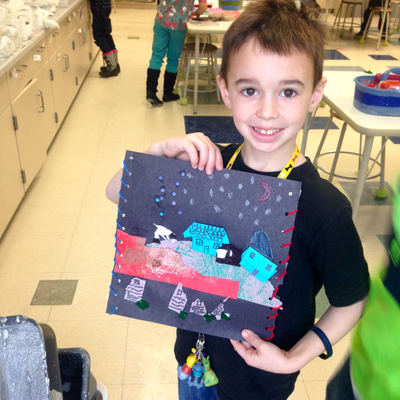
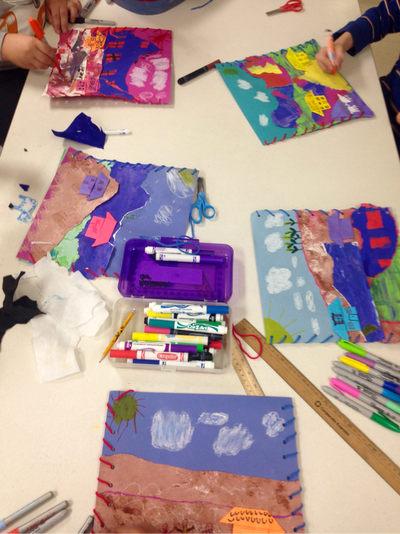
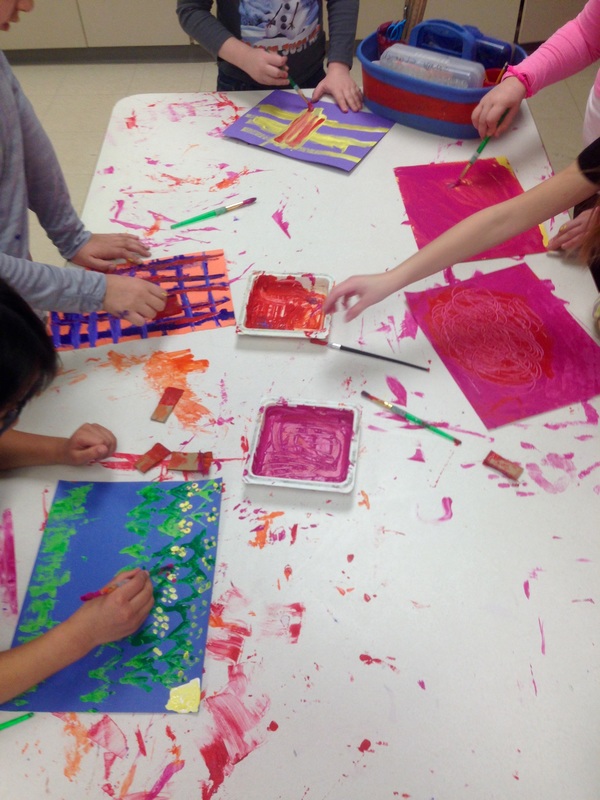
This is another amazing project courtesy of Cassie Stephens. Click her name to find detailed instructions for this lesson. For some background information on Chile and arpilleras, we checked out her Prezi, which can be found here. Ask your 2nd grader the following questions about Chile: 1) Where is Chile located? 2) What mountain range is in Chile? 3) Name the ocean that borders Chile. 1) Make painted paperFirst, we started by making painted paper. Kiddos LOVE making painted paper because 1) it is messy and 2) everyone is successful! Simply paint and add texture! 2) Create the land + Andes MountainsTo create the land and Andes Mountains, we took our painted paper and ripped it from short end to short end (creating a piece of torn paper that was 12 inches across). Students layered 2 different pieces to create variety. These were glued down onto a piece of 12 x 12 paper and they grabbed a piece of 4 x 4 bright colored copy paper and went to the floor to learn how to make an origami house! 3) Make an origami houseI got a refresher on how to make an origami house from this Youtube video. I demonstrated on a larger piece of paper (the kiddos were making a house with 4 x 4 colored copy paper). Once they had a house, they added windows and doors and glued them onto their landscape. 4) Add clouds and detailsBy this point, the artists are pretty familiar with where they can locate tools in the room and what medium they like. They could use chalk pastels, oil pastels, Sharpie, painted paper, or felt to add details to their landscape. 5) Whip stitch a borderWhile the kiddos were adding details, I punched some holes on the sides of their work. Upon entering the art room, they chose a piece of yarn (about 22-24 inches) and sat down on the floor. I modeled taping one end to the back of the paper and a whip stitch. The pattern is simply up, pull, up, pull. They caught on pretty quickly. The other end of the yarn was taped and they did the other side independently. The second grade artists are SO PROUD of their Chilean landscapes! I love all of the bright colors and textures. Thanks again, Cassie Stephens!
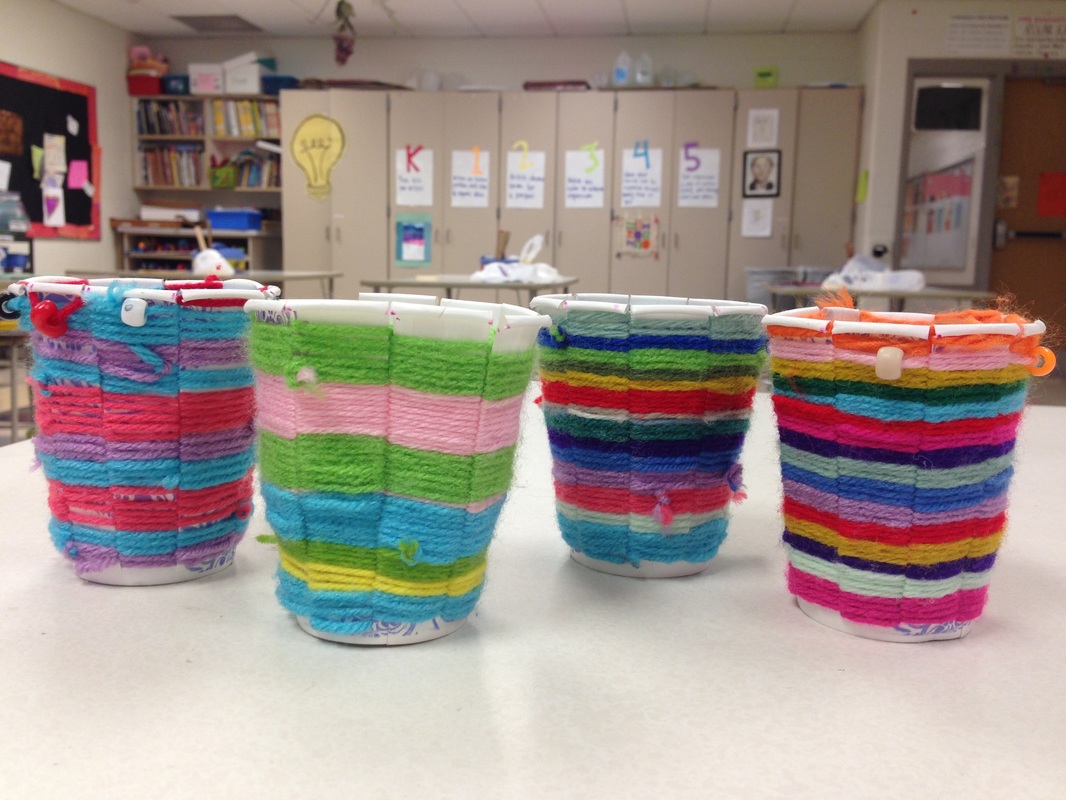
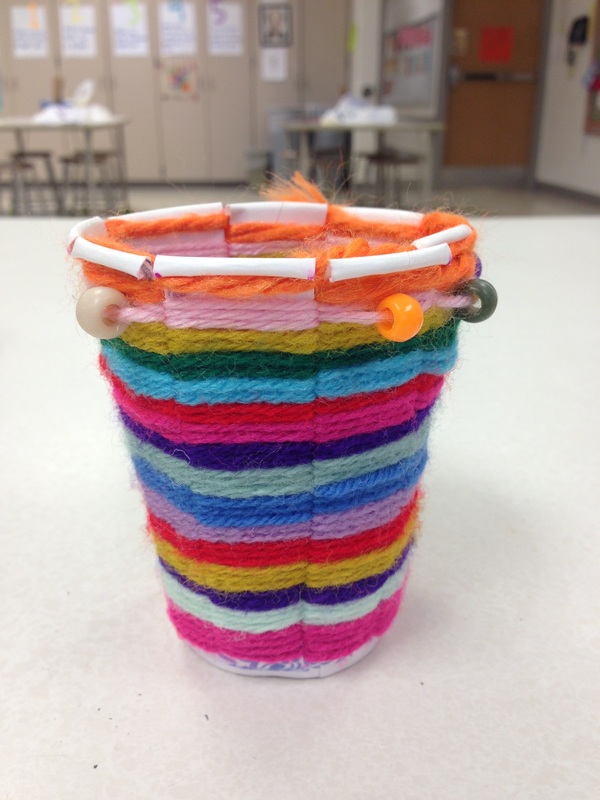
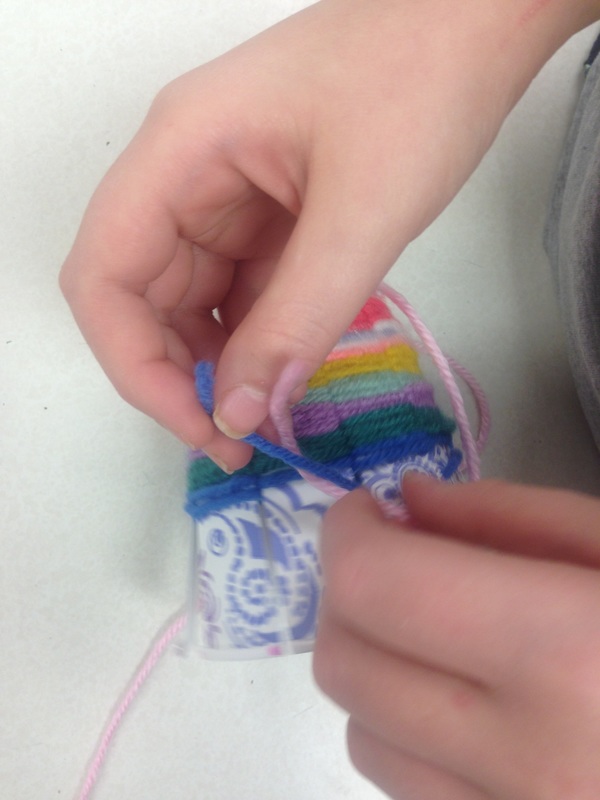
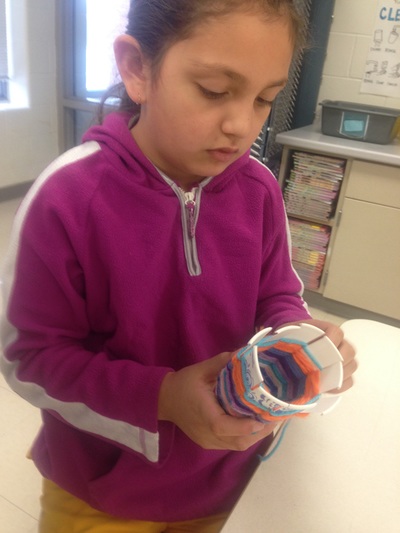
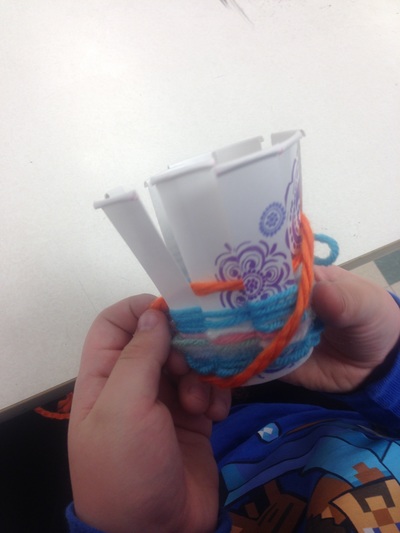
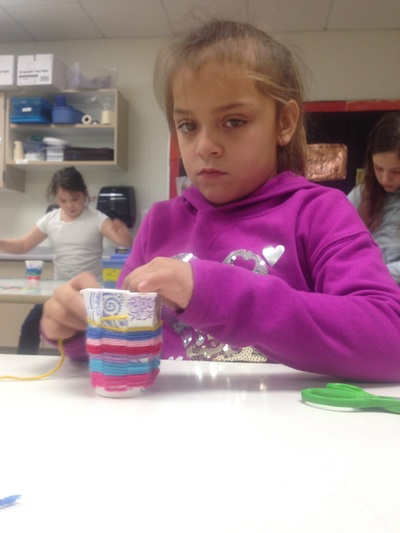
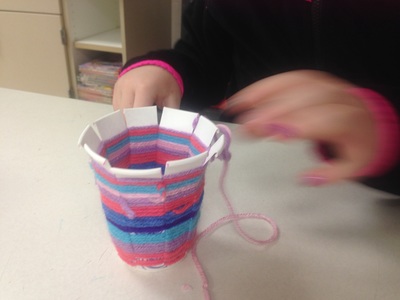
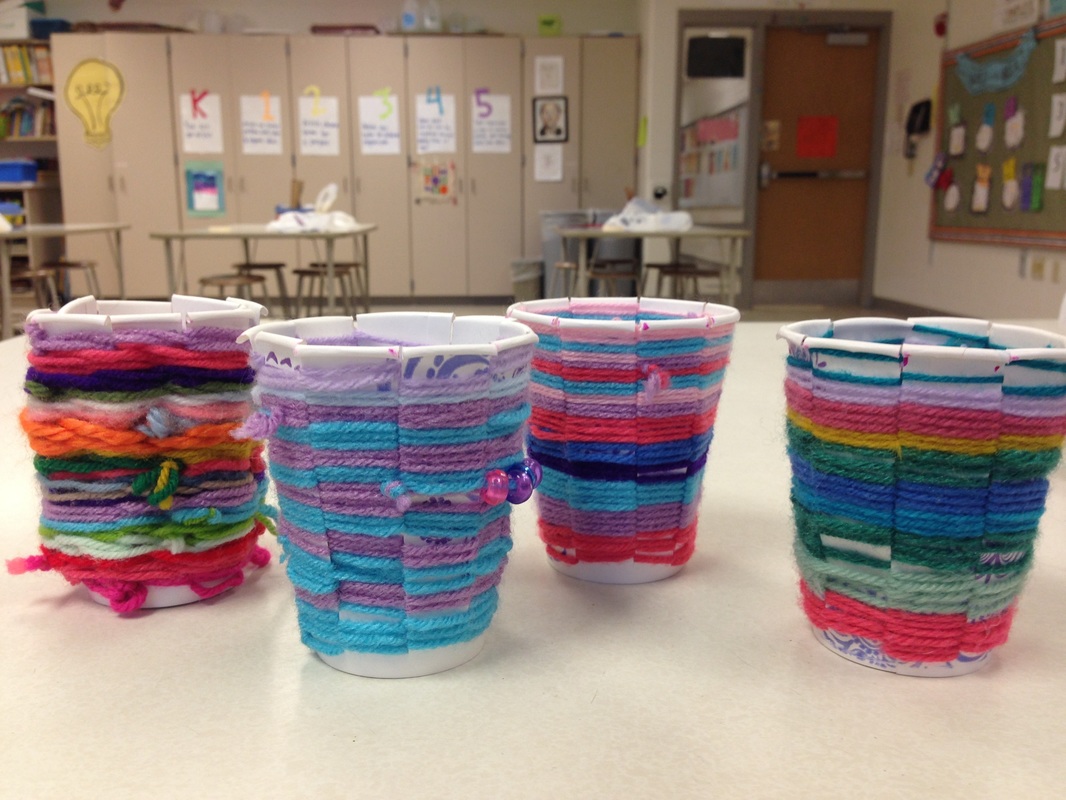
I like to do a weaving project with students grades 1-5. They seem to enjoy the process and like to build with their hands. My current 2nd graders created woven crocodile puppets last year and were familiar with the weaving process. This year we created a cup weaving. I purchased paper cups and cut an odd number of notches in each cup starting from the lip down to the bottom seam. Students wrote their name on the bottom with a Sharpie, grabbed a long piece of yarn (about the length of two of Mrs. White's arm spans) and came to the floor. I modeled tying the yarn to one of the notches and we began the weaving pattern over, under, over, under. The challenging part was keeping the yarn tight (but not too tight that the cup was suffocating:). Once we got to the end of a string, the students cut an arm span length, tied it to the previous string, and kept weaving.
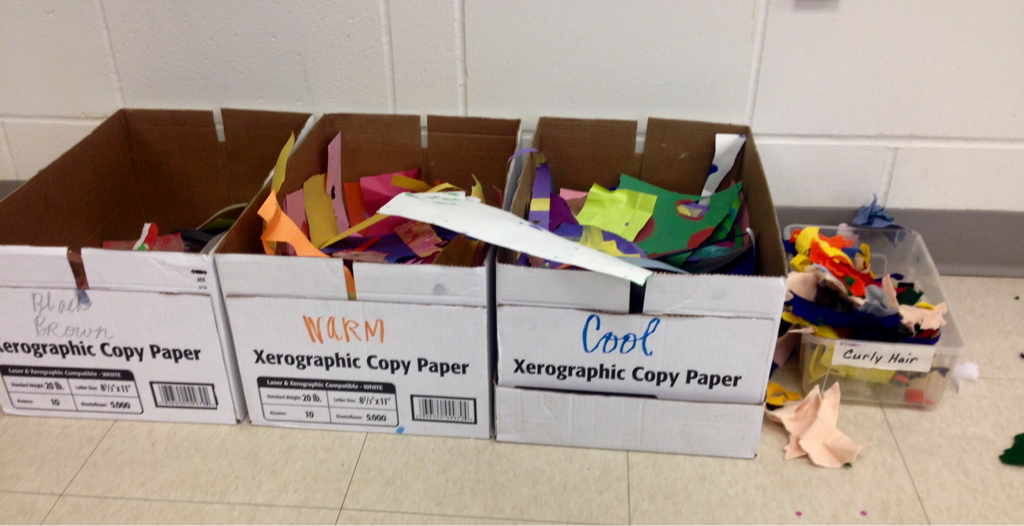
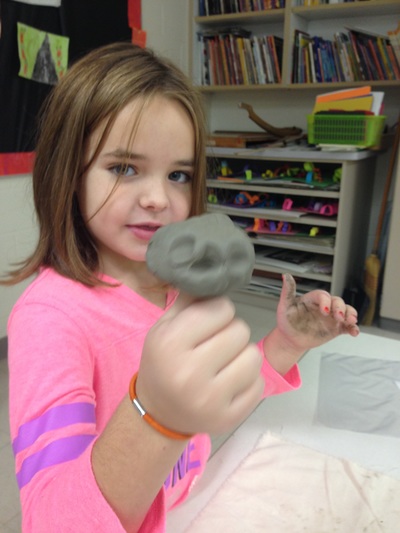
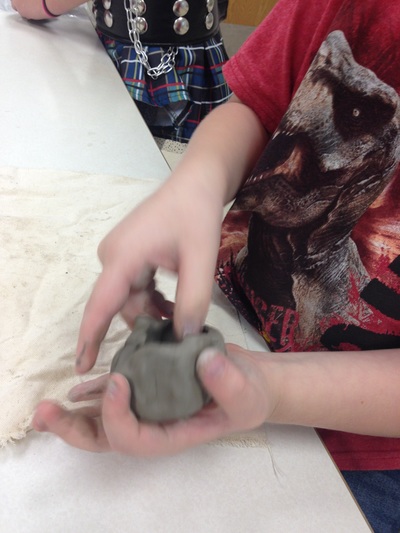
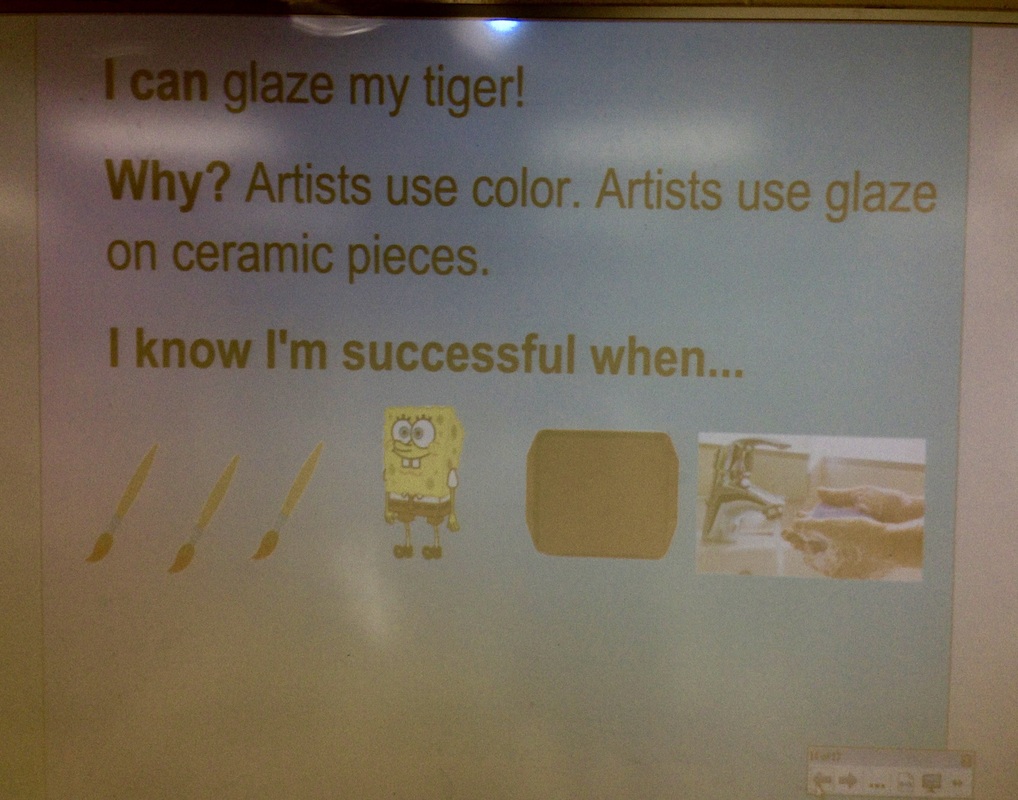
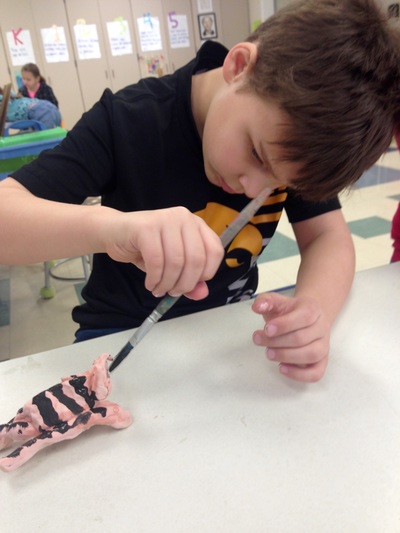
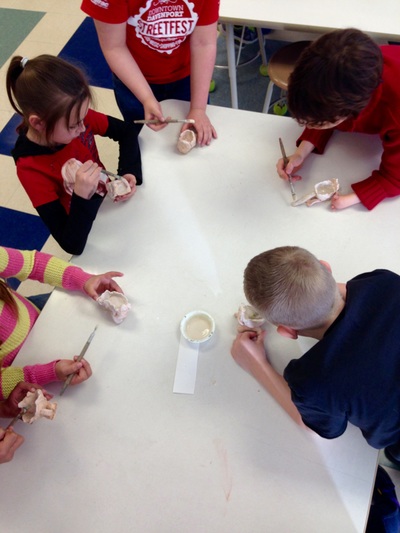
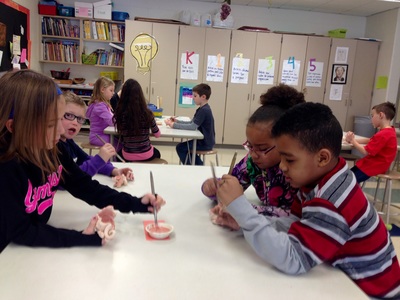
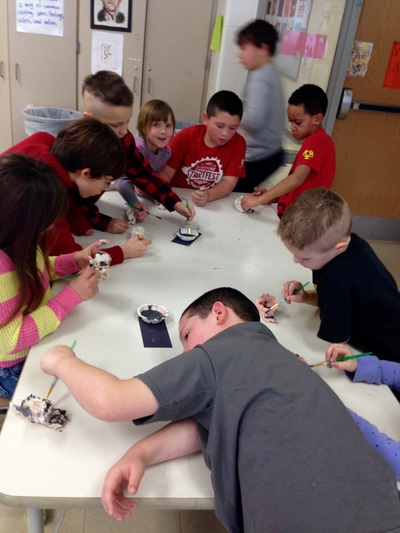
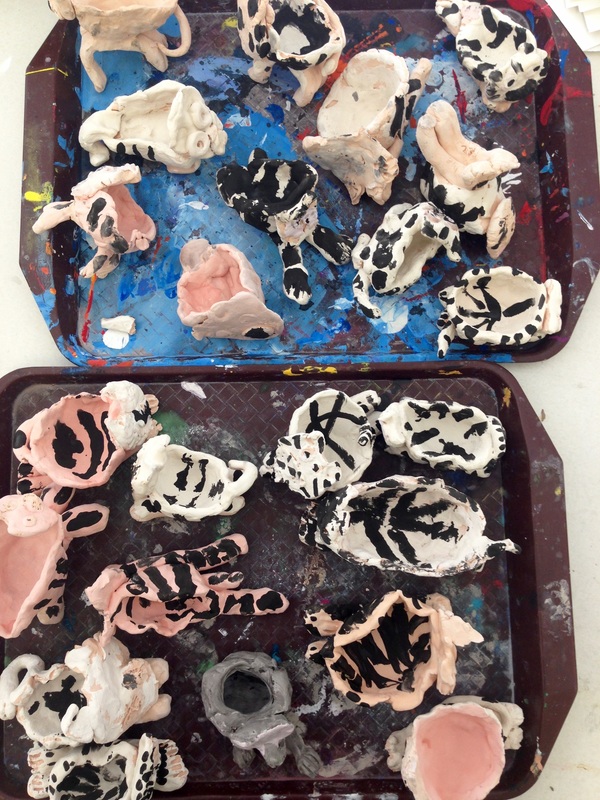
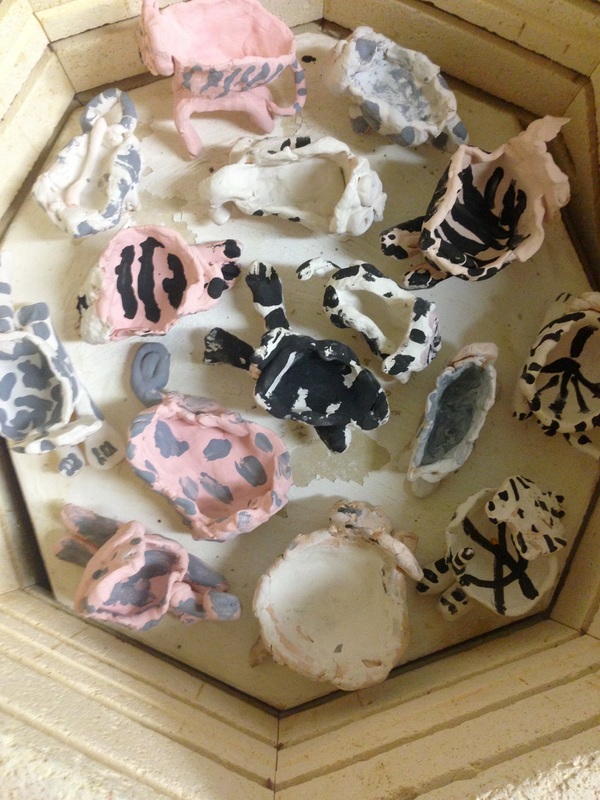
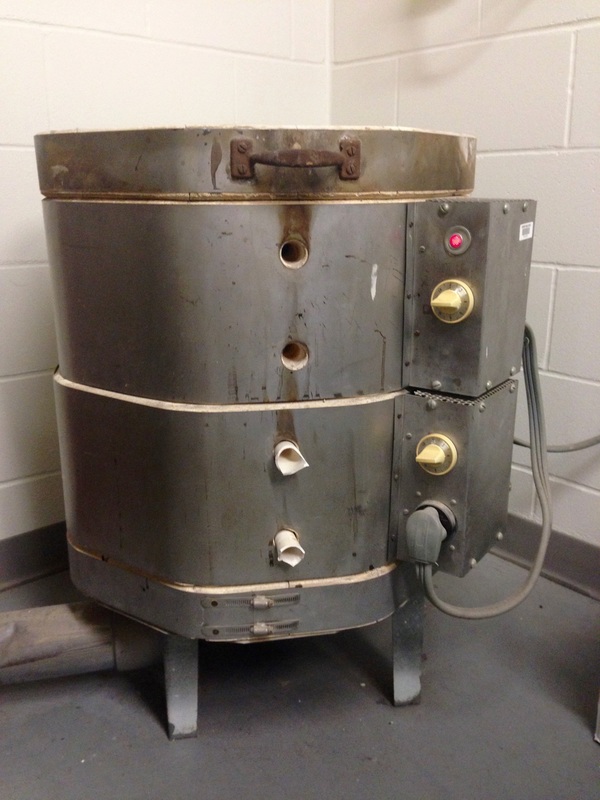
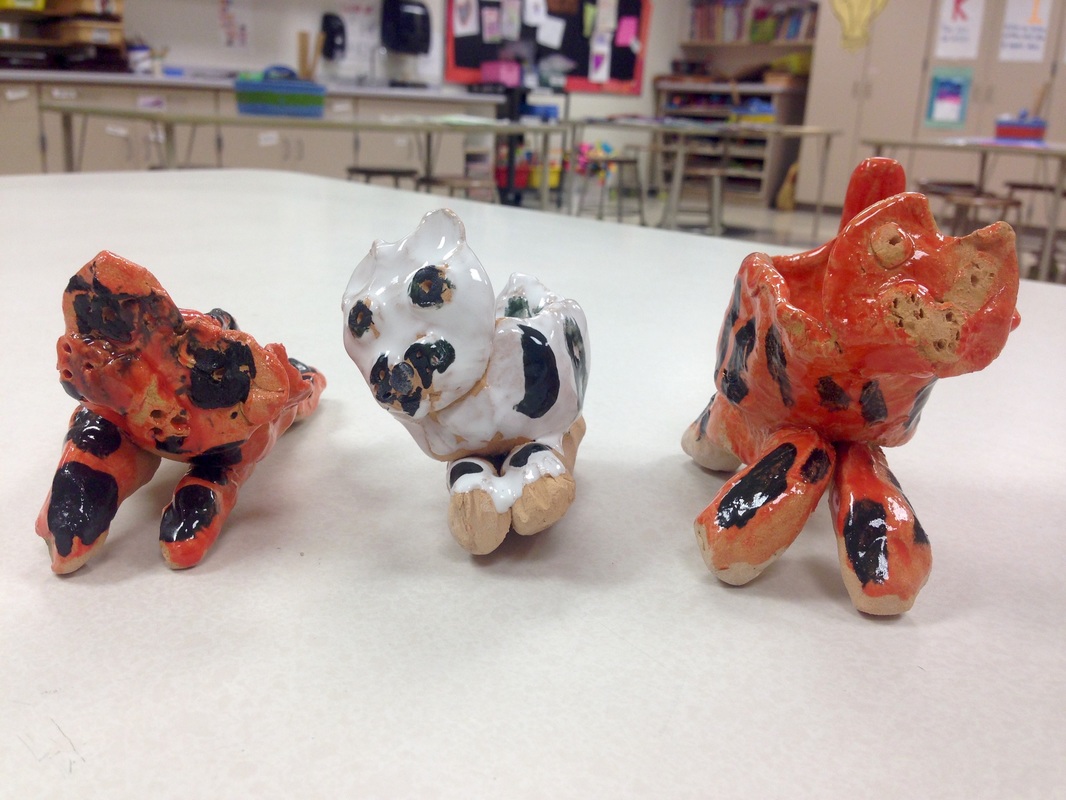
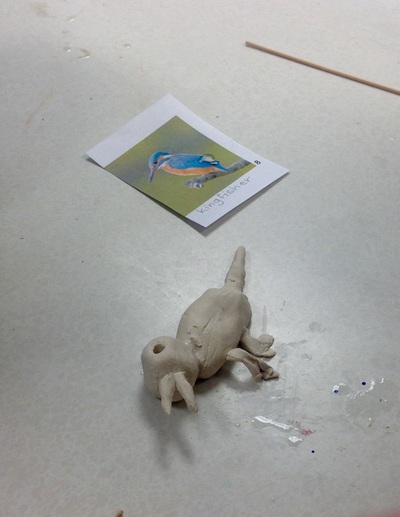
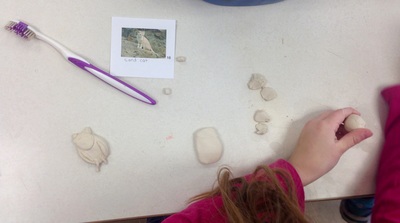
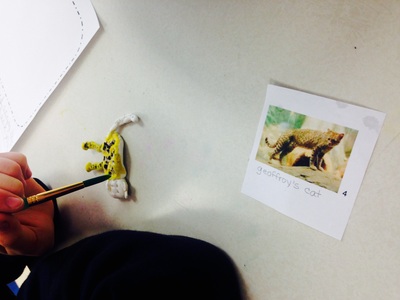
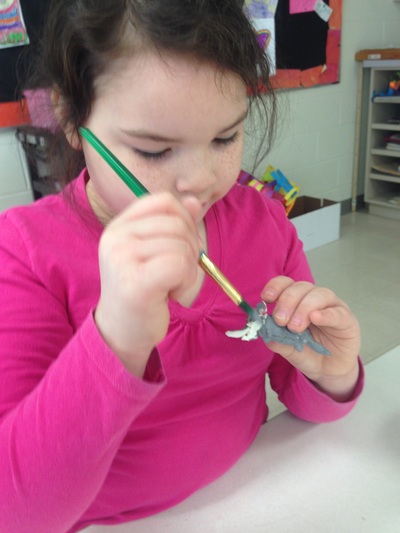
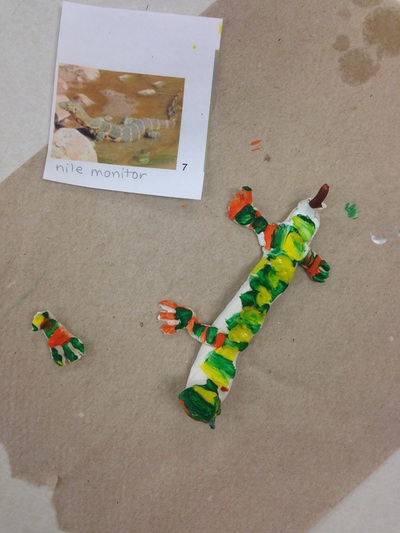
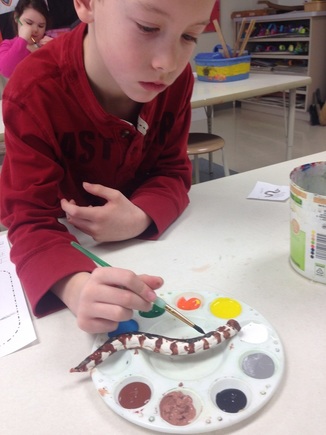
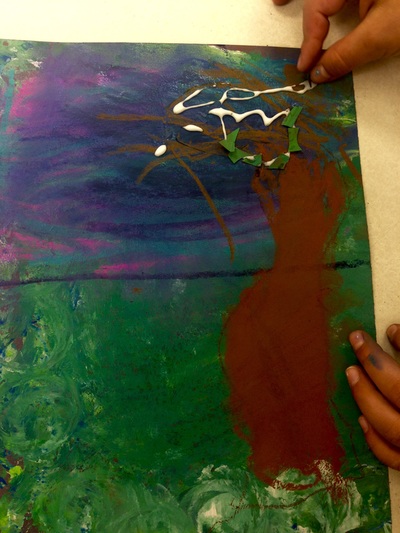
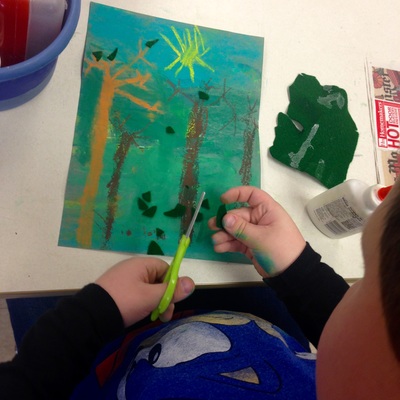
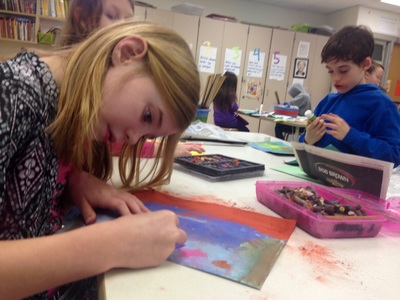
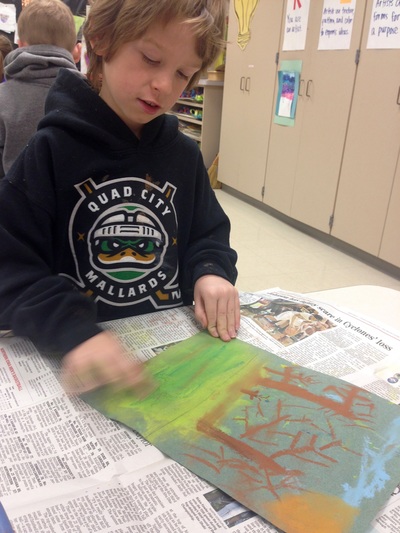
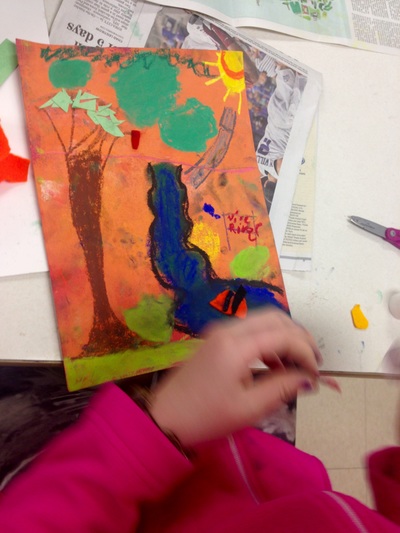
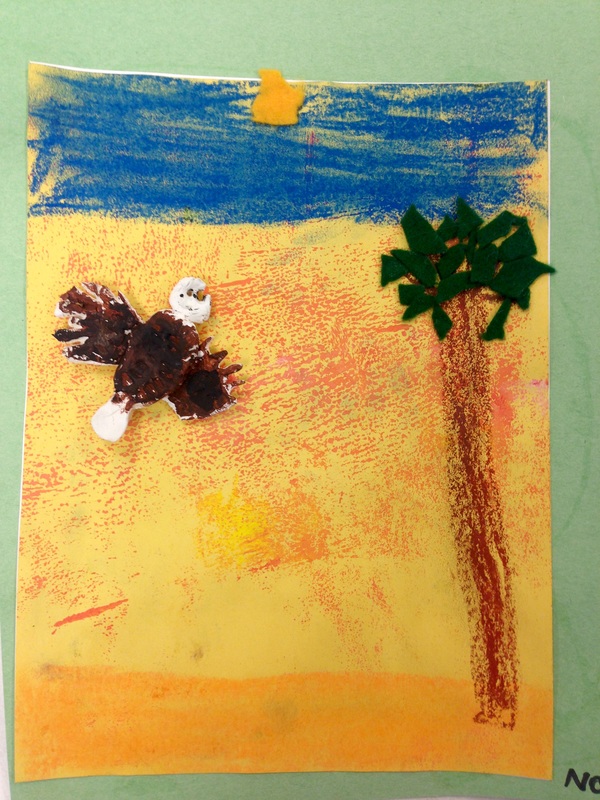
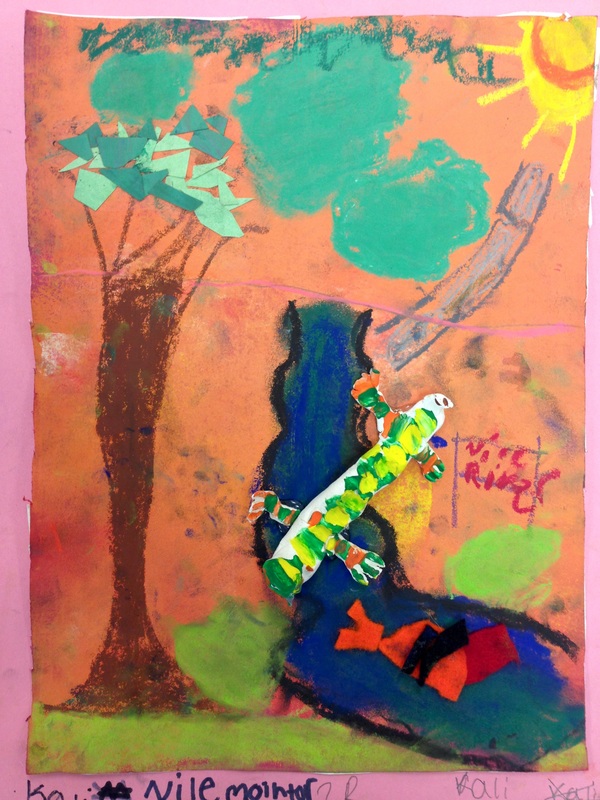
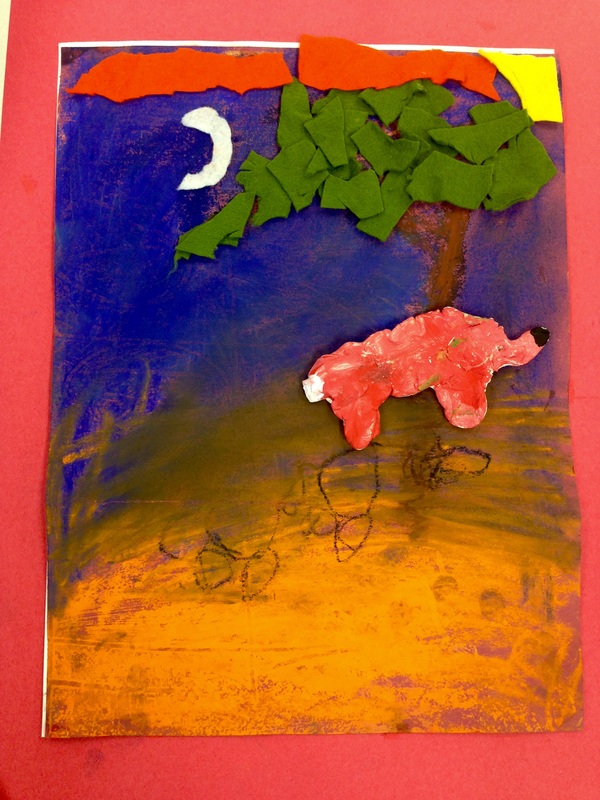
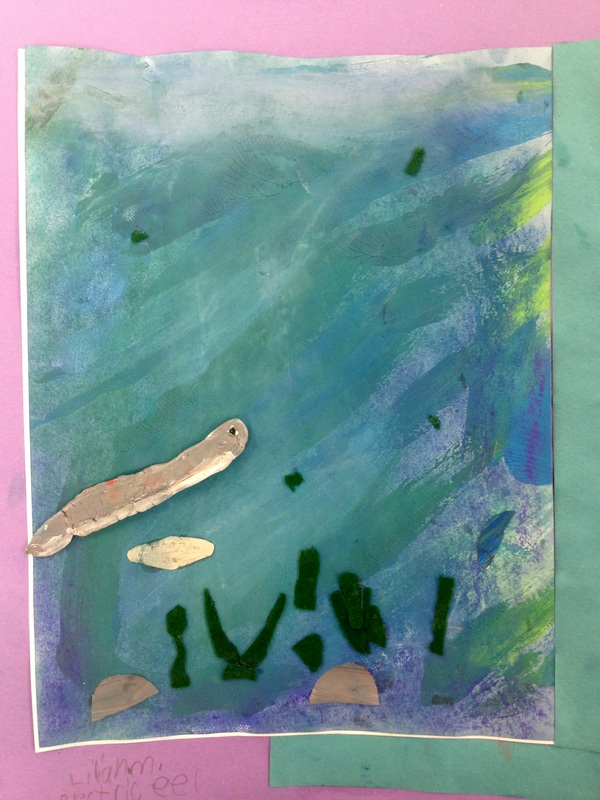
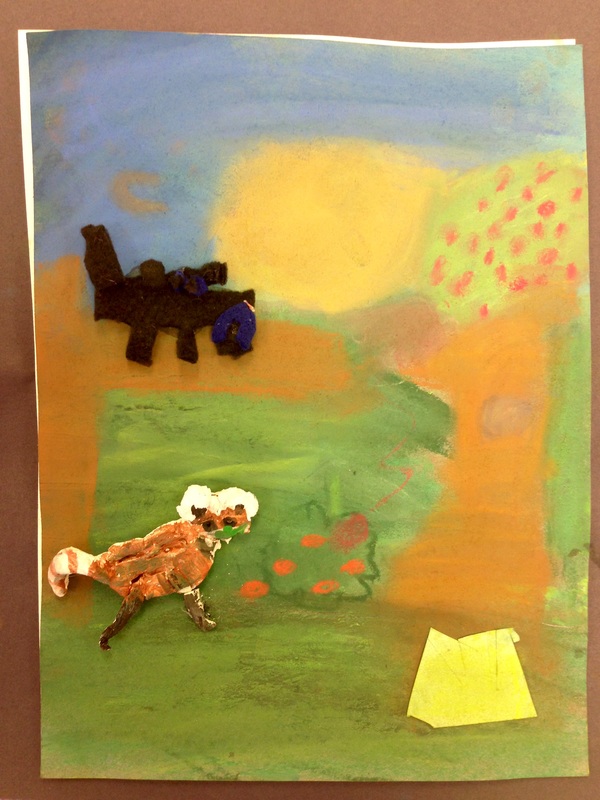
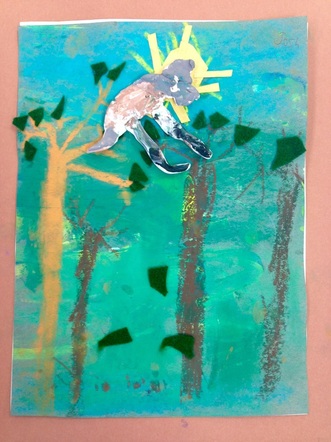
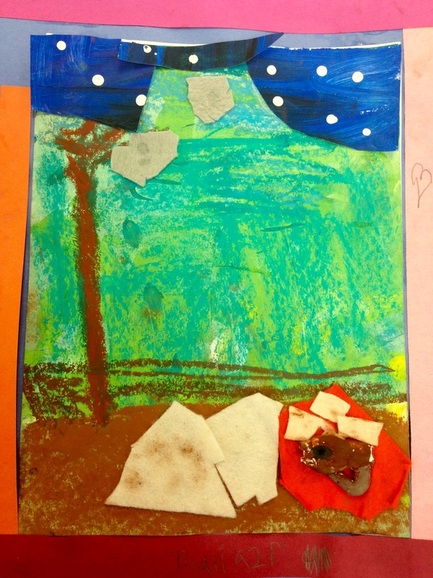
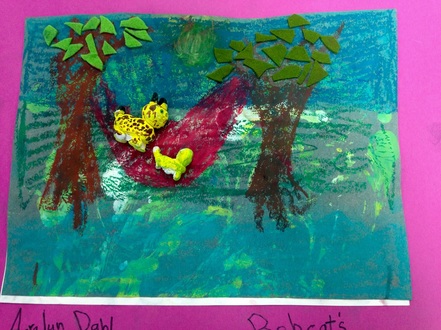
All Davenport 2nd grade students create a pinch pot. This year we made it into a TIGER! Students began their pinch pot by rolling it into a sphere for 5 seconds. Next, they stuck their thumb into it and began gently pinching the sides to create a small pot. With another chunk of clay, they rolled two 4-inch long coils that later became the legs . These two pieces went wrapped up into a baggie until next class. On day 2, we created the tiger head and on day 3 scratch and attached the head, pinch pot, legs, and tail. After the tigers were bisque-fired, the artists glazed them. Glaze is a special kind of paint just for ceramic pieces. It looks chalky and dry when painted on, but after another fire in the kiln, turns glossy and bright. I ordered a new orange glaze for this project and I love the bright color! To glaze their pieces, the artists applied 3 coats of glaze. They could paint their tiger orange with black stripes or white with black stripes. I also had out blue and pink if they wanted to use those colors for the eyes and nose. 2nd graders are focusing on animals and their habitats in their classrooms for their STEAM project. We went on a field trip to learn more about this topic. You can read about it here. Each student chose an animal to research and created a presentation on their chosen animal in their classroom. They applied this new knowledge in the art room on this art project, inspired by Cassie Stephens' 4th grade mix media collage. Step 1: Form their animal out of Crayola Air-Dry Clay. Each student received a golf-ball sized amount of clay and, after a quick review of scratch and attach (slip and score), creating a sphere and squishing it to create a slab (great base for an animal body), and using tools to create texture, the artists were ready to go. Students had a photograph of their animal at their table to work from. We made pinch pot tigers (check back later to see the tigers--they are in the kiln right now) earlier this year and forming their animal came pretty easy for them. If they had extra clay, they could make an animal baby. Some opted to make eggs. Step 2: Make painted paper! Kids LOVE making painted paper (mostly because it is so messy) and these served as our backgrounds. I showed them a few techniques, like using cardboard to print designs, using a sponge, applying paint to one page and "printing" it onto another, and using the back of their paintbrush to scratch the paint. No other explanation was needed; this stuff is second nature to kids. One 2nd grade class was behind the other due to a field trip earlier this year, so one class made enough painted paper for both classes. Step 3: Paint animal. The artists had a photograph of their animal at their table to work from. We used liquid tempera paint. Step 4: Create habitat. We reviewed warm and cool colors and looked at some photographs of each of the 5 types of habitats: forest, rainforest, river, ocean, and desert. The artists were to use either all warm or all cool colored chalk pastels for their sky; the ground was up to them. They chose a warm or cool piece of 9 x 12 painted paper and took off. Step 5: Add finishing details using painted paper, felt, oil pastels and glue on animal. I put out painted and recylced paper (organized into warm, cool, and black/brown boxes) and felt scraps for students to glue on finishing touches. Once they completed their habitat, they got their animal, placed it in their habitat, and I hot-glued it on. They matted their work on another piece of paper, added a border if desired, and wrote their name and the name of their animal at the bottom. These will be displayed at STEAM night at Buffalo Elementary on March 2nd. Come see the masterpieces! This artist informed me that the felt at the bottom is the animal's "nest." It is hibernating. And this bobcat and baby have their own hammock! Lucky cats.
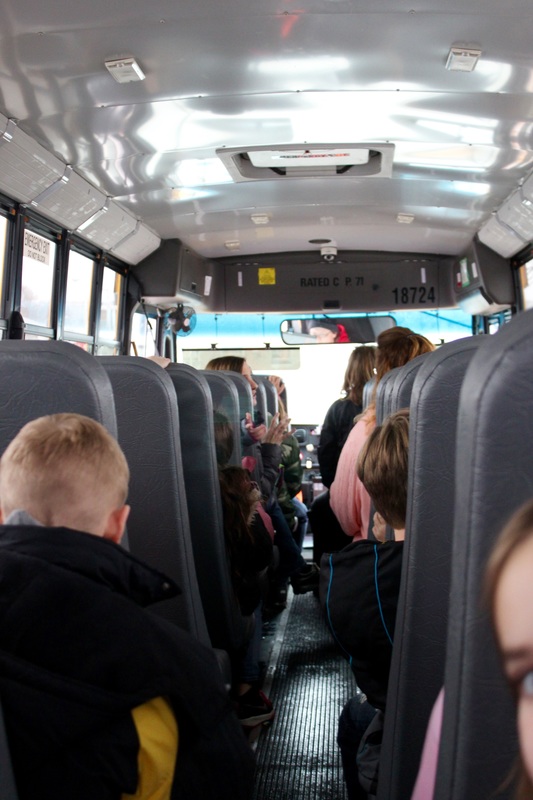
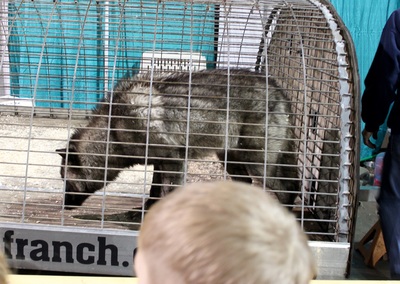
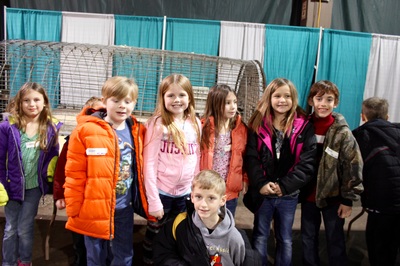
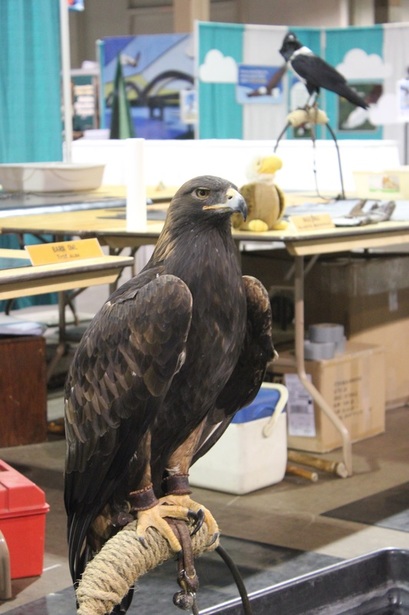
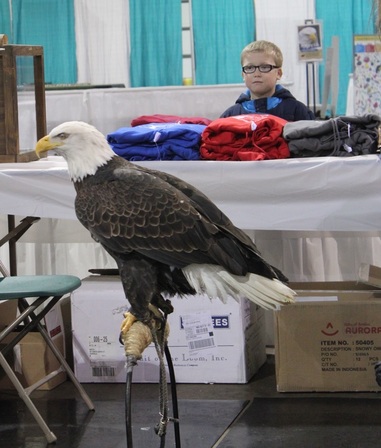
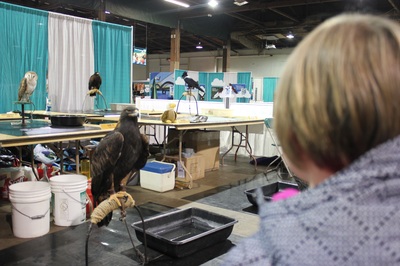
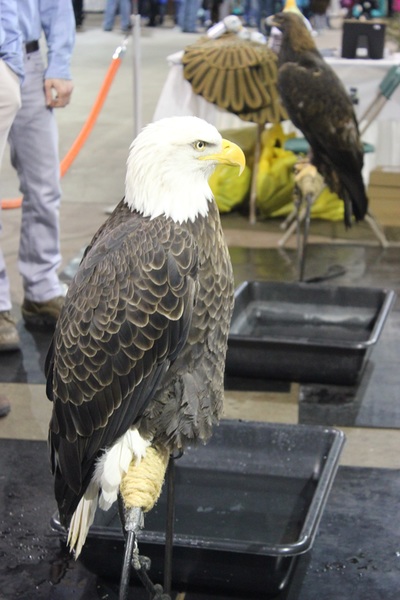
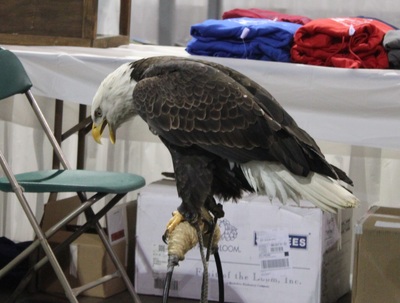
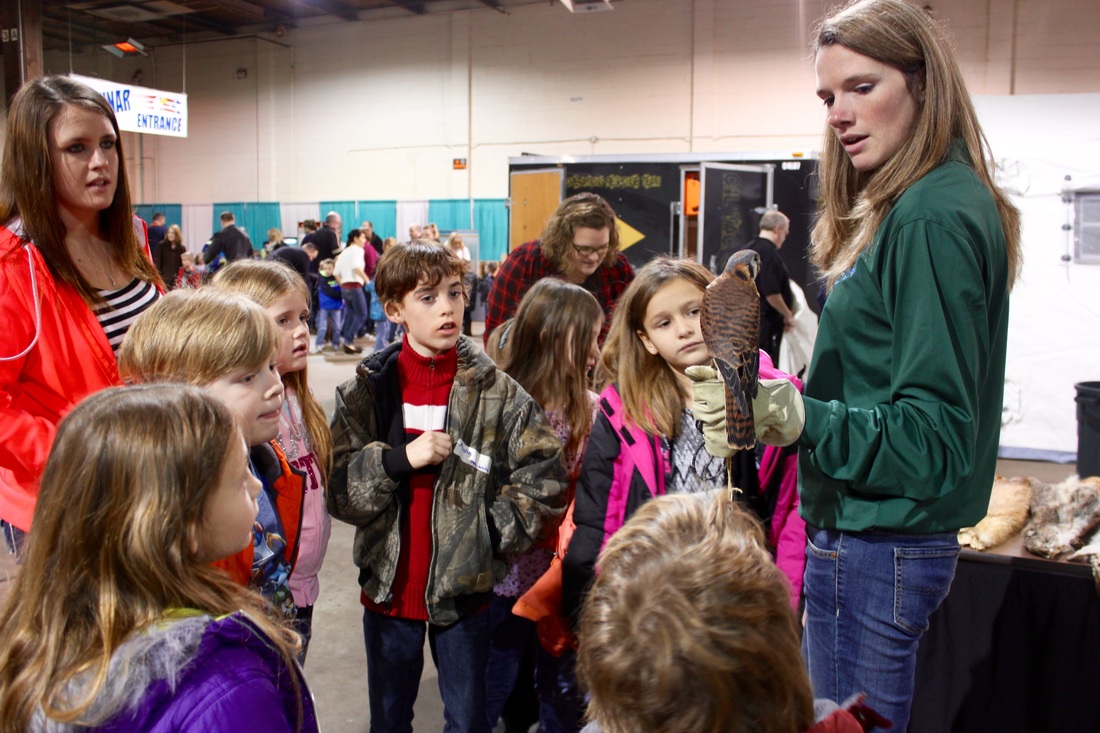
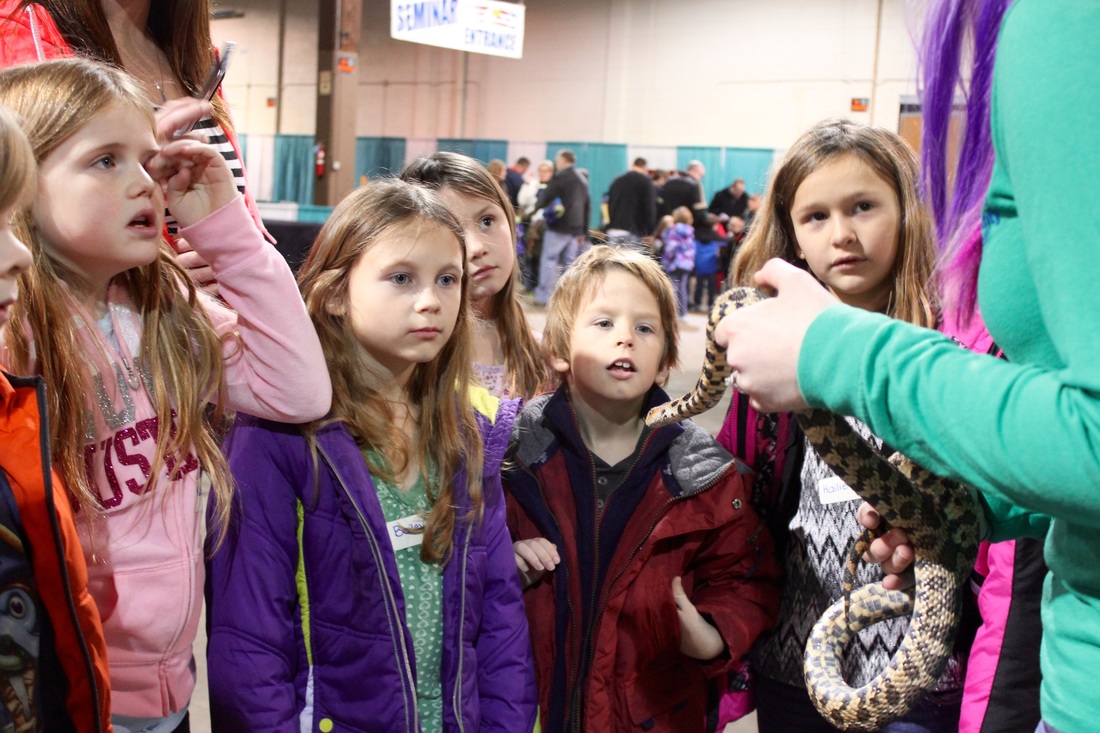
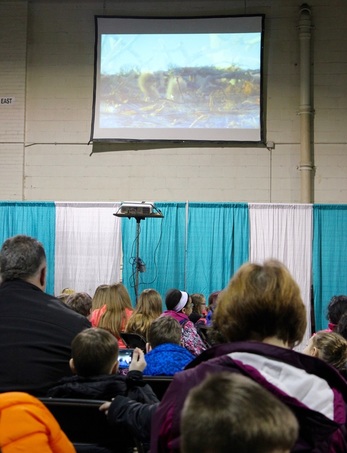
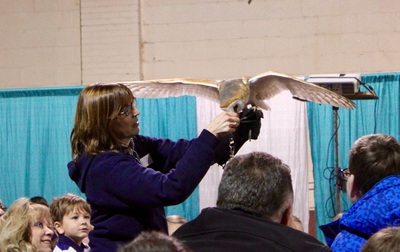
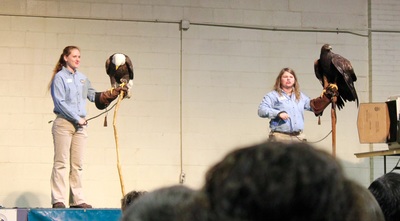
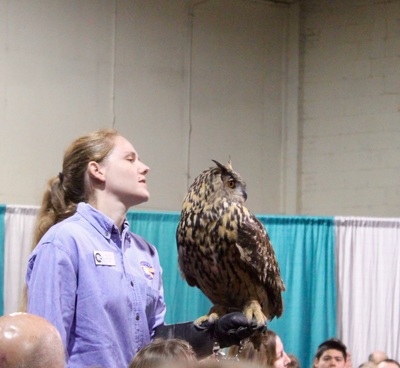
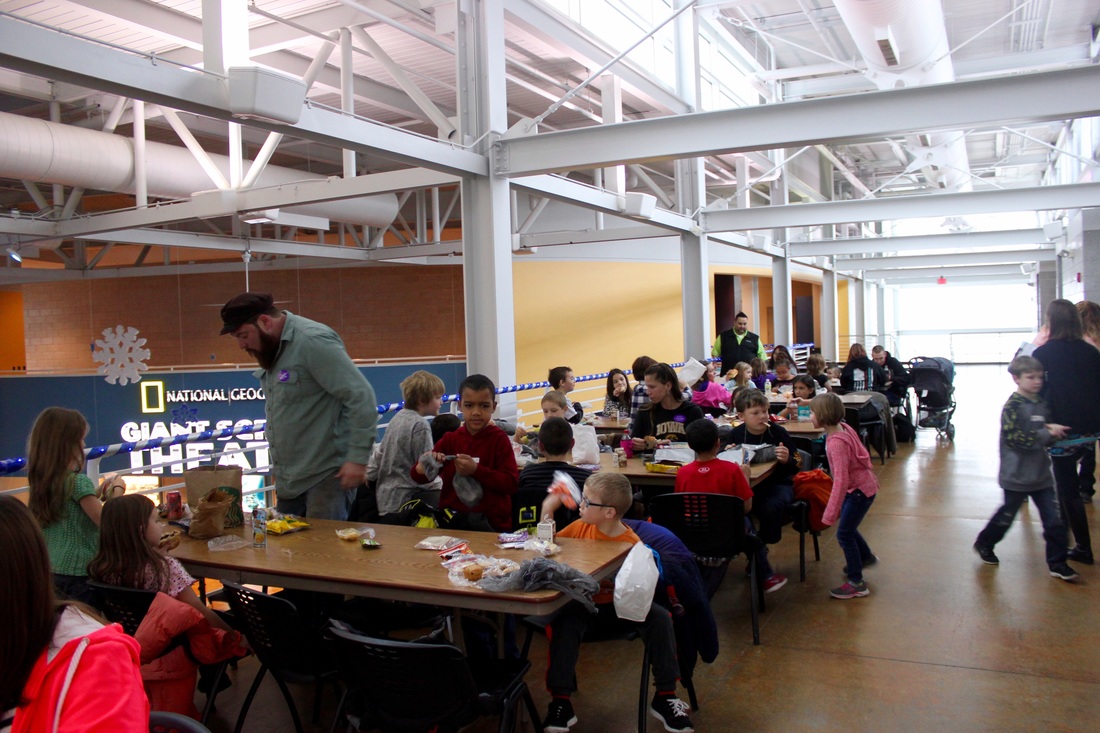
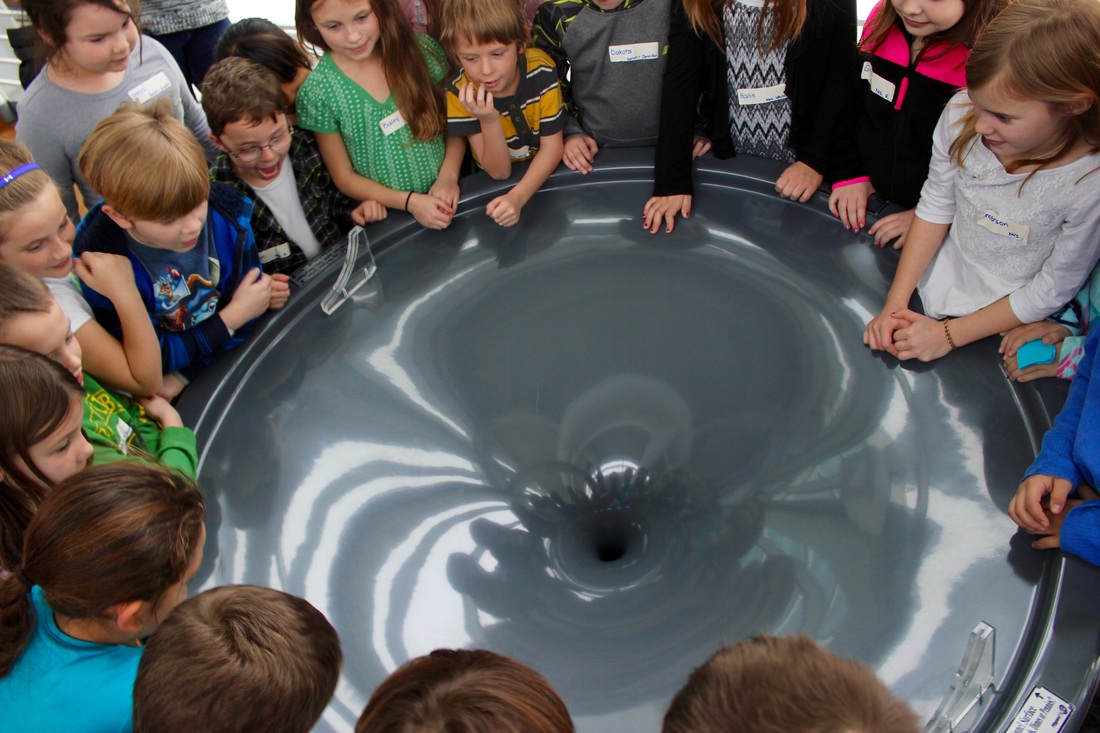
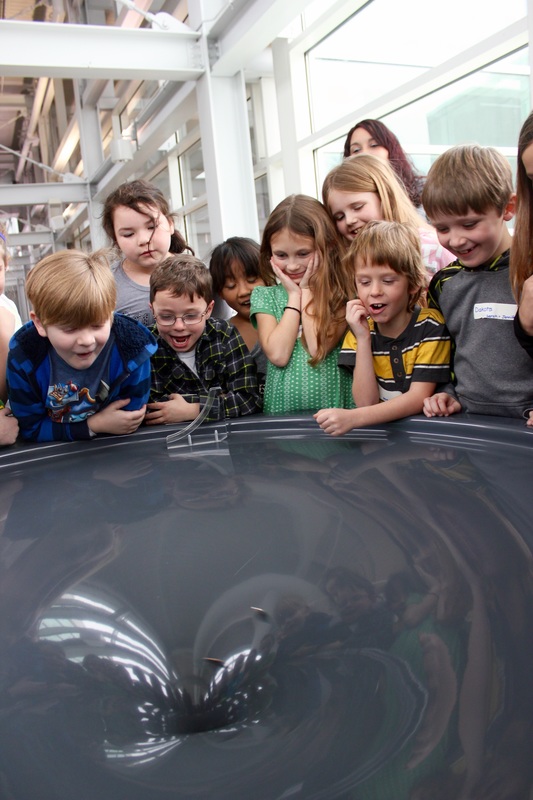
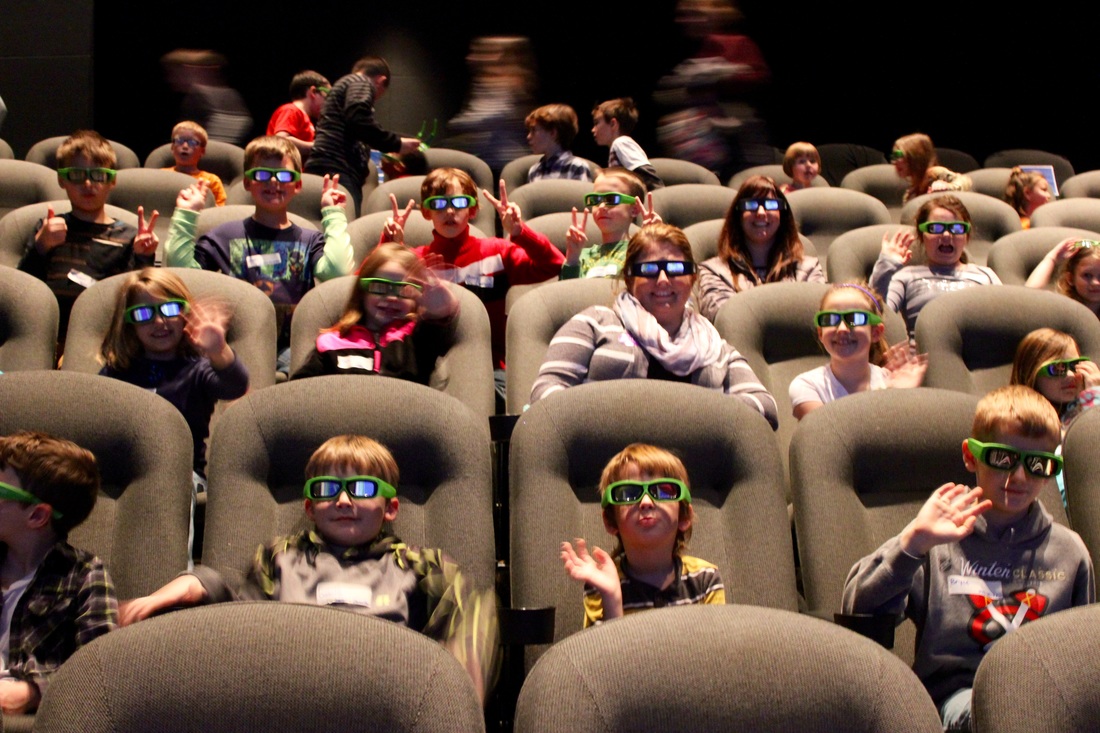
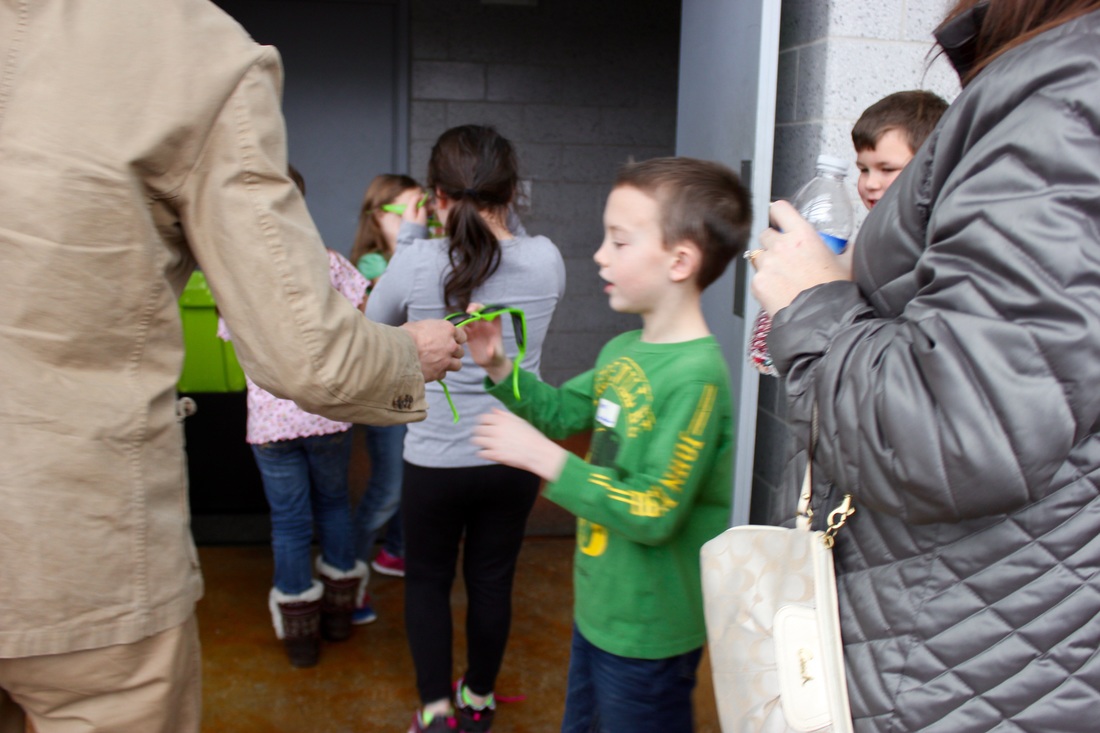
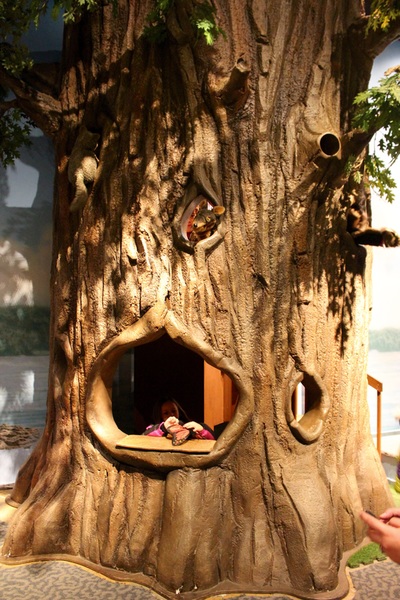
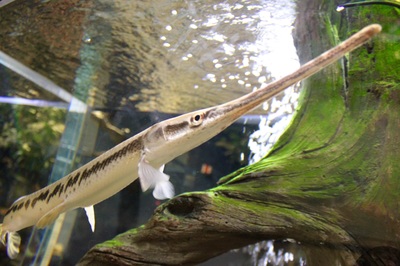
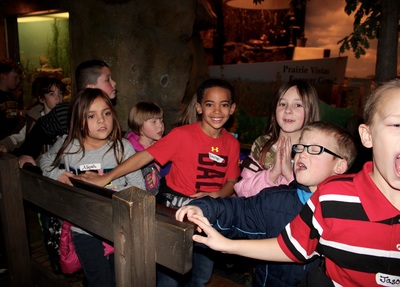
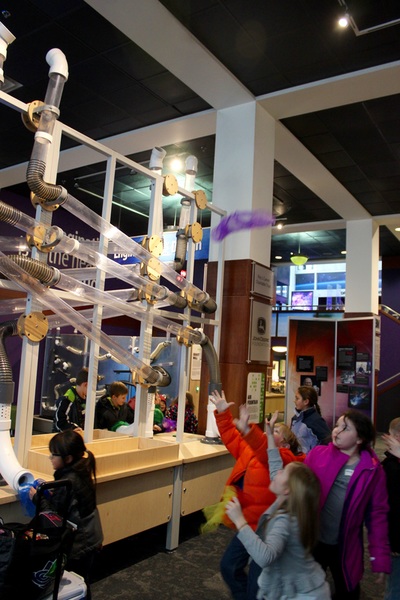
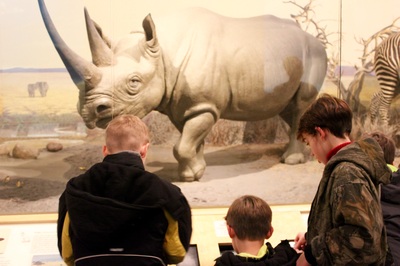
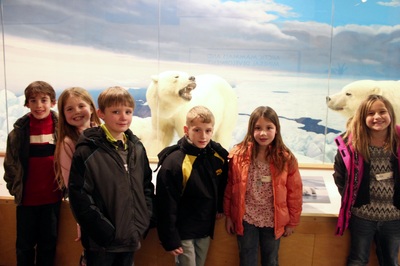
I wrote a Great Minds Grant for a 2nd grade field trip in connection with their STEAM project: animals and their habitats. The Davenport Schools Foundation accepted my grant proposal and funded the Putnam Museum admission cost for 46 students! The Putnam Museum also provided admission subsidies for close to $100! Buffalo Elementary PTA provided funding for the bus transportation. Thank you, Davenport Schools Foundation, The Putnam Museum, and Buffalo PTA for making this fun day possible! We left Buffalo around 8:30 am and headed to the Quad Cities Expo Center for Bald Eagle Days. Before our 9:30 am show, we were able to visit some of the vendors at the expo center. Big Run Wolf Ranch was there with 2 wolves, a skunk, and a porcupine! We saw the birds that would be featured in the Bald Eagle Days show. We saw a fox snake and kestrel up close. And finally the show! First we watched a short movie about Bald Eagles. We learned about their nests, where they live, and how they were endangered but are making a comeback. Did you know that Bald Eagles don't get the white feathers on their head until they are four years old? And they can fly at 10,000 feet in the air? The naturalists had falcons and owls fly from their hand to perches located throughout the auditorium. Next: The Putnam Museum! We had lunch in the balcony. At 12:15 we watched the movie Tiny Giants in 3D! This movie followed a scorpion mouse in the desert and a chipmunk in the forest as they encountered different dangers and prepared for changes in their habitat. The Putnam employee who gave us our 3D glasses said that we were the best-behaved school group he's had! Way to go, Buffalo! After the movie we viewed the Mammal and Big River, Black Earth Exhibits. On the way home, one student said, "This is the best day of my life!" Thank you to the Davenport Schools Foundation, Buffalo PTA, and The Putnam Museum for making this trip possible.
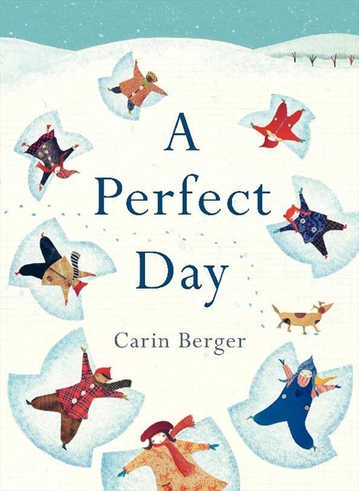
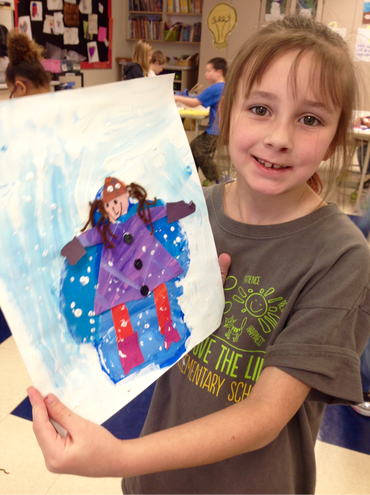
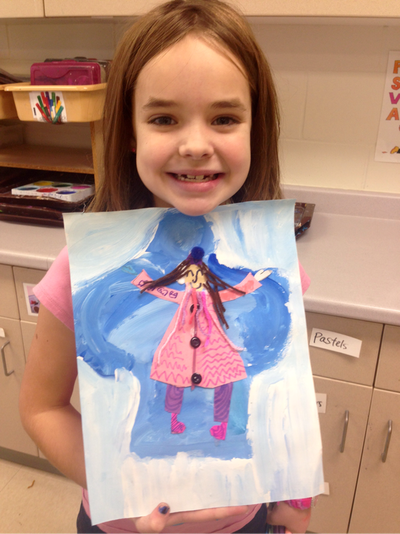
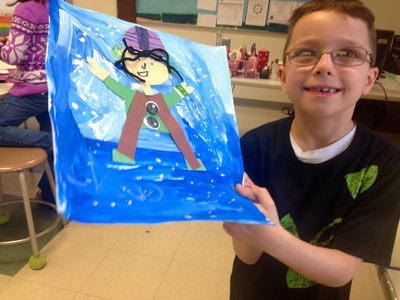
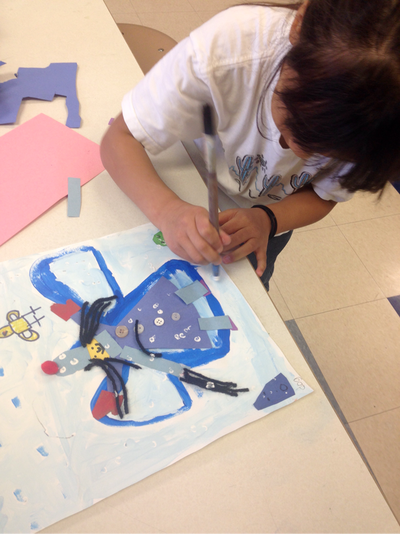
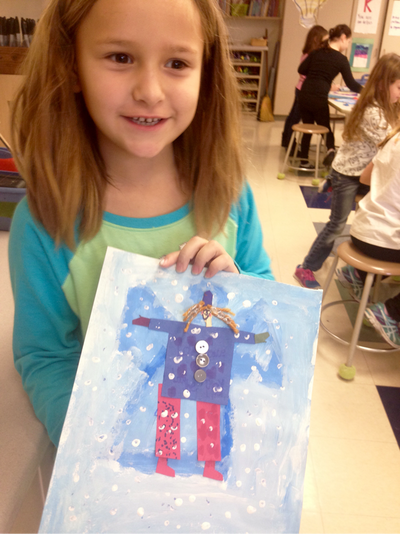
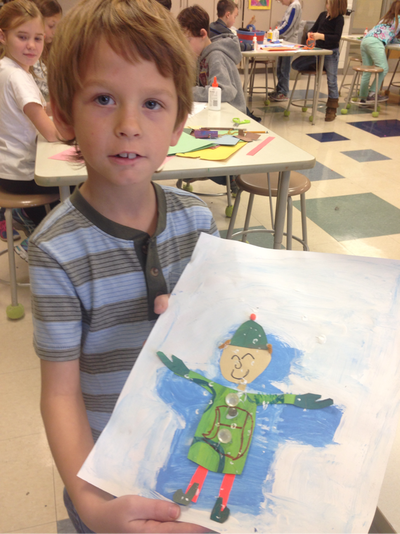
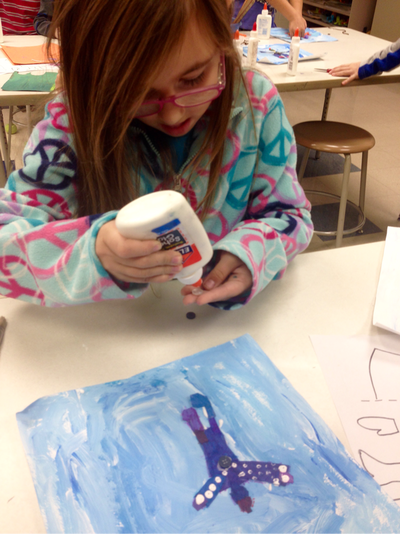
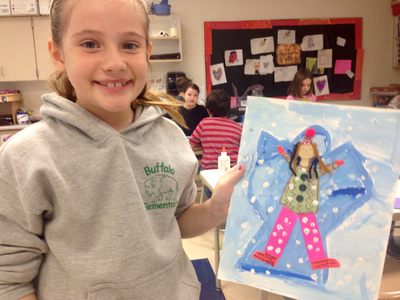
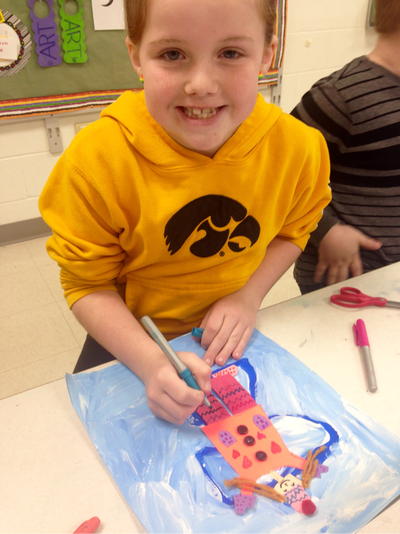
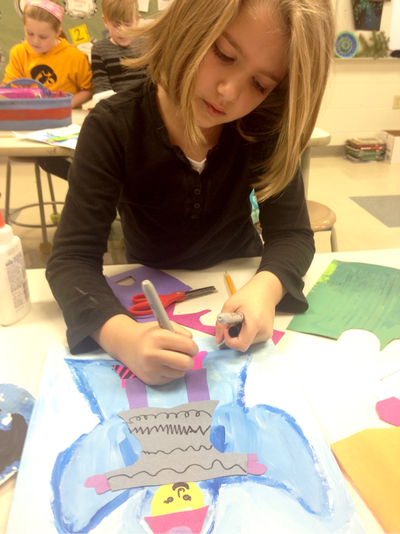
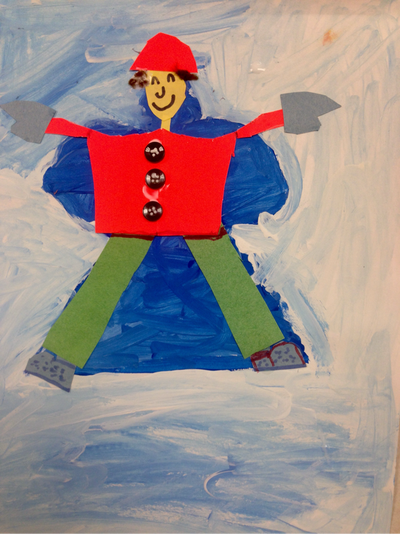
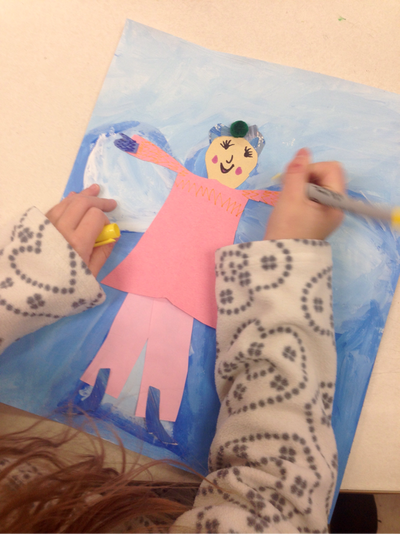
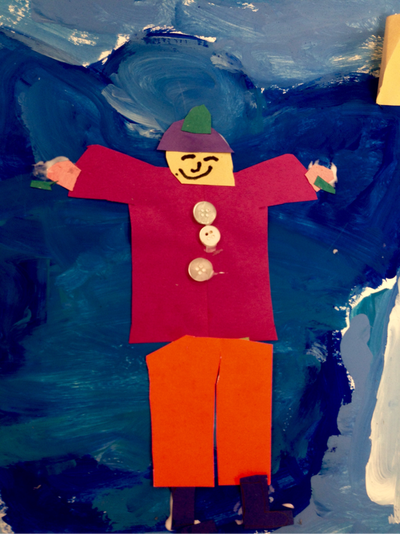
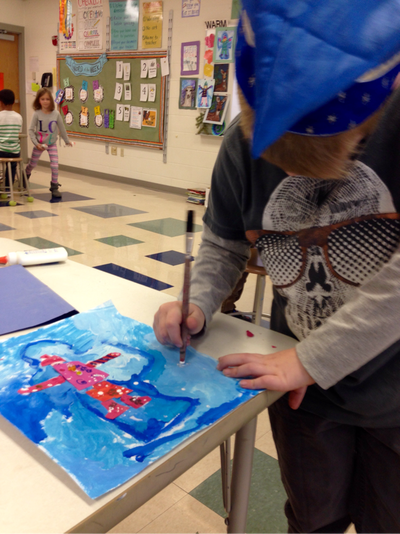
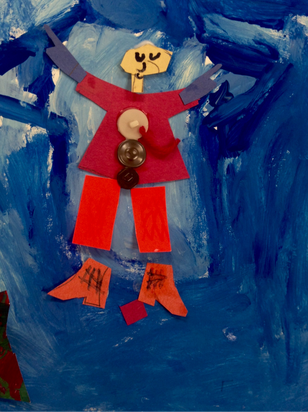
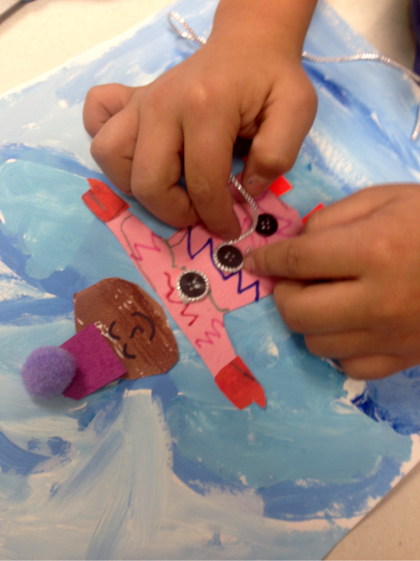
Stay tuned to see our Animal and Habitat artwork inspired by the field trip and STEAM classroom projects! Our inspiration: A Perfect Day by Carin BergerAfter reading the story A Perfect Day, 2nd Grade students first created the snow angel using tints of blue tempera paint. The following art class, they added themselves to their snow angel! We learned how to fold a piece of paper to create an item with symmetry (a coat) or to create two of something at once (a pair of boots, mittens). They could add buttons or yarn for their hair or scarf. The last step was to use white tempera and the tip of the handle of their paintbrush to add some falling snow.
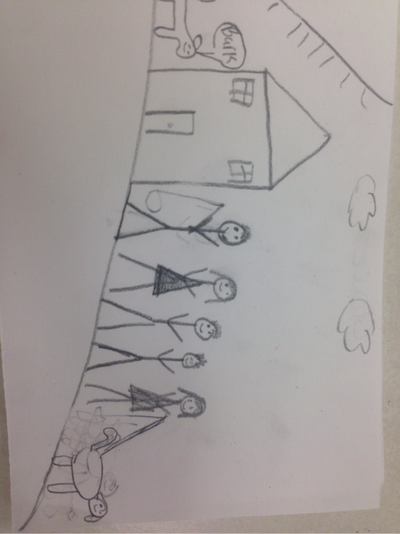
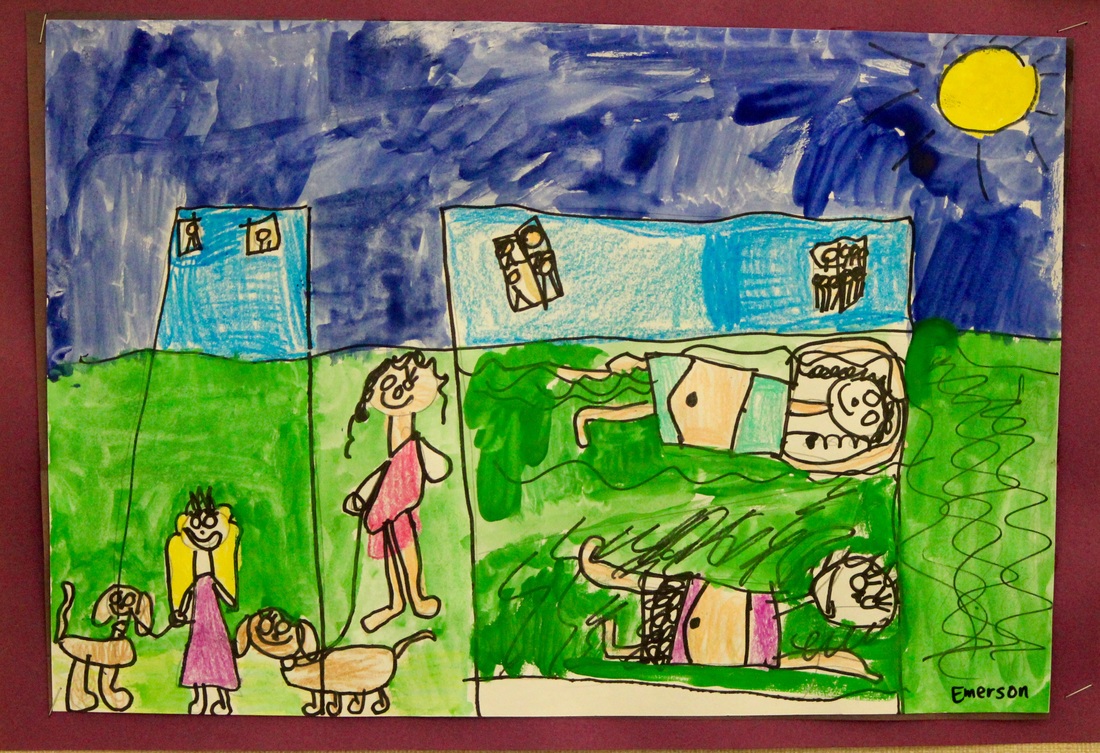
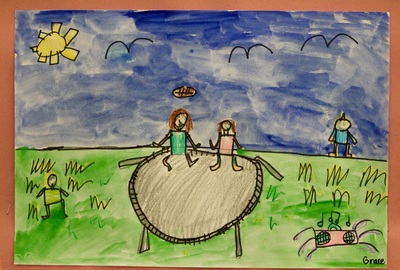
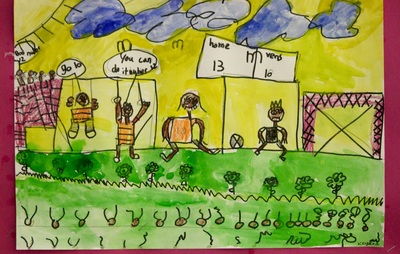
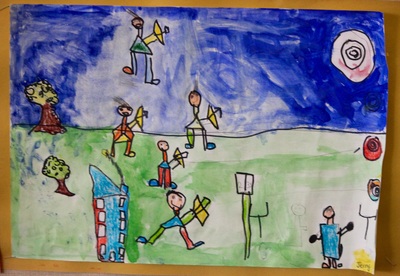
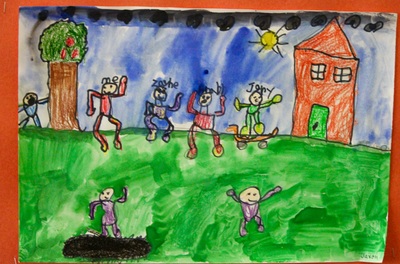
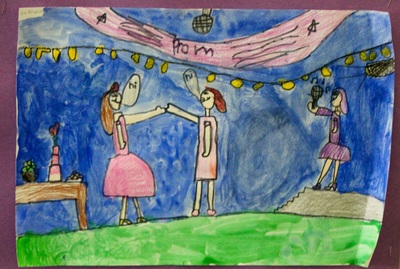
Thank you to Deep Space Sparkle for the project inspiration. 2nd graders learned how to draw people showing movement. We looked at some ideas from Ed Emberly to help us. We always started our people with circle, line, rectangle, and then all we had to do was add angle, curve, or straight lines for the arms and legs. We added meat to their bones by following the arm and leg lines. The students were required to draw the horizon line, 4 people and 4 details. We outlined with Sharpie and added color using crayons and tempera cakes. I love how each drawing is different and shows the personality and interest of the artist. Great job, second graders!
|
Author
Archives
June 2016
Categories
All
|
 RSS Feed
