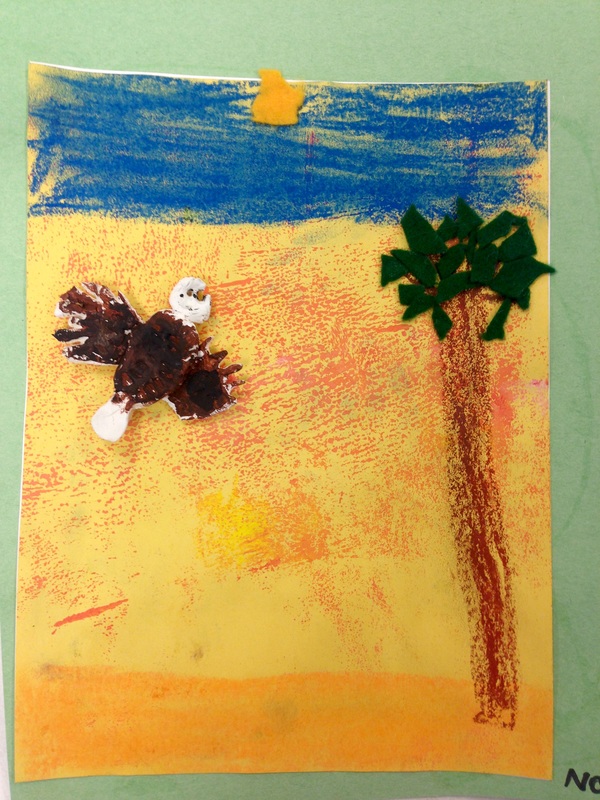
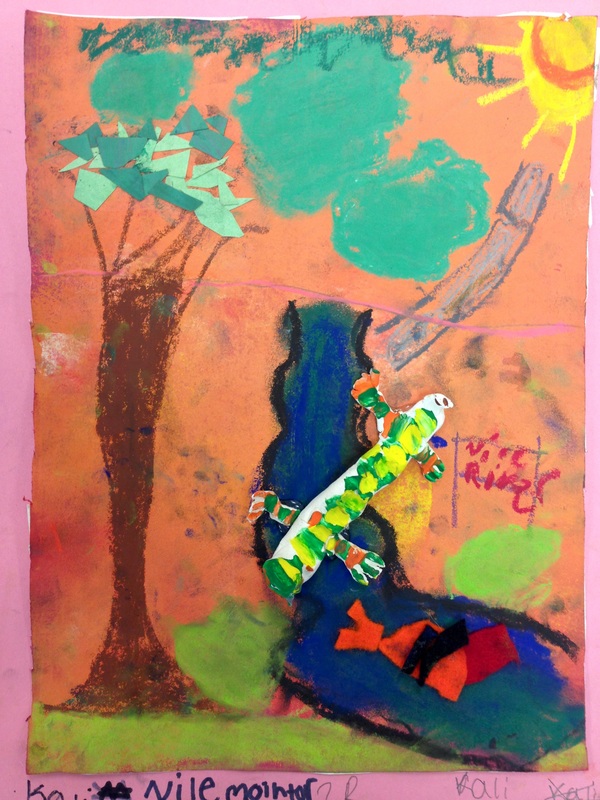
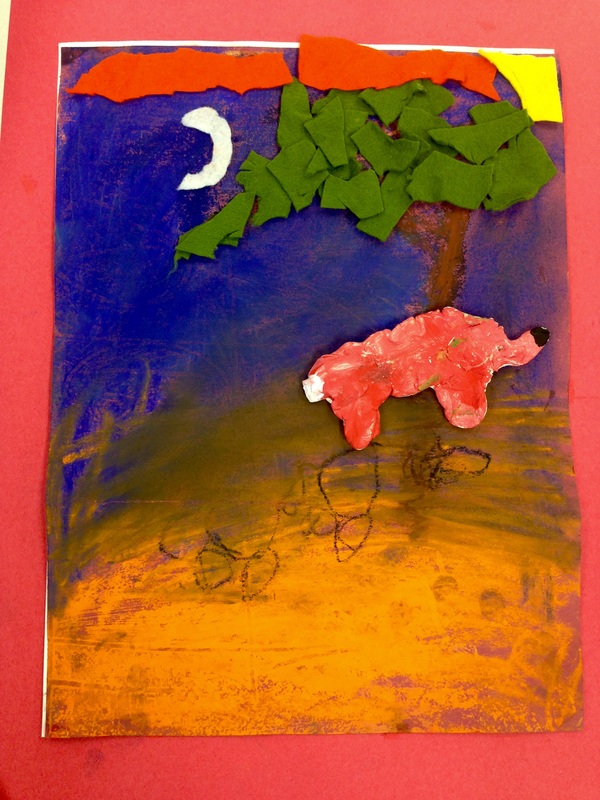
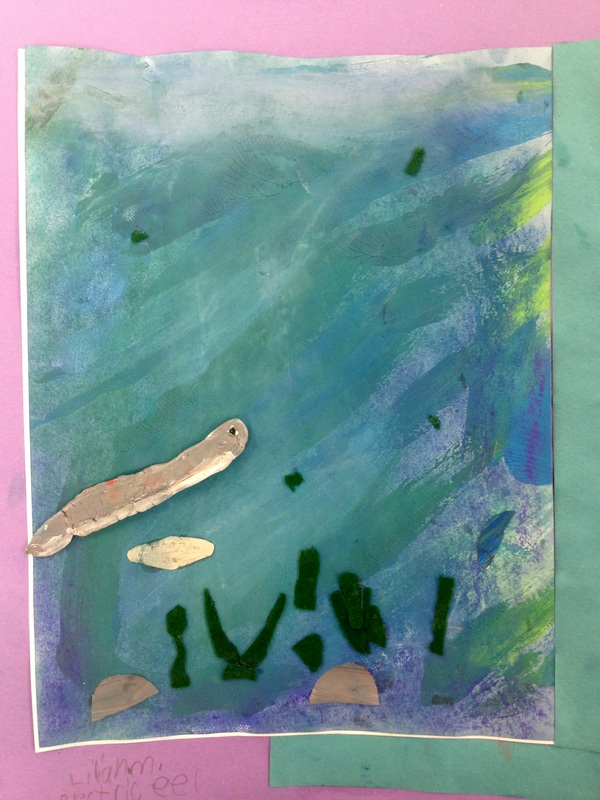
2nd graders are focusing on animals and their habitats in their classrooms for their STEAM project. We went on a field trip to learn more about this topic. You can read about it here. Each student chose an animal to research and created a presentation on their chosen animal in their classroom. They applied this new knowledge in the art room on this art project, inspired by Cassie Stephens' 4th grade mix media collage.
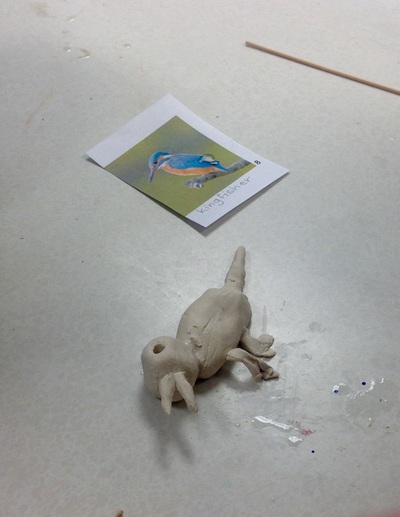
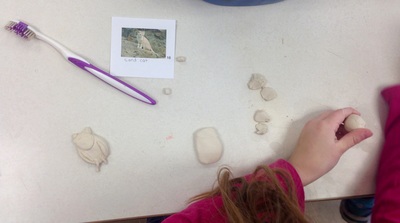
Step 1: Form their animal out of Crayola Air-Dry Clay. Each student received a golf-ball sized amount of clay and, after a quick review of scratch and attach (slip and score), creating a sphere and squishing it to create a slab (great base for an animal body), and using tools to create texture, the artists were ready to go. Students had a photograph of their animal at their table to work from. We made pinch pot tigers (check back later to see the tigers--they are in the kiln right now) earlier this year and forming their animal came pretty easy for them. If they had extra clay, they could make an animal baby. Some opted to make eggs.
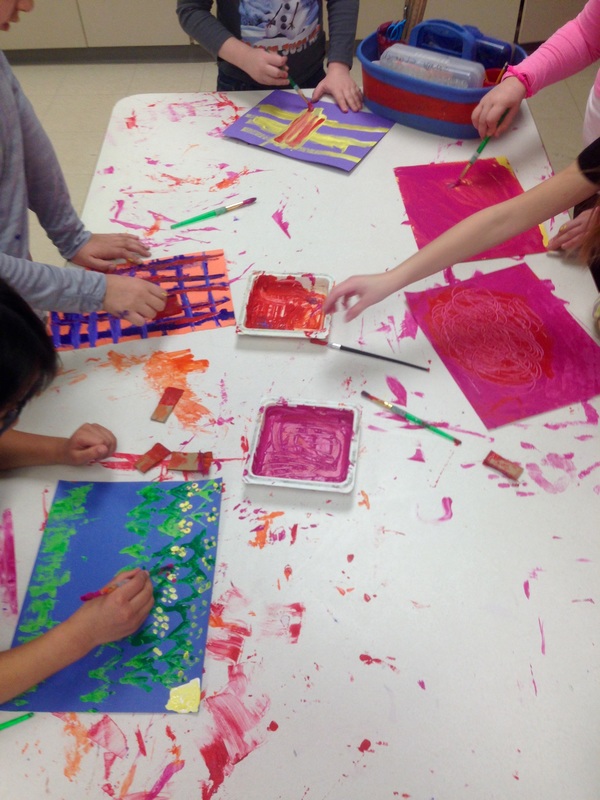
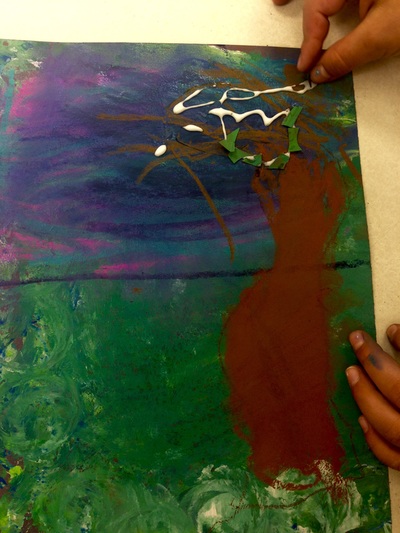
Step 2: Make painted paper! Kids LOVE making painted paper (mostly because it is so messy) and these served as our backgrounds. I showed them a few techniques, like using cardboard to print designs, using a sponge, applying paint to one page and "printing" it onto another, and using the back of their paintbrush to scratch the paint. No other explanation was needed; this stuff is second nature to kids. One 2nd grade class was behind the other due to a field trip earlier this year, so one class made enough painted paper for both classes.
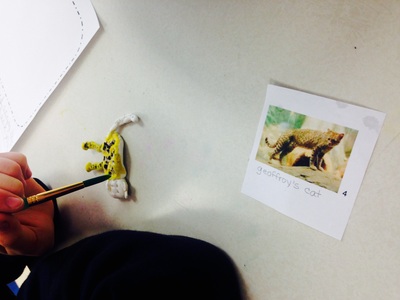
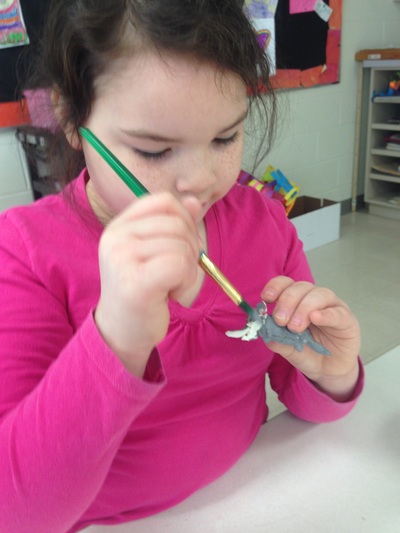
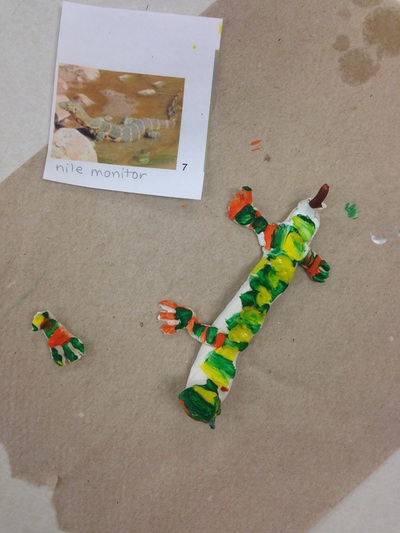
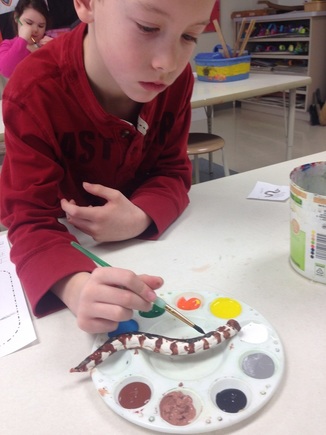
Step 3: Paint animal. The artists had a photograph of their animal at their table to work from. We used liquid tempera paint.
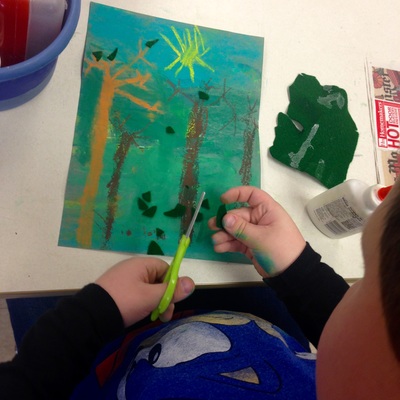
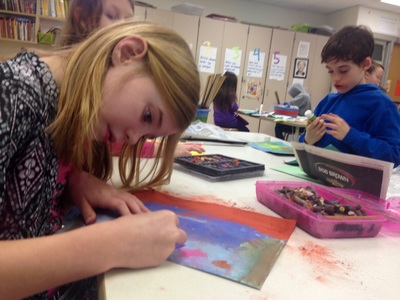
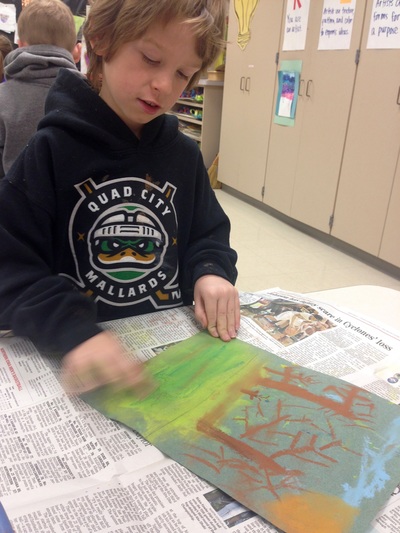
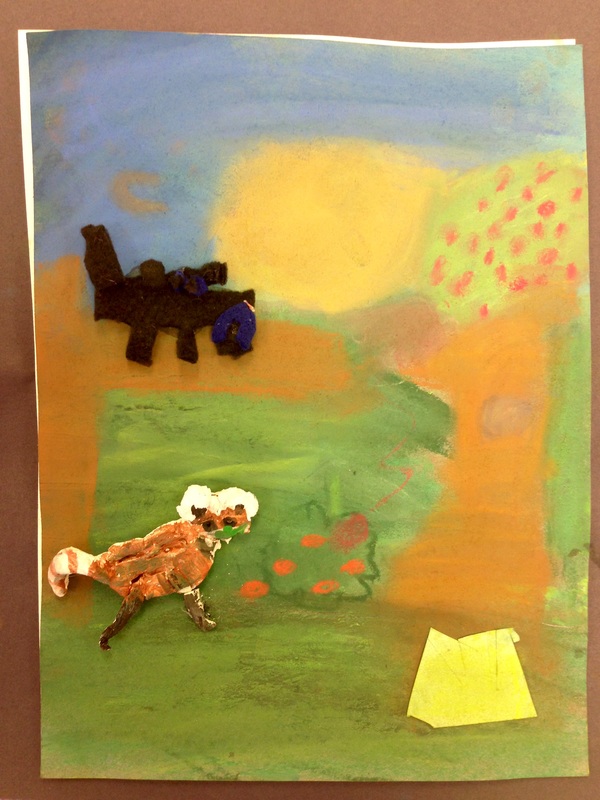
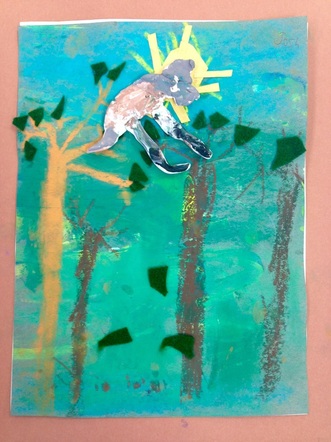
Step 4: Create habitat. We reviewed warm and cool colors and looked at some photographs of each of the 5 types of habitats: forest, rainforest, river, ocean, and desert. The artists were to use either all warm or all cool colored chalk pastels for their sky; the ground was up to them. They chose a warm or cool piece of 9 x 12 painted paper and took off.
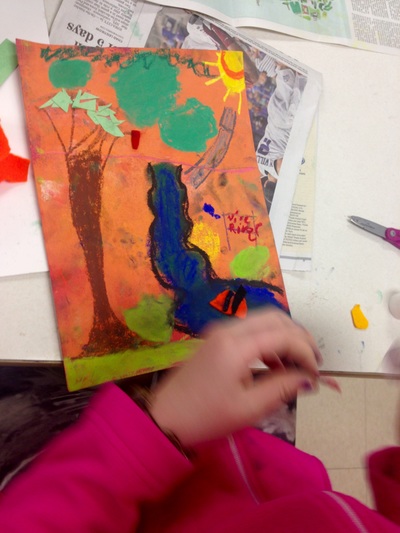
Step 5: Add finishing details using painted paper, felt, oil pastels and glue on animal. I put out painted and recylced paper (organized into warm, cool, and black/brown boxes) and felt scraps for students to glue on finishing touches. Once they completed their habitat, they got their animal, placed it in their habitat, and I hot-glued it on. They matted their work on another piece of paper, added a border if desired, and wrote their name and the name of their animal at the bottom. These will be displayed at STEAM night at Buffalo Elementary on March 2nd. Come see the masterpieces!
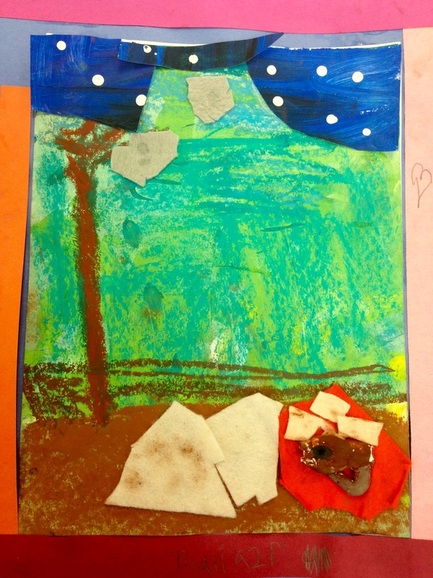
This artist informed me that the felt at the bottom is the animal's "nest." It is hibernating.
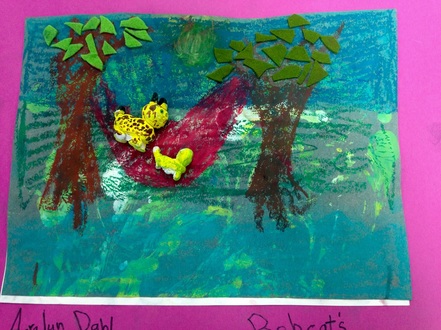
And this bobcat and baby have their own hammock! Lucky cats.
 RSS Feed
