|
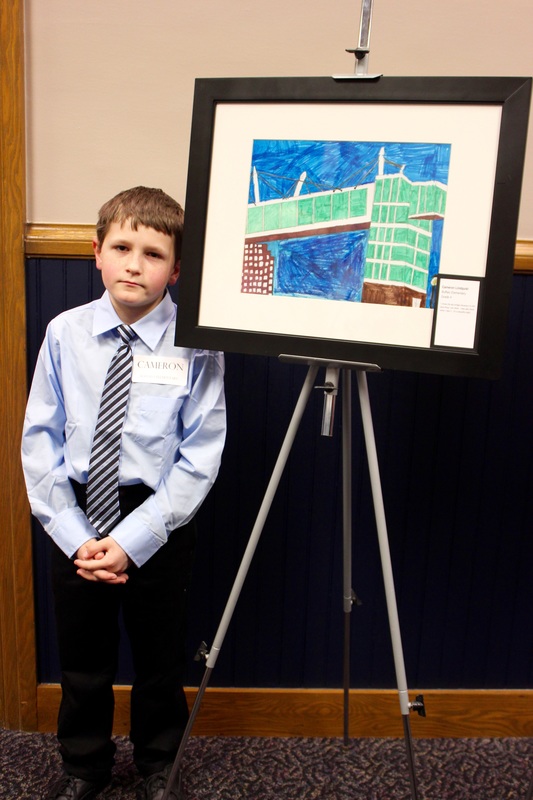
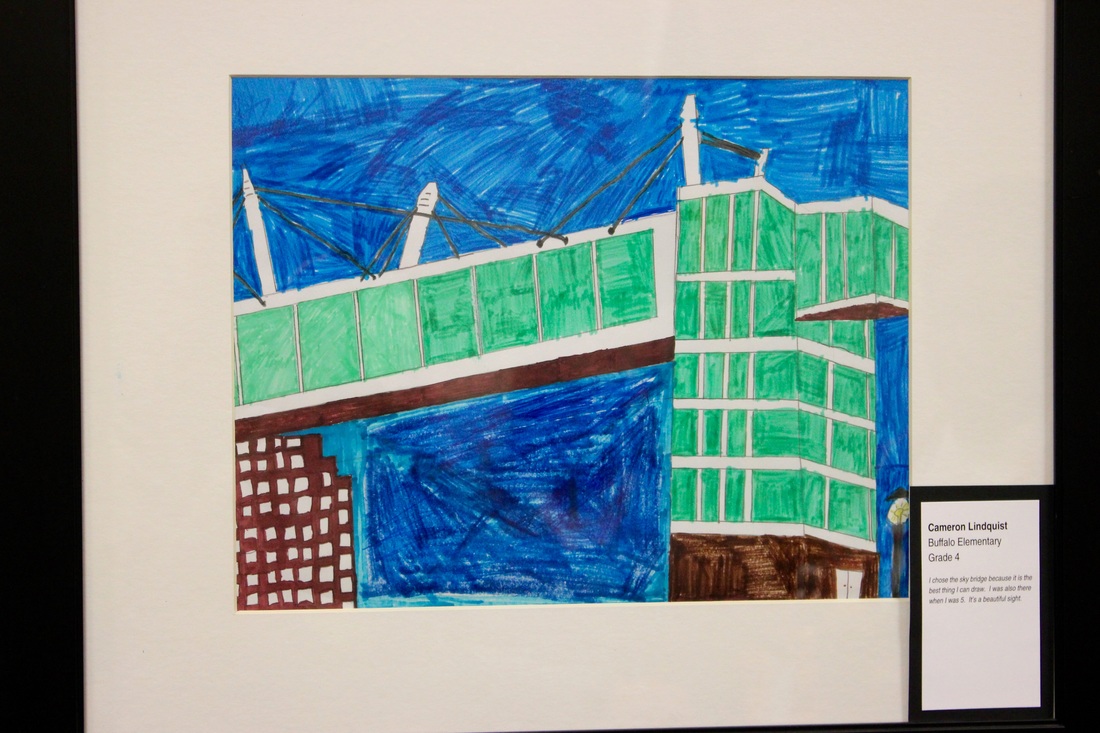
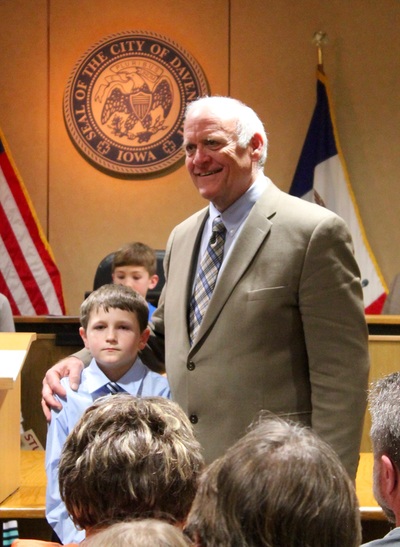
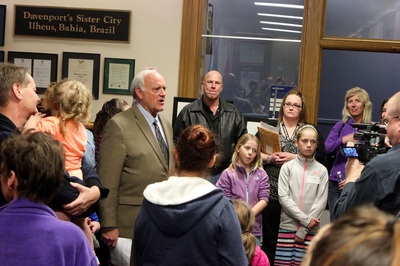
Congratulations to 4th grader Cameron! His landmark was chosen by his classmates to represent Buffalo Elementary at the Davenport City Hall Reception. The reception took place on Wednesday, March 9. His work will be on display there for one full year. The show is open to the public and is located on the 3rd floor of Davenport City Hall.
0 Comments
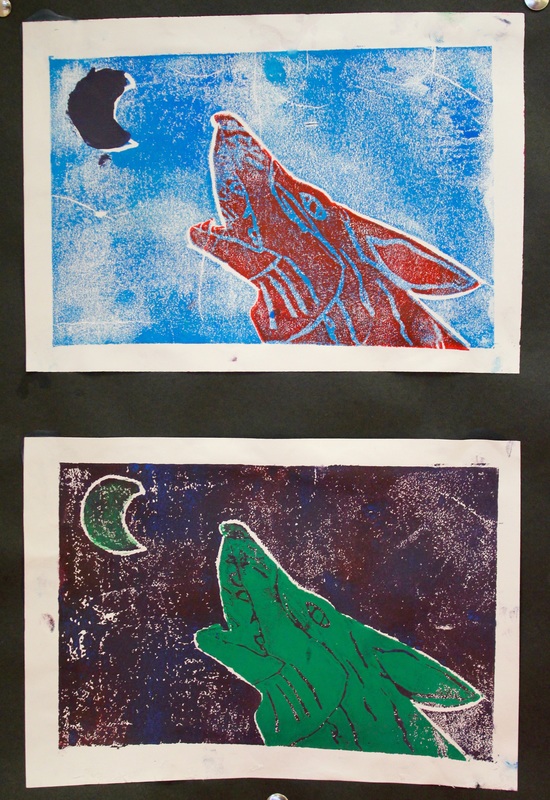
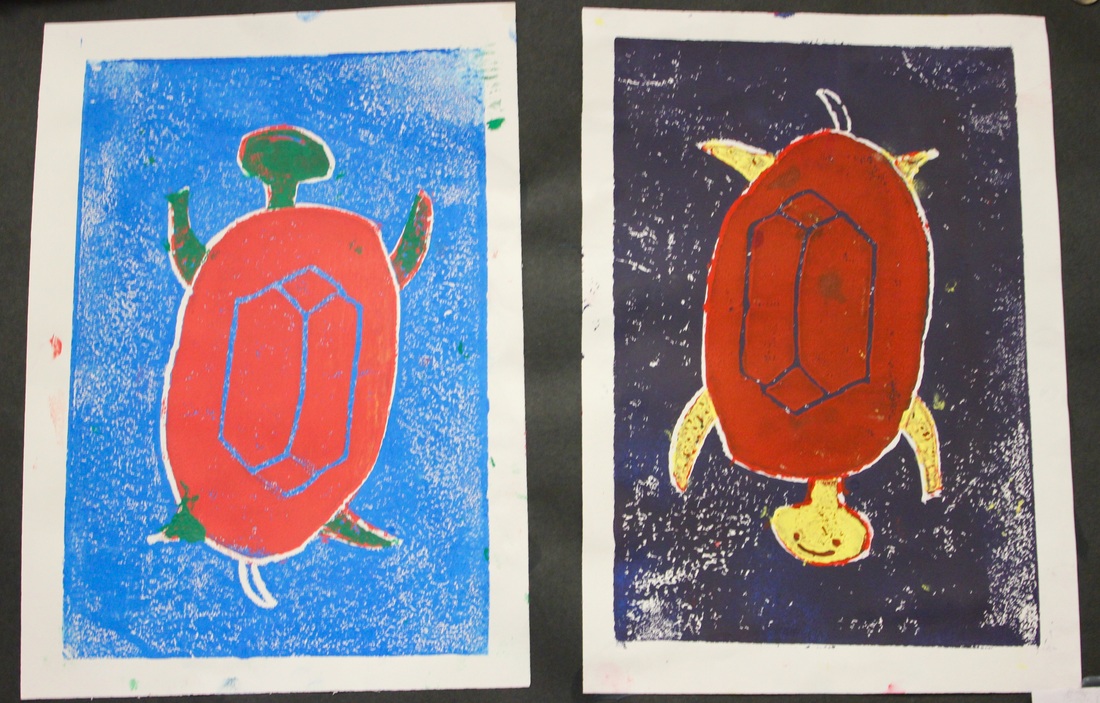
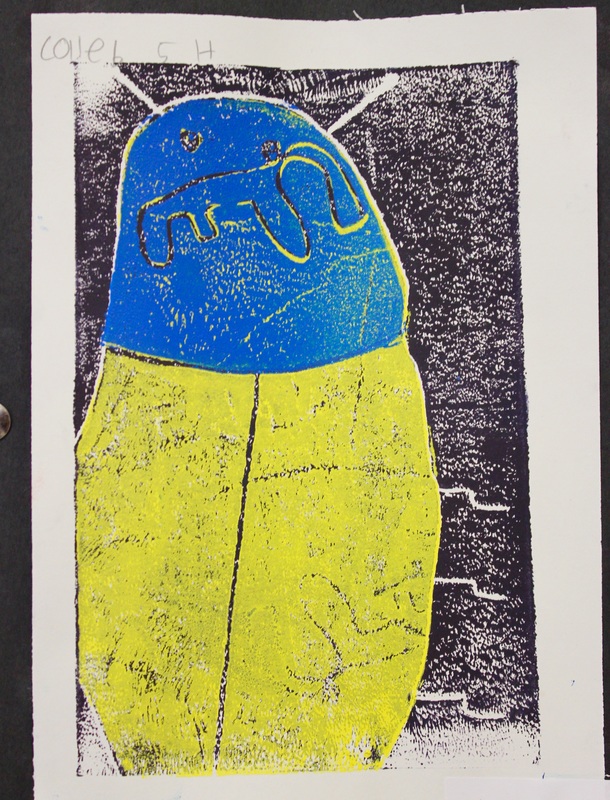
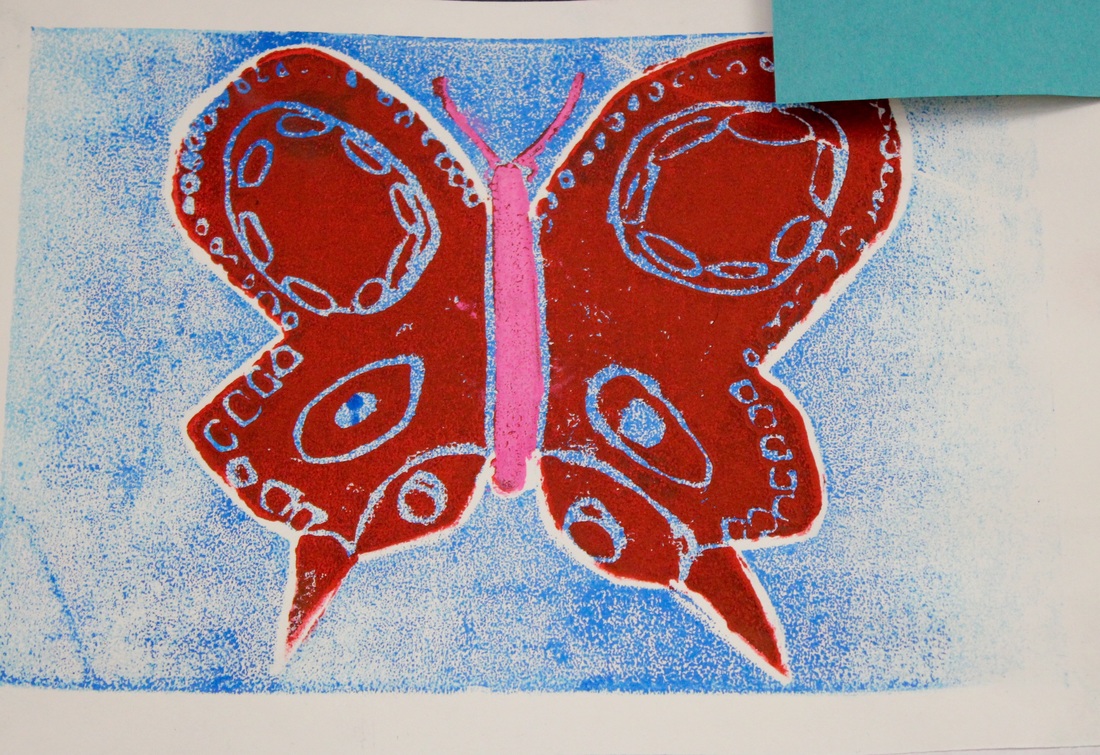
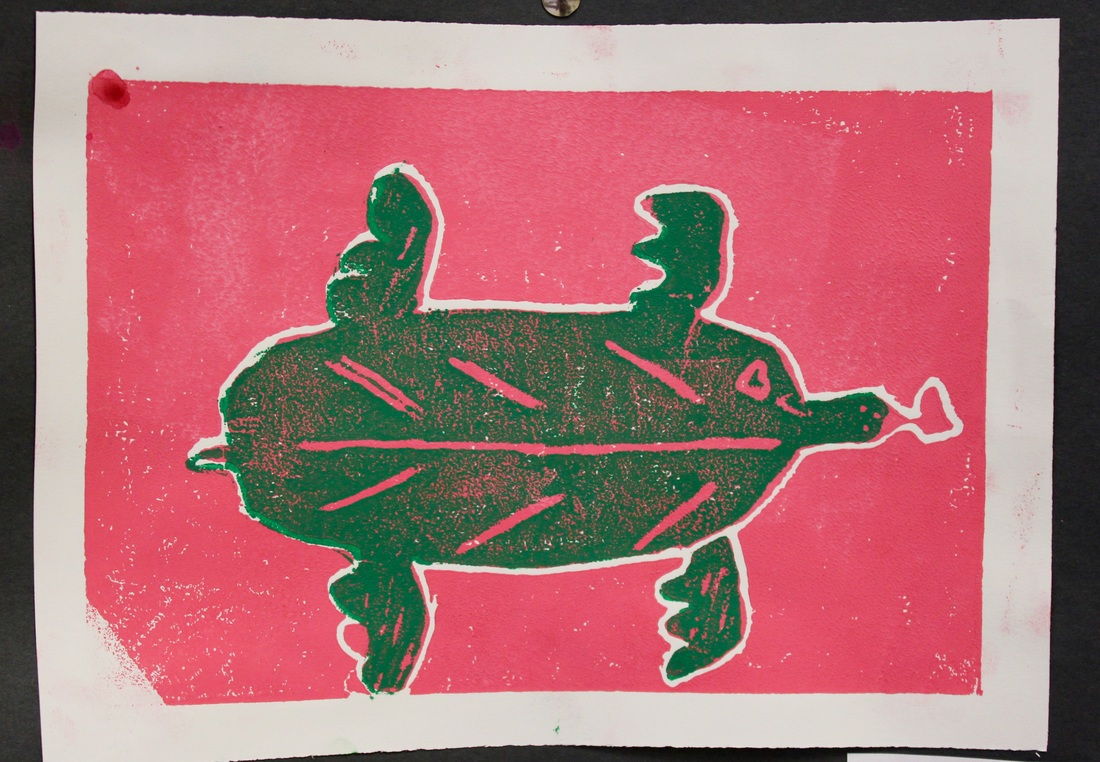
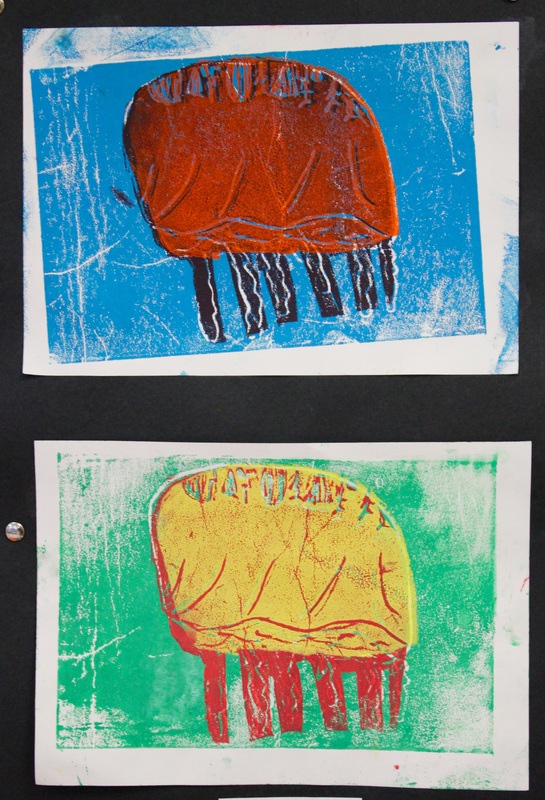
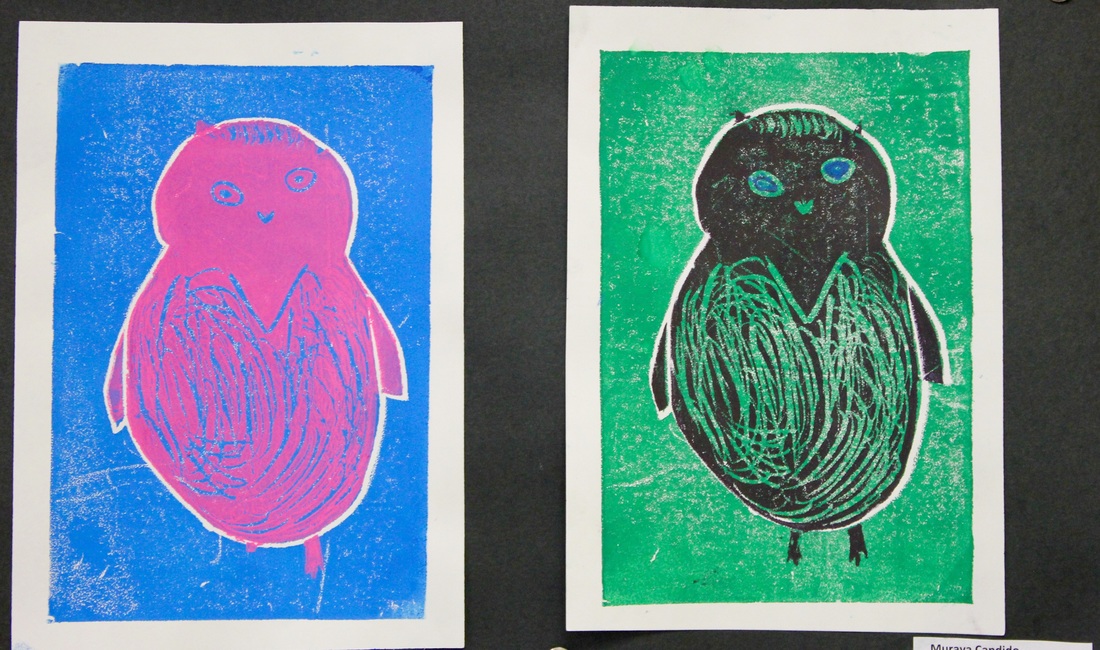
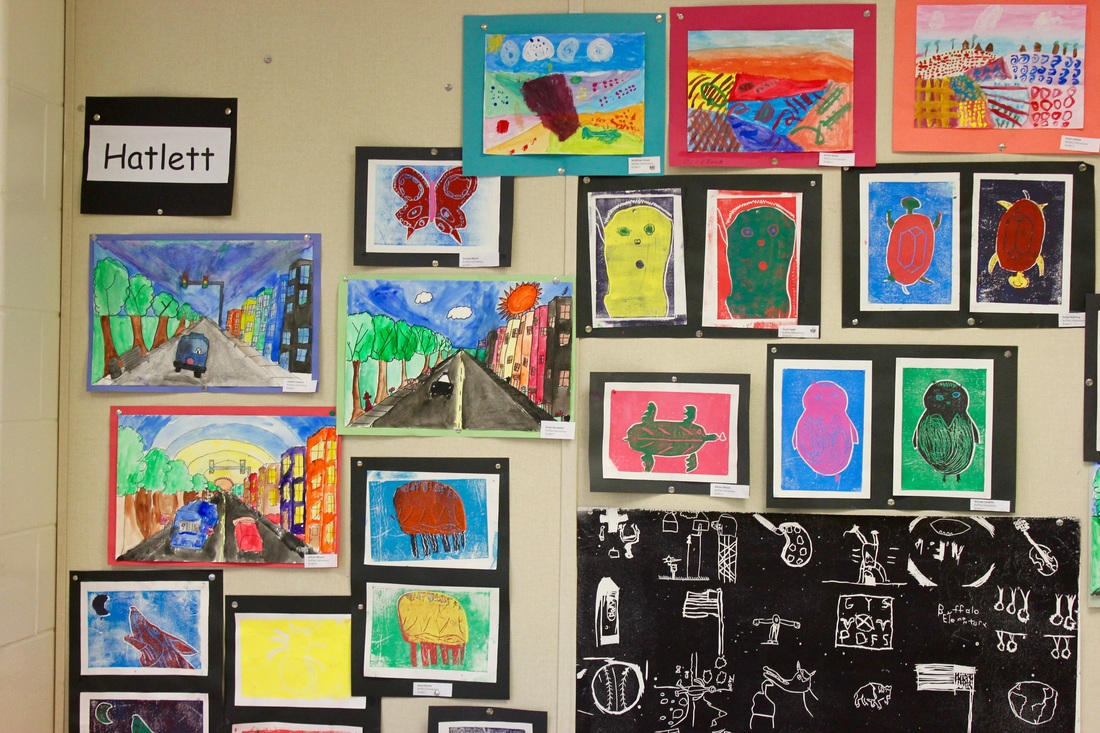
I posted a preview of the 5th grade animal prints a few weeks ago. Click here to see the post. One 5th grade section finished all 3 sessions of printmaking and matted their prints. I am so pleased with the results! They are proud of their work and a few of them were on display for the STEAM showcase. Check them out below! Lesson is from the Thomas Elementary Art Blog.
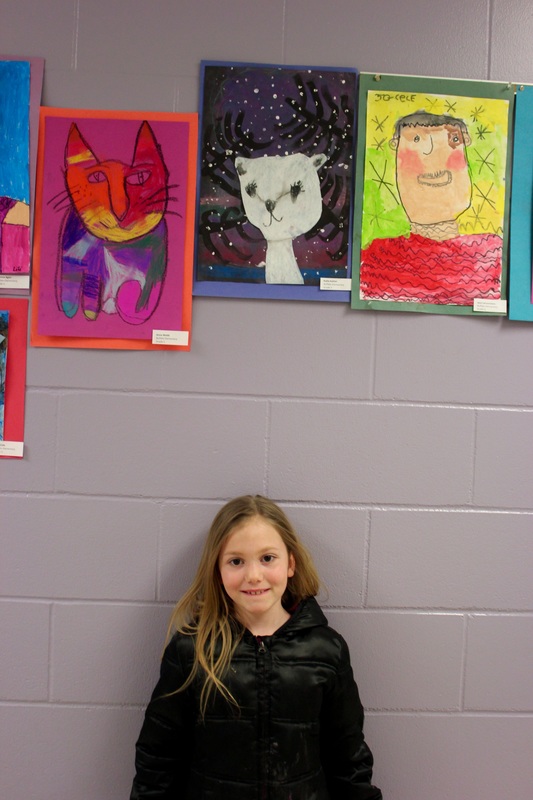
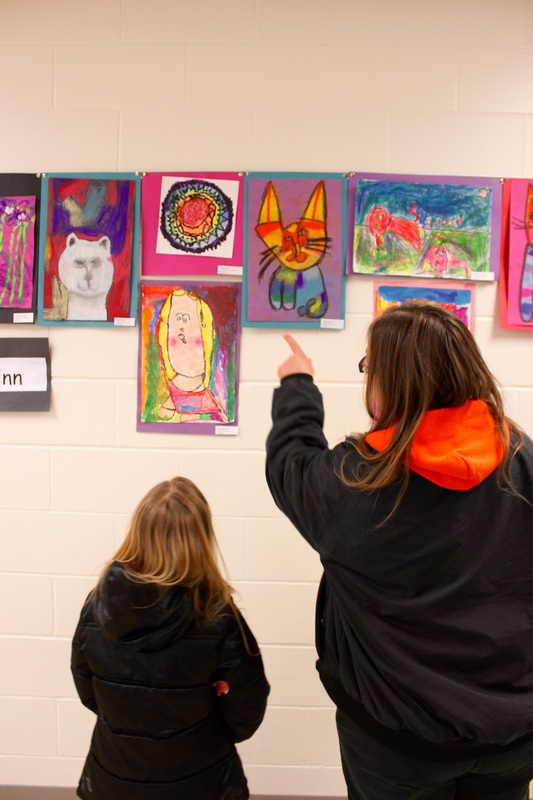
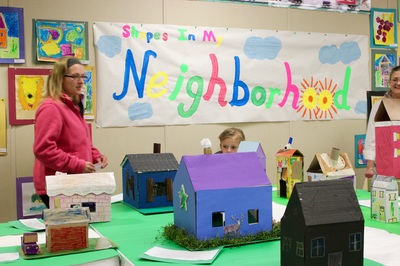
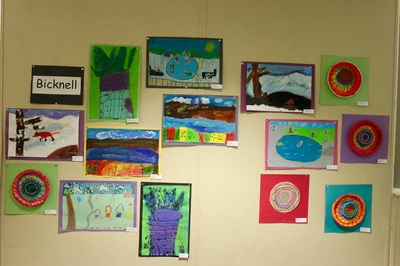
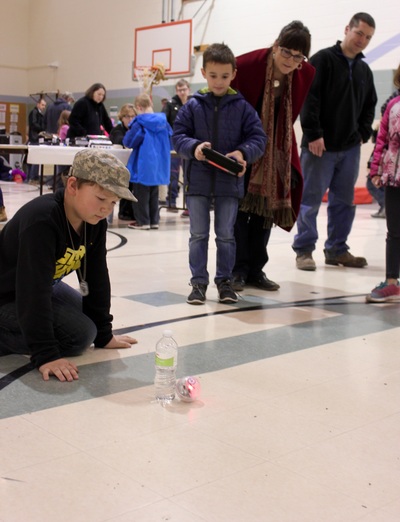
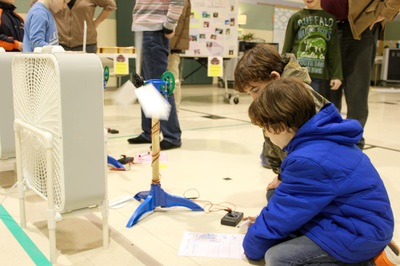
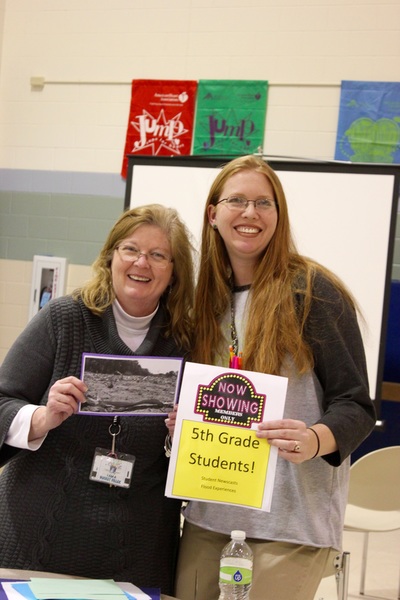
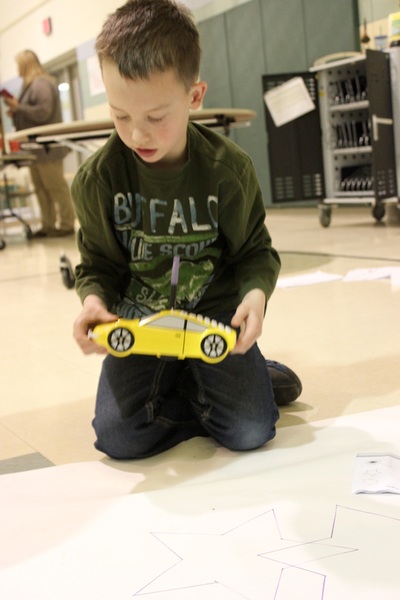
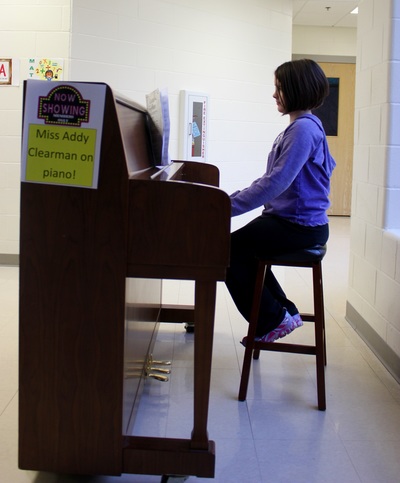
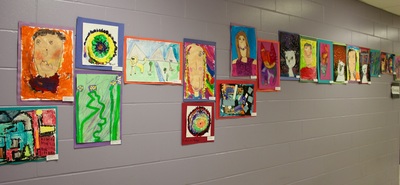
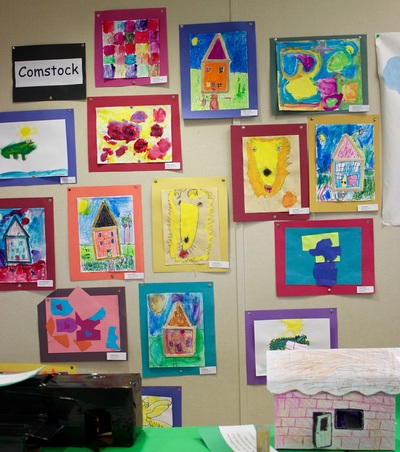
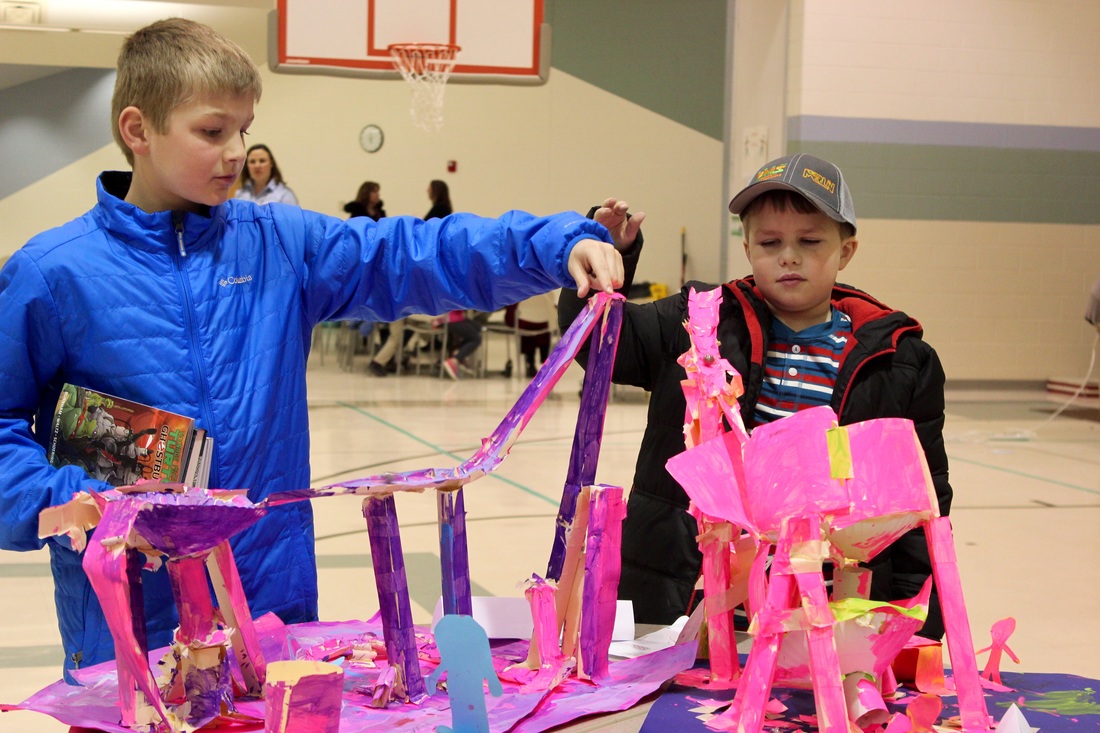
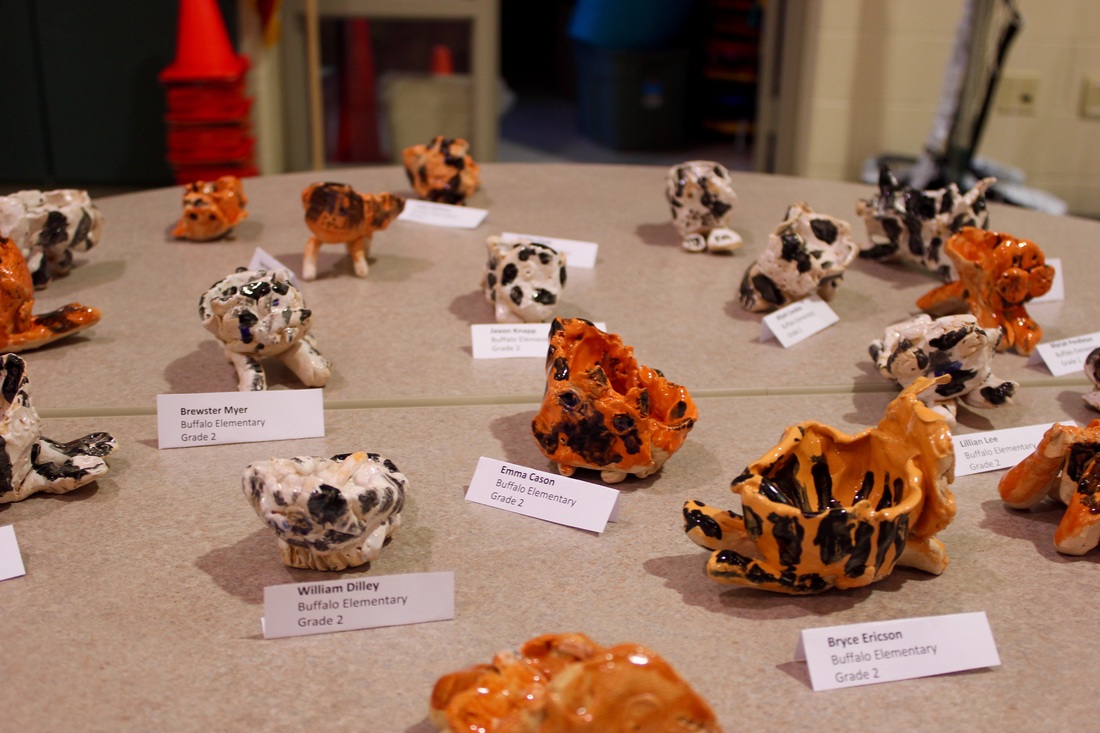
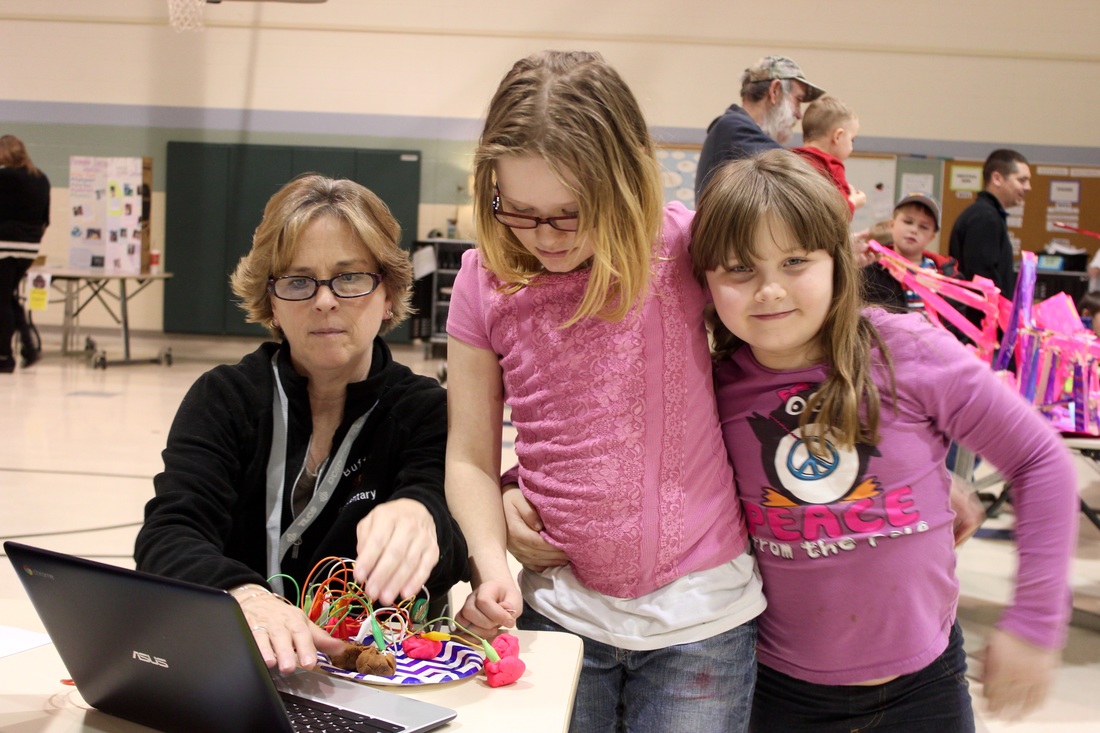
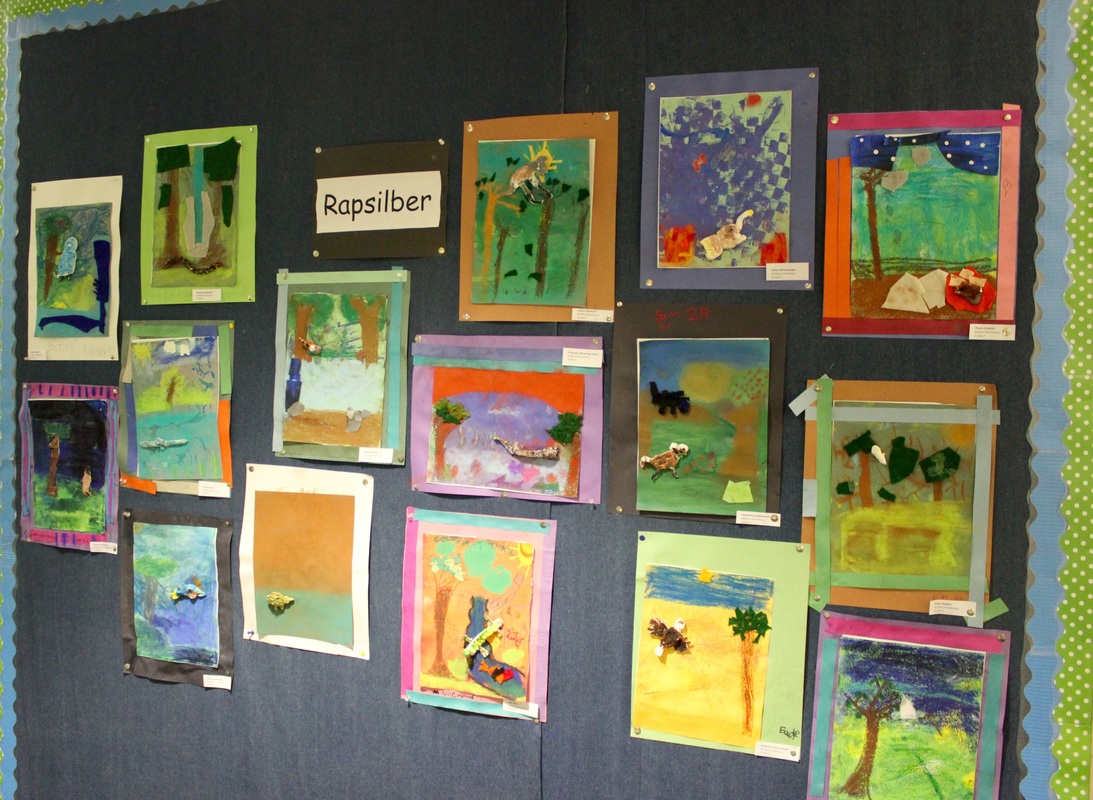
For Buffalo Elementary's STEAM showcase, I chose one successful artwork for each student, matted it (if not previously matted by the student), and labeled it. Brenda, one of Buffalo's AMAZING paraprofessionals, hung almost every single artwork in our school for this big event. I hope you were able to come to our STEAM night. Here are some images from the fun evening!
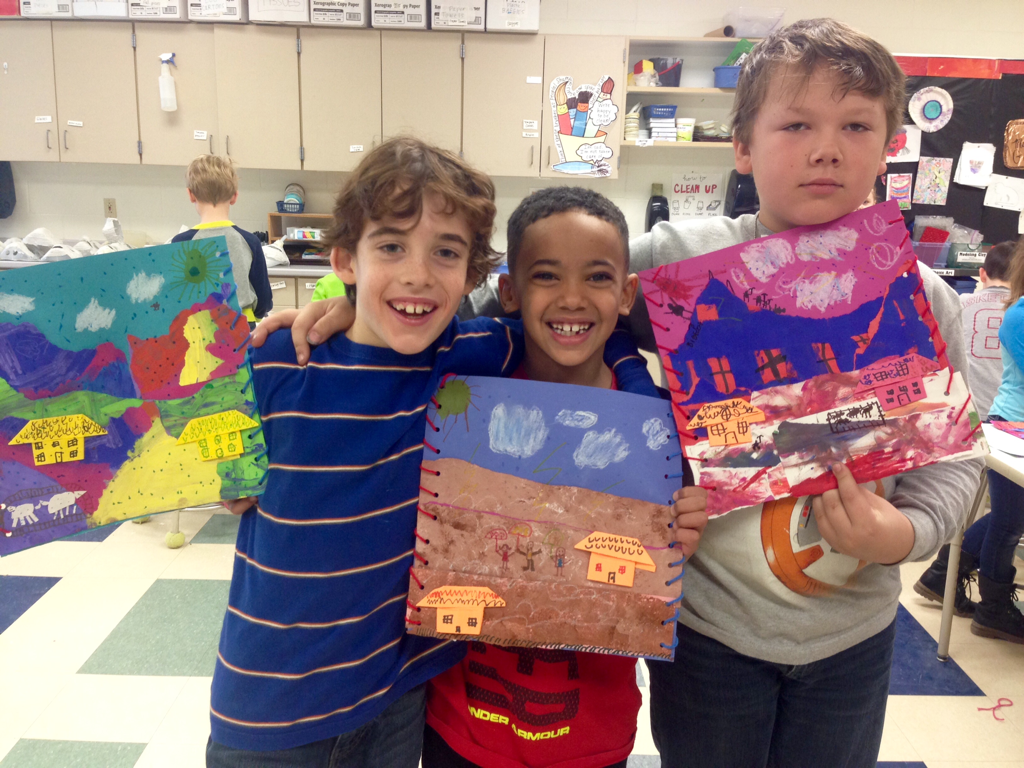
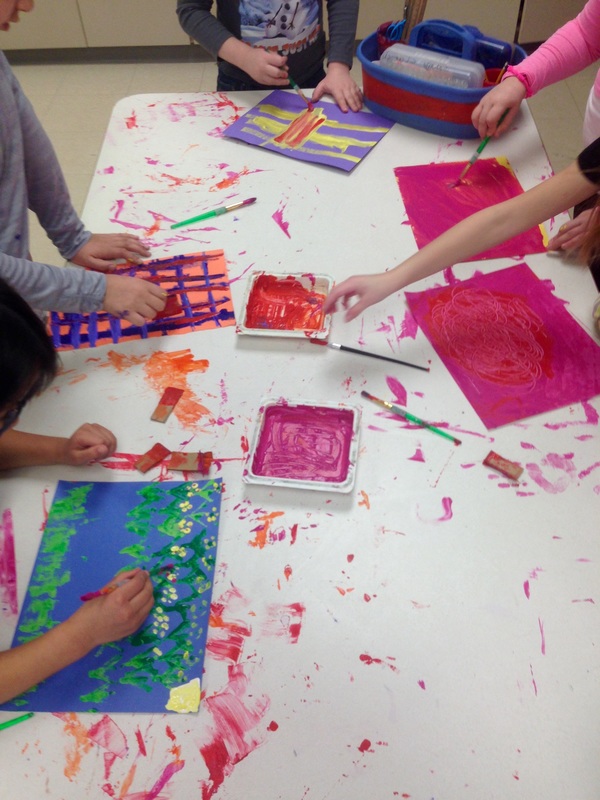
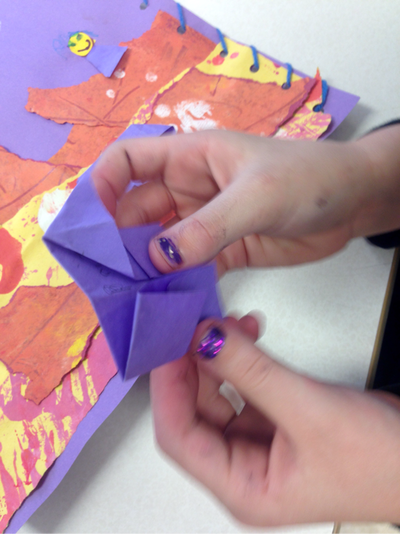
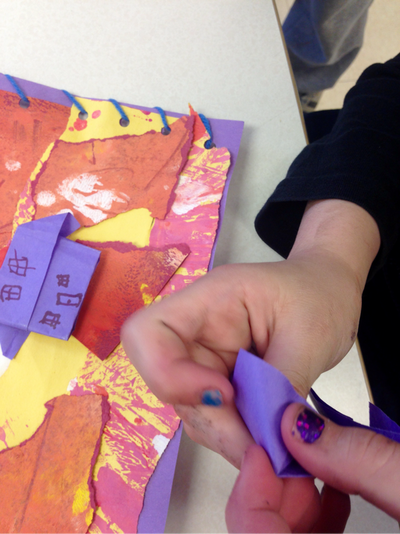
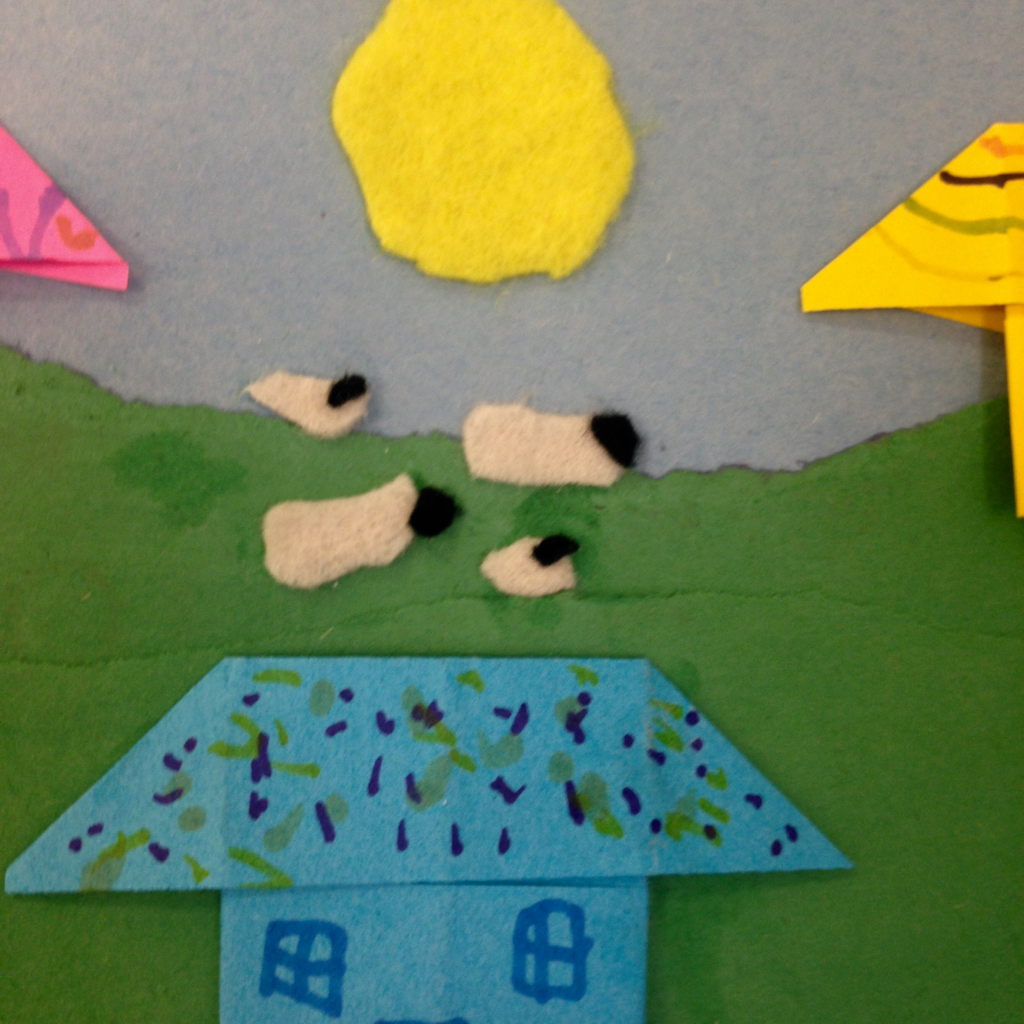
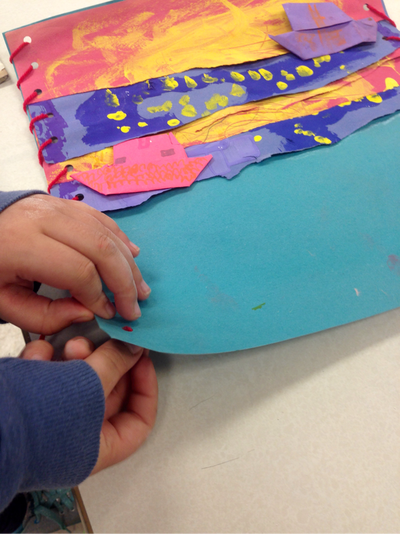
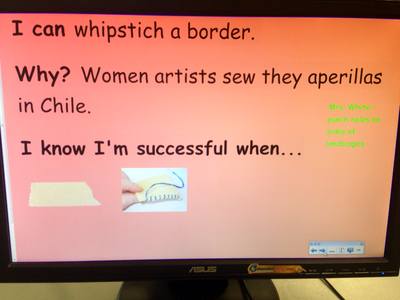
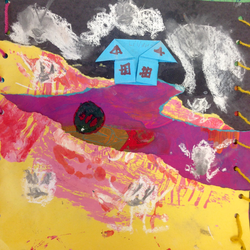
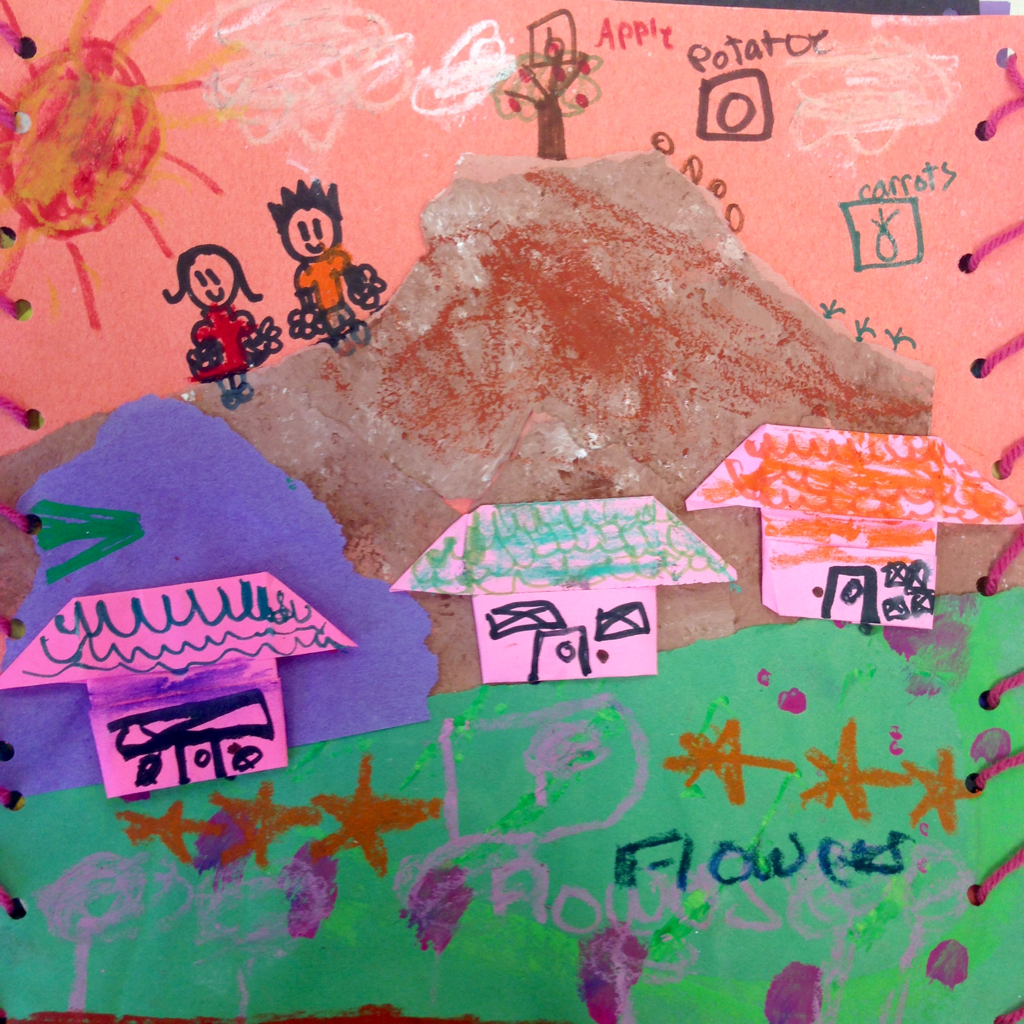
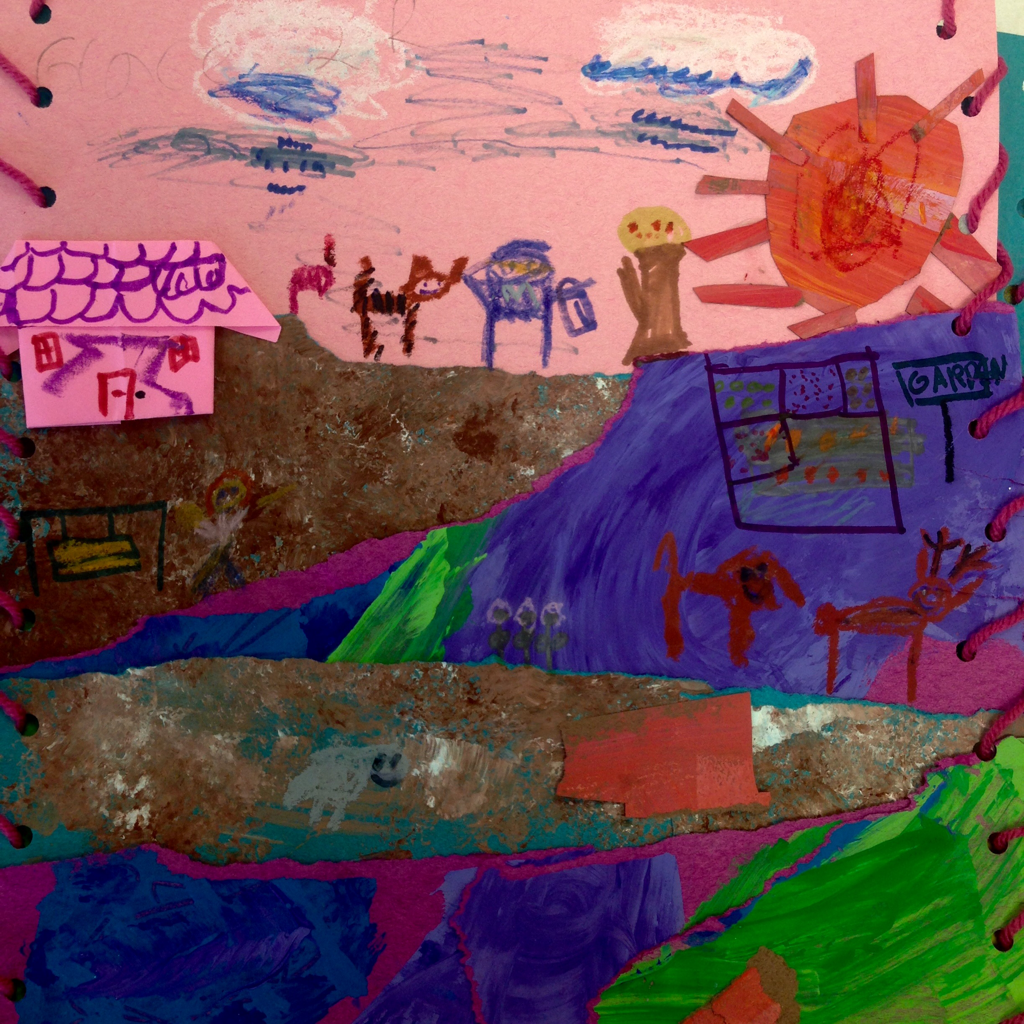
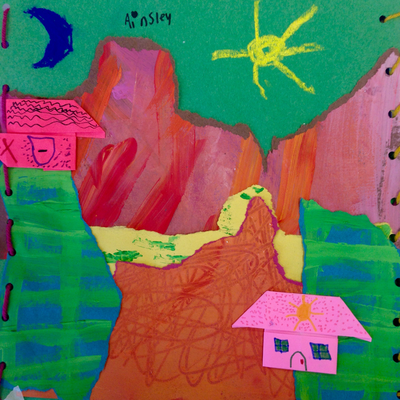
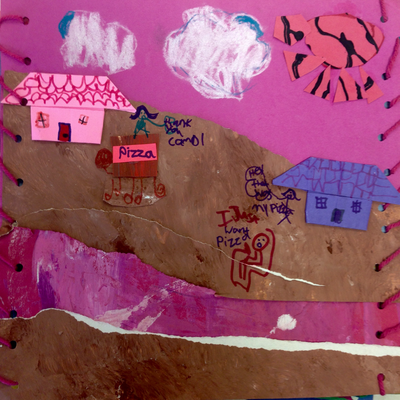
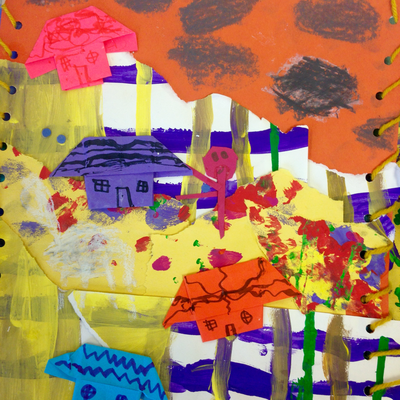
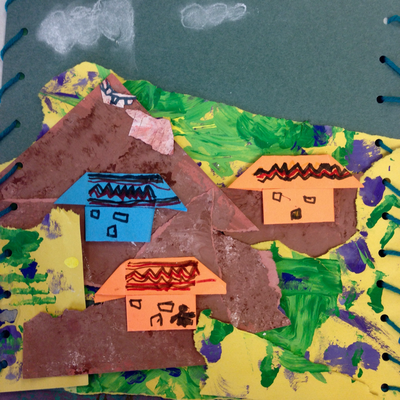
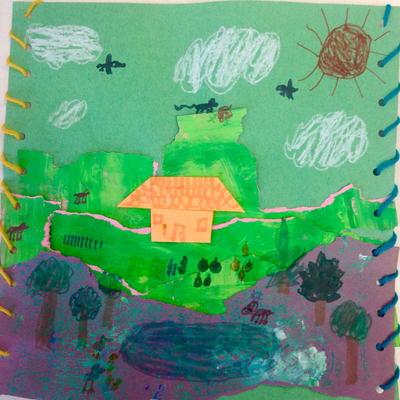
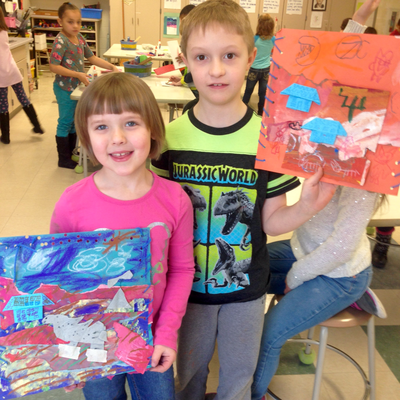
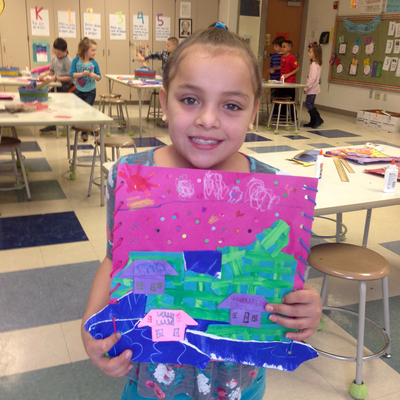
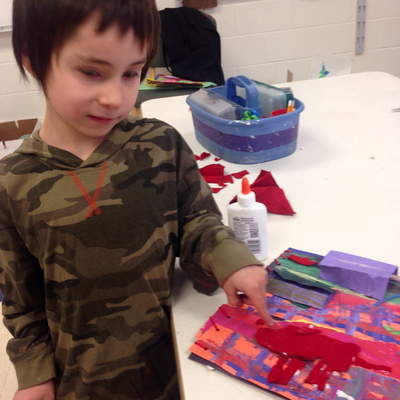
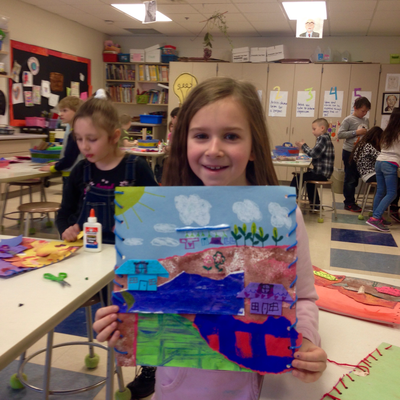
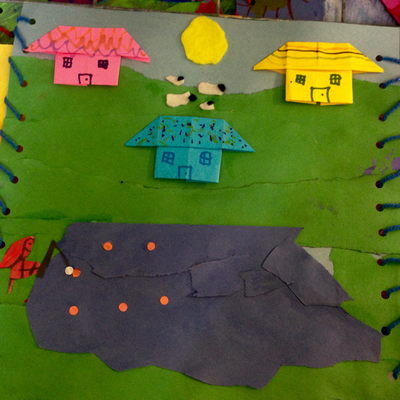
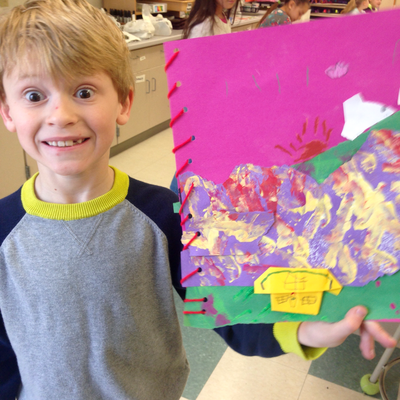
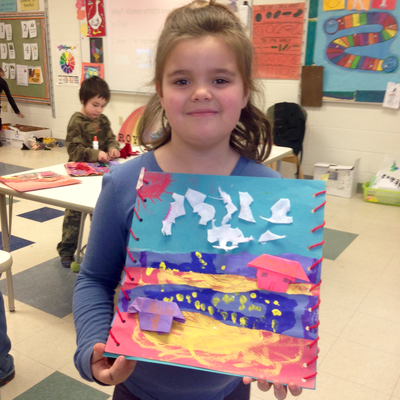
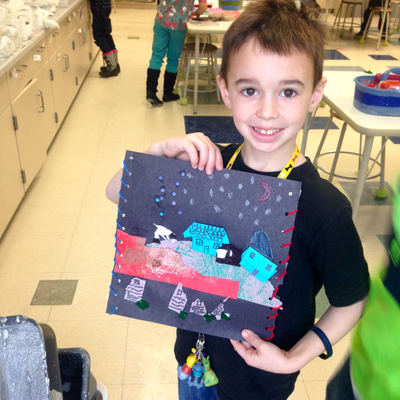
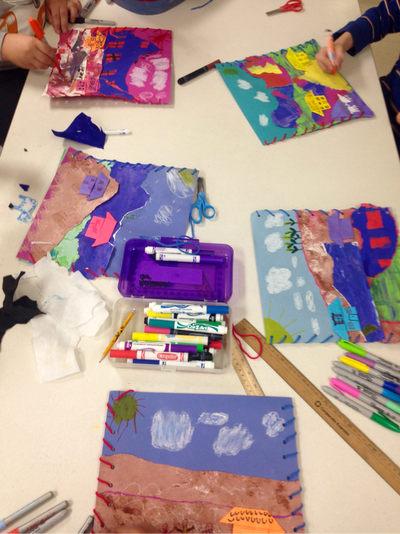
This is another amazing project courtesy of Cassie Stephens. Click her name to find detailed instructions for this lesson. For some background information on Chile and arpilleras, we checked out her Prezi, which can be found here. Ask your 2nd grader the following questions about Chile: 1) Where is Chile located? 2) What mountain range is in Chile? 3) Name the ocean that borders Chile. 1) Make painted paperFirst, we started by making painted paper. Kiddos LOVE making painted paper because 1) it is messy and 2) everyone is successful! Simply paint and add texture! 2) Create the land + Andes MountainsTo create the land and Andes Mountains, we took our painted paper and ripped it from short end to short end (creating a piece of torn paper that was 12 inches across). Students layered 2 different pieces to create variety. These were glued down onto a piece of 12 x 12 paper and they grabbed a piece of 4 x 4 bright colored copy paper and went to the floor to learn how to make an origami house! 3) Make an origami houseI got a refresher on how to make an origami house from this Youtube video. I demonstrated on a larger piece of paper (the kiddos were making a house with 4 x 4 colored copy paper). Once they had a house, they added windows and doors and glued them onto their landscape. 4) Add clouds and detailsBy this point, the artists are pretty familiar with where they can locate tools in the room and what medium they like. They could use chalk pastels, oil pastels, Sharpie, painted paper, or felt to add details to their landscape. 5) Whip stitch a borderWhile the kiddos were adding details, I punched some holes on the sides of their work. Upon entering the art room, they chose a piece of yarn (about 22-24 inches) and sat down on the floor. I modeled taping one end to the back of the paper and a whip stitch. The pattern is simply up, pull, up, pull. They caught on pretty quickly. The other end of the yarn was taped and they did the other side independently. The second grade artists are SO PROUD of their Chilean landscapes! I love all of the bright colors and textures. Thanks again, Cassie Stephens!
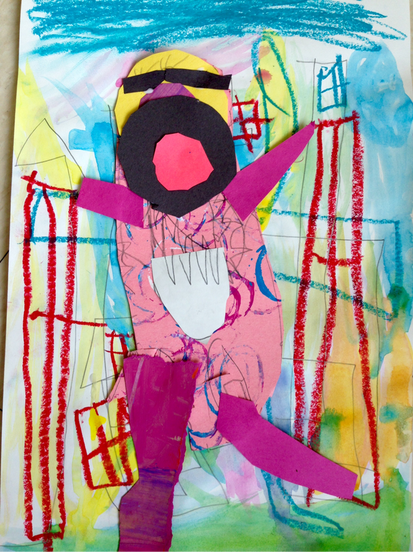
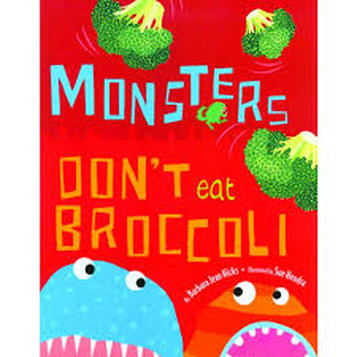
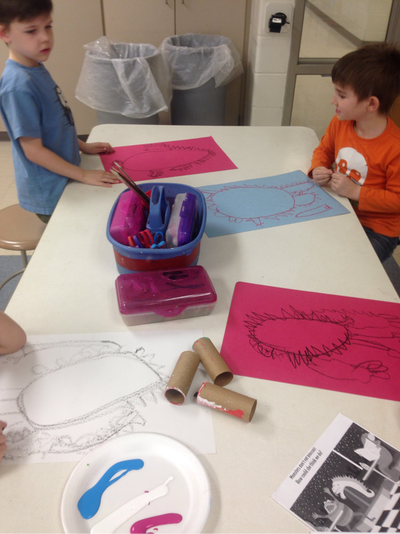
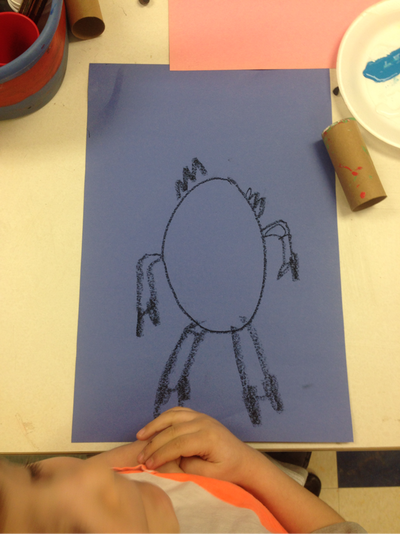
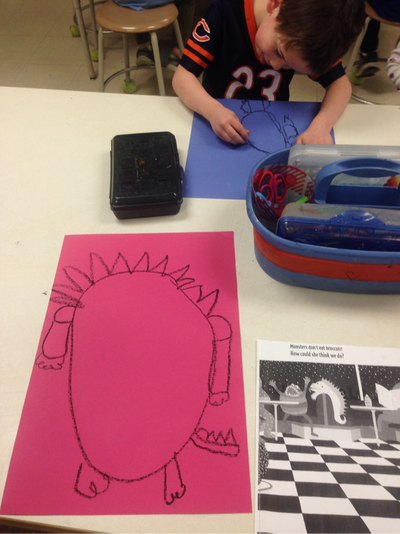
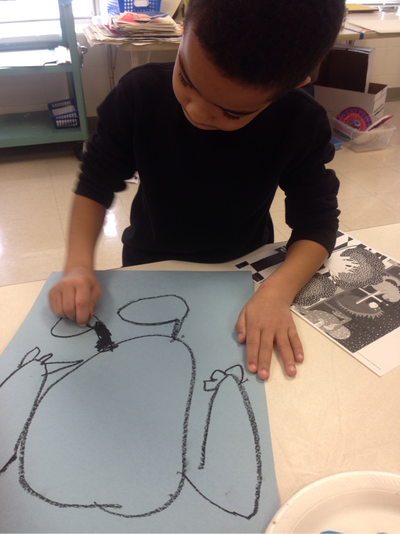
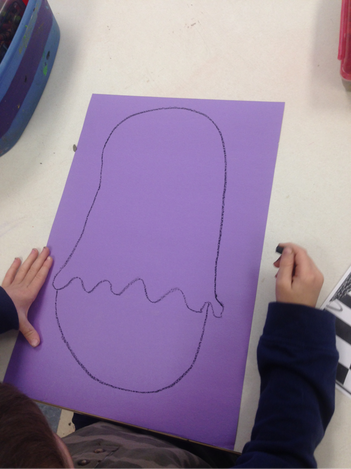
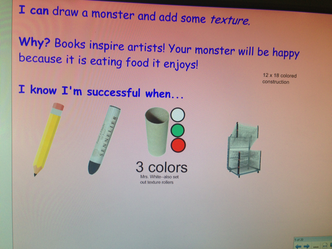
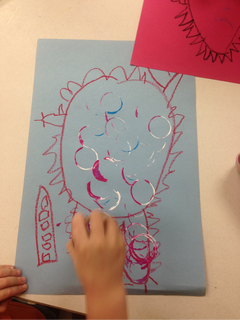
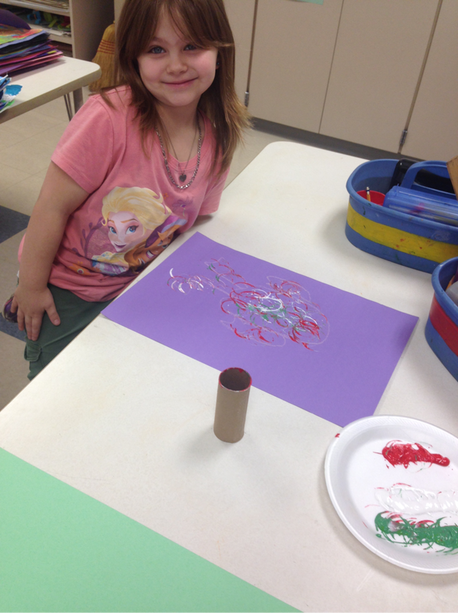
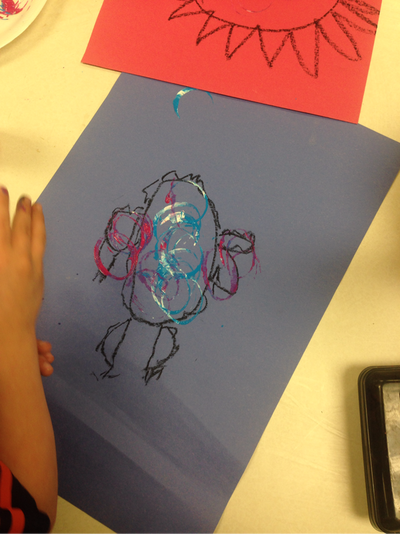
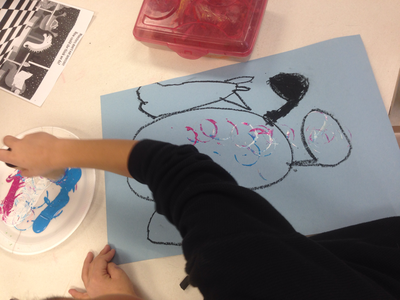
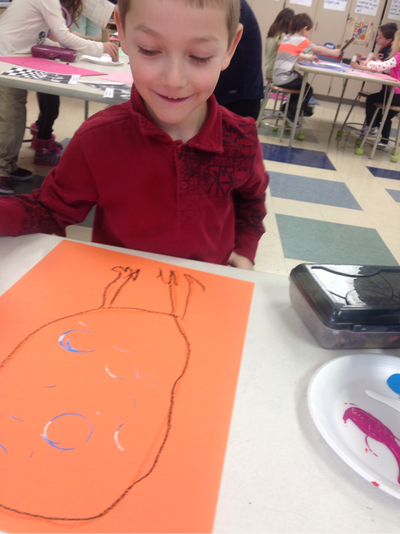
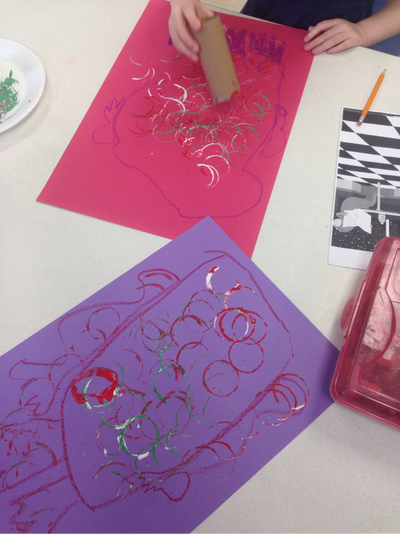
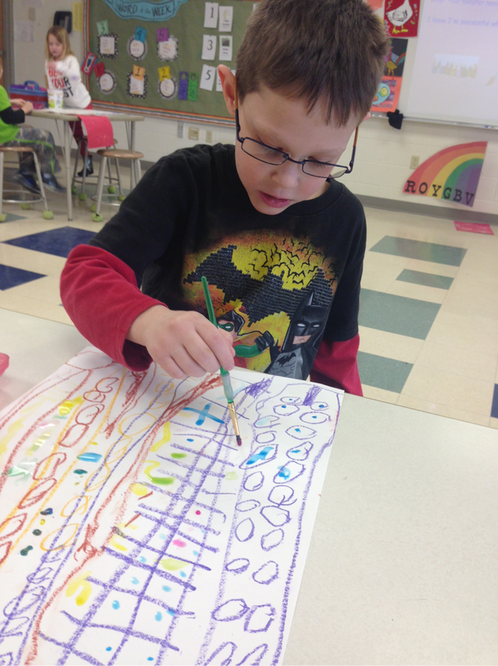
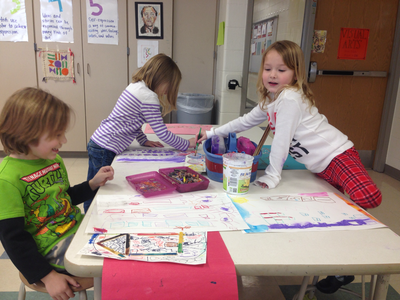
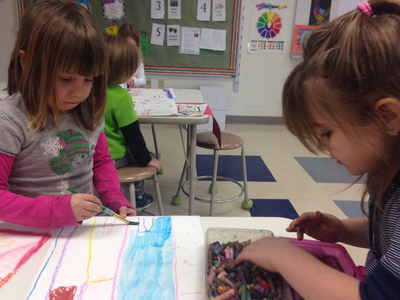
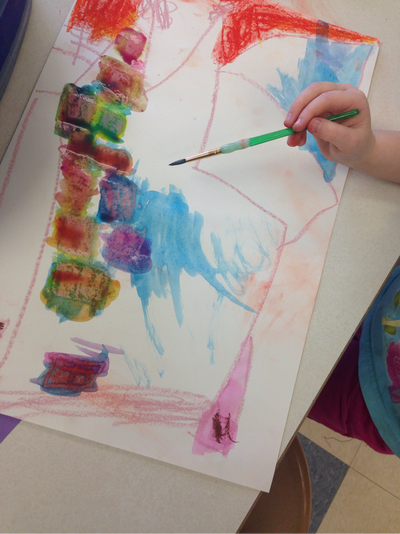
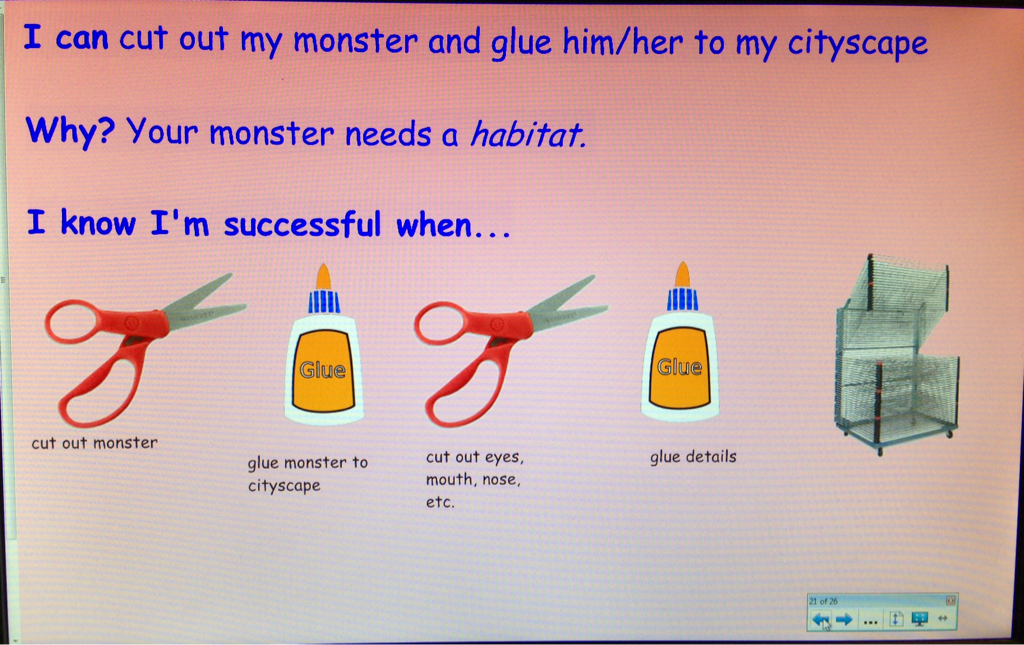
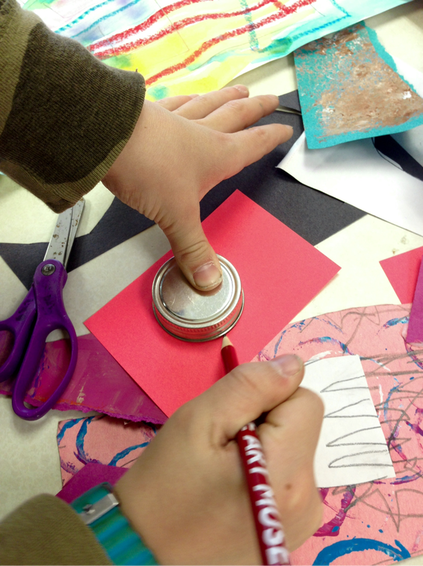
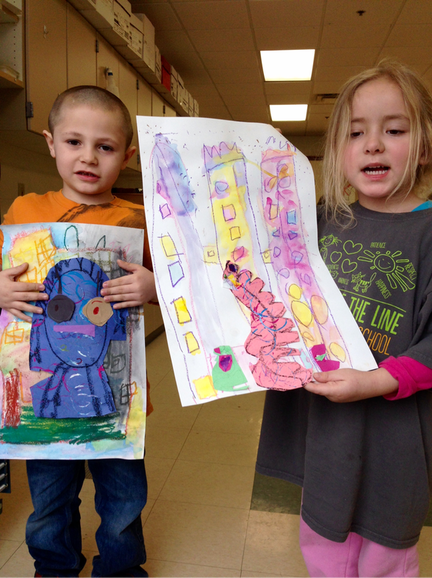
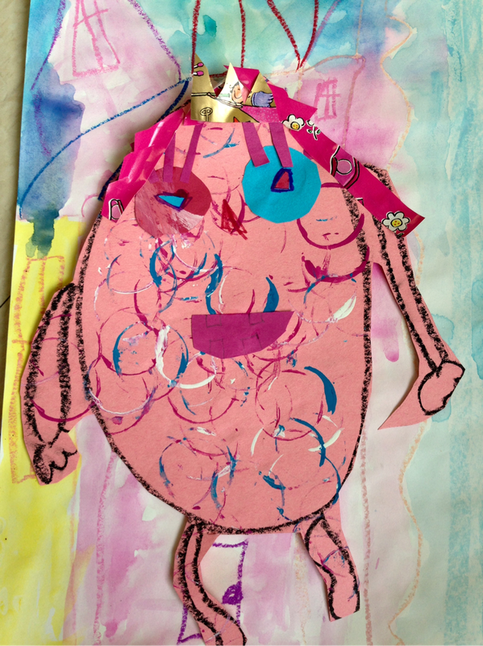
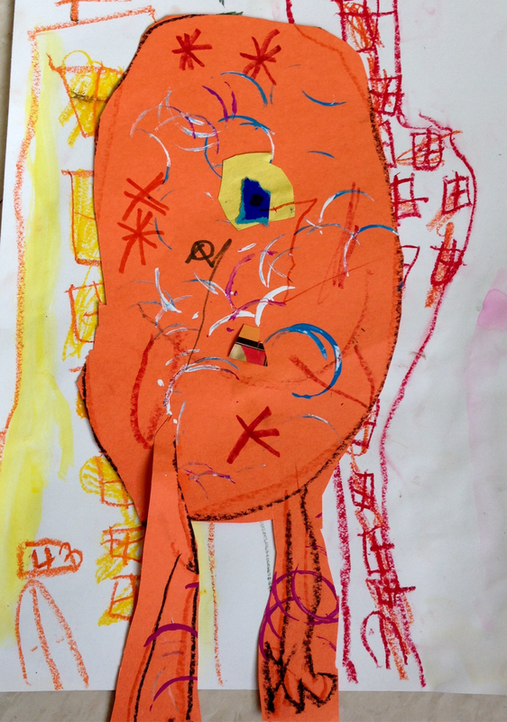
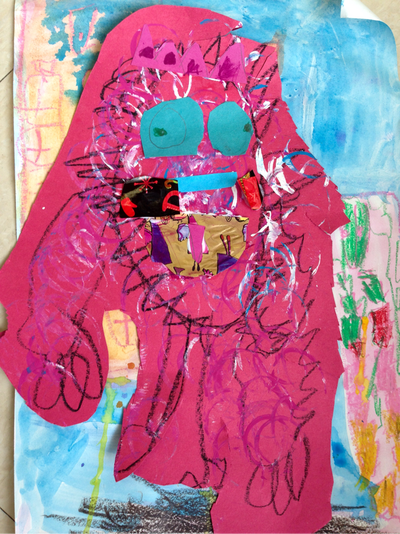
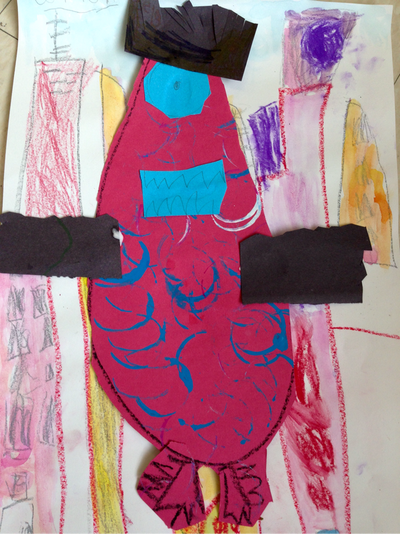
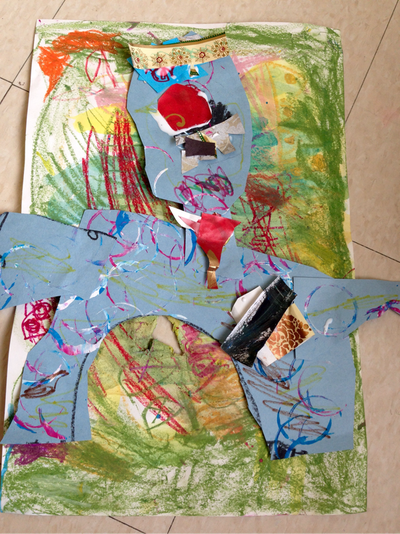
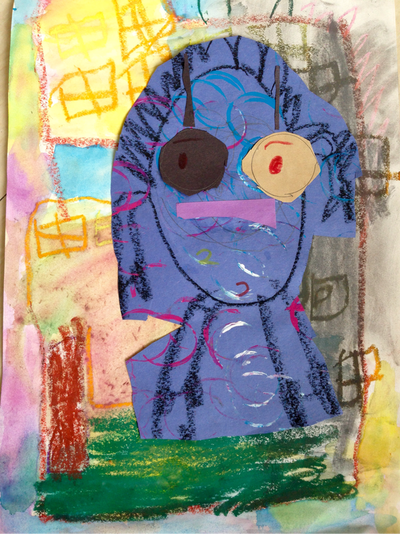
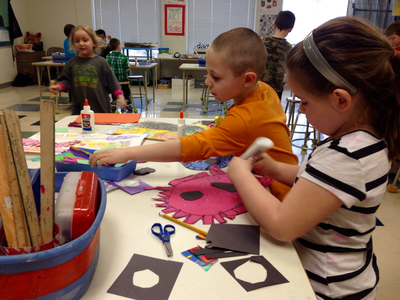
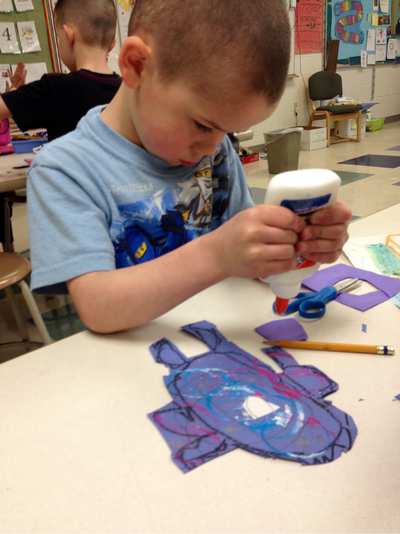
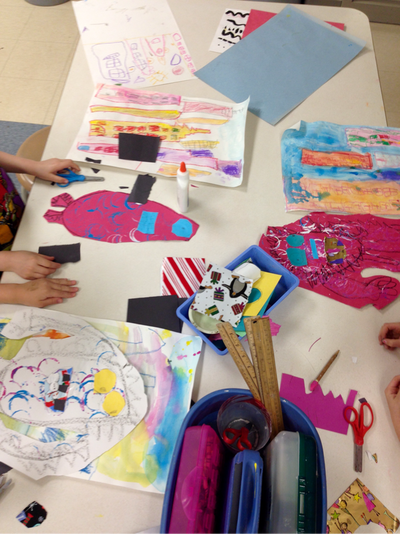
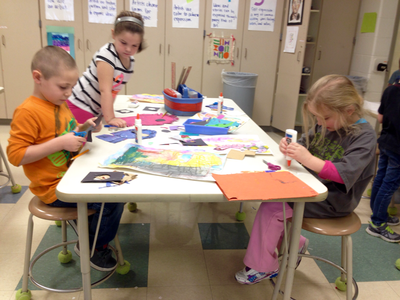
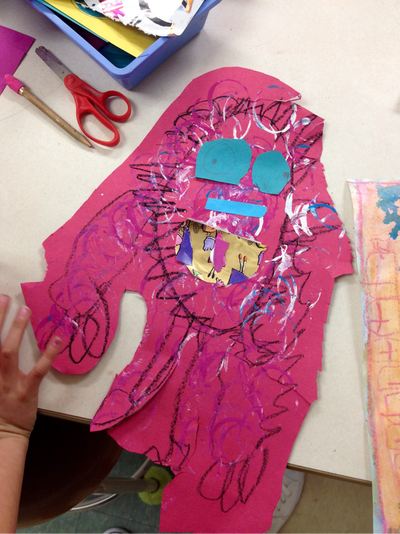
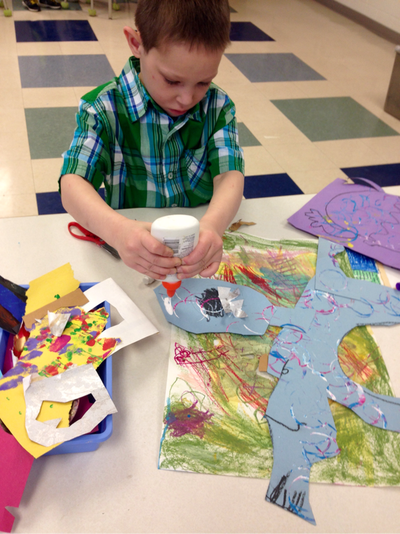
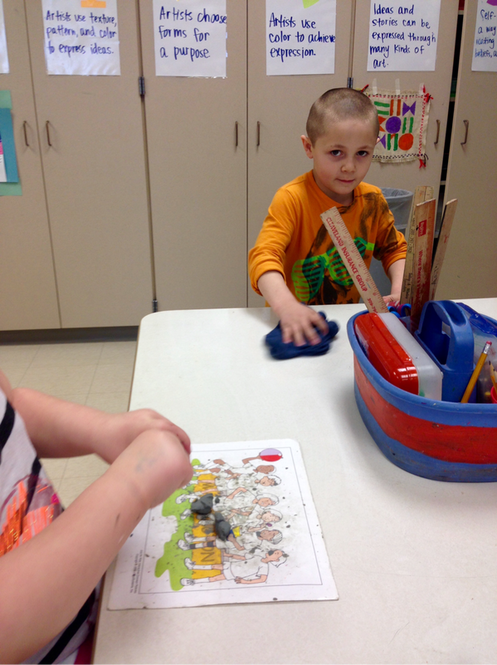
Now that the kinders have a good handle on painting, it was time to do some more cutting and gluing. This lesson is from Deep Space Sparkle. First, we read the book Monsters Don't Eat Broccoli. Drawing the monstersAfter reading the story, we quickly reviewed how many fruits and vegetables we should eat daily in order to be healthy (5 a day!) and got started drawing our own monsters. Kinders drew their monster on a piece of 12 x 18 colored construction paper using a black oil pastel. They started with the body and added arms and legs. Next, we stamped some texture. They dipped a toilet paper roll into paint and tapped it onto their paper. Once this step was complete the monster went to the drying rack for a little nap. Making the monster's habitatThe next day, we looked back at a few pages in the book to see what kind of habitat we should make for our monster. The monsters lived in the city! We used oil pastels and a piece of 12 x 18 white sulphite paper. Kinders drew big rectangles for the buildings and added windows, doors, antennae, and pattern. We painted the cities with liquid oil pastels. Putting it all togetherAfter the habitat was dry, students cut out their monster and glued him/her onto the city. I demonstrated using a lid to draw a circle and cut it out to make eyes. They also made a mouth and also added details such as crowns, bows, glasses, hair, and clothes. Cutting and gluing projects always get messy but the kinders are great at cleaning up. This little artist was such an awesome helper with the rag today!
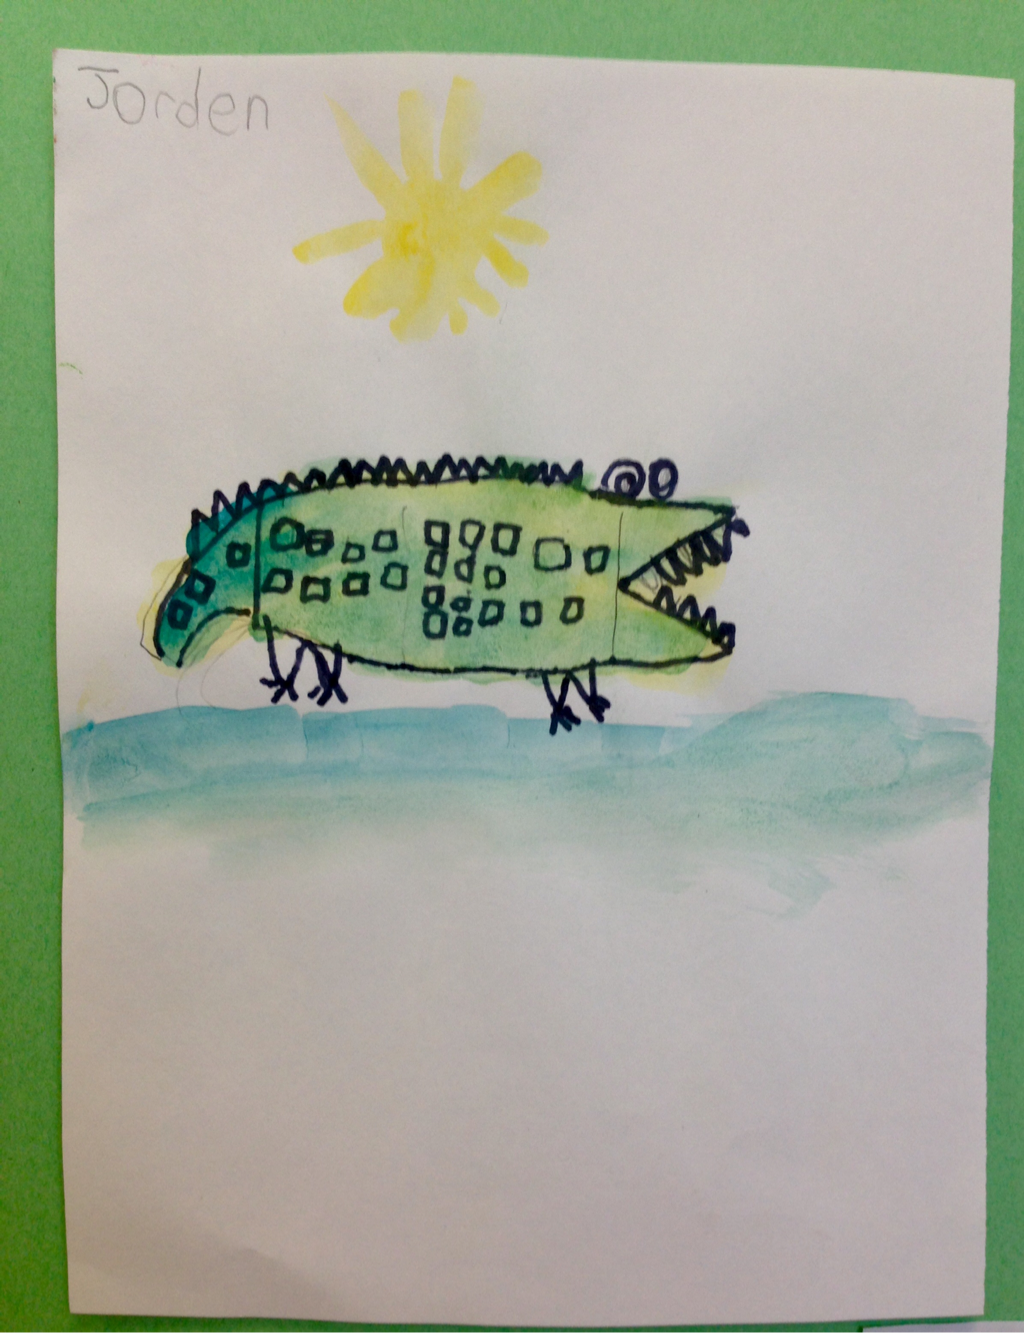
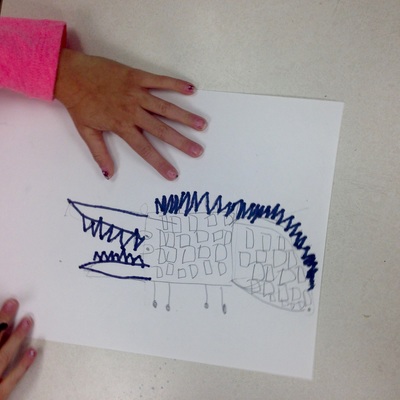
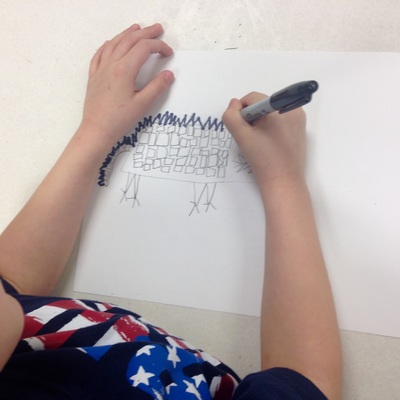
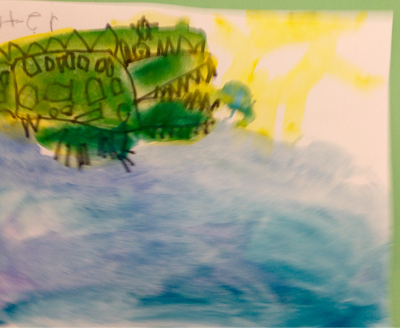
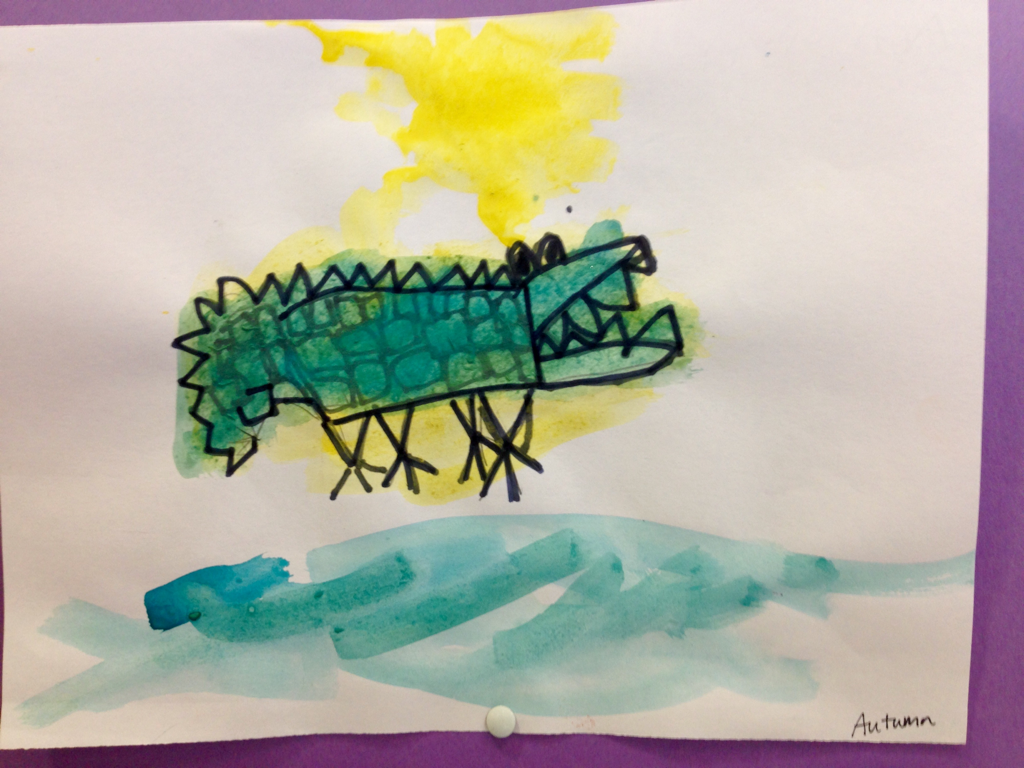
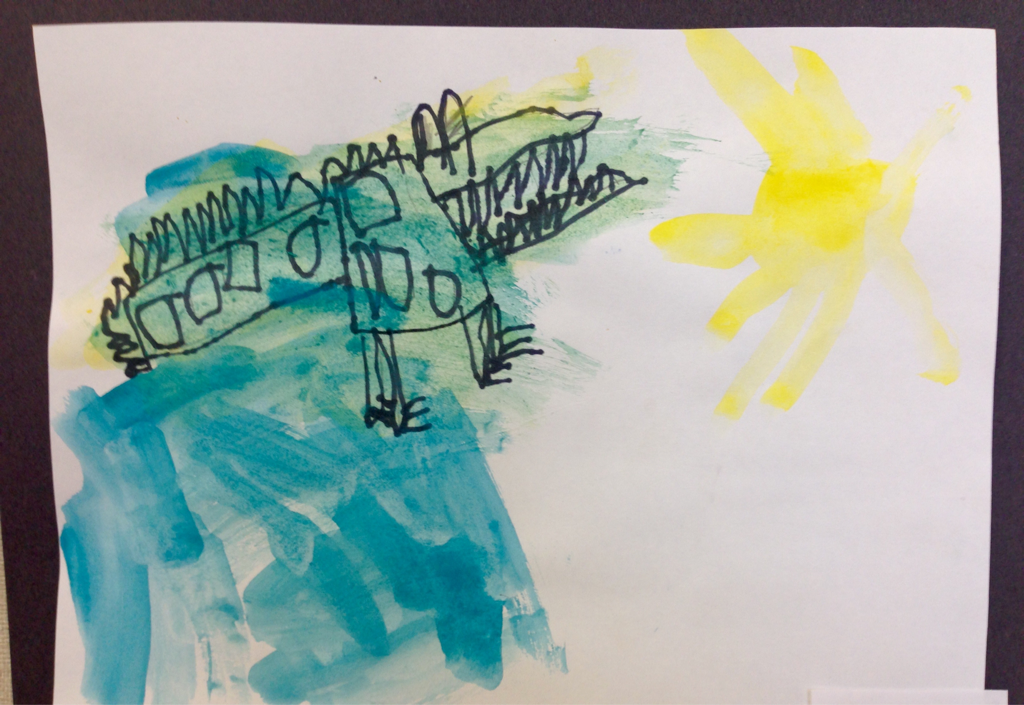
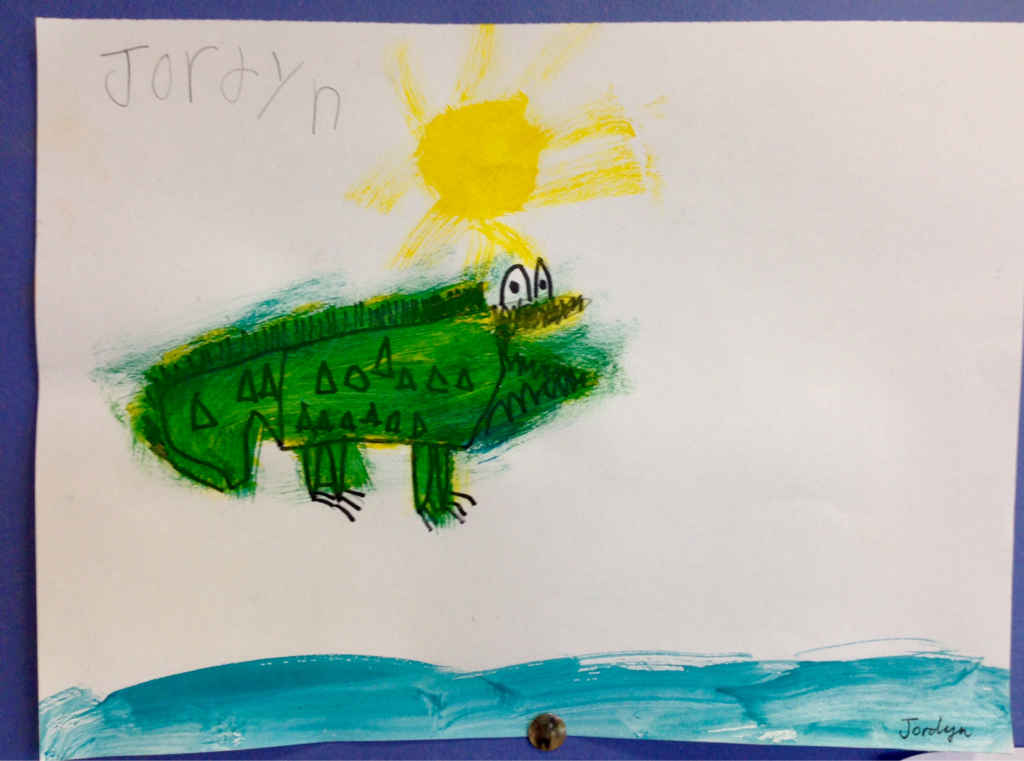
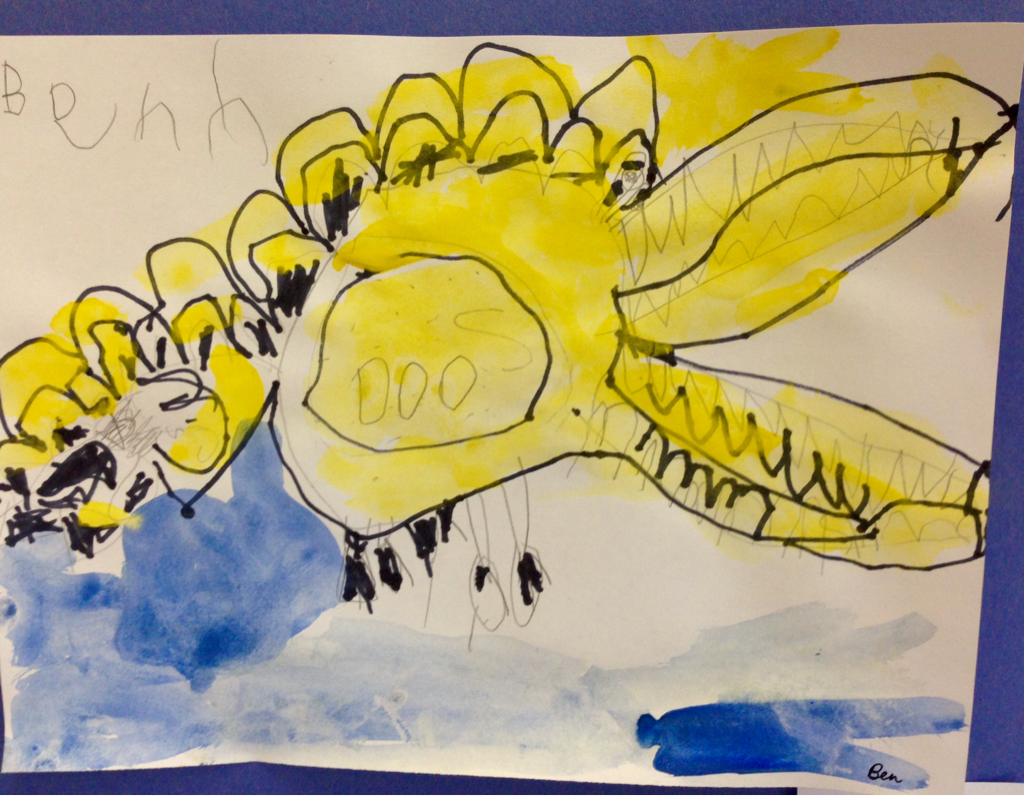
Kindergarten artists are learning about primary and secondary colors. First we looked at an alligator and chatted about the kinds of shapes and lines we see in the reptile. We drew an alligator together with pencil and then used a Sharpie to outline the lines and shapes. I put tempera cakes on the tables and we "woke up" the yellow first. The artists painted a sun and their alligator yellow. Next, we "woke up" the blue paint and just dipped the tip toe of our paintbrush in the blue and mixed it with the yellow on our alligator. We talked about how blue is much stronger than yellow so we need just a little bit of blue. After their alligator was green, the kinders painted blue water and set their artwork on the drying rack. They are very proud of their alligators and their mixing skills!
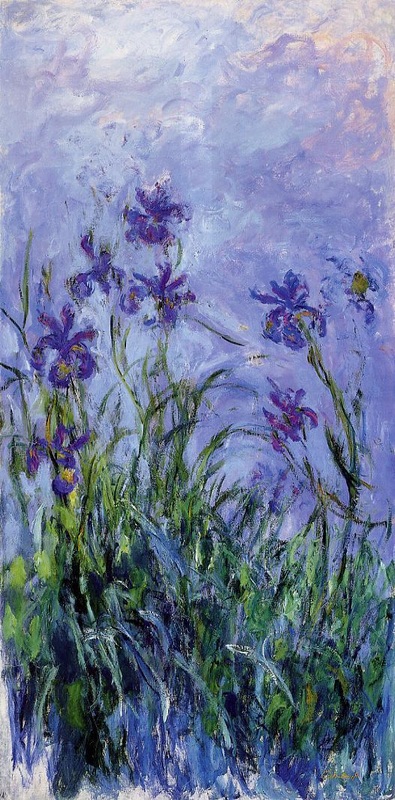
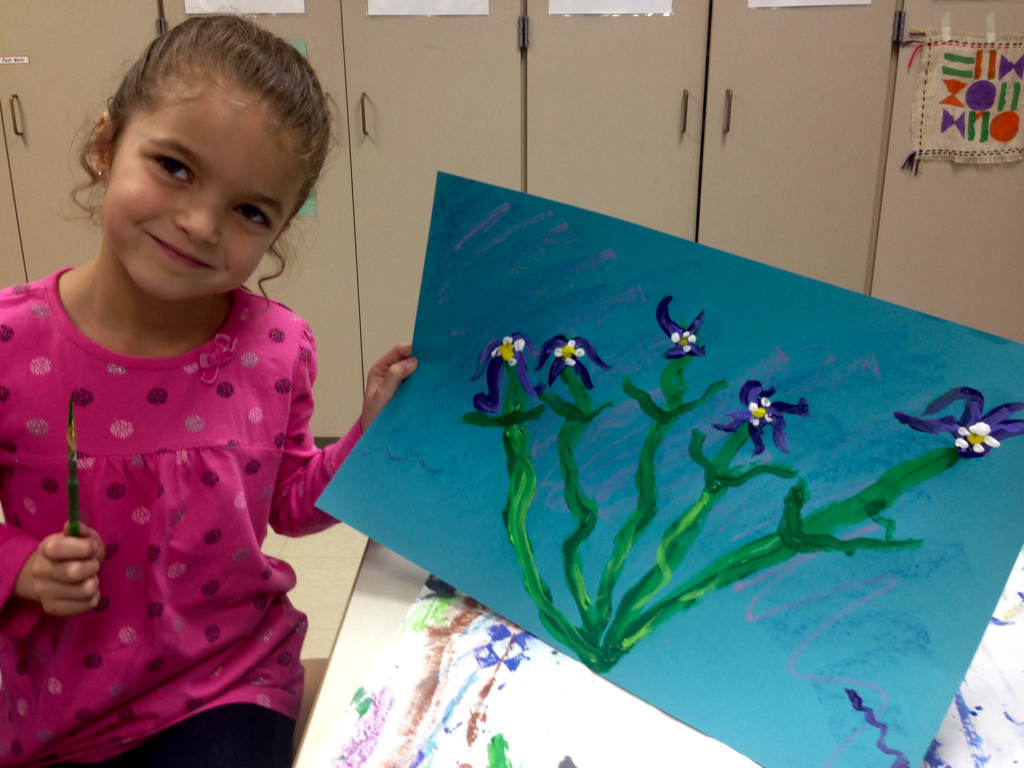
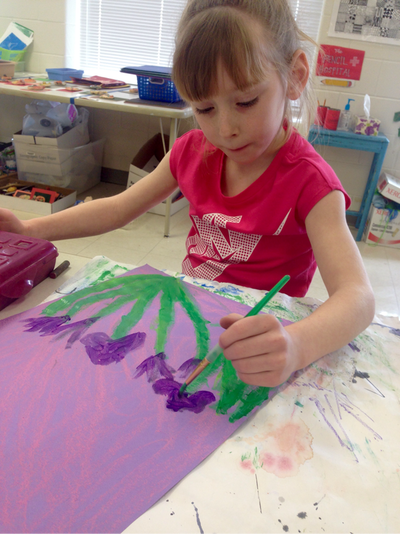
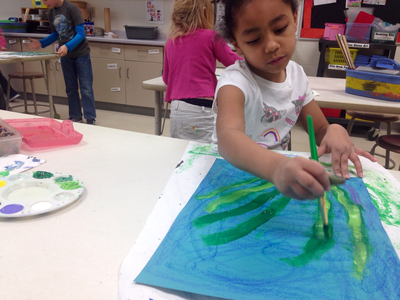
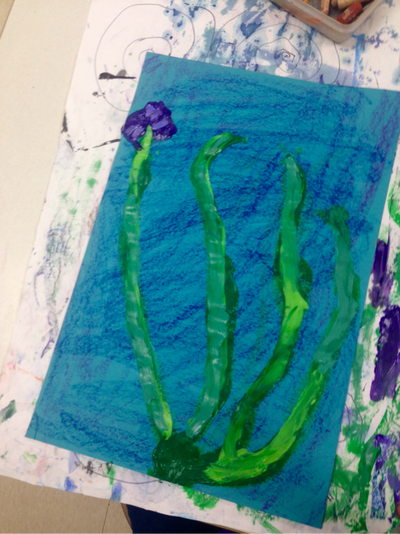
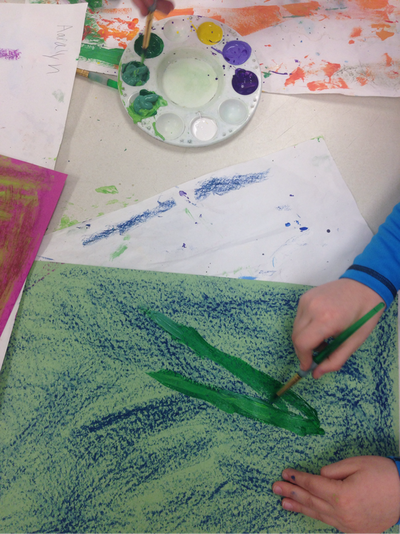
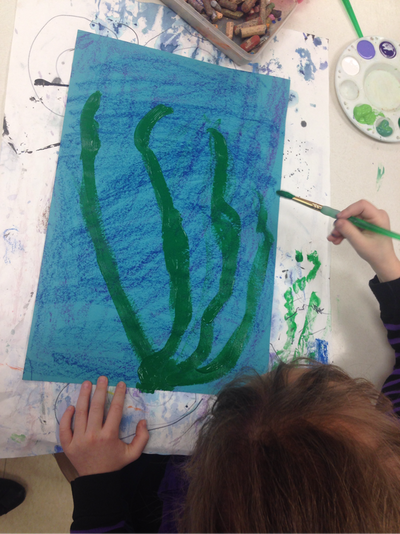
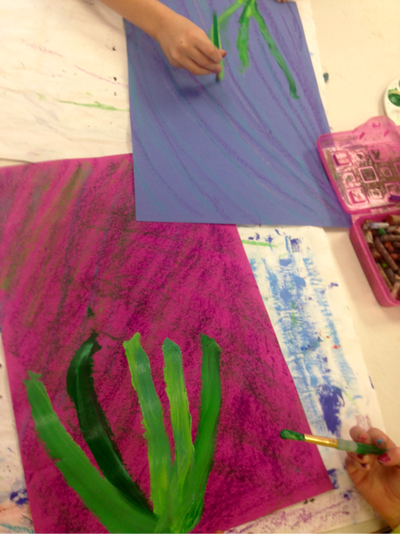
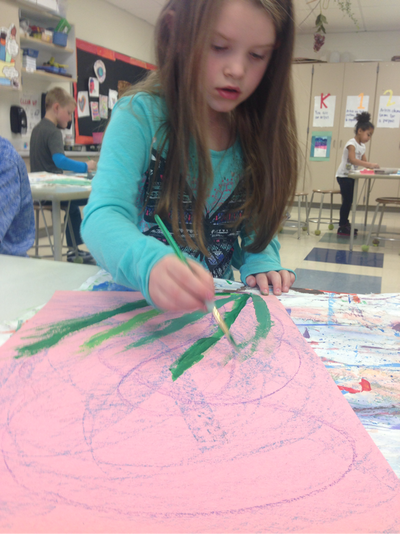
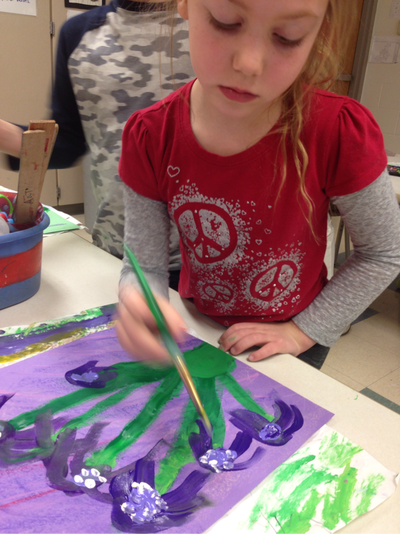
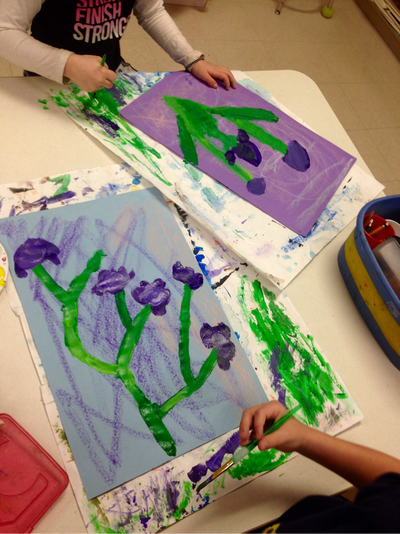
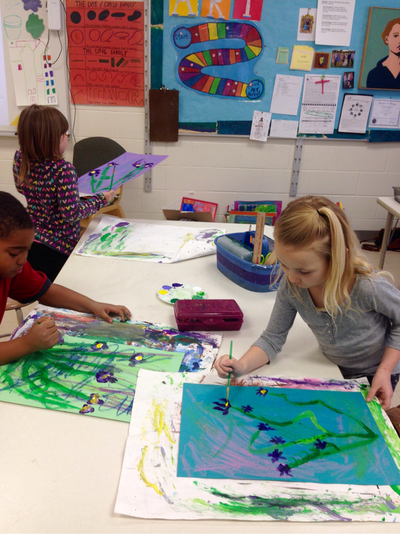
I found this project on Whitney Elementary School's Artsonia page. I think all of us are ready for Spring. This one-day project got us all in the mood for warm, breezy days. First we looked at Monet's Irises. Our inspiration: MonetFirst, the students used cool-colored oil pastels and rubbed them on their paper to create some texture. Next, they dipped their paintbrush in green and a tint of green (tint: color + white) to create the stems for their flowers. I encouraged them to not blend the colors together too much so we would have variety. Next they cleaned their brush off on their messy mat, dipped their paintbrushes in the tints of purple, and painted the irises. Last step: add white and yellow dots to the center of the iris.
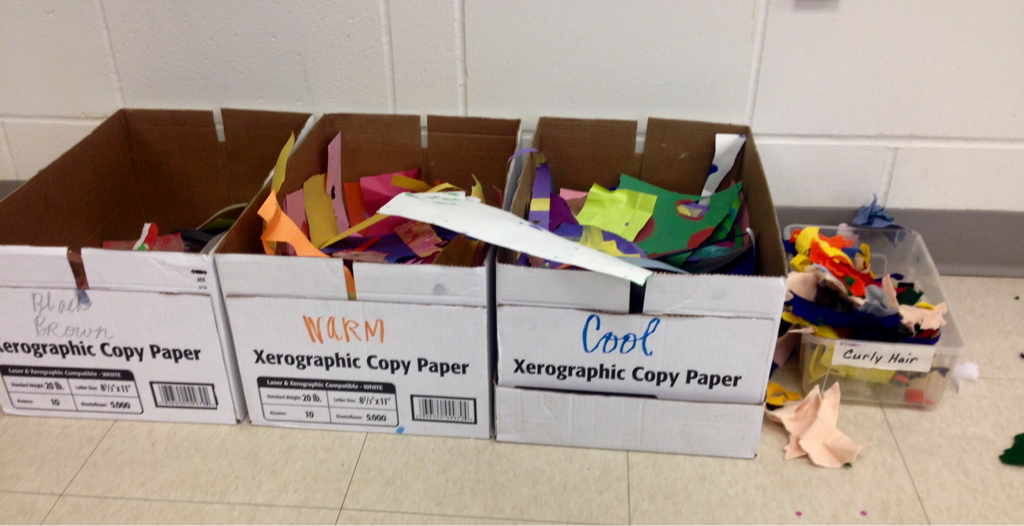
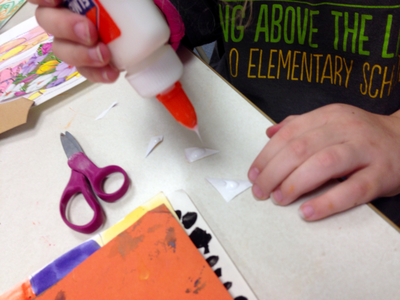
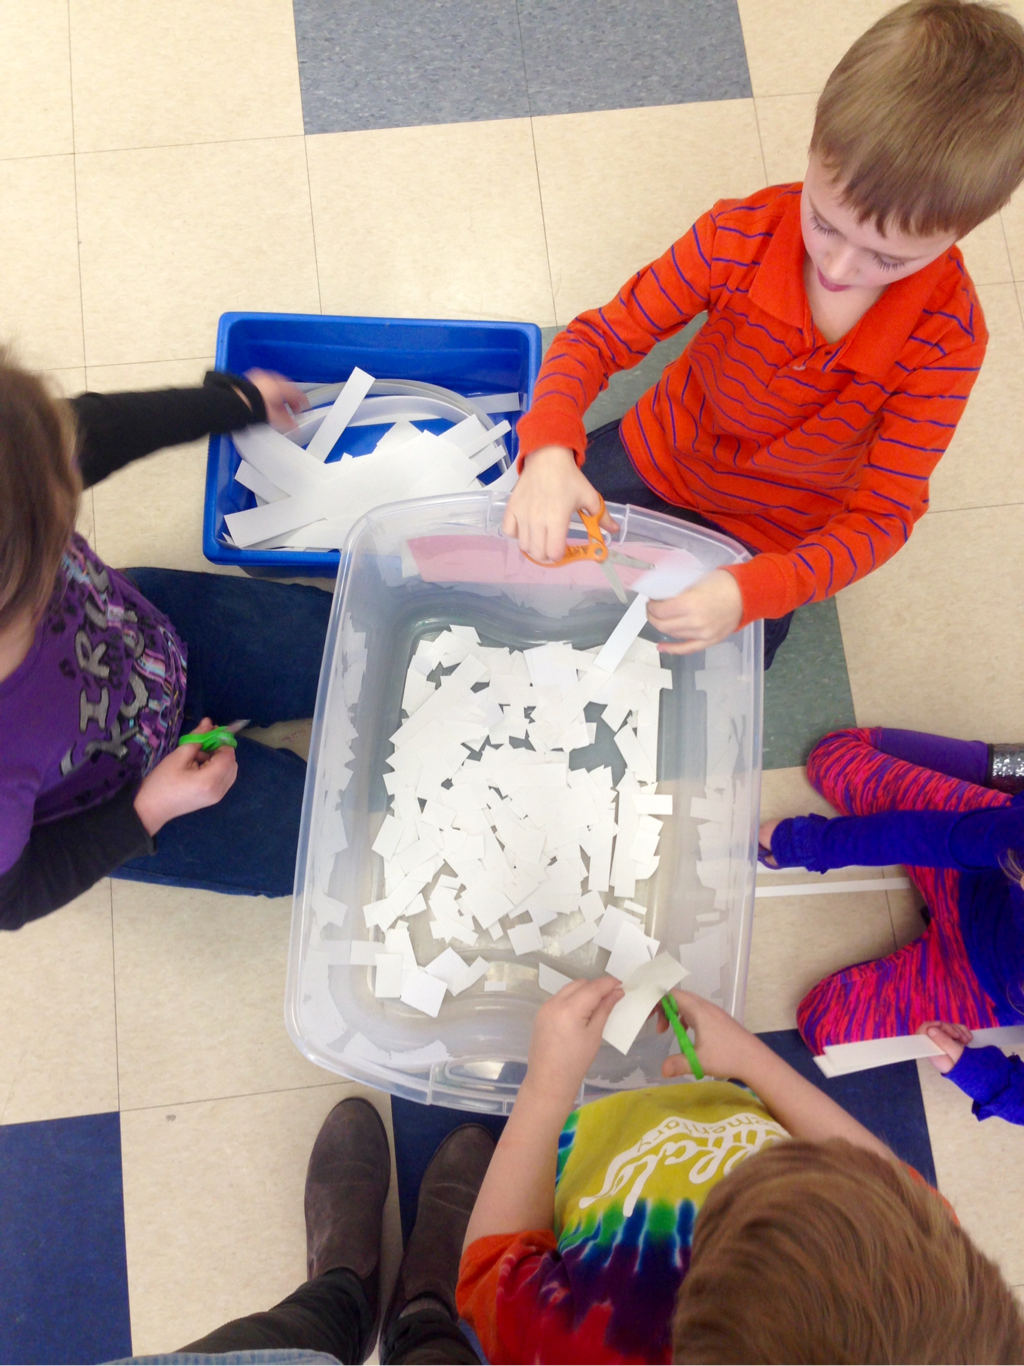
Thank you to Painted Paper in the Art Room for the fabulous lesson! My early finishers enjoyed practicing using their scissors on scrap paper. The directions: take one piece of paper from the blue bin (only one at a time, please!) and cut it into small pieces into the clear bin. Parents, this would be a good and very simple activity to do at home for the kiddos to practice fine motor skills and build up hand muscles. The Kinders loved this simple activity.
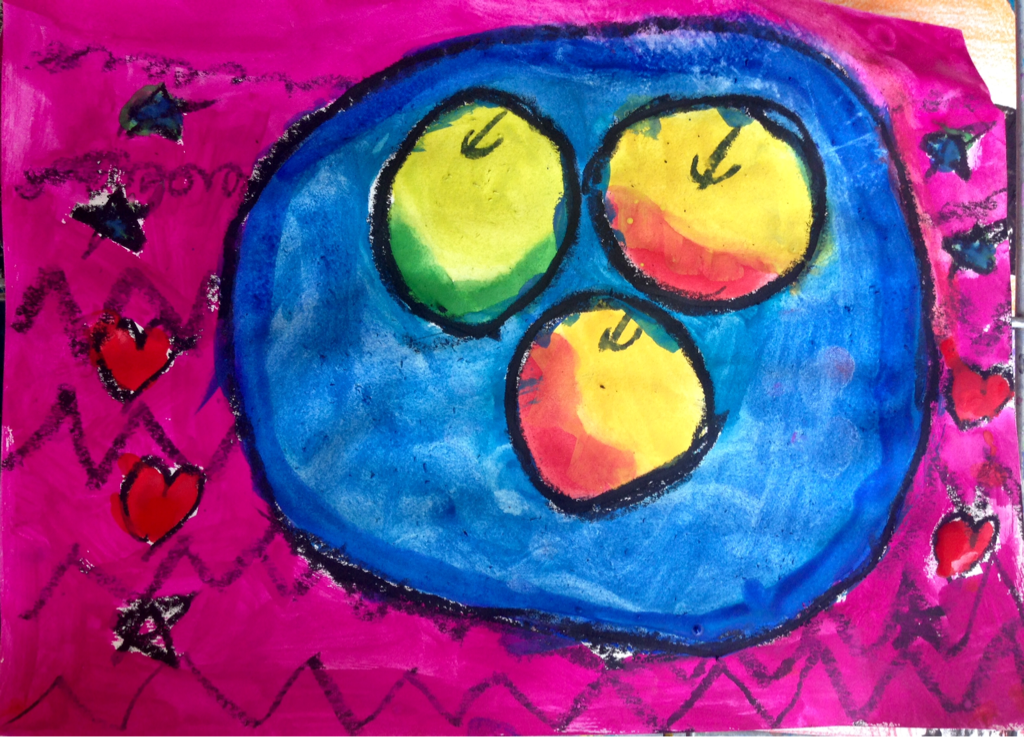
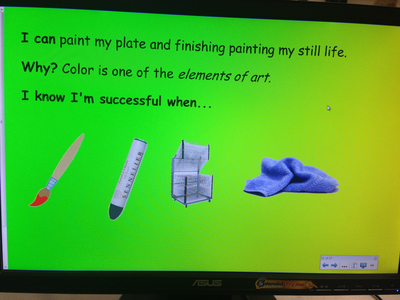
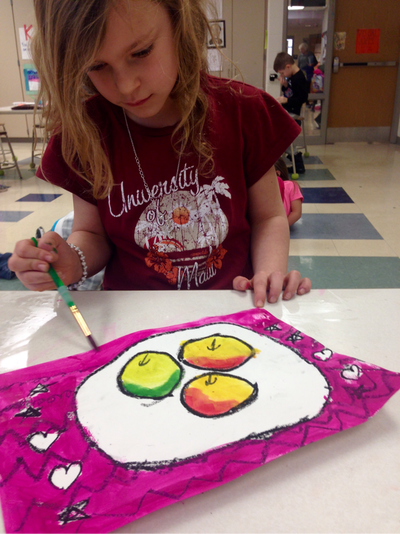
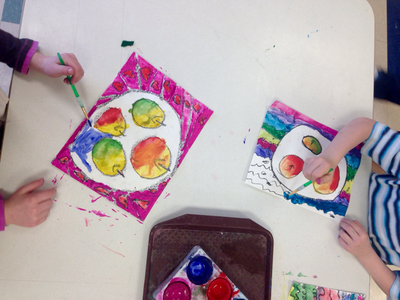
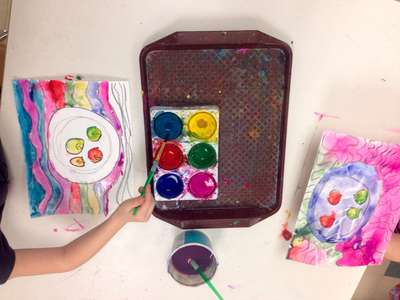
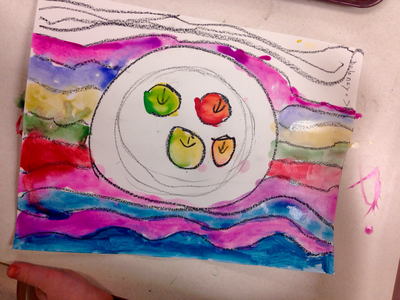
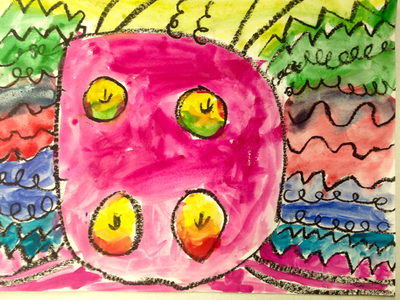
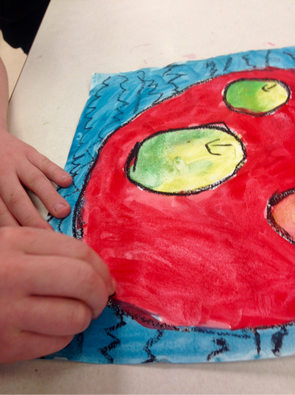
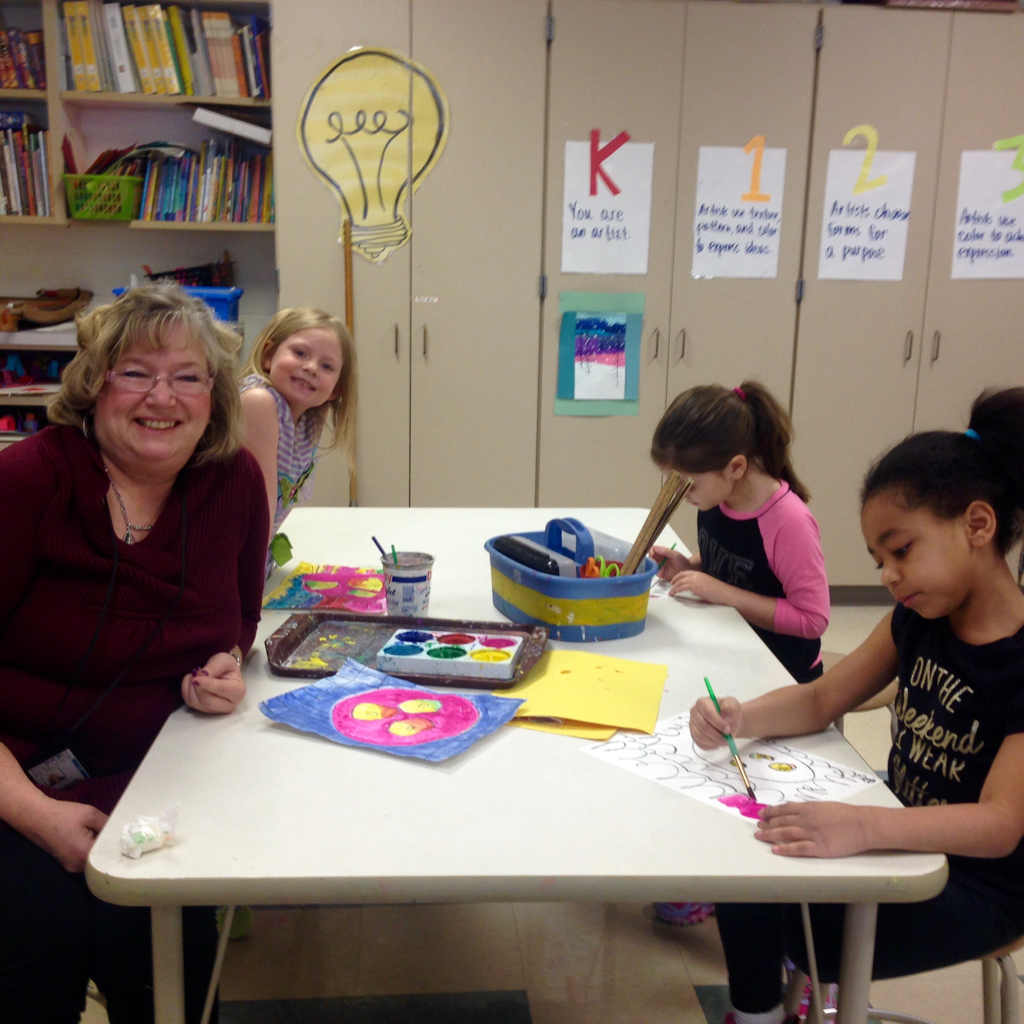
Thank you to Patty Palmer from Deep Space Sparkle for the idea! She mentioned it on one of her Art Made Easy podcasts. To begin this project, we first looked at images of Cezanne's still life. We chatted about what kinds of things could count as a still life. Mrs. White? No. A vase of flowers? Yes. A deer? No. Our table caddies? Yes. I showed an image of a few apples on a round plate and the artists identified the shapes we would be using to draw our own still life. We drew with a black oil pastel on 9 x 12 white sulphite. The tablecloth was up to them: flowers, hearts, stripes, dots, zig-zags, whatever! Color baby colorWe had the elements line and shape, now it was time to add some color. We talked about how apples are forms: full, not flat. I showed them how we could make them look full by making one side of our apples red or green, adding yellow, and blending the colors together. They chose one color for the plate and the tablecloth was up to them. The last step was to outline with black oil pastel. Still-life lesson from Teach and Shoot.
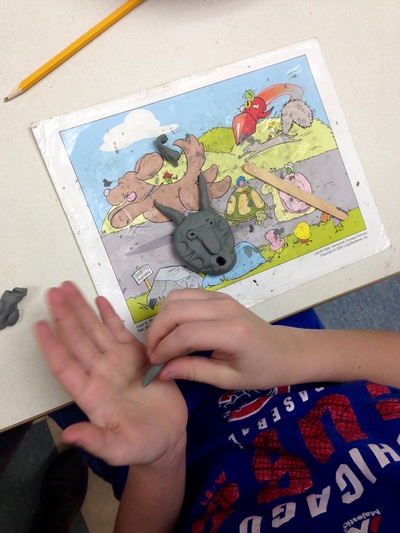
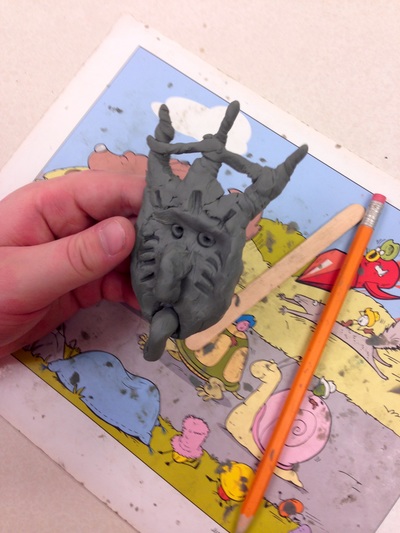
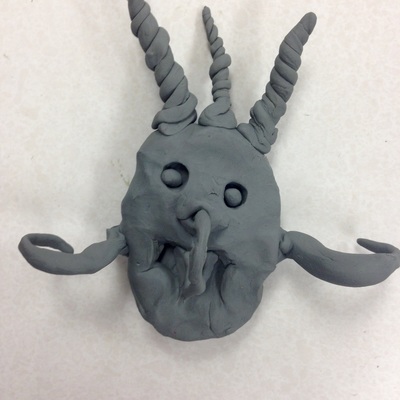
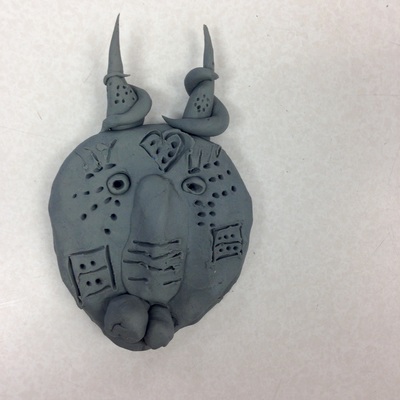
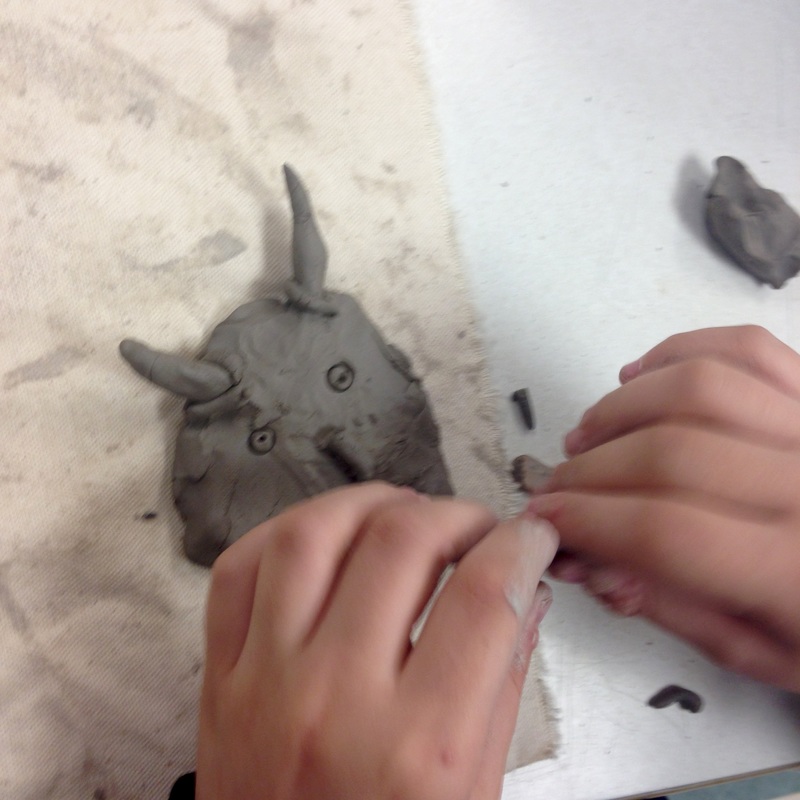
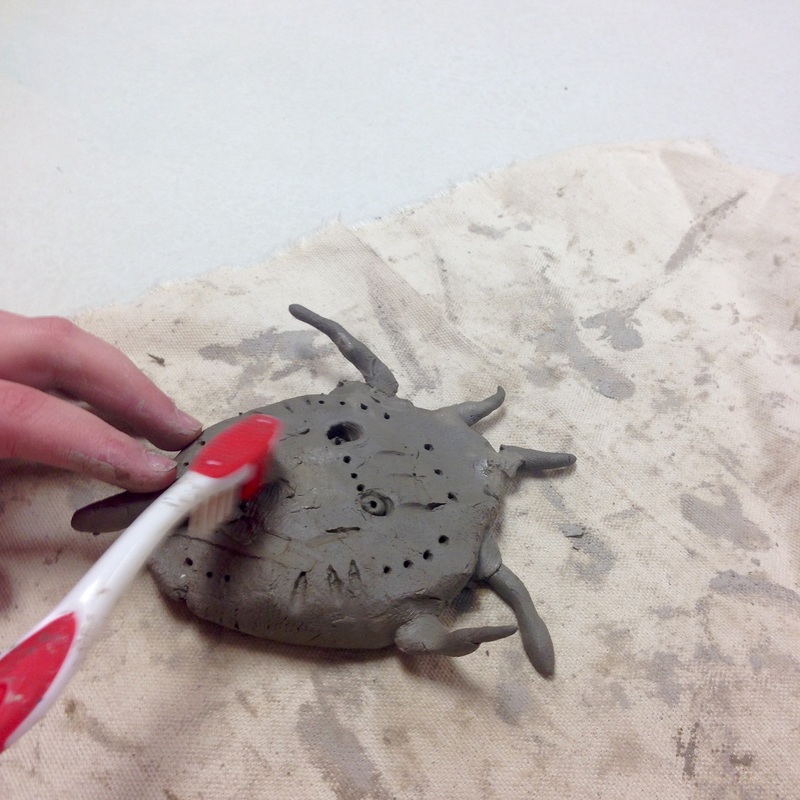
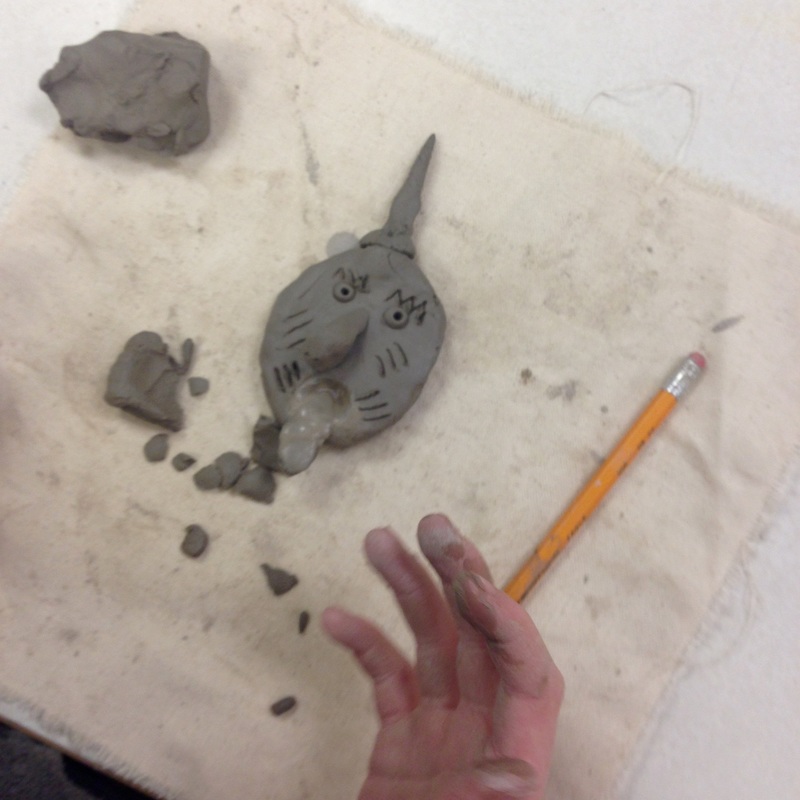
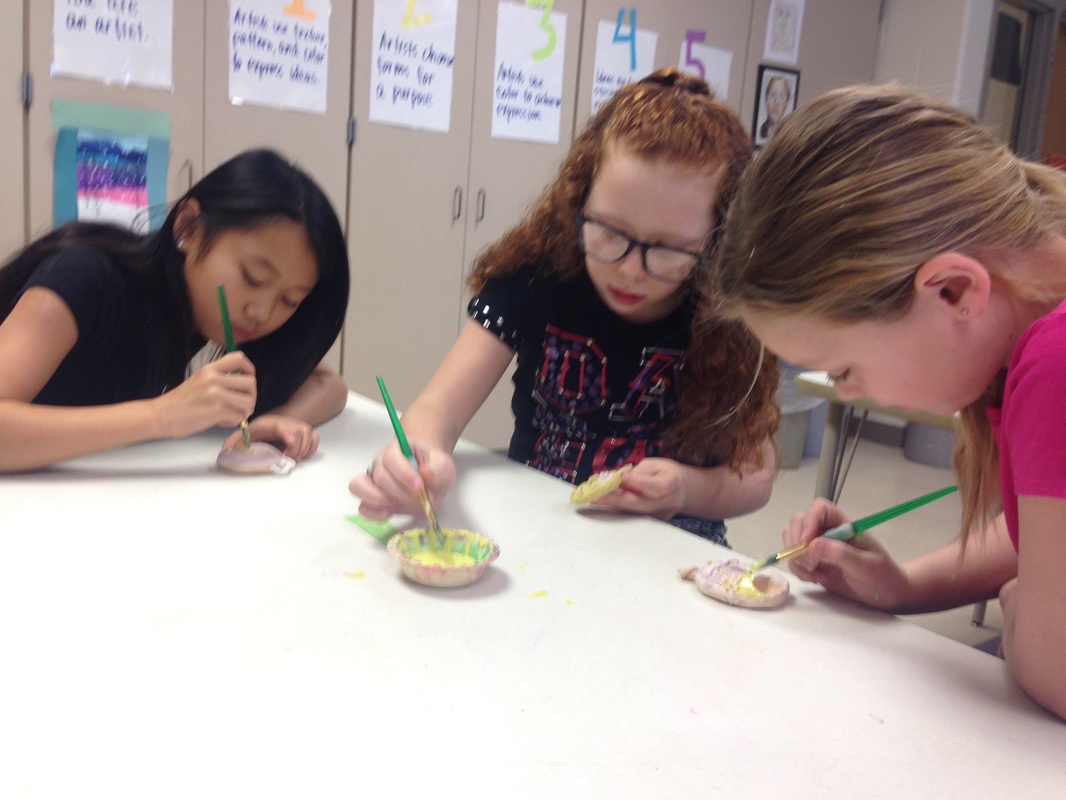
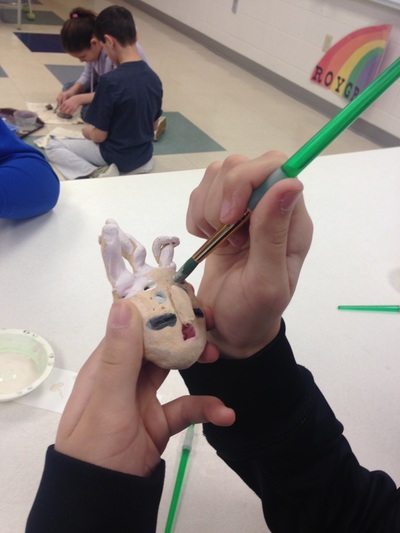
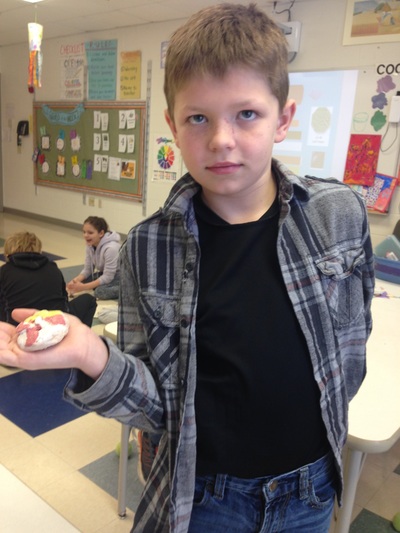
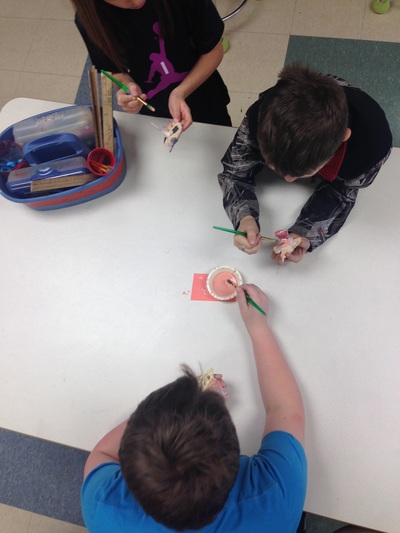
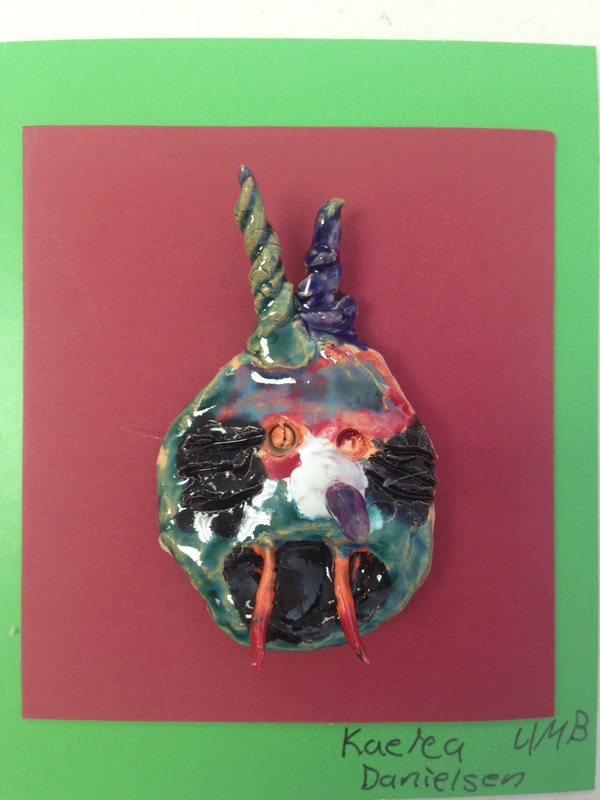
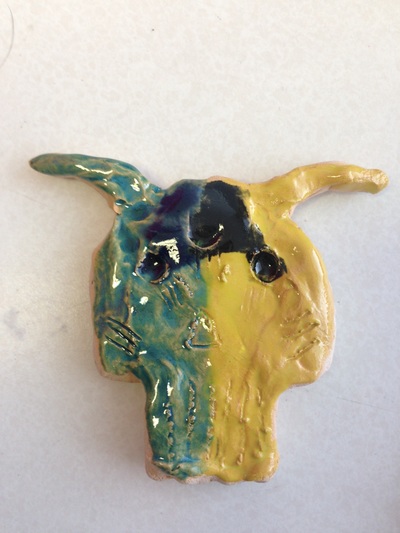
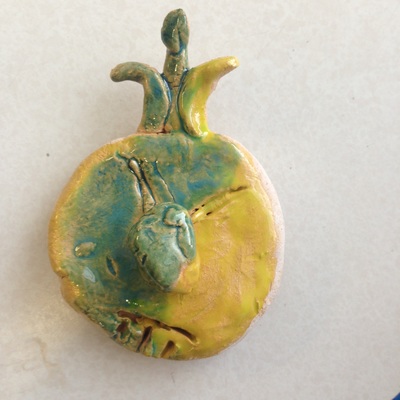
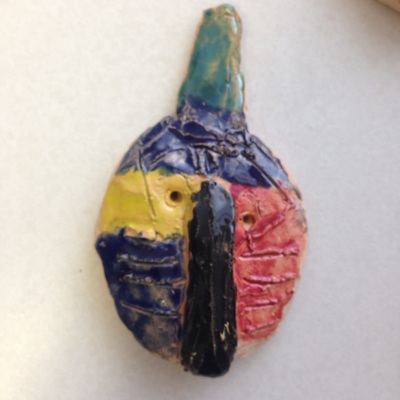
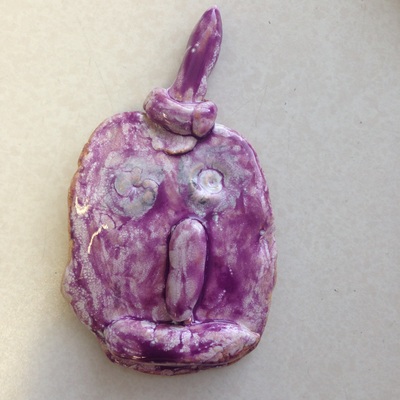
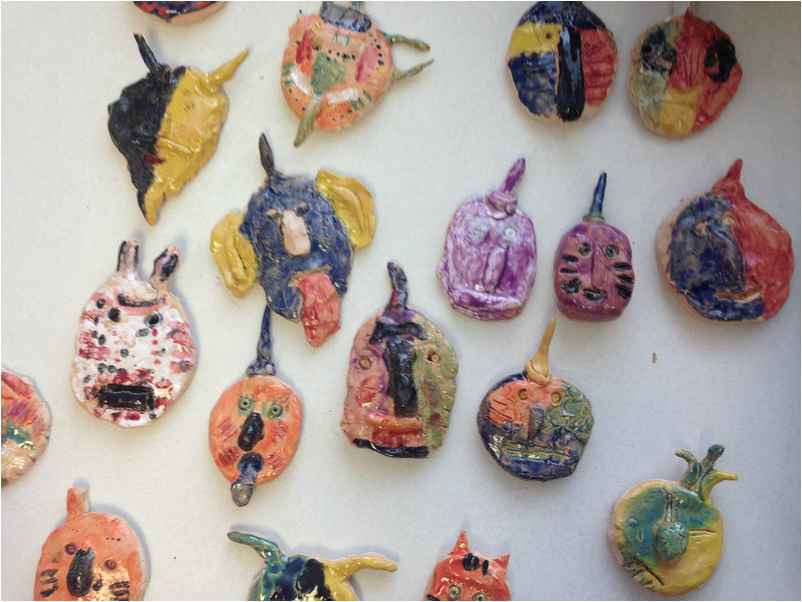
The mask unit is a favorite among Davenport 4th grade artists. At Buffalo we begin this unit by created a small mask out of clay. I demonstrate how to press an oval-shaped sphere into a slab base, adding eyes, a nose, mouth, horns, and designs. The only tools they use are a sharpened pencil and a Popsicle stick (and a toothbrush to scratch and attach when we use the earthenware clay). I encourage them to be creative and make their mask unique. They practice making a mask one day with modeling clay and use stoneware clay on the second day. This ensures that the stoneware clay will not dry out too much from them working and re-working it. They are so creative! Stoneware clay After the masks were bisque-fired, it was time to glaze. I ordered some new colors from Blick (Blick Essential Gloss Glazes) and am happy with the results. In my art room, each table is labeled with a color. I placed red glaze at the red table, orange at the orange table, etc. I also set out black and white for the students to use. It is important to apply 3 coats of the glaze to ensure a bright and glossy color. One of my favorite things as an art teacher is opening up a glaze fire. The masks are beautiful! I am so proud of the 4th grade work. Here are a few. The masks are on display in the 4th/5th grade pod! Be sure to go check them out at the STEAM night on March 2nd!
|
Author
Archives
June 2016
Categories
All
|
 RSS Feed
