One 5th grade class has completed the first phase of our printmaking project. To begin, the artists chose an animal book (I checked out about 30 from the school library--thanks, Mrs. Huss!) and drew an animal on a piece of 9 x 12 paper. Next, they traced the outside of a piece of 6 x 9 printmaking foam onto their drawing and cut along that line. They now had a piece of 6 x 9 foam and a 6 x 9 animal drawing. They attached their drawing to the foam using a piece of masking tape and traced the OUTLINE ONLY (I really stressed this, as it is so easy to go in and trace the eyes and details without even thinking about it). Tracing through the paper onto the foam presses a slight line in the foam. They removed the paper and pressed the lines in using a pencil to ensure they were deep enough to not "catch" any of the ink.
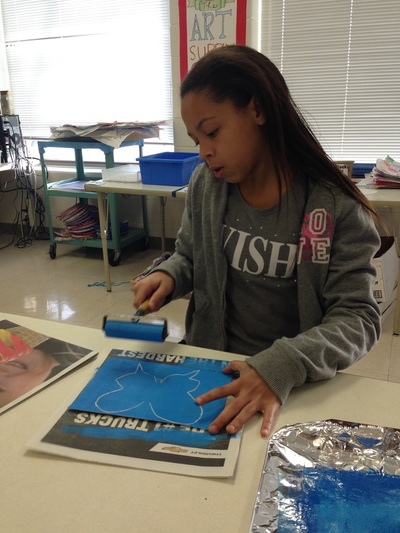
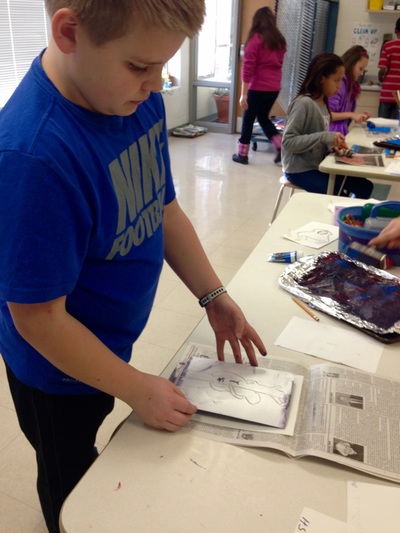
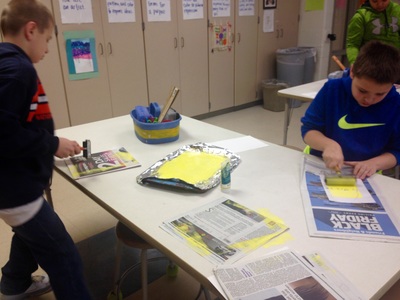
Next: time to print! I demonstrated squeezing out the ink (they were responsible for this at each station--I had 6 different colors set up), rolling it out with the brayer, and applying it to the foam until it sounded "sticky." I placed the foam on the table and carefully centered a piece of 7 x 10 white sulphite paper on top. Next I placed a piece of newspaper and used a clean brayer to press the paper onto the foam for the image to transfer.
Rolling the ink onto the foam. The best way to know if you have enough ink is to listen for a "sticky" sound.
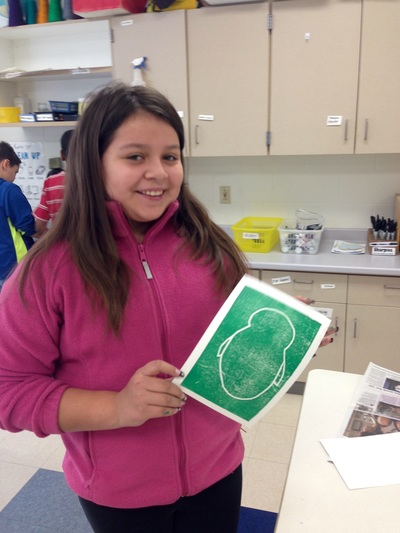
The best part about printmaking: pulling it off the paper to see how it turned out!
Check back later to see the final product! We have two more printing sessions to go.
This lesson is from the Thomas Elementary Art Blog. Thank you to Mr. Stoller for your detailed lesson plan!
 RSS Feed
