|
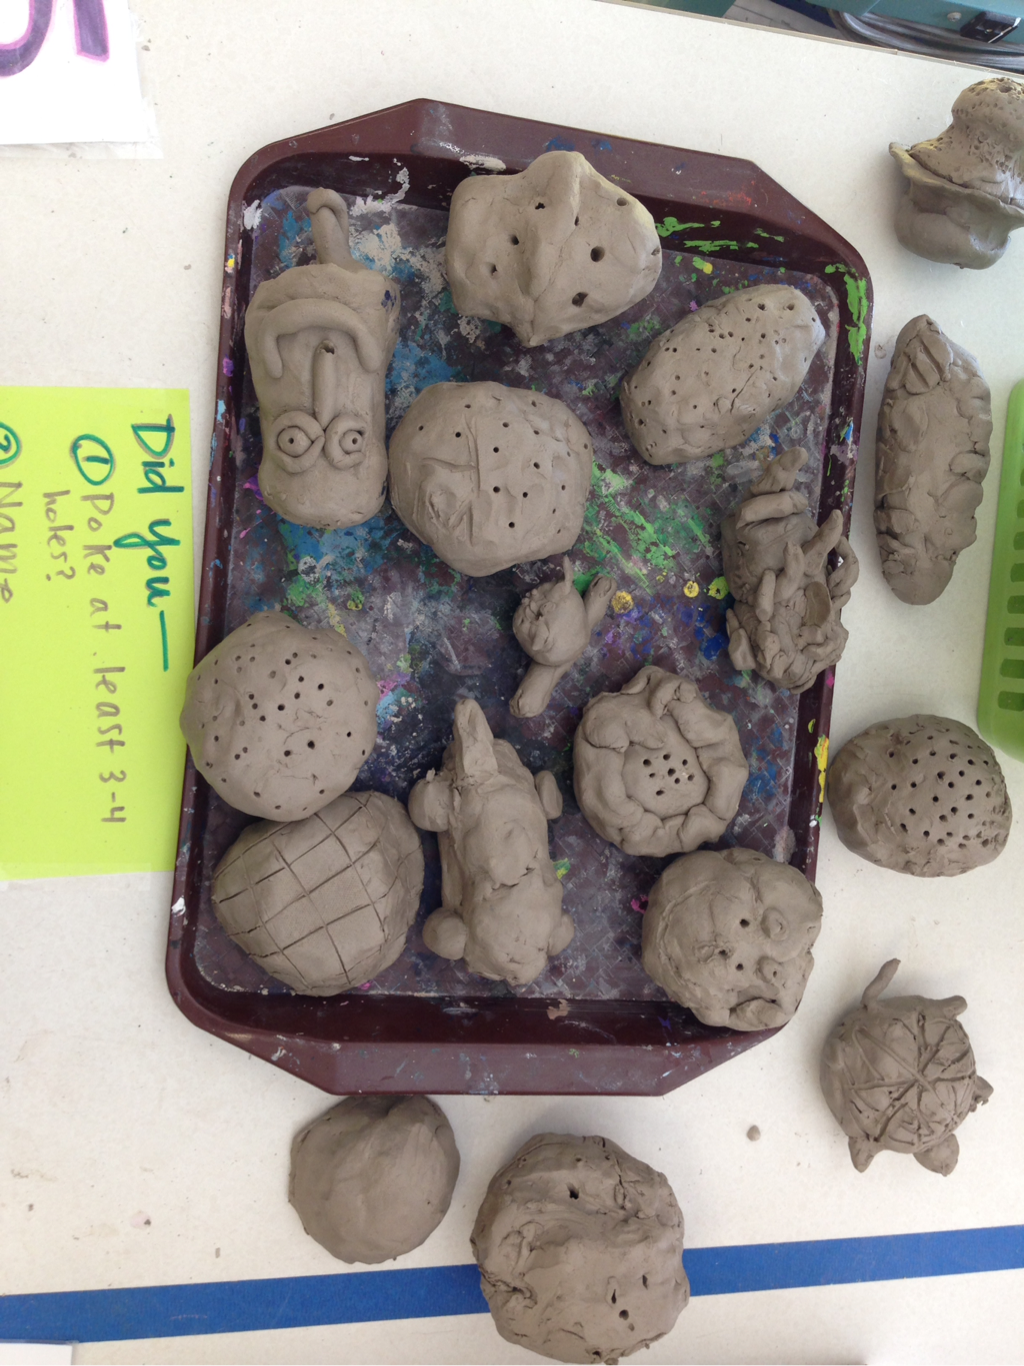
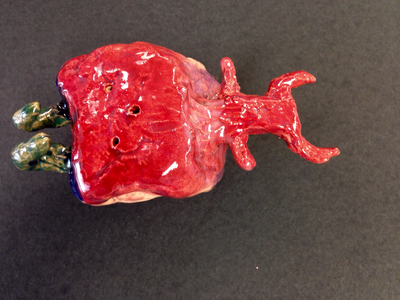
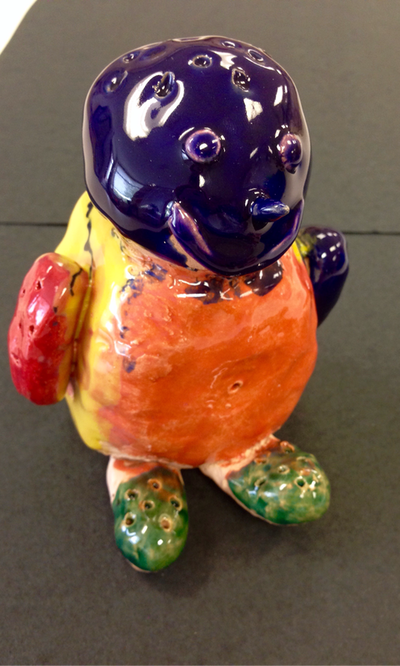
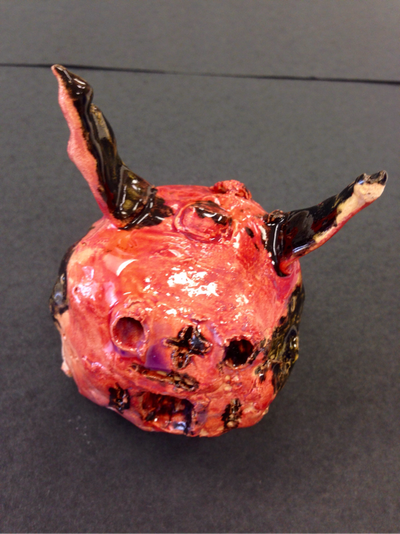
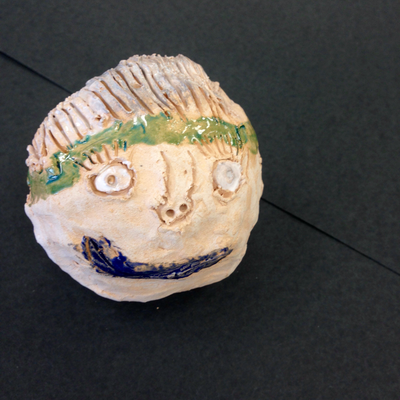
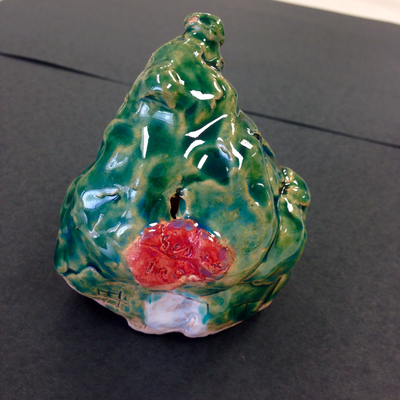
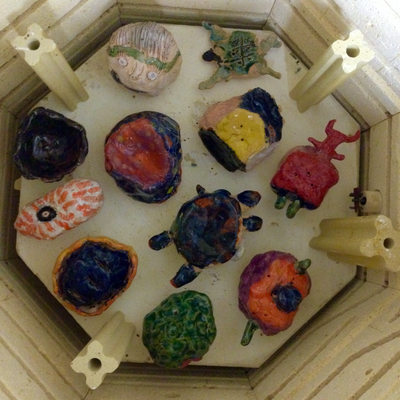
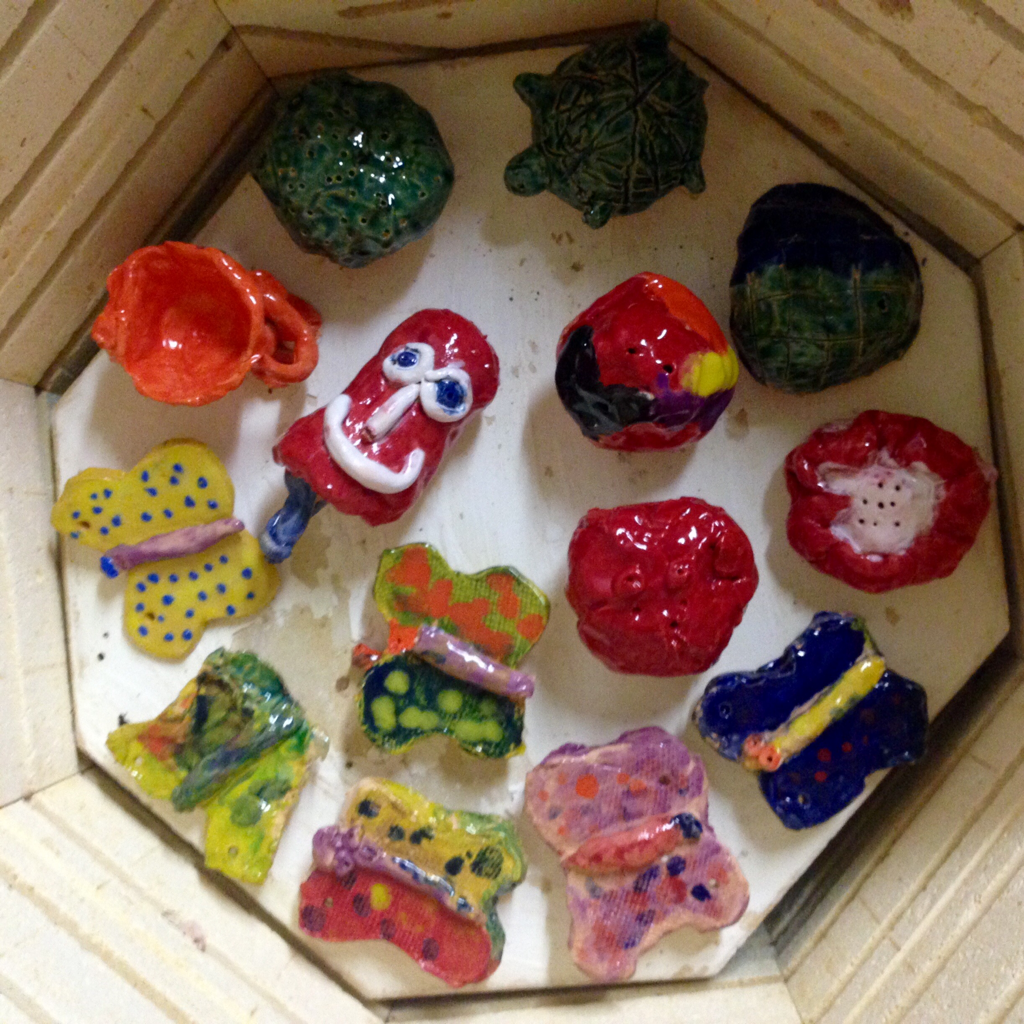
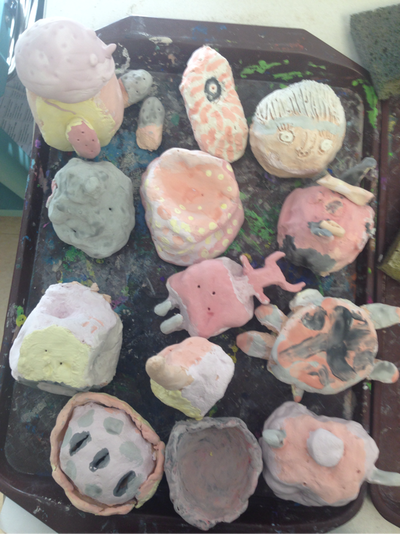
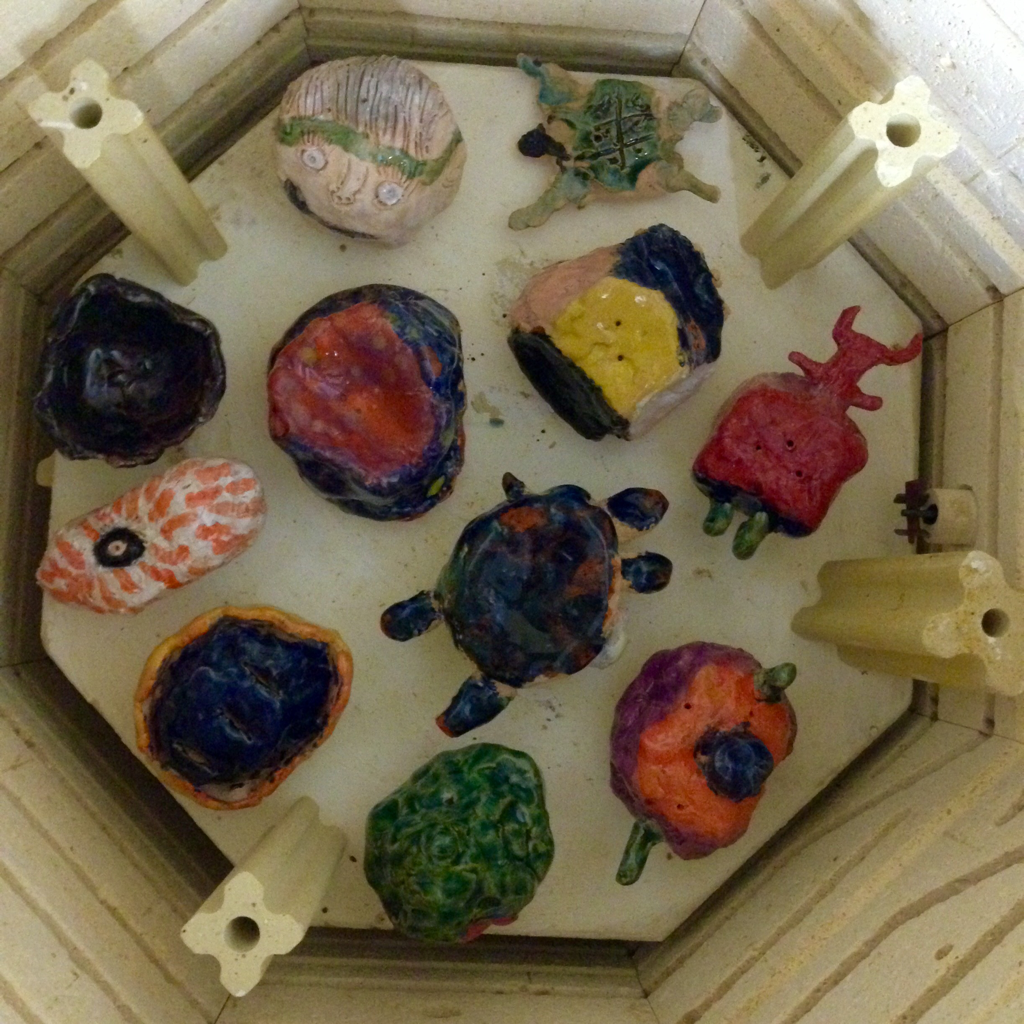
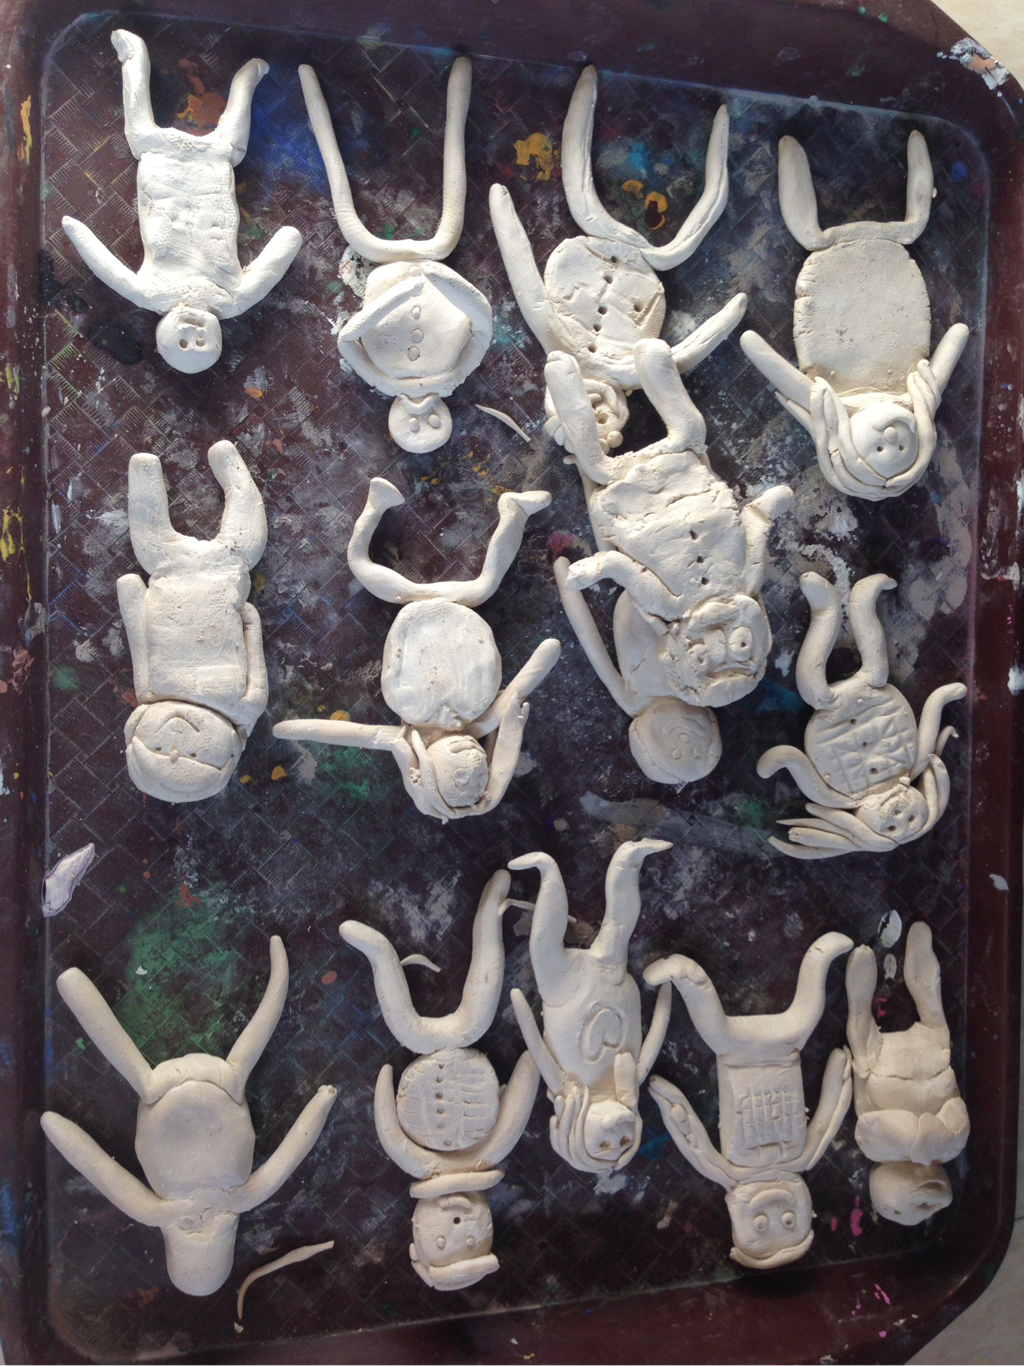
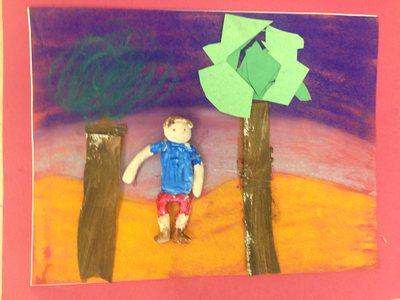
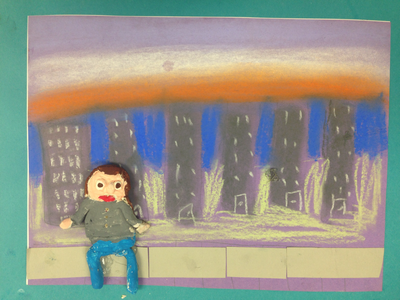
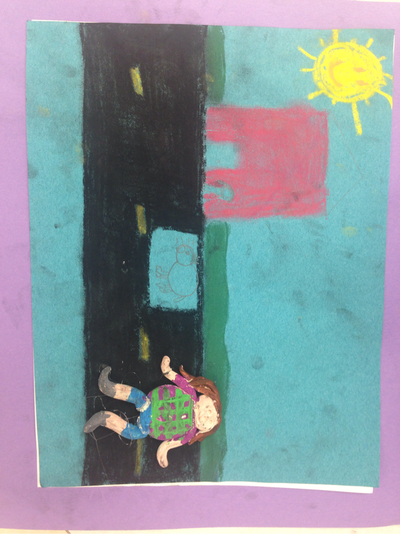
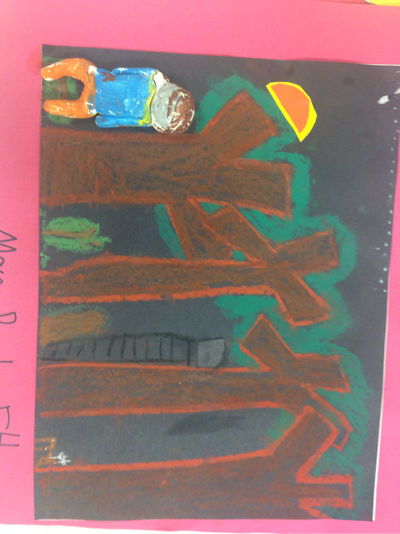
Because earthenware clay dries out so quickly, I always provide the kids with a day of practicing with modeling clay. It isn't as moldable, but the kids begin their clay project with confidence the next time around.
0 Comments
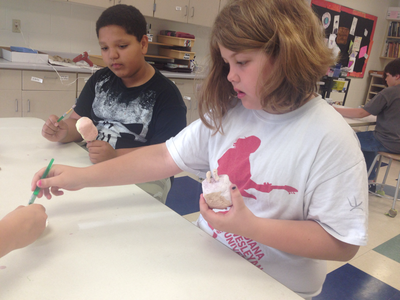
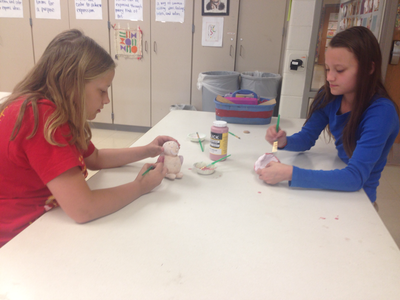
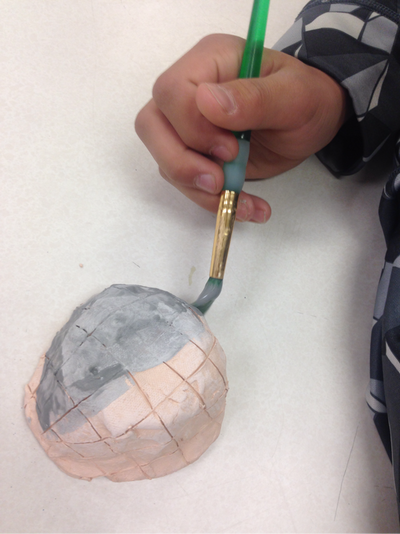
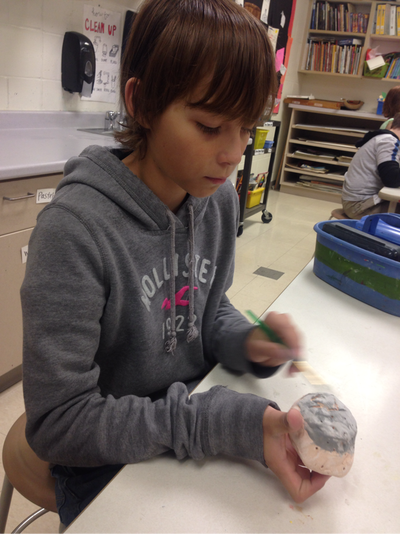
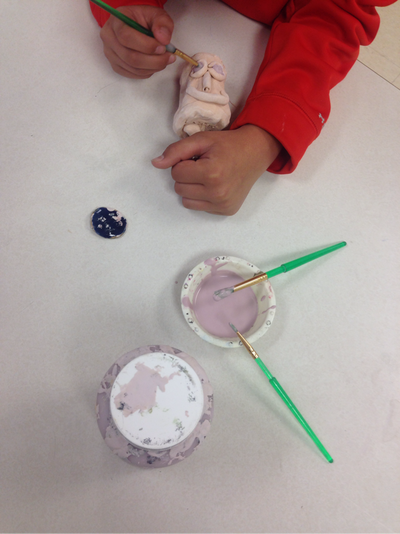
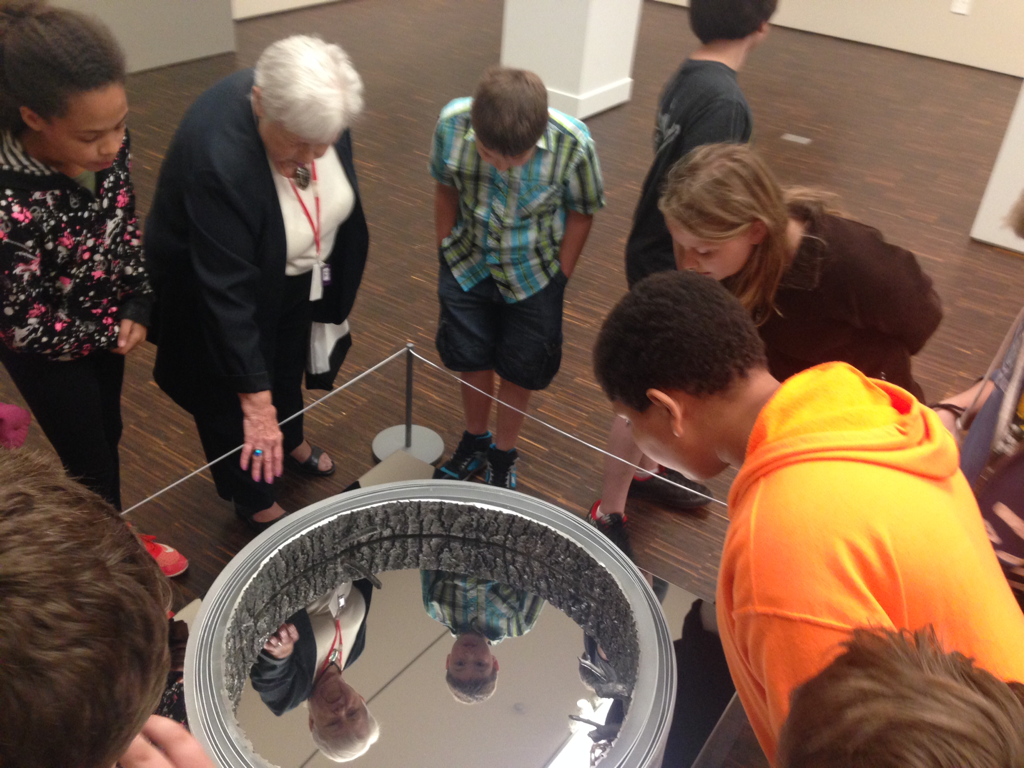
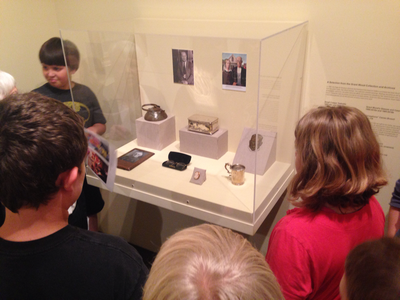
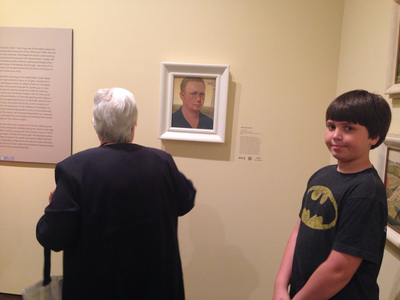
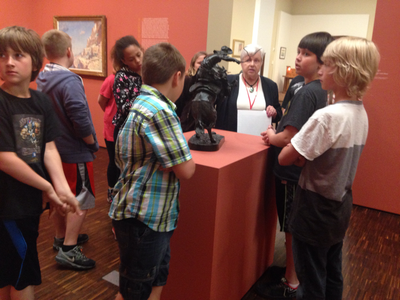
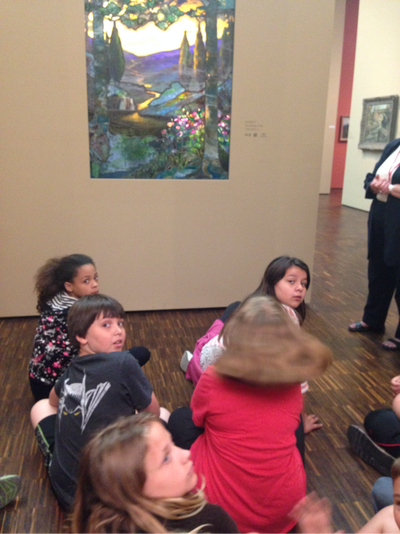
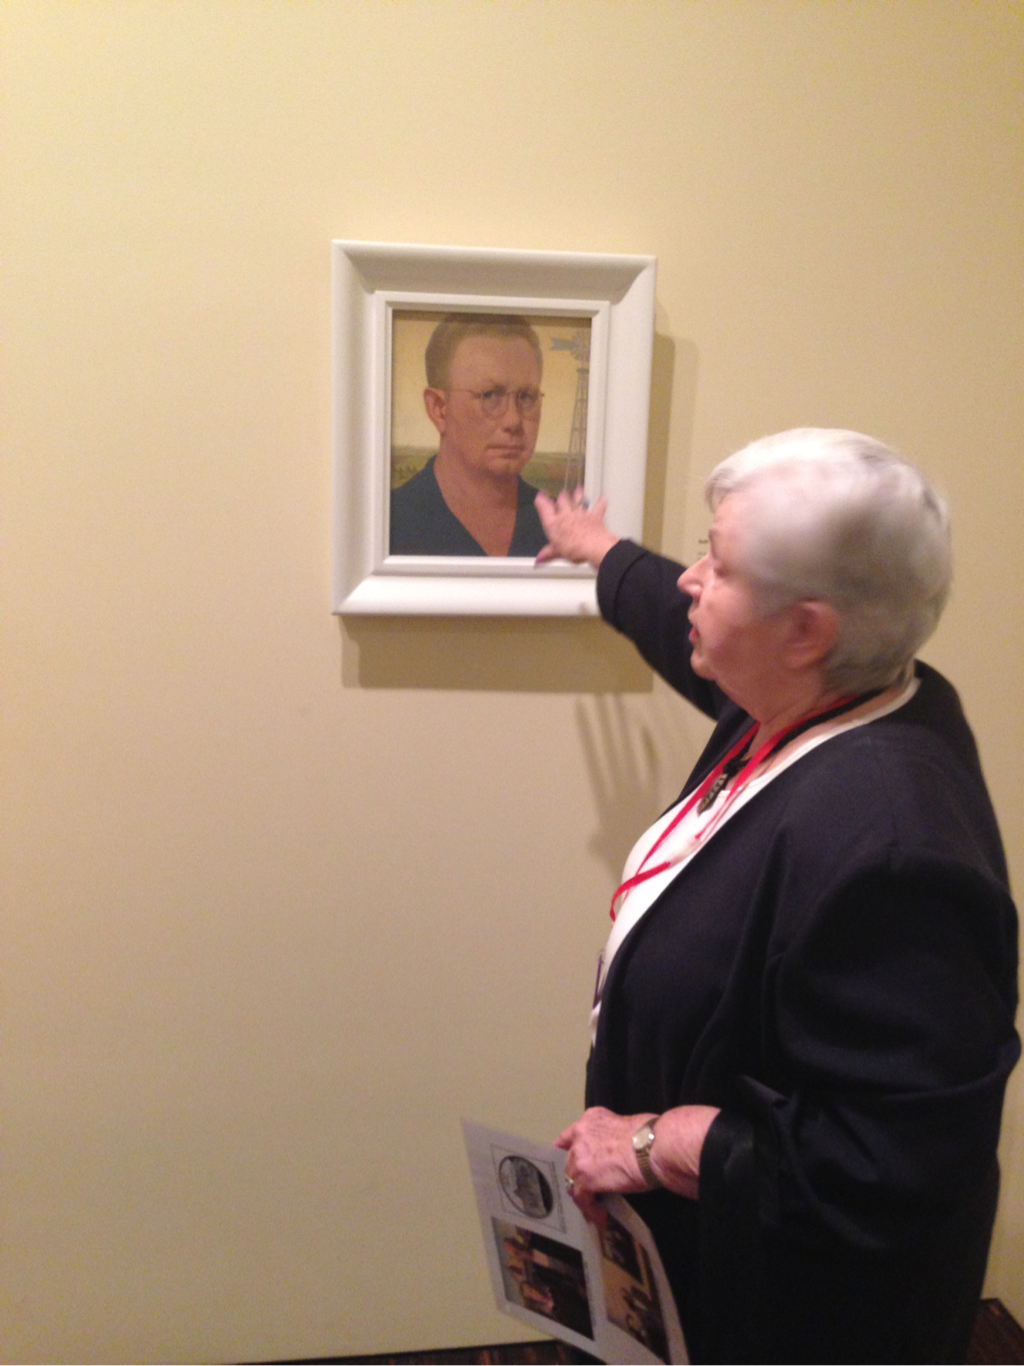
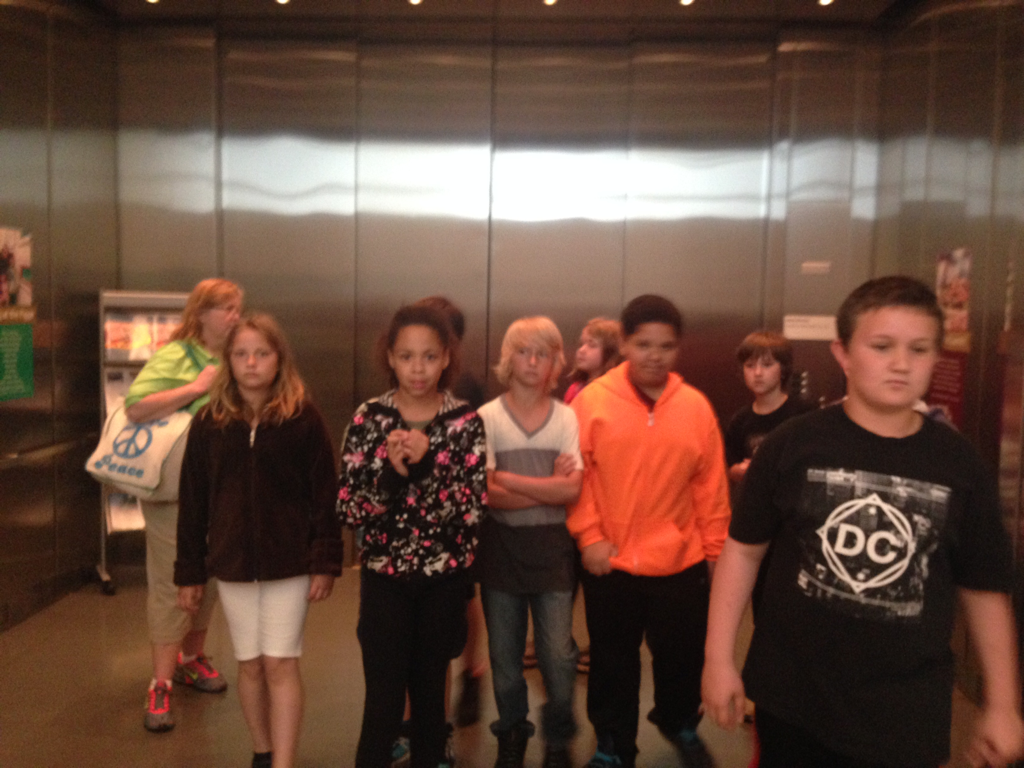
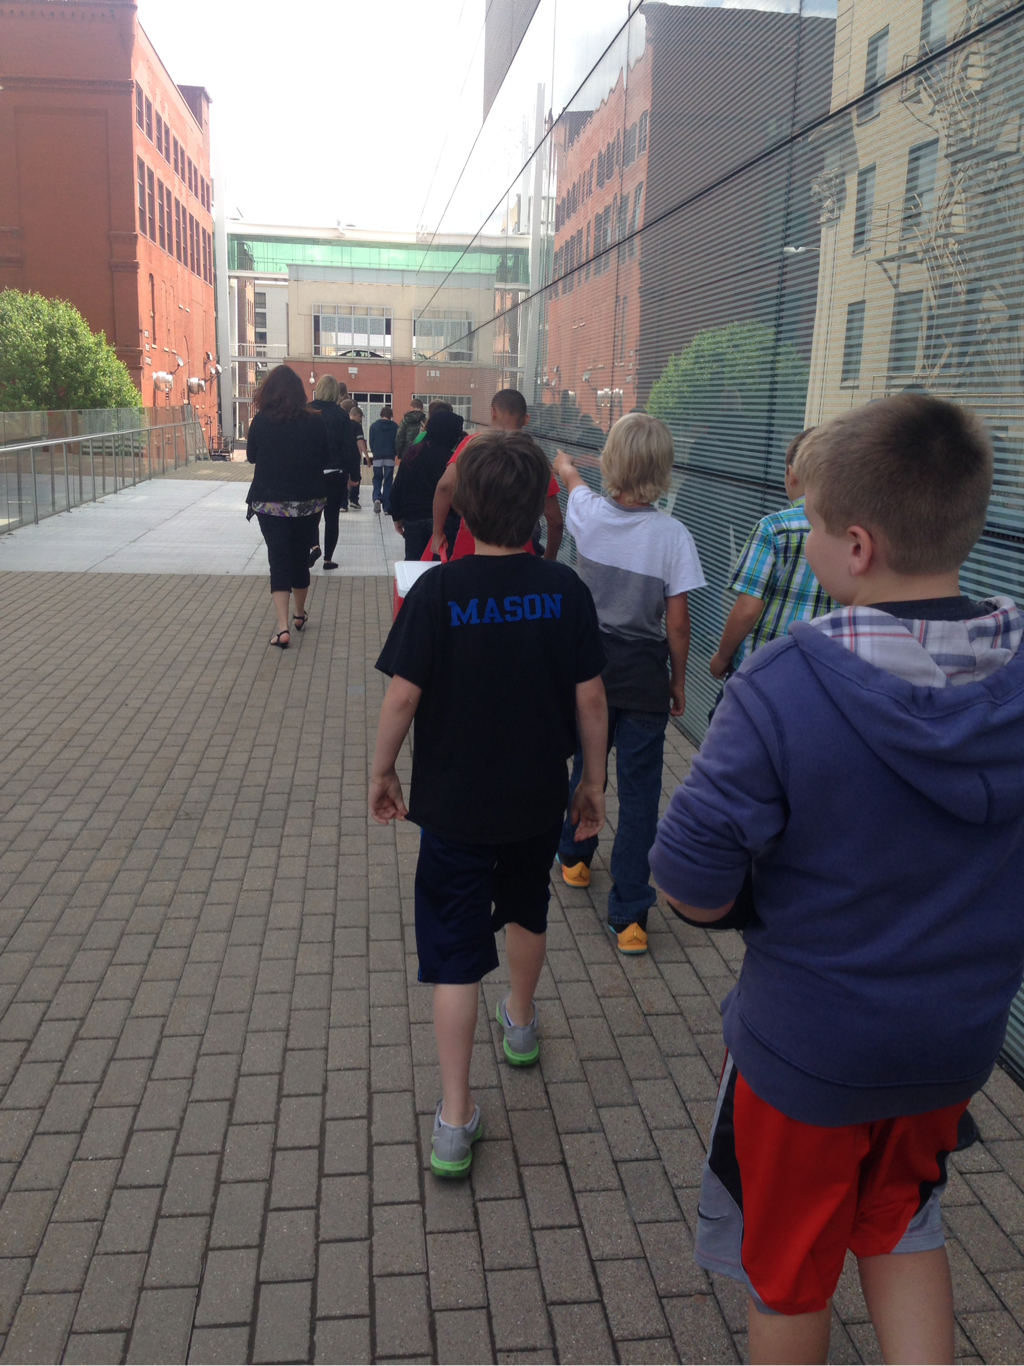
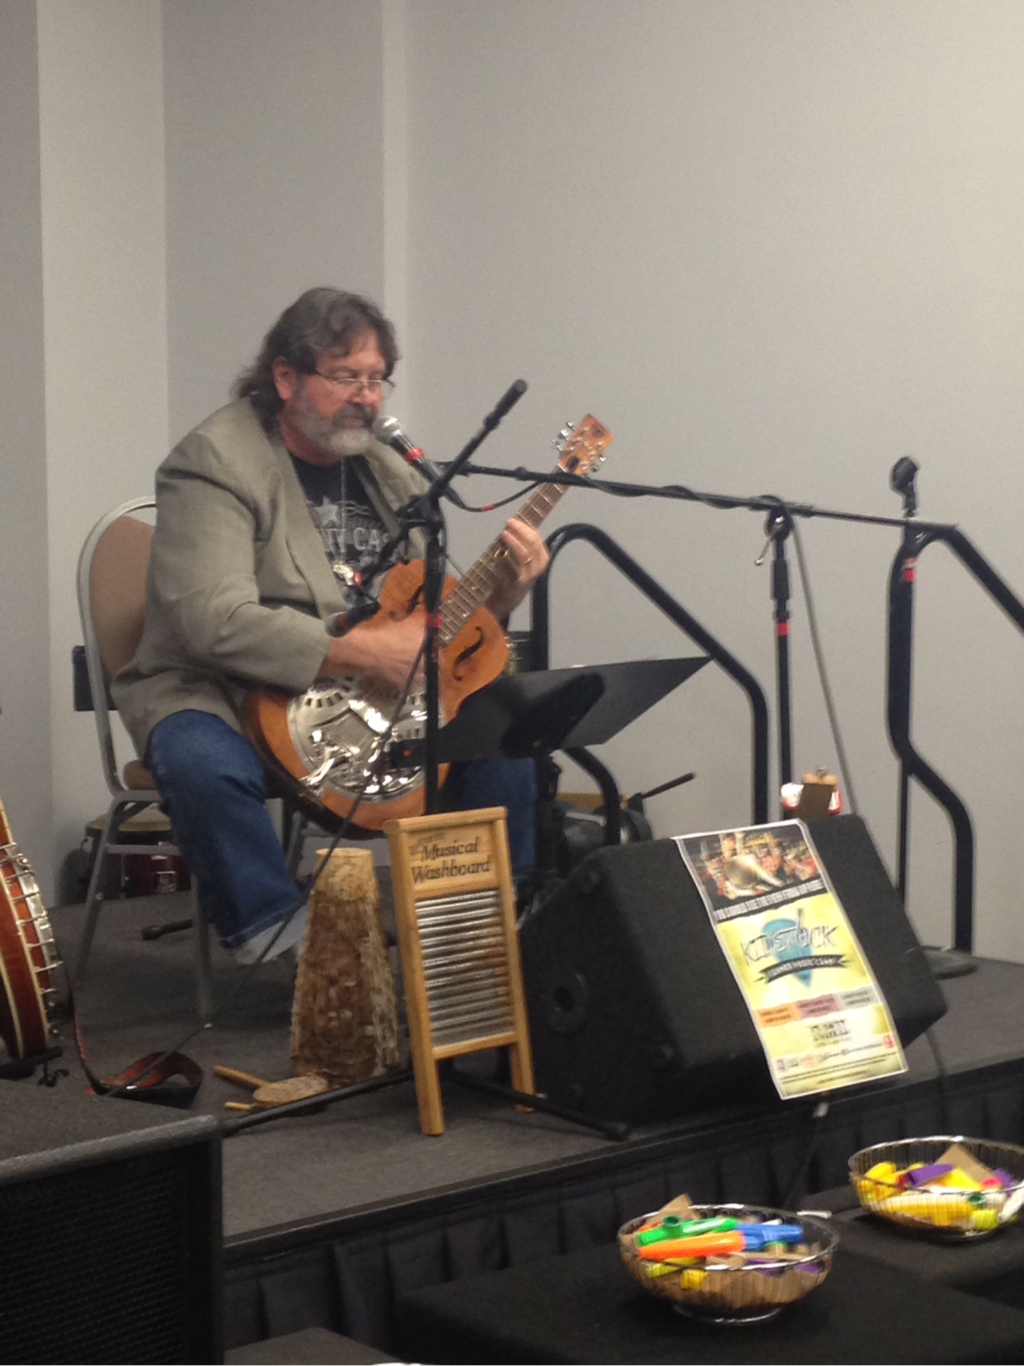
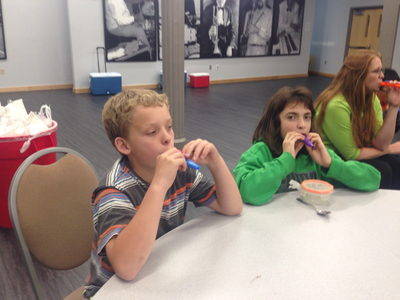
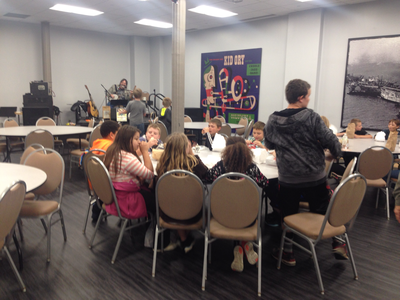
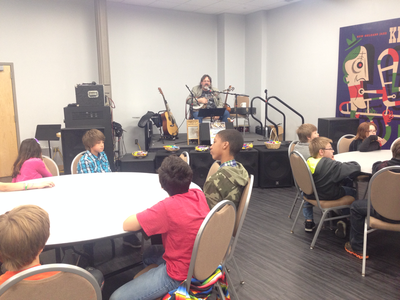
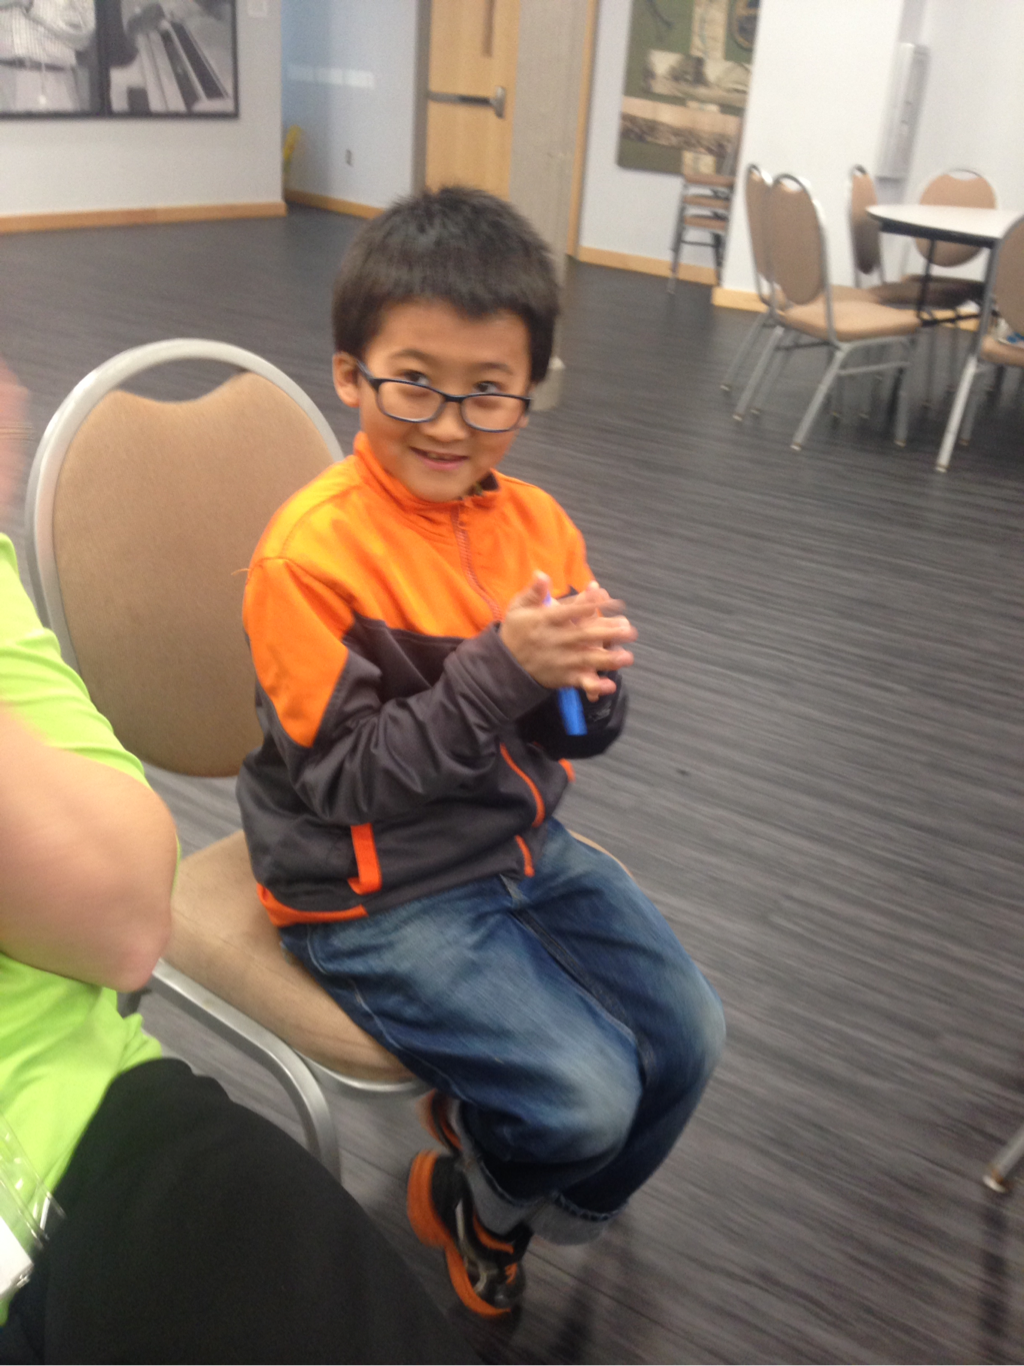
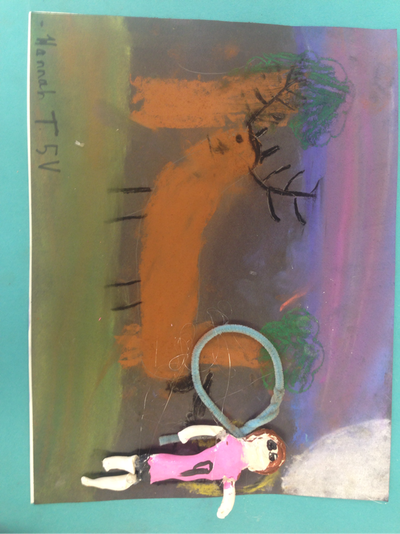
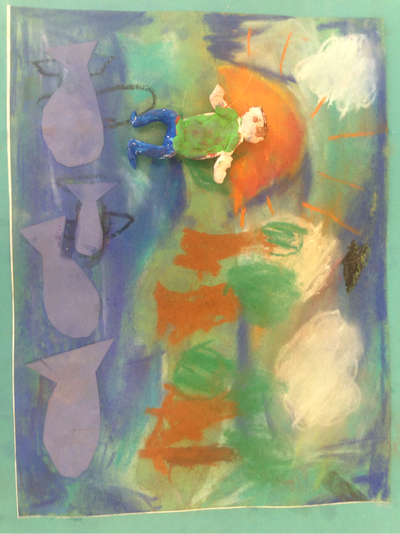
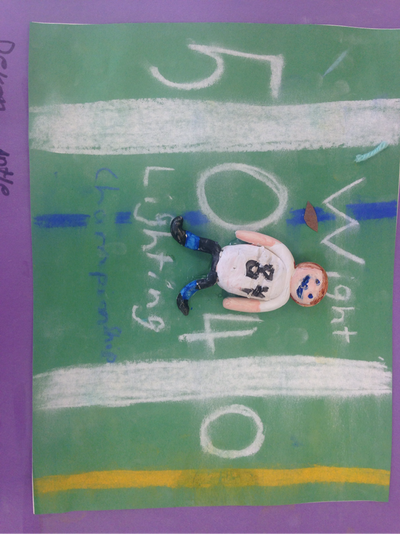
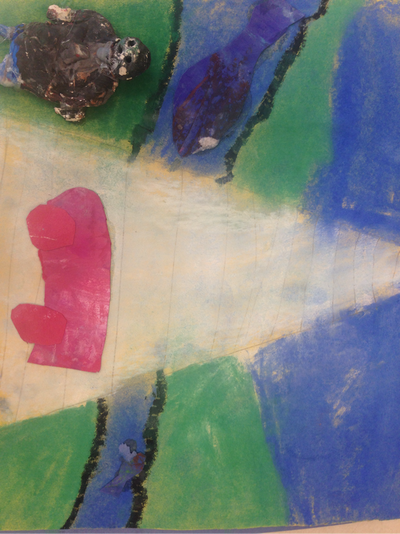
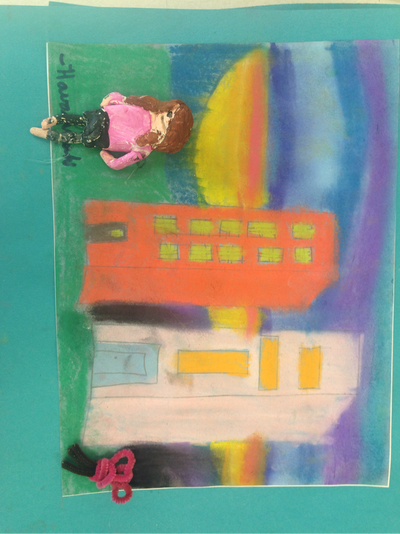
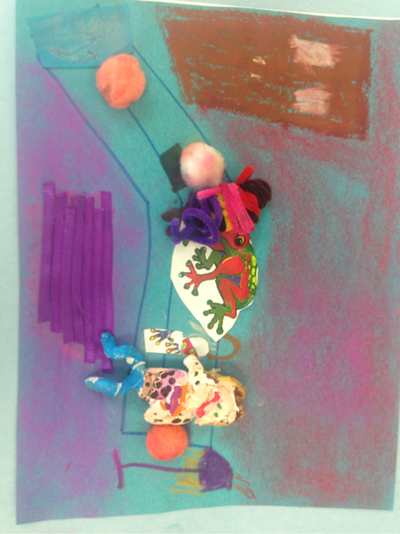
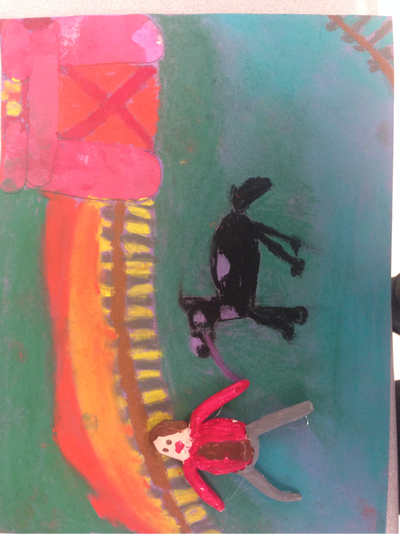
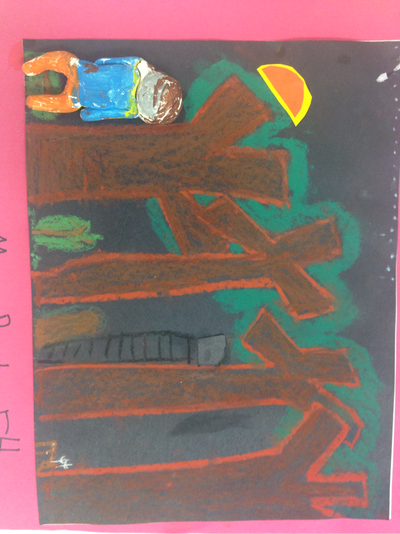
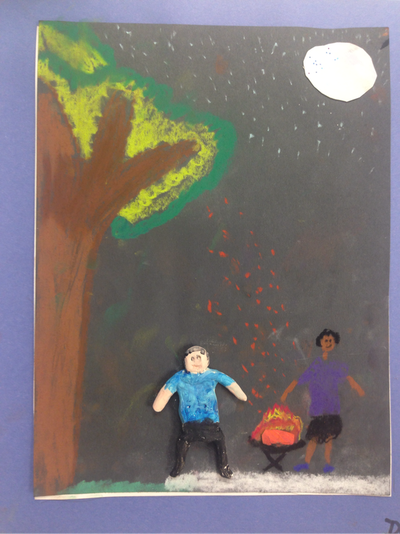
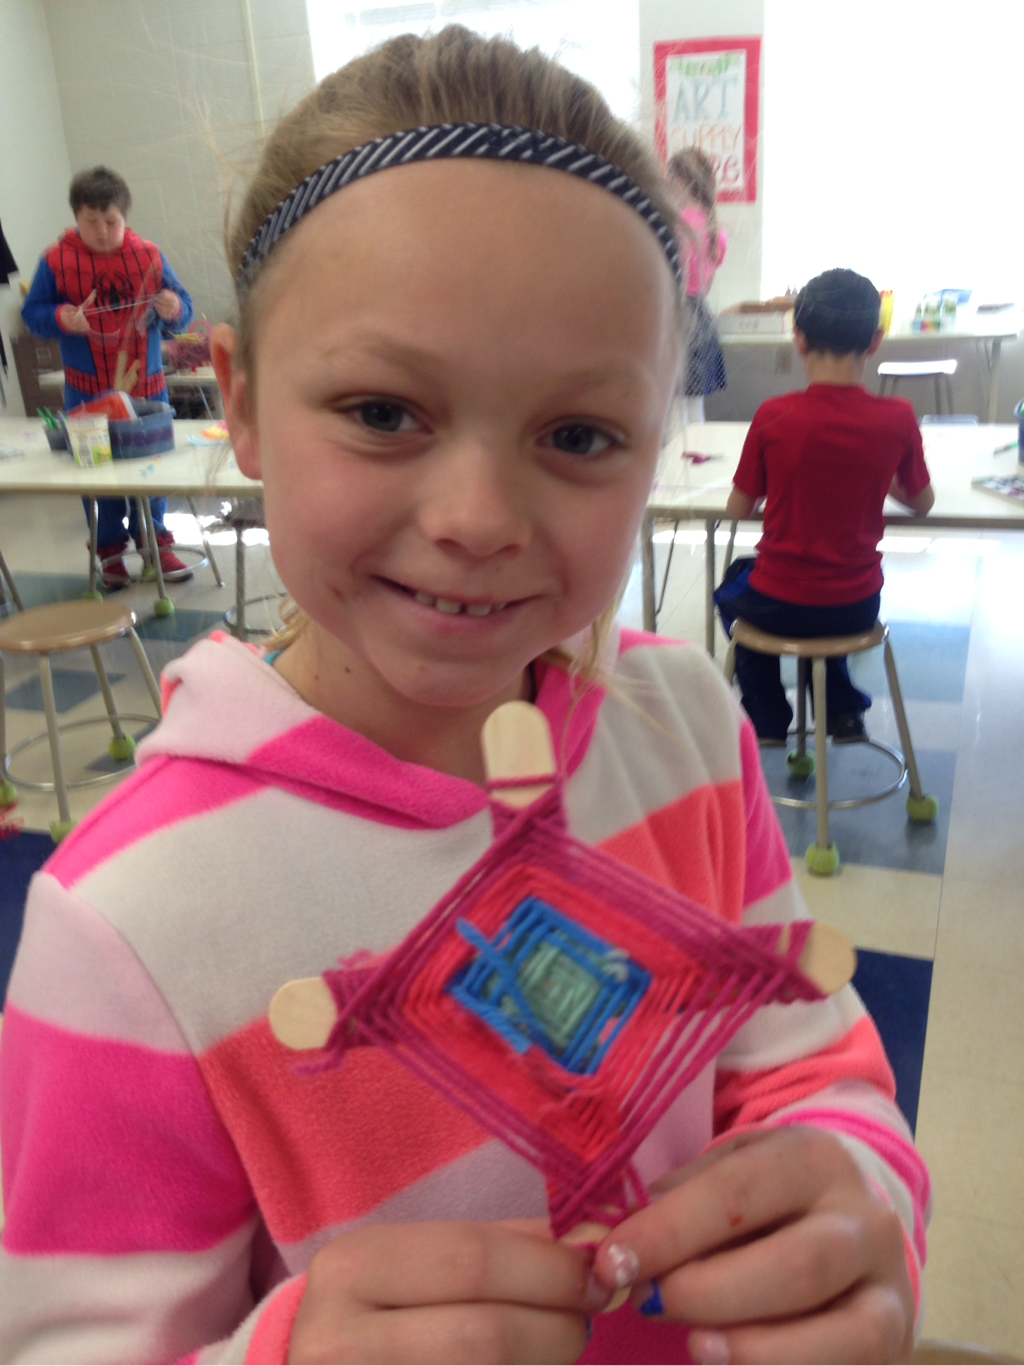
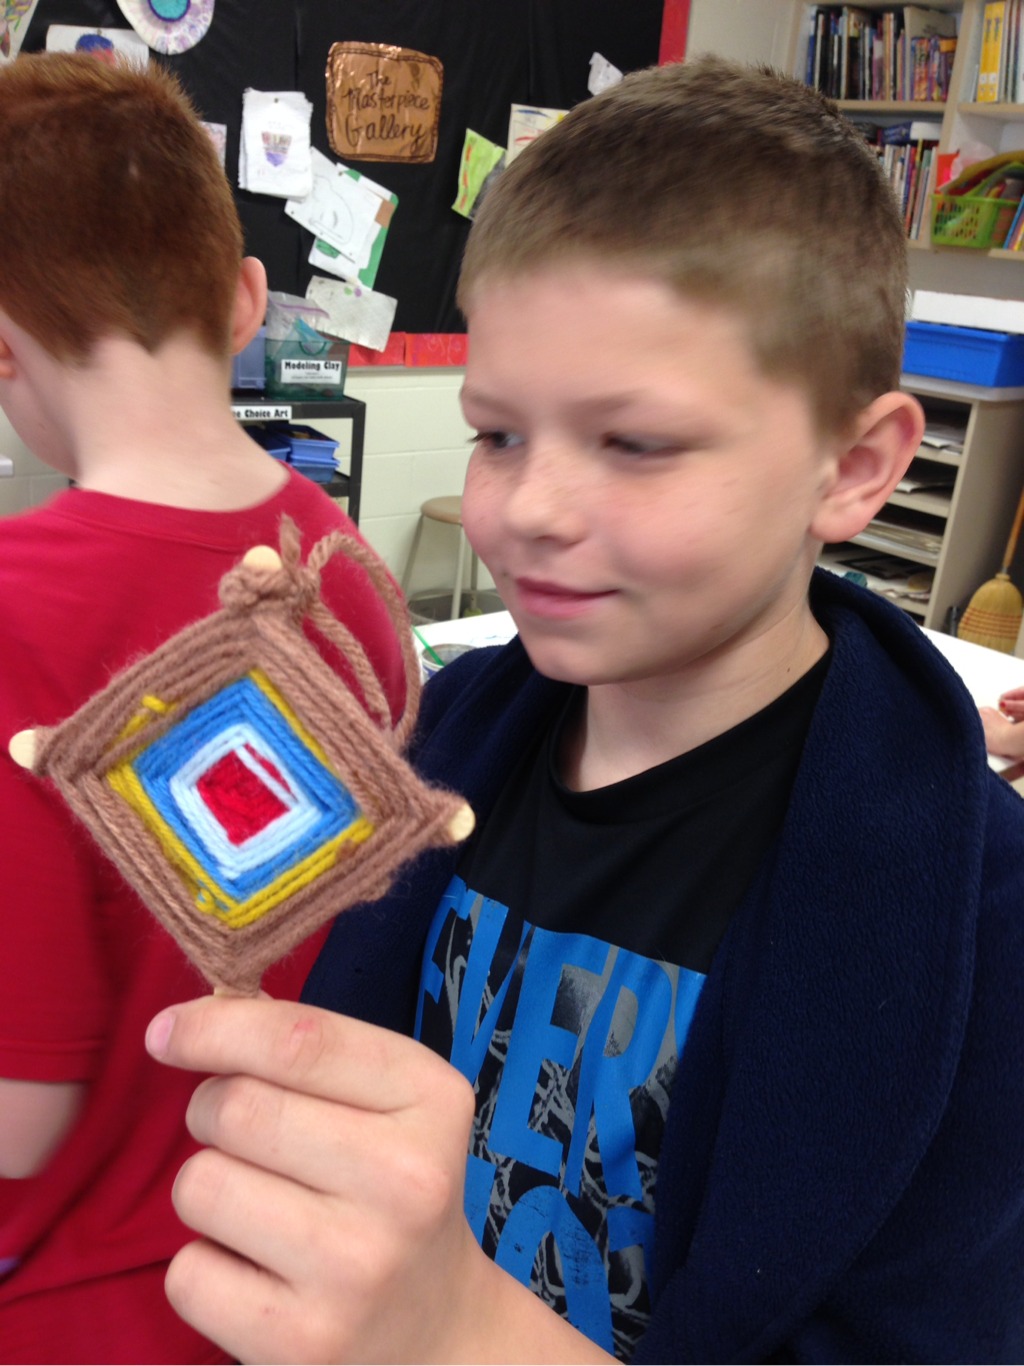
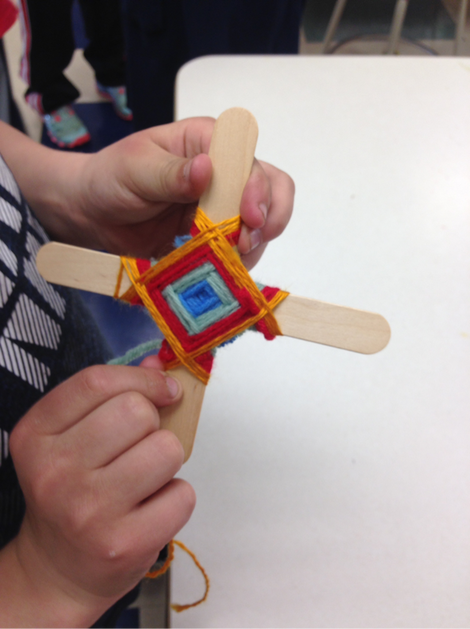
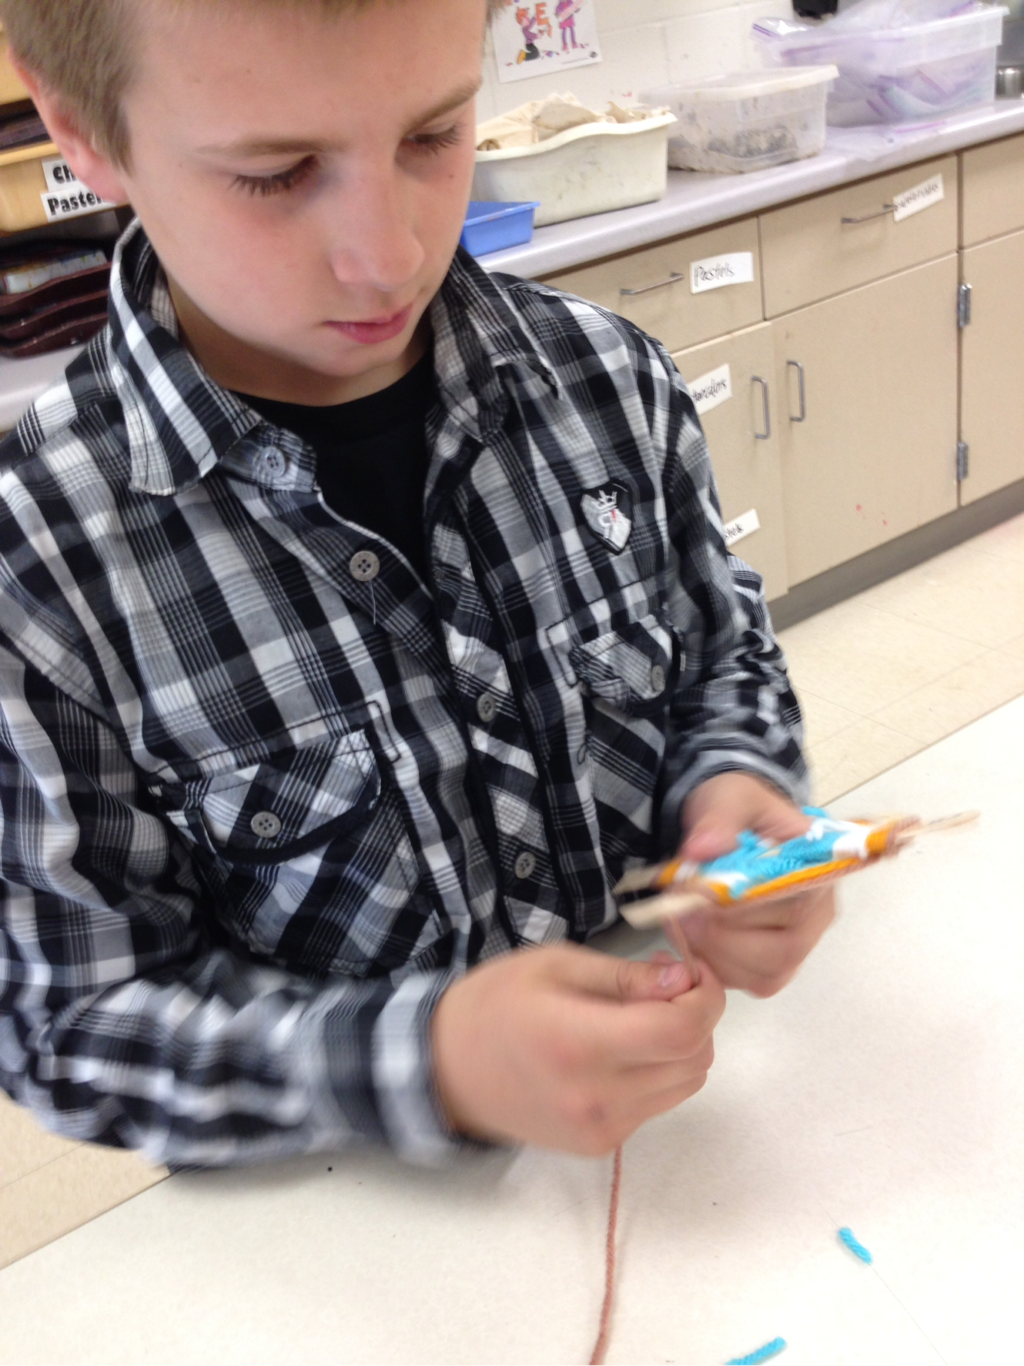
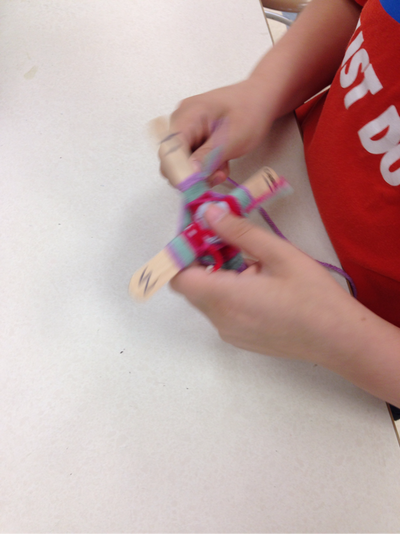
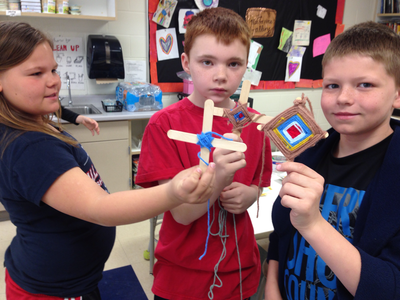
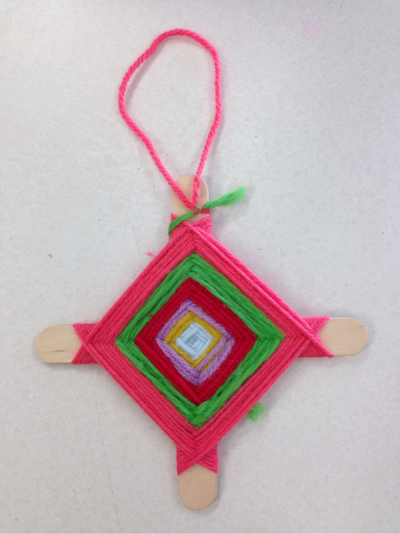
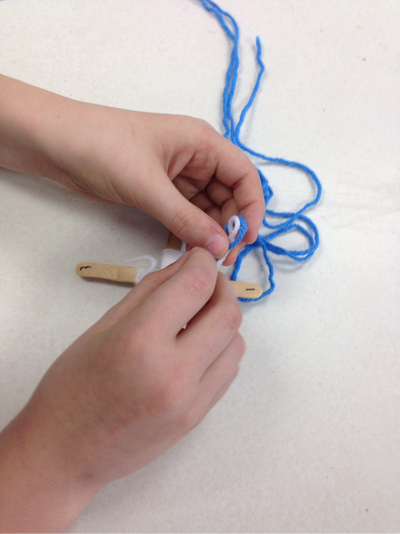
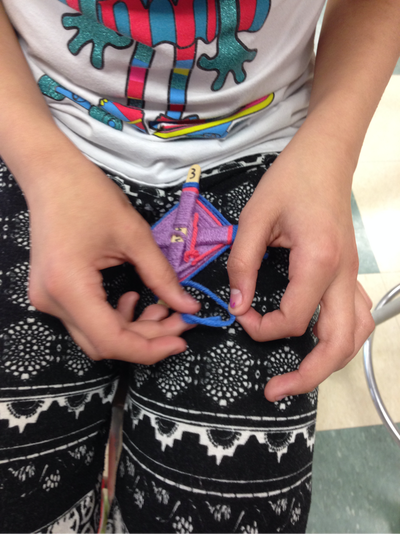
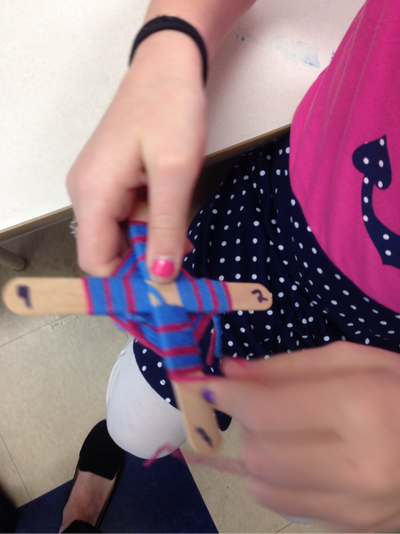
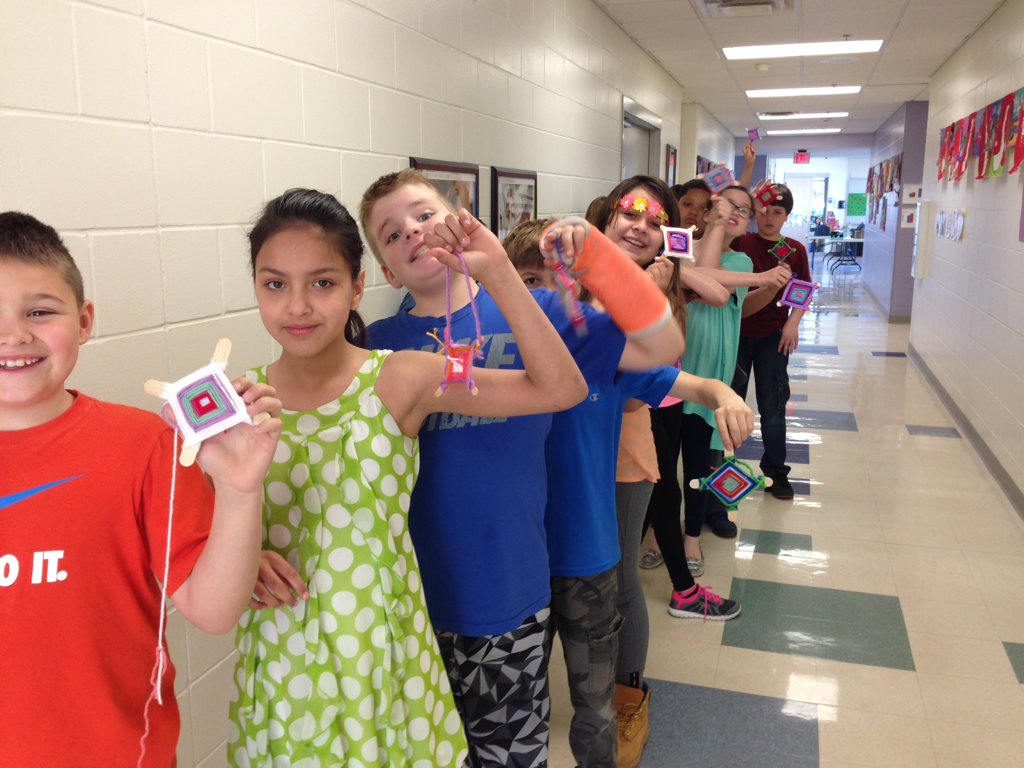
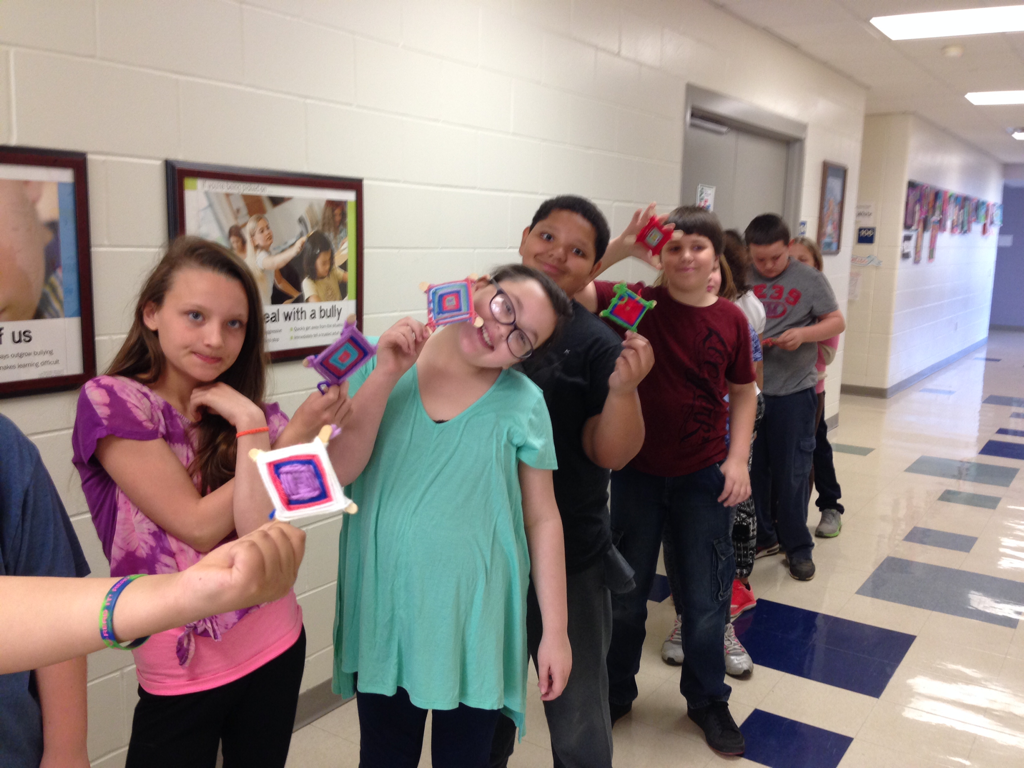
All DCSD 5th grade students go on a field trip to the Figge Art Museum and the River Music Experience. Figge docents led groups of about 12 students on a tour and highlight works from the Figge's own collection as well as current exhibitions. These docents are volunteers and we are thankful for their time and effort! Following our Figge tour, we walked to the River Music Experience and sat down for lunch. Ellis Kell sang the short songs the students had written in music class and provided a musical history of the music of the Mississippi River. Each student receives a kazoo at the end of the presentation. ScheduleThe Figge Art MuseumThe River Music ExperienceI like to do a memory-inspired project with the 5th graders to give them an opportunity to reflect on their elementary experience. Because the 2nd Grade Animal Habitats were so successful, we used a similar technique for these mixed-media pieces. 1. Brainstorm. Write down 3 favorite memories.2. Create a little human out of air-dry clay.Note: we practiced with modeling clay first! 3. Paint mini person4. Create mixed media background for memoryI encouraged the kids to include at least 3 details to their setting. The viewer should be able to identify the season your memory occurred (if outdoors), the time of day, and a general idea of location. 5. Glue on little clay human6. Write a description of your memory and glue it to the back.This early-finisher project was so popular, everyone wanted to do it! Every student 3-5 grade has started or completed a "God's Eye" this year and 2nd grade may make one soon, too. Cassie Stephens recently posted about creating Ojo de Dios in her classroom and I was inspired. I remember learning how to make a God's Eye in vacation Bible school at Land's Church in Canton, SD when I was younger. This little weaving project would keep me occupied if I was bored outside: I would find two similar-sized twigs on the ground and tie together blades of grass for my "yarn." For the classroom, I hot-glued together 2 pop sickle sticks and we used colorful yarn.
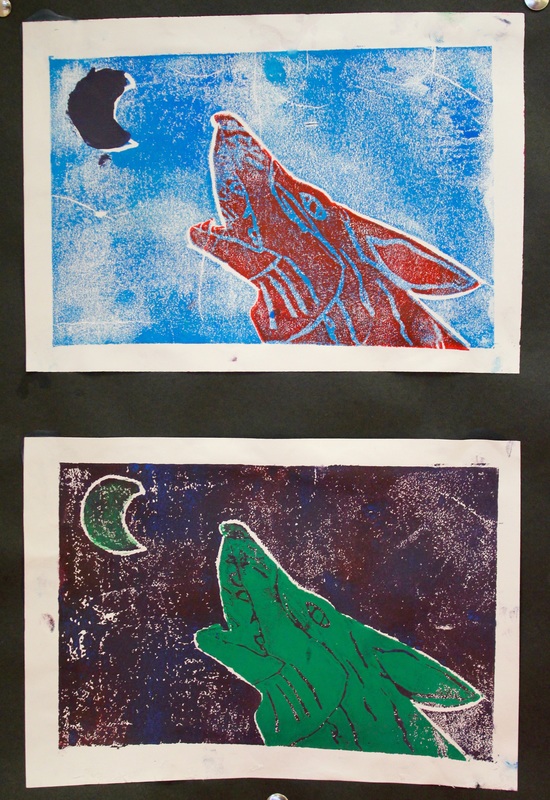
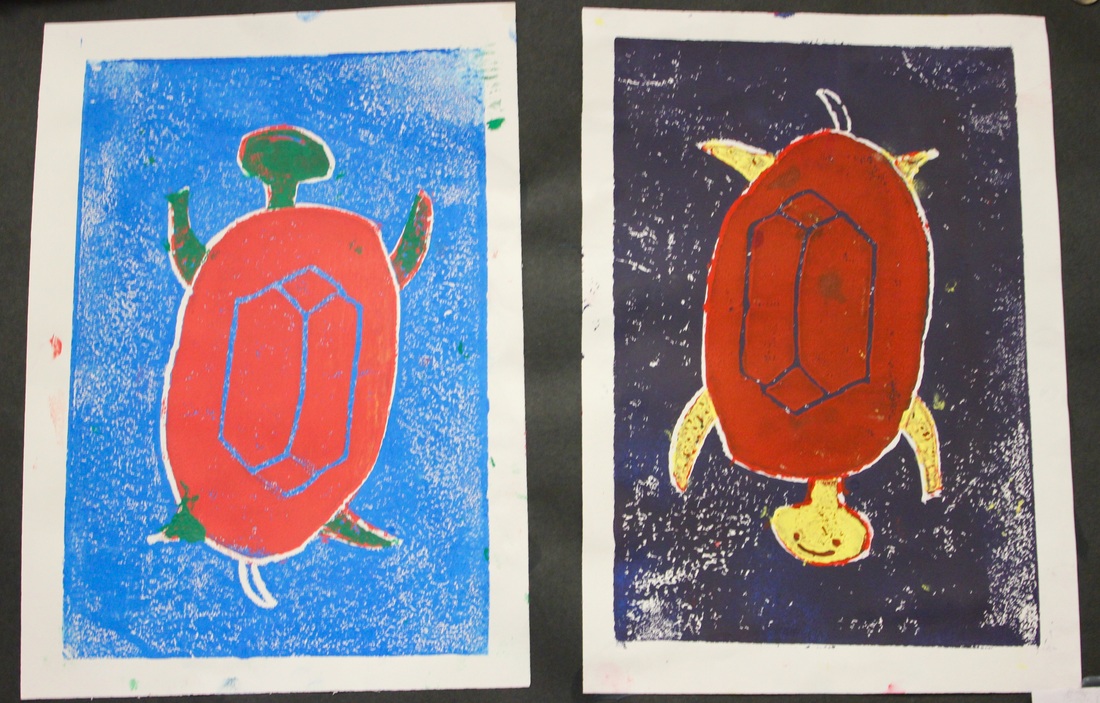
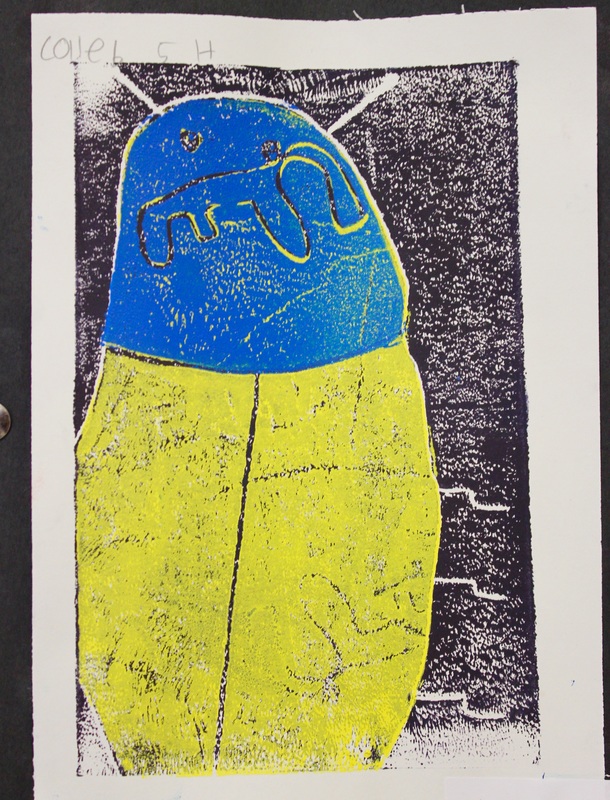
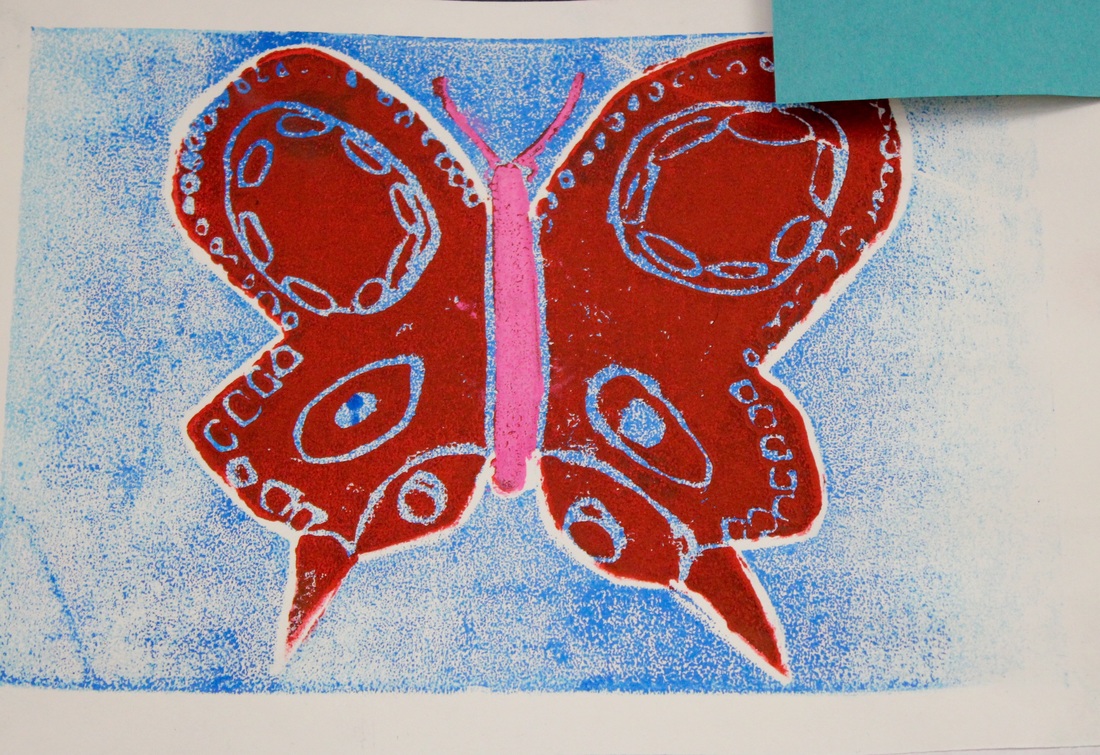
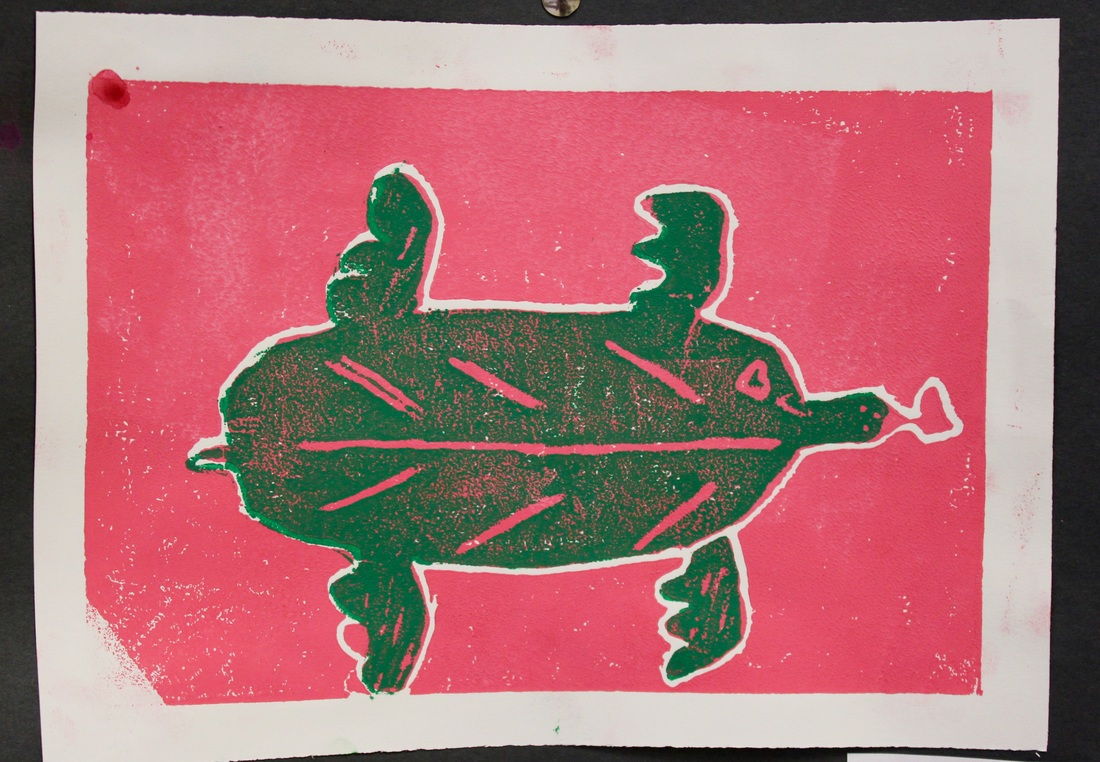
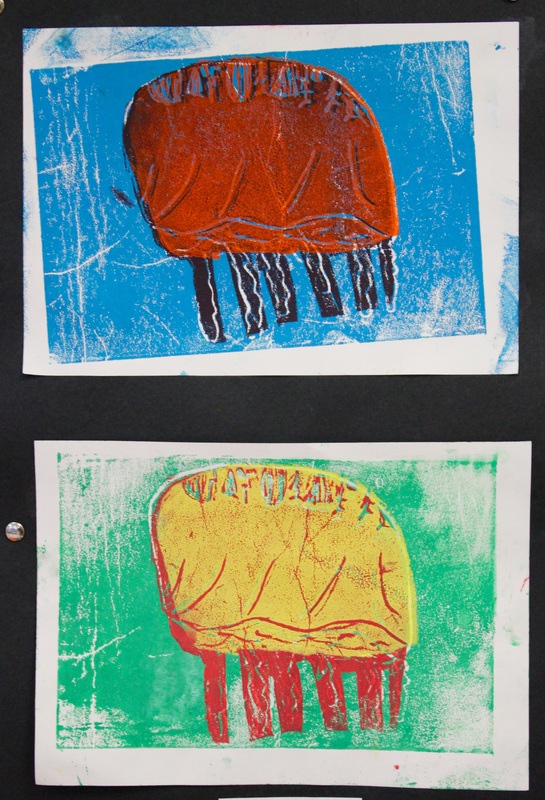
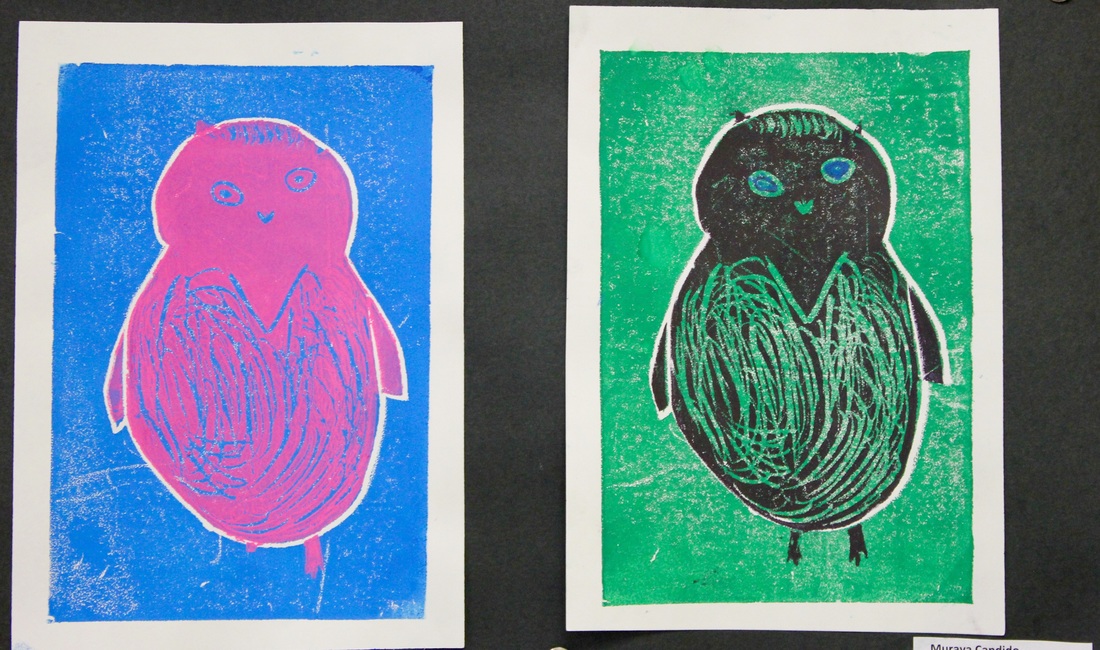
I posted a preview of the 5th grade animal prints a few weeks ago. Click here to see the post. One 5th grade section finished all 3 sessions of printmaking and matted their prints. I am so pleased with the results! They are proud of their work and a few of them were on display for the STEAM showcase. Check them out below! Lesson is from the Thomas Elementary Art Blog.
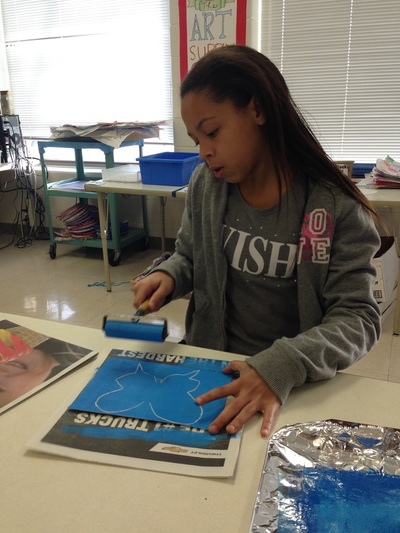
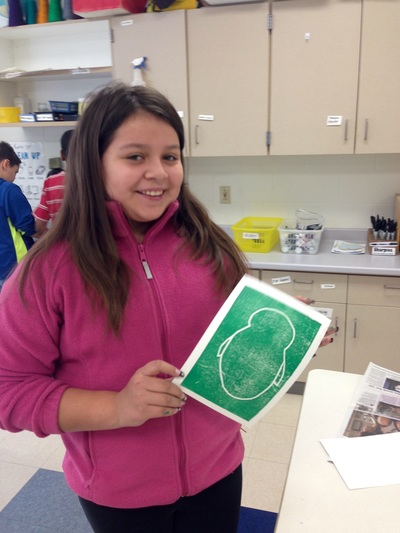
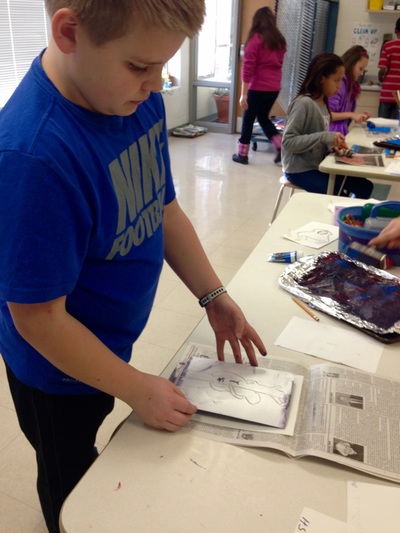
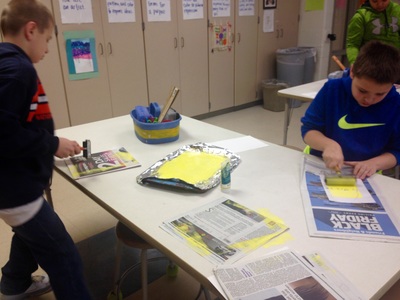
One 5th grade class has completed the first phase of our printmaking project. To begin, the artists chose an animal book (I checked out about 30 from the school library--thanks, Mrs. Huss!) and drew an animal on a piece of 9 x 12 paper. Next, they traced the outside of a piece of 6 x 9 printmaking foam onto their drawing and cut along that line. They now had a piece of 6 x 9 foam and a 6 x 9 animal drawing. They attached their drawing to the foam using a piece of masking tape and traced the OUTLINE ONLY (I really stressed this, as it is so easy to go in and trace the eyes and details without even thinking about it). Tracing through the paper onto the foam presses a slight line in the foam. They removed the paper and pressed the lines in using a pencil to ensure they were deep enough to not "catch" any of the ink. Next: time to print! I demonstrated squeezing out the ink (they were responsible for this at each station--I had 6 different colors set up), rolling it out with the brayer, and applying it to the foam until it sounded "sticky." I placed the foam on the table and carefully centered a piece of 7 x 10 white sulphite paper on top. Next I placed a piece of newspaper and used a clean brayer to press the paper onto the foam for the image to transfer. Rolling the ink onto the foam. The best way to know if you have enough ink is to listen for a "sticky" sound. The best part about printmaking: pulling it off the paper to see how it turned out! Check back later to see the final product! We have two more printing sessions to go. This lesson is from the Thomas Elementary Art Blog. Thank you to Mr. Stoller for your detailed lesson plan!
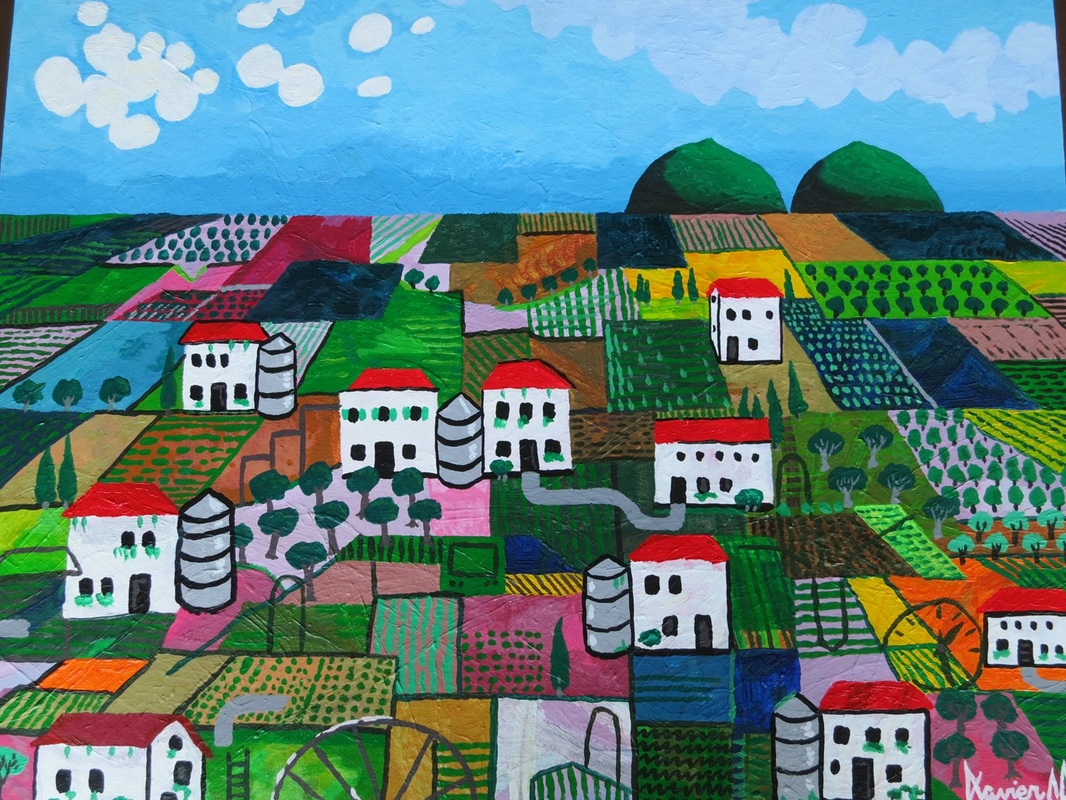
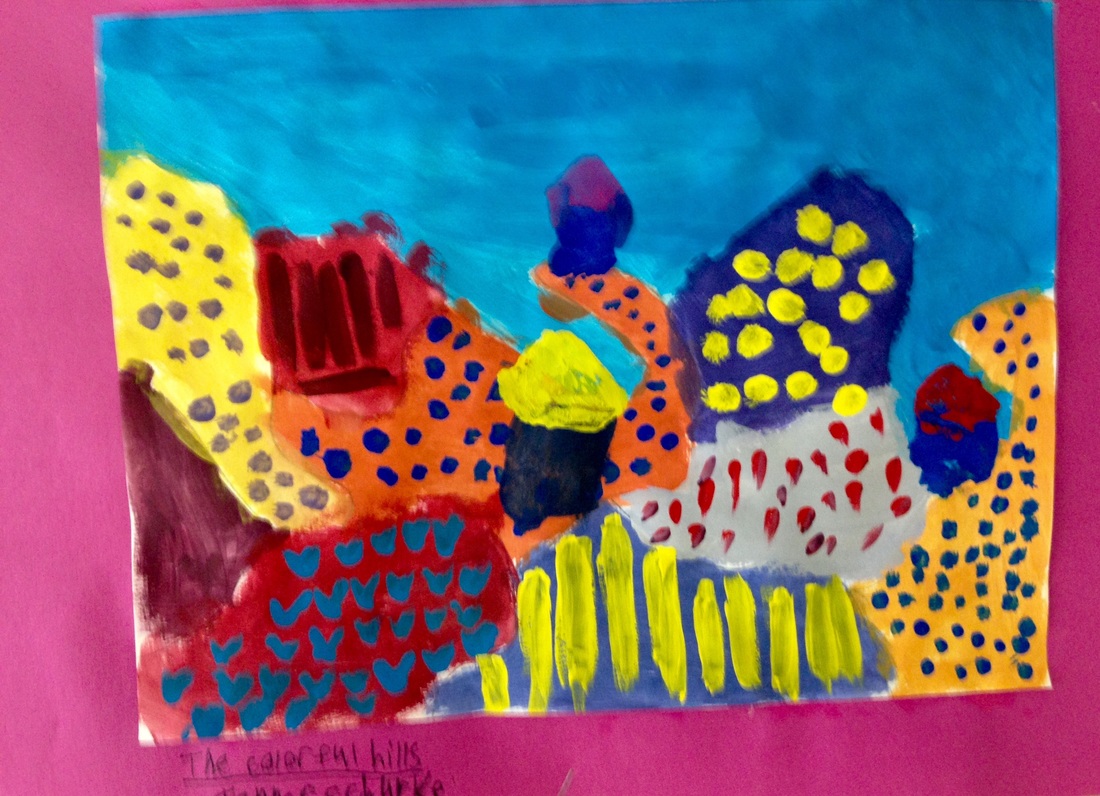
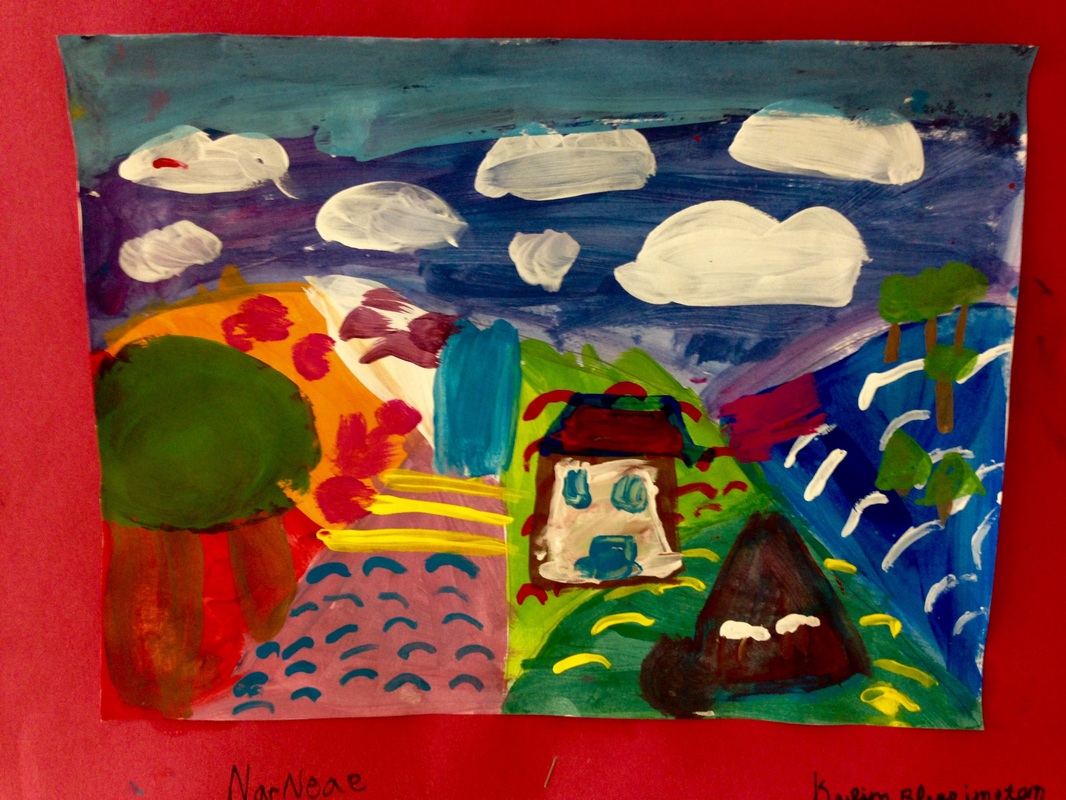
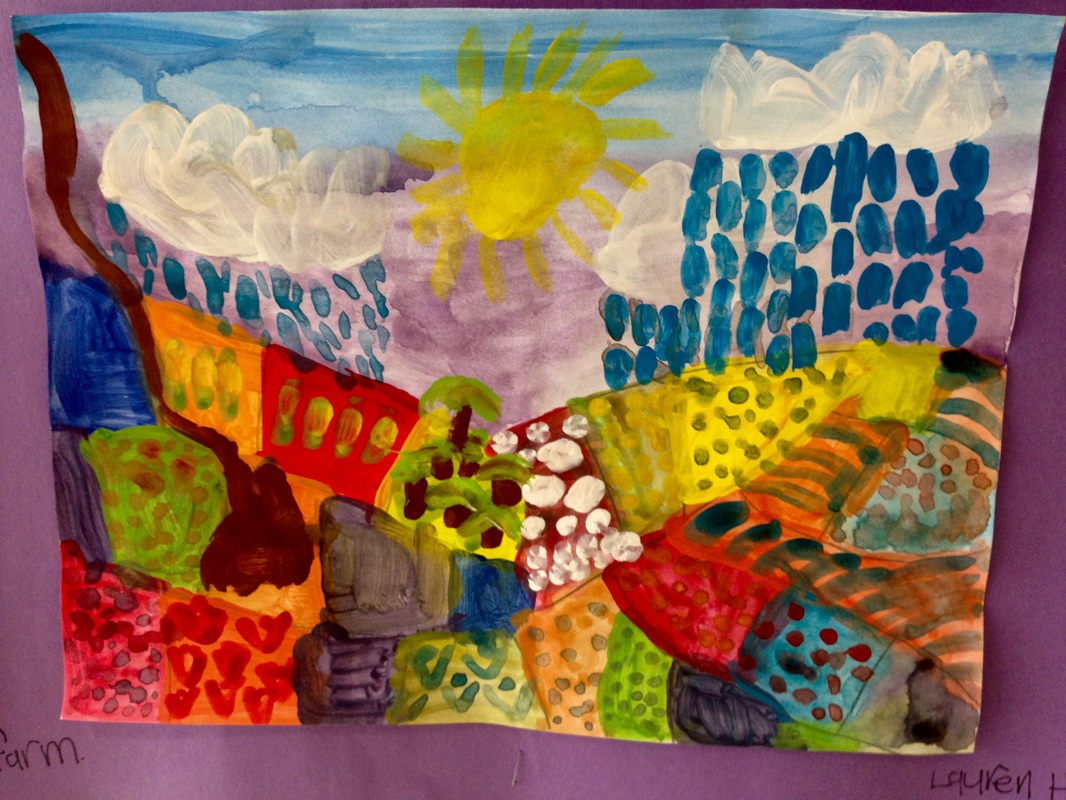
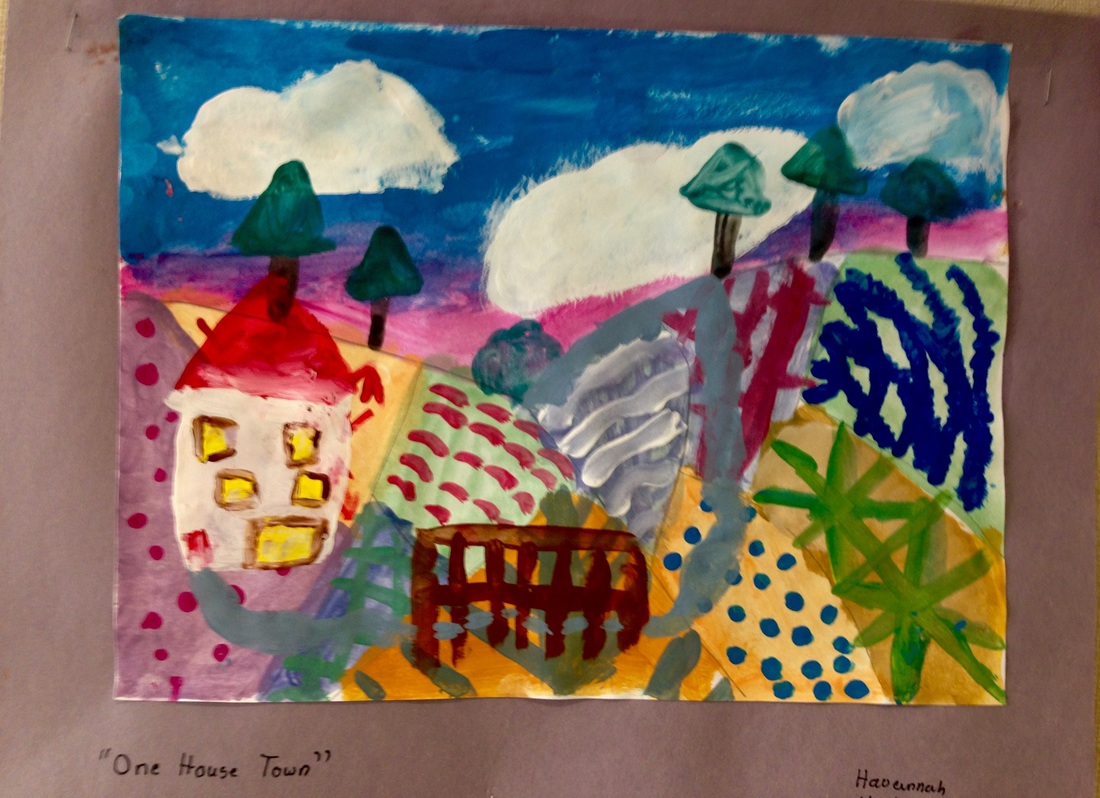
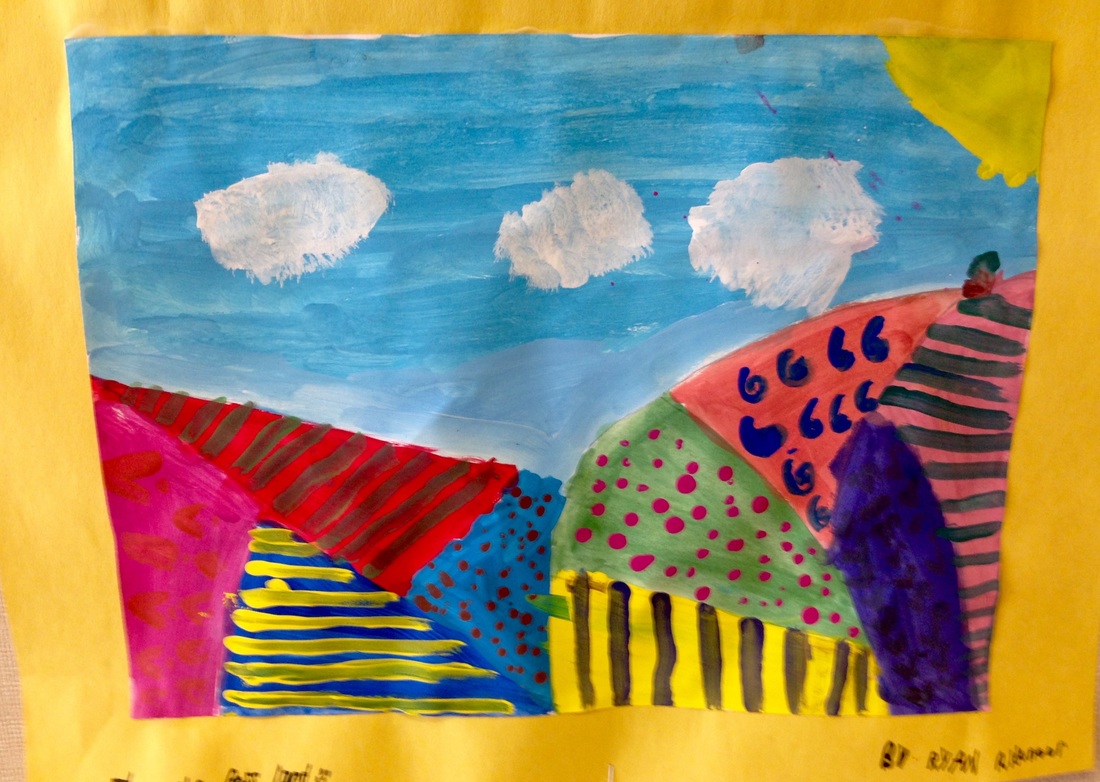
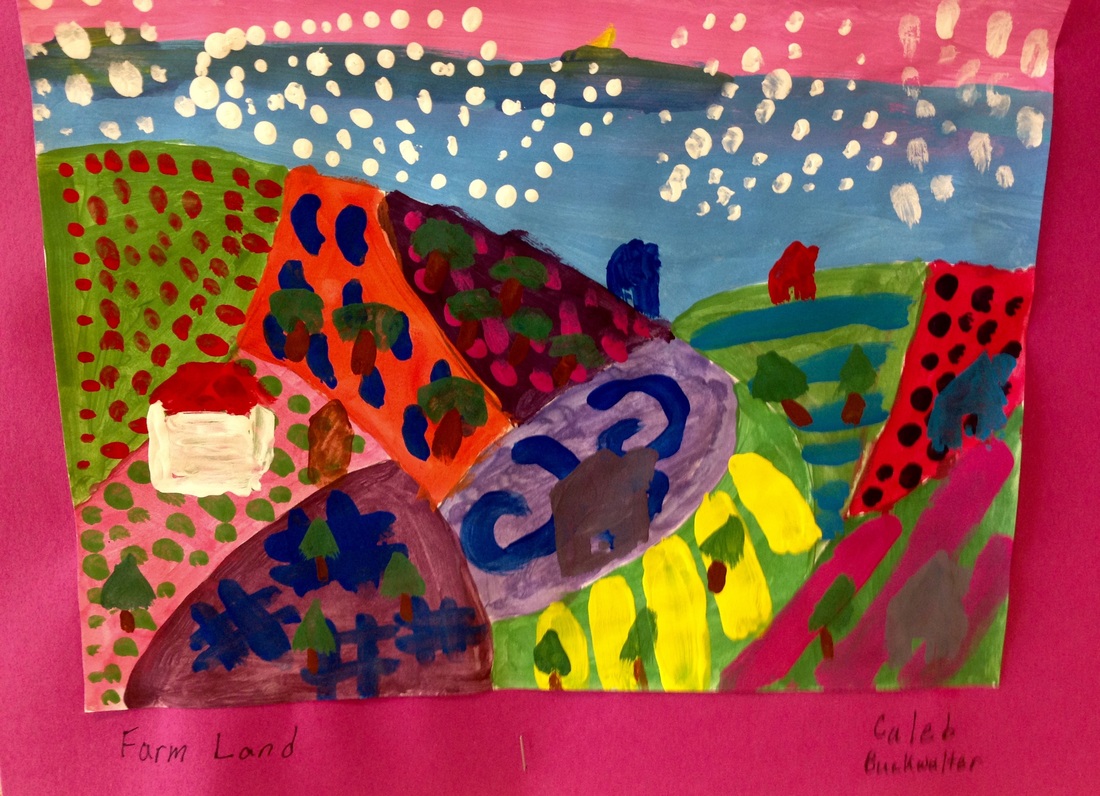
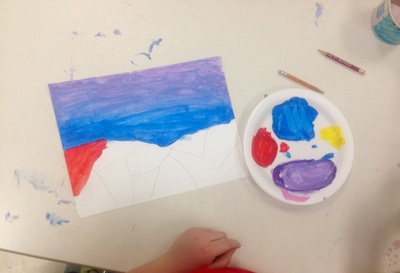
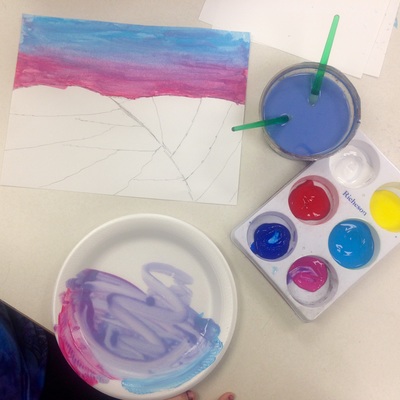
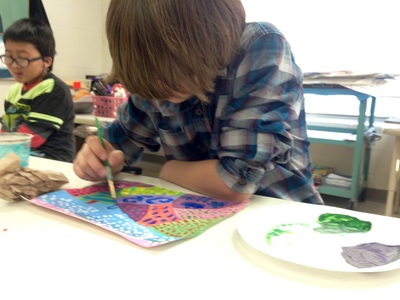
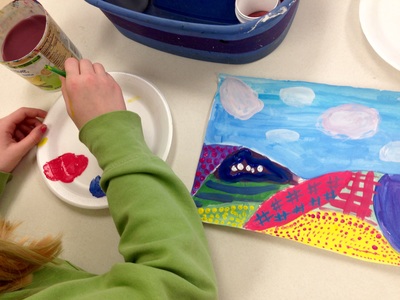
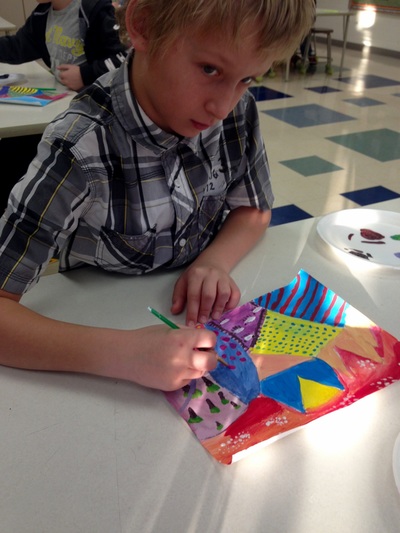
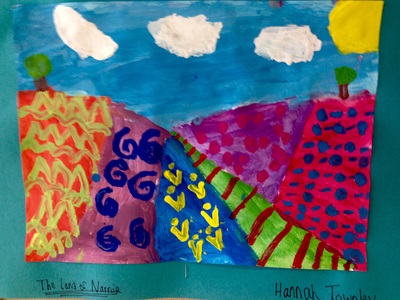
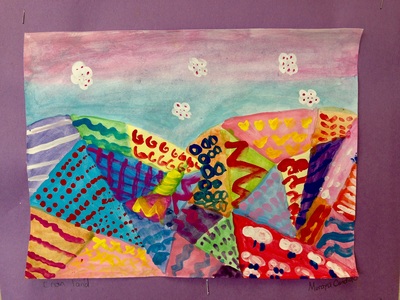
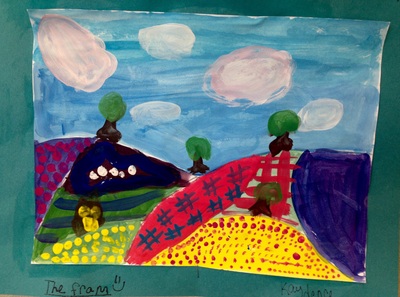
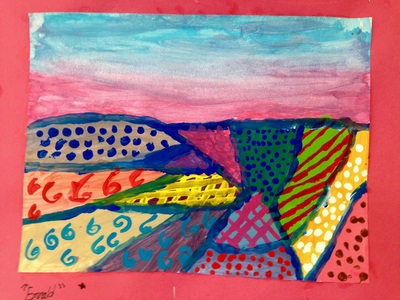
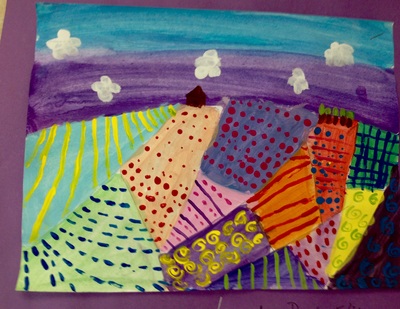
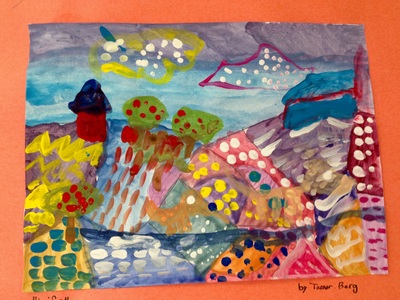
5th graders are pros at color mixing after this fun project. Contemporary artist Xavier Castellanos (and art teacher Cassie Stephens) was our inspiration. He was raised in Mexico and Frida Kahlo influenced his work. He uses bright colors and bold lines. Our inspiration: Xavier CastellanosWe started with a horizon line and broke up the land into different sections. We reviewed the color wheel and the artists painted the sky. They could mix only 2 different colors together (not including white). They mixed a different color for each section of the land and added pattern once it was dry. Details like sheep, houses, and trees were added last. Once complete, the artists matted their work, wrote their name, and also named their piece. We listened to The Lion, the Witch, and the Wardrobe while they worked and there are a few Narnia-influenced artwork names:)
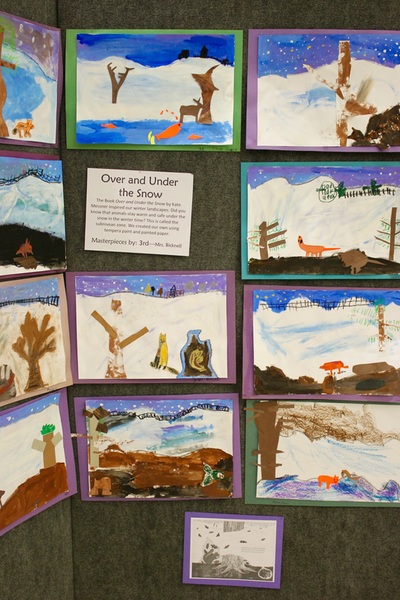
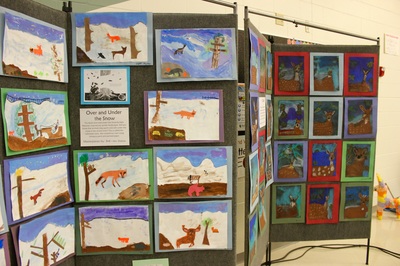
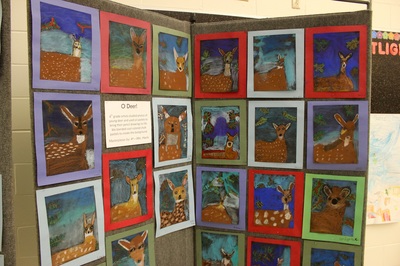
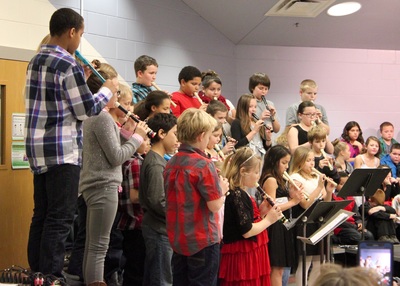
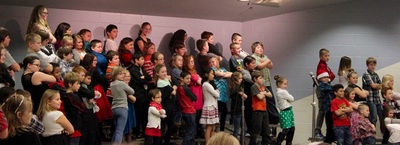
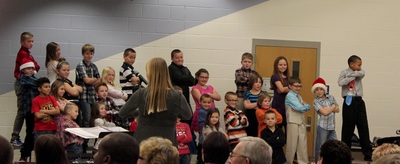
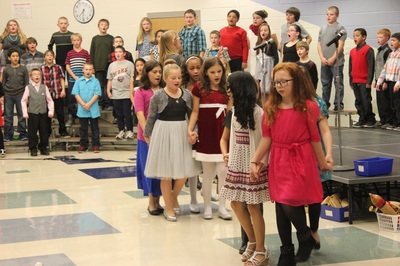
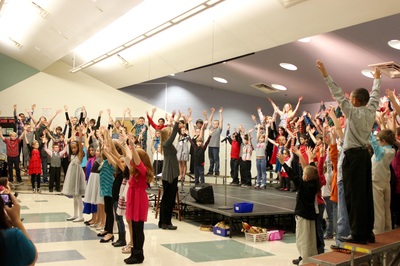
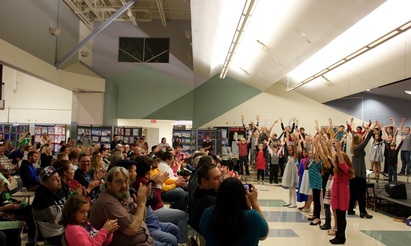
Thank you to Cassie Stephens for the fabulous project. We loved it! The 3rd, 4th, and 5th grade students performed in the winter concert on December 10. I displayed seasonal artwork from each class on art panels.
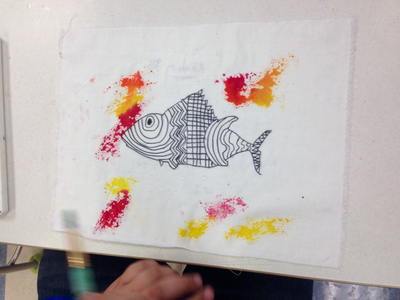
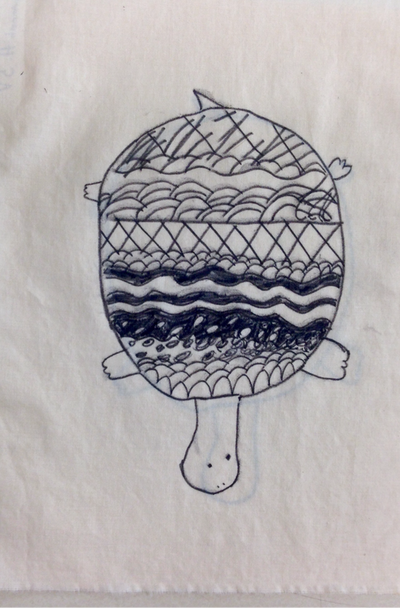
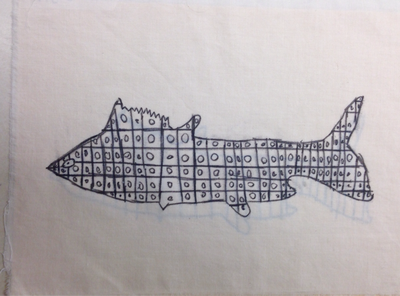
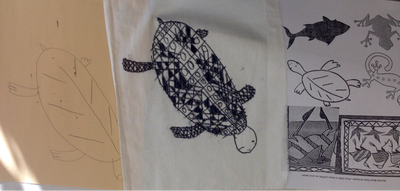
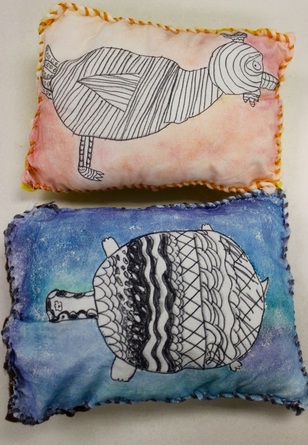
The Senufo people live in the country of Côte d'Ivoire (Ivory Coast), West Africa and create drawings of masked figures and animals on woven pieces of cloth. First, they draw the figures freehand with a yellowish-green dye made from falma leaves. Then black paint, made from mud, is drawn on top of the first drawings. These mud cloths are traditionally thought to bring good luck to hunters and are popular with tourists.
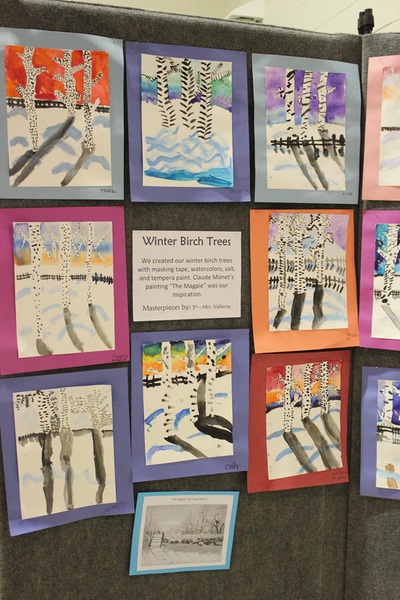
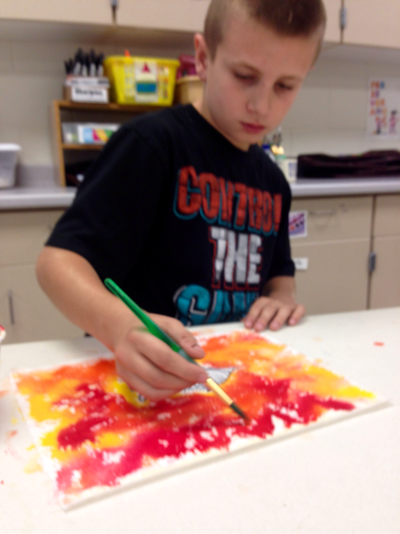
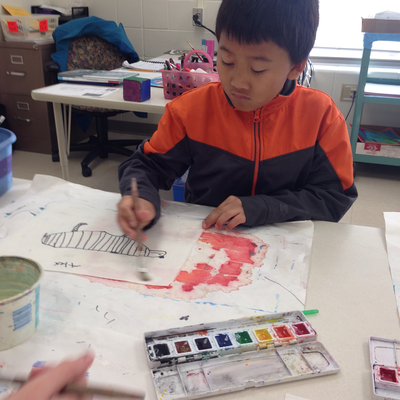
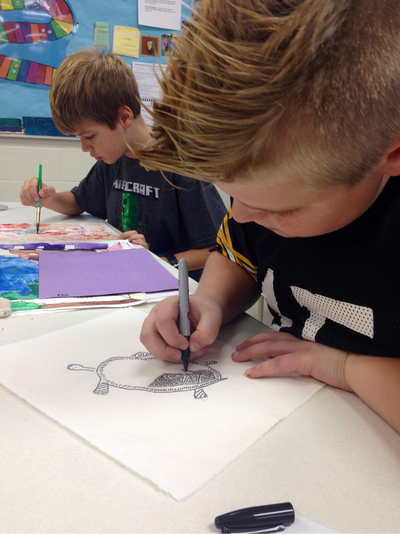
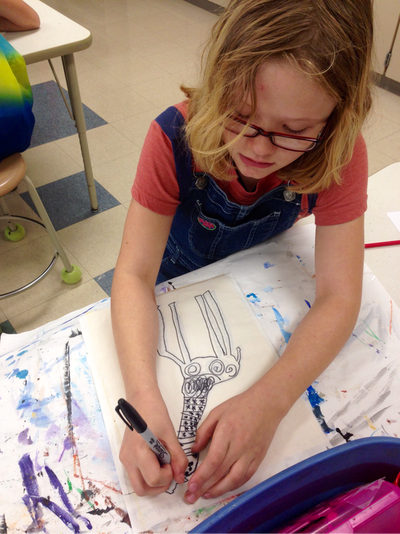
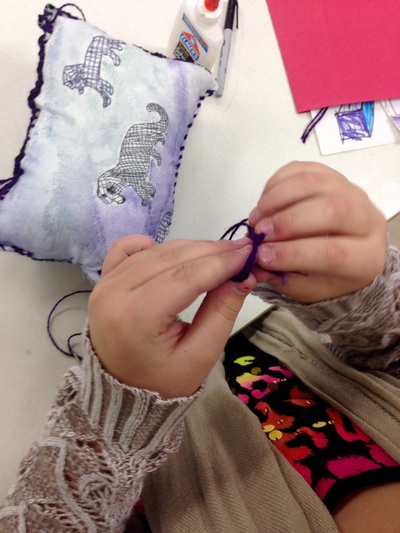
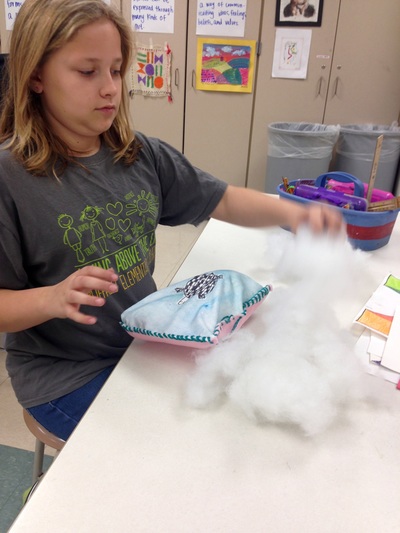
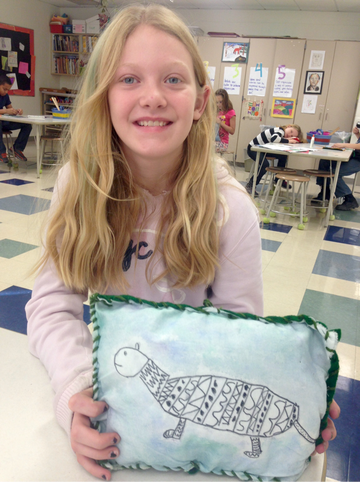
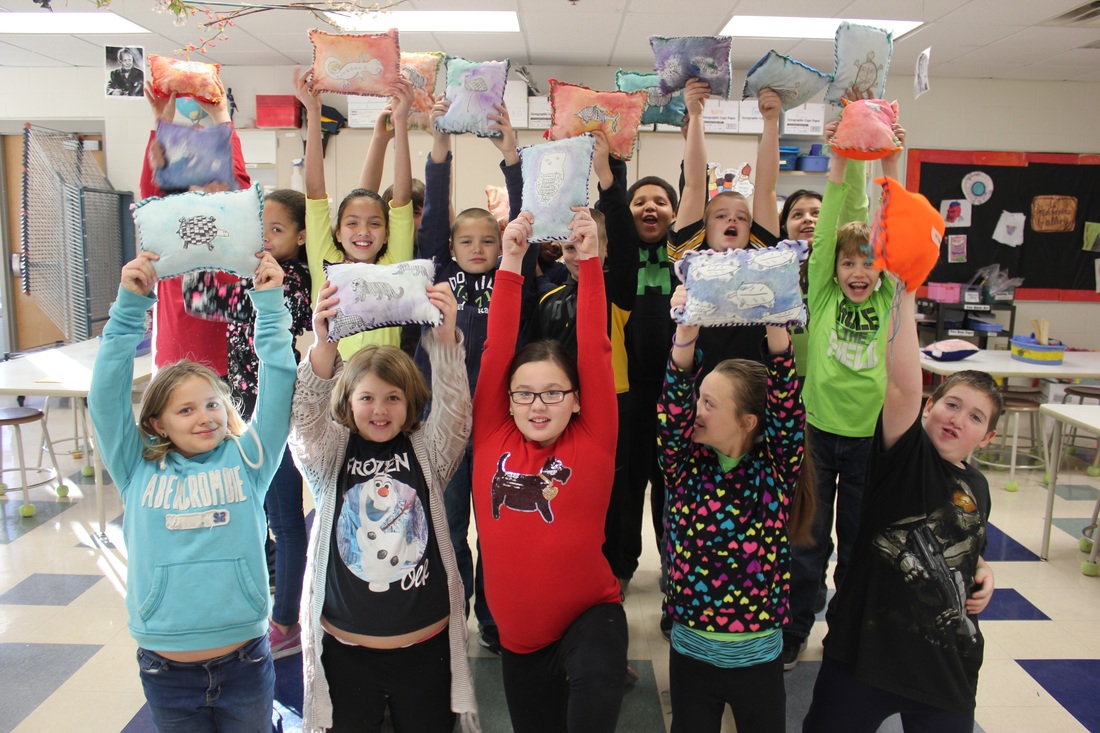
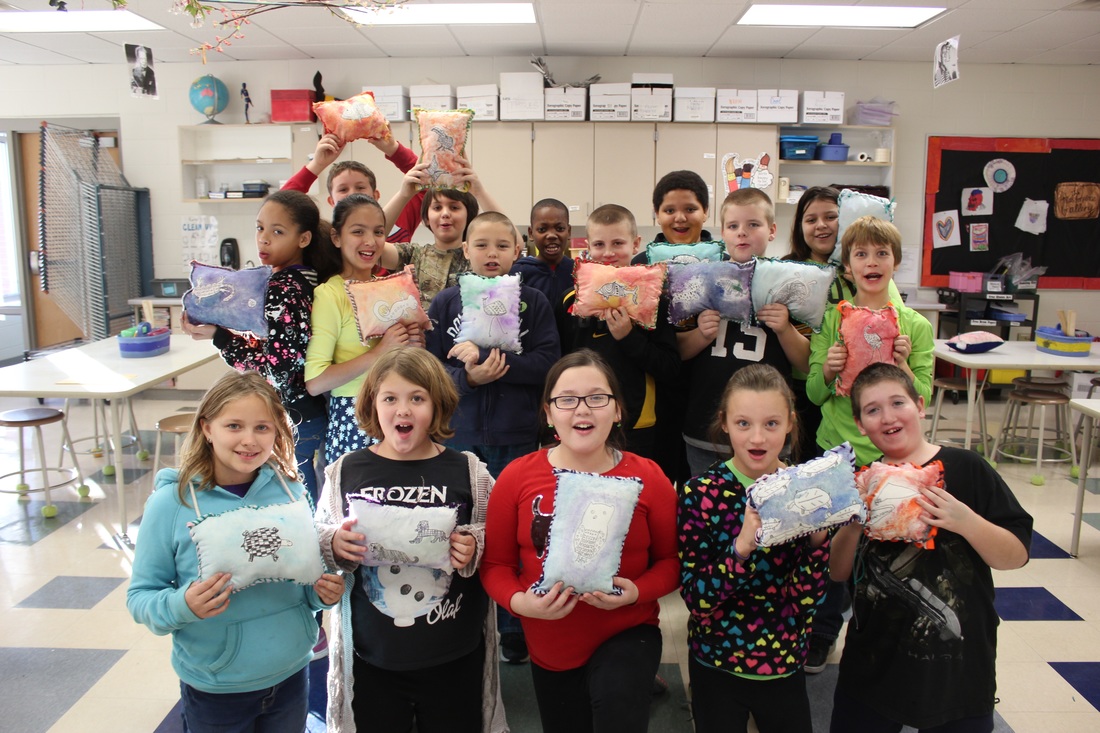
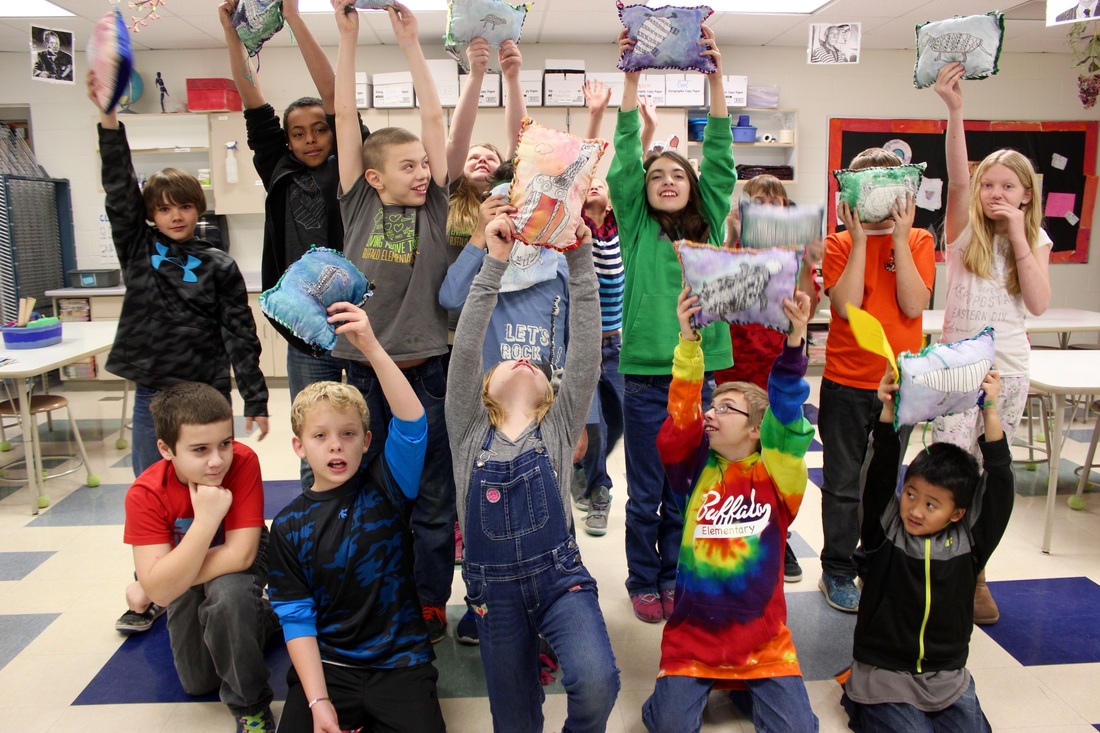
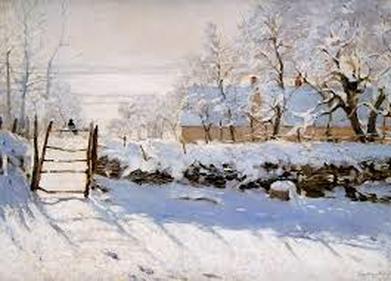
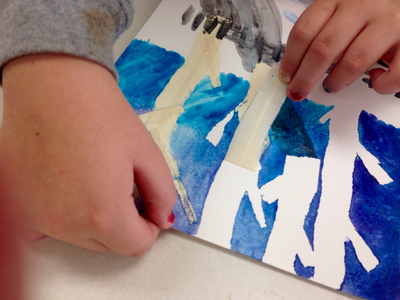
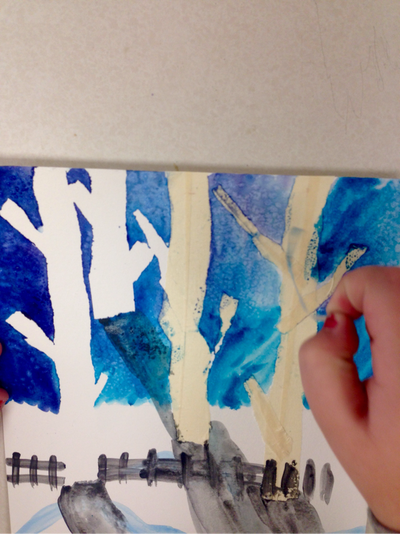
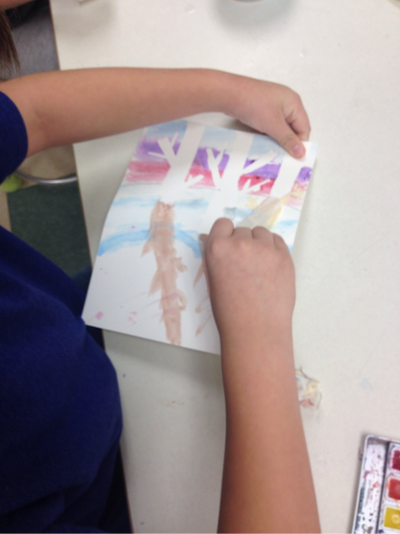
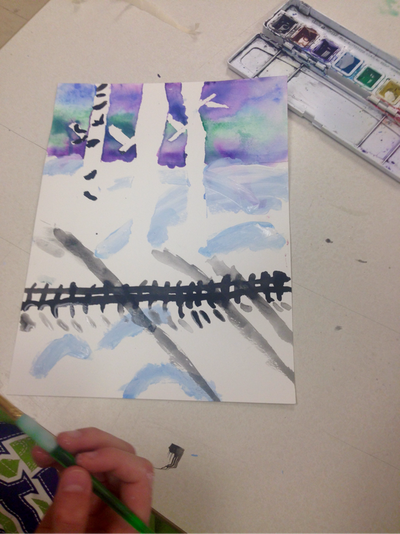
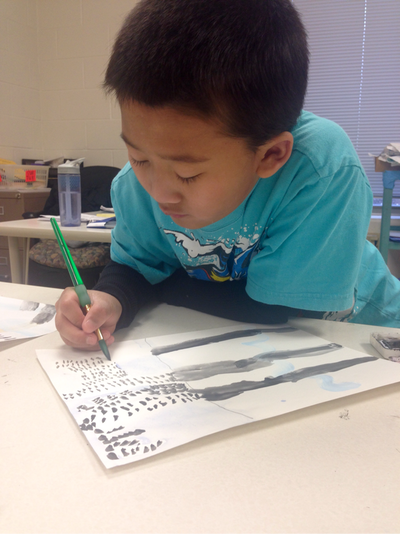
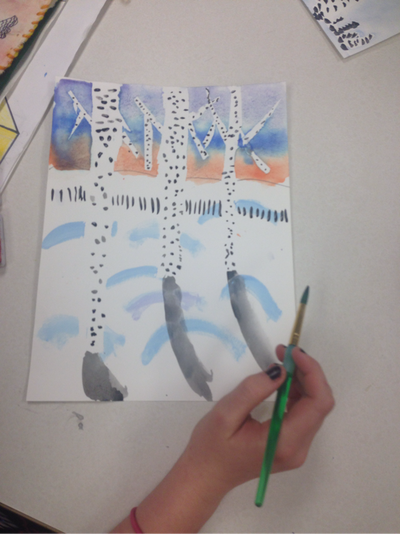
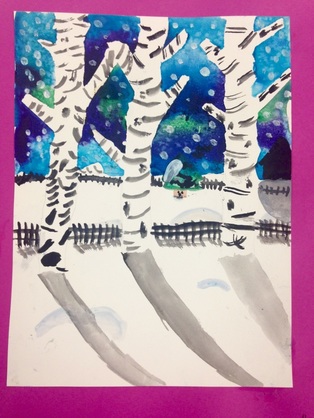
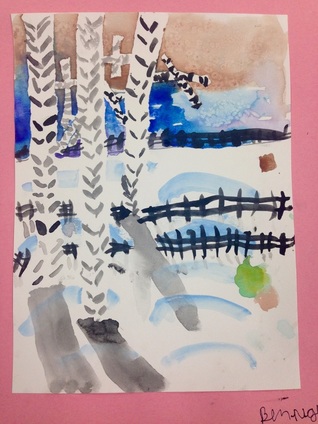
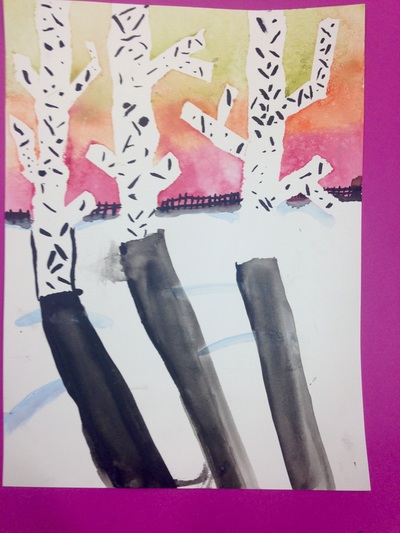
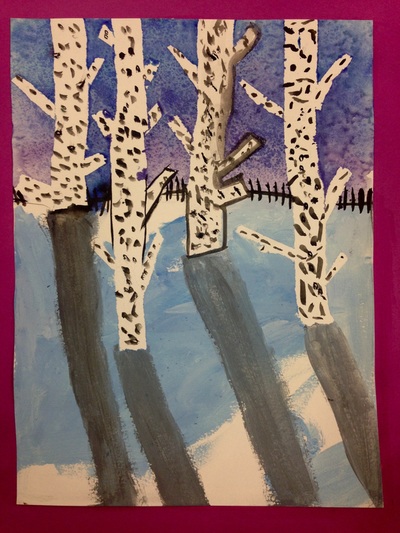
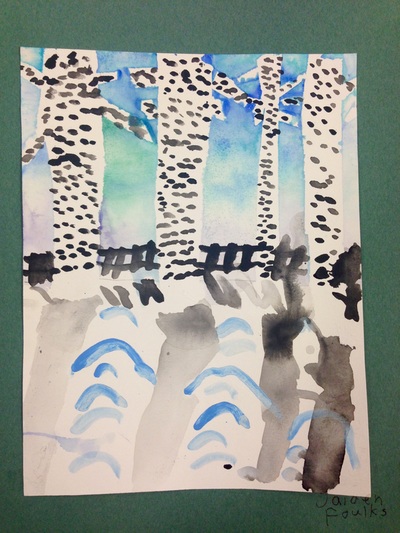
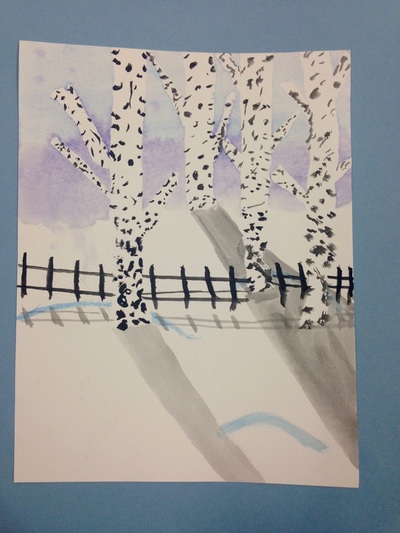
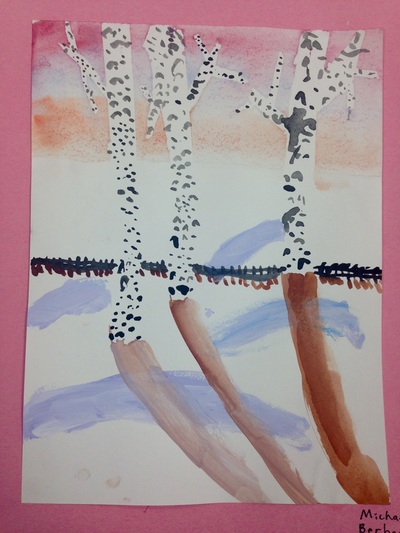
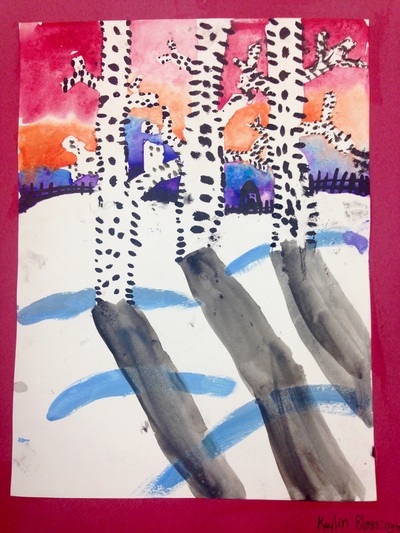
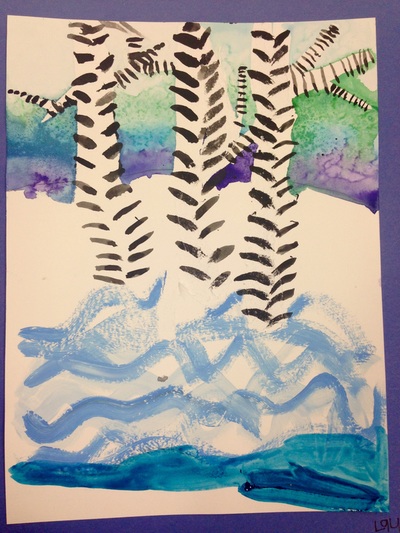
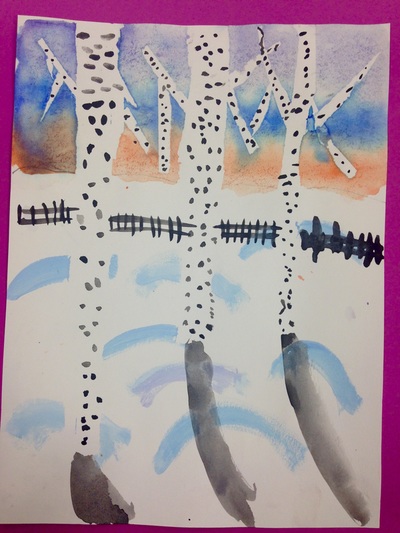
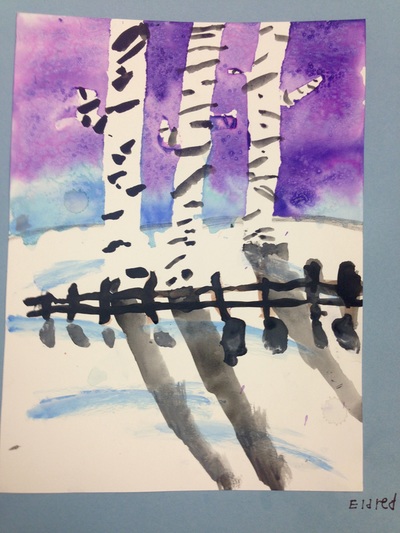
After learning about Senufo mud cloths, 5th graders chose an animal and drew it on a piece of paper. The animal drawing was transferred to a piece of white cloth by placing the drawing underneath the cloth and using a Sharpie. Students added pattern to their animal and added color to the background using either warm or cool colors. Next, the students learned how to whipstich and sewed their cloth to a piece of felt. The project was complete once it was stuffed with polyester filling and sewn closed. I have found that the students really enjoying weaving and sewing projects. Great job, 5th Grade! First, we looked at master artist Claude Monet's painting "The Magpie." We chatted about the colors he used, the content, and the shadows in his artwork. Our inspiration: The Magpie by Cluade MonetNext, students tore strips of masking tape in half the long way and stuck them to their water color vertically with the torn edges facing out. They added branches, drew a horizon line, and painted their sky with watercolors. The final step that day was to sprinkle a little salt on the sky. The following art class, students painted some snow hills, tree shadows, a fence with a shadow, and bark on the trees. We looked at images of birch trees to make them look realistic. The fifth graders did an excellent job creating their winter landscapes!
Thank you to Deep Space Sparkle for the detailed lesson! |
Author
Archives
June 2016
Categories
All
|





 RSS Feed
