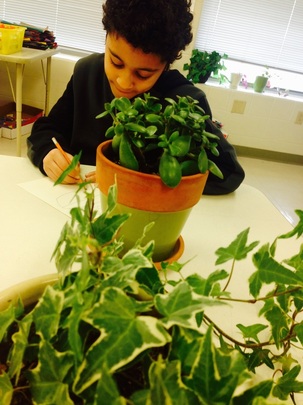
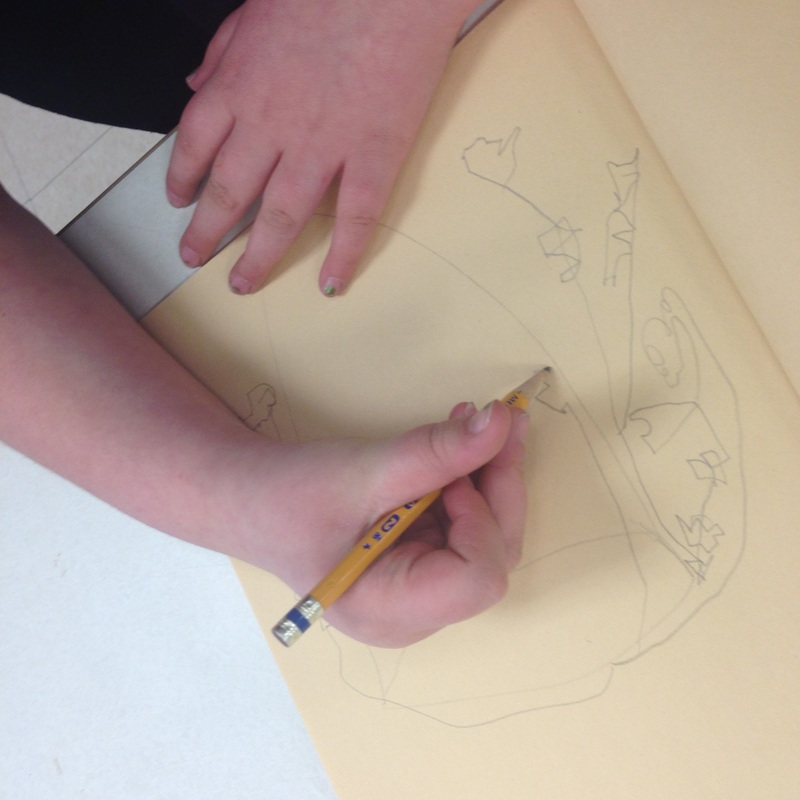
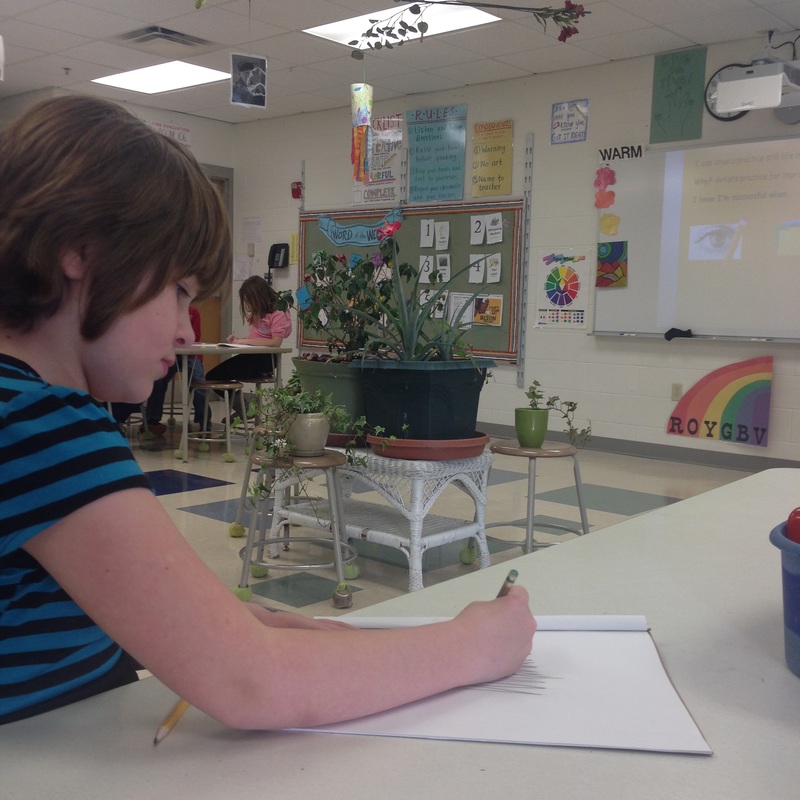
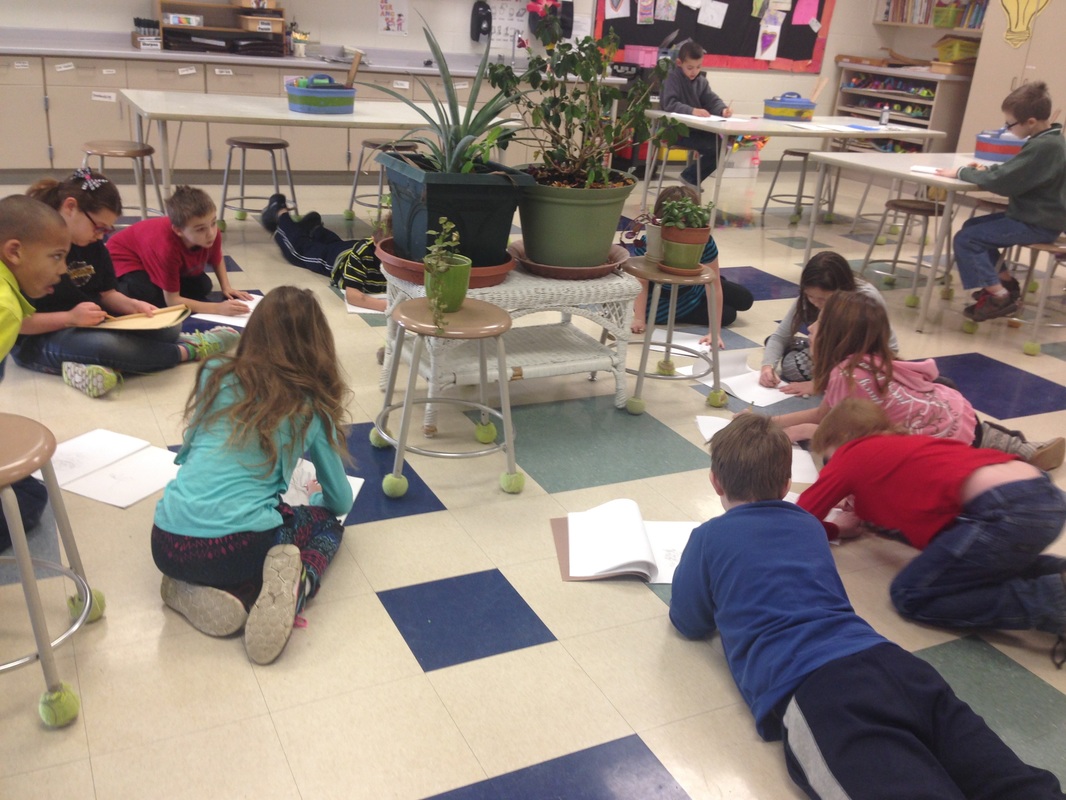
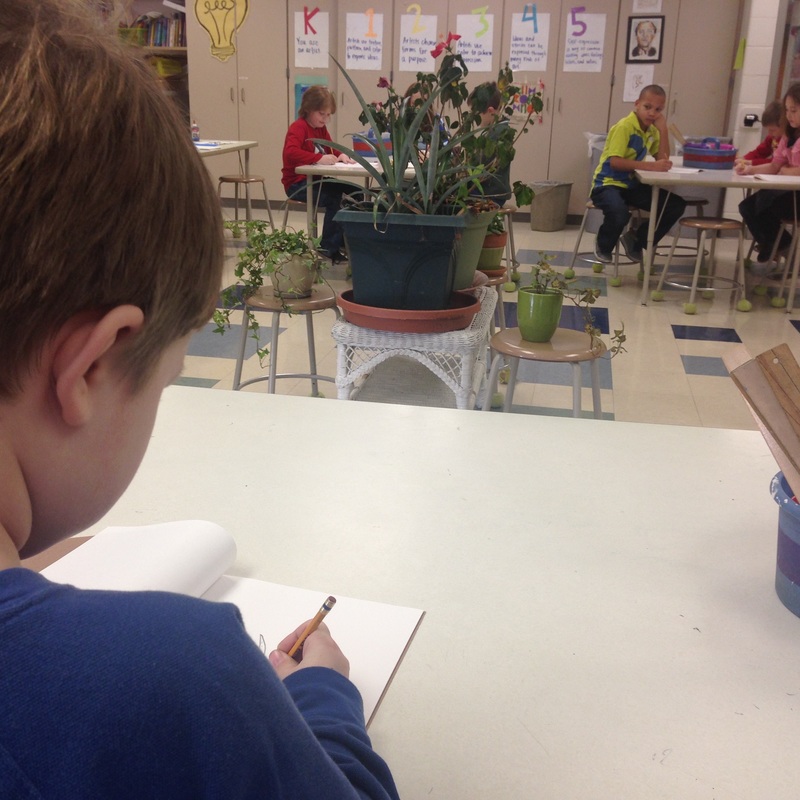
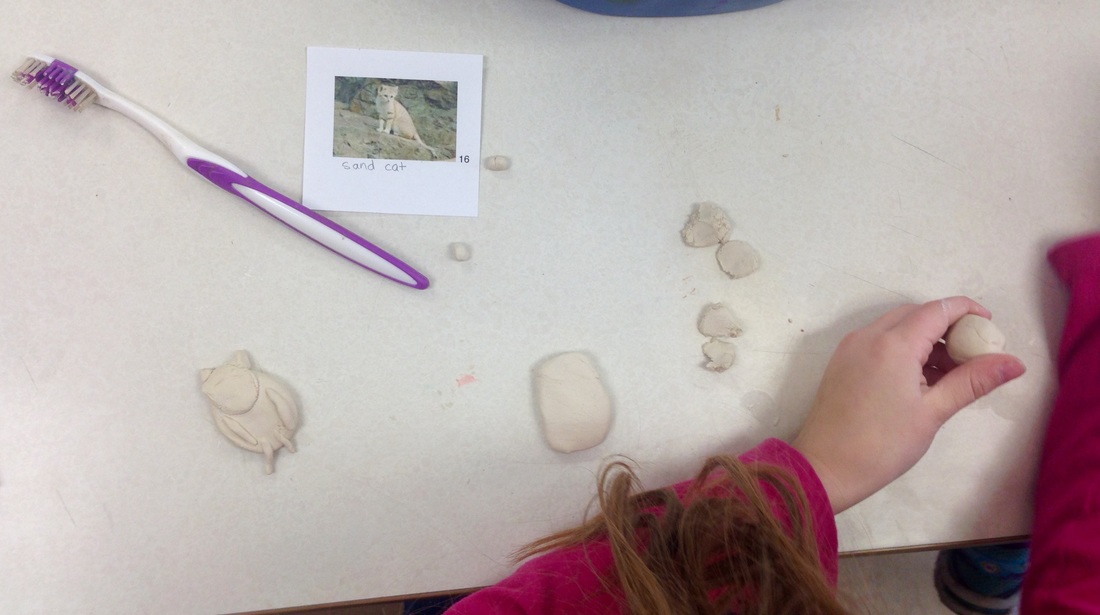
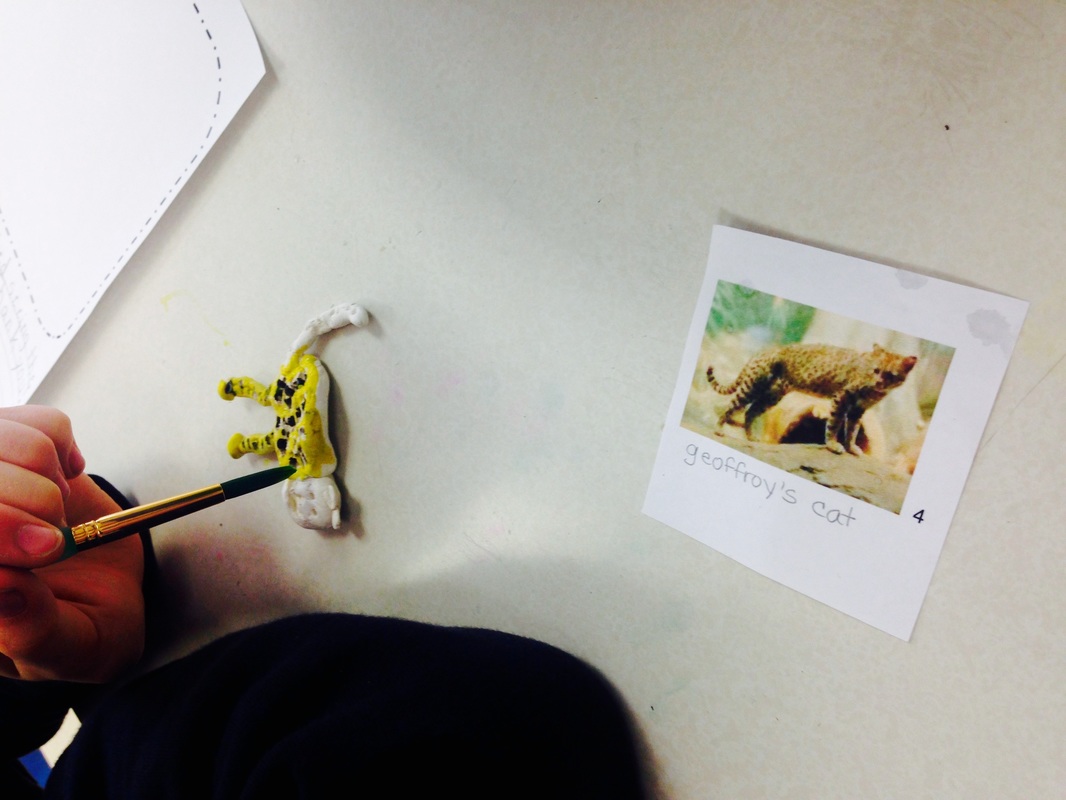
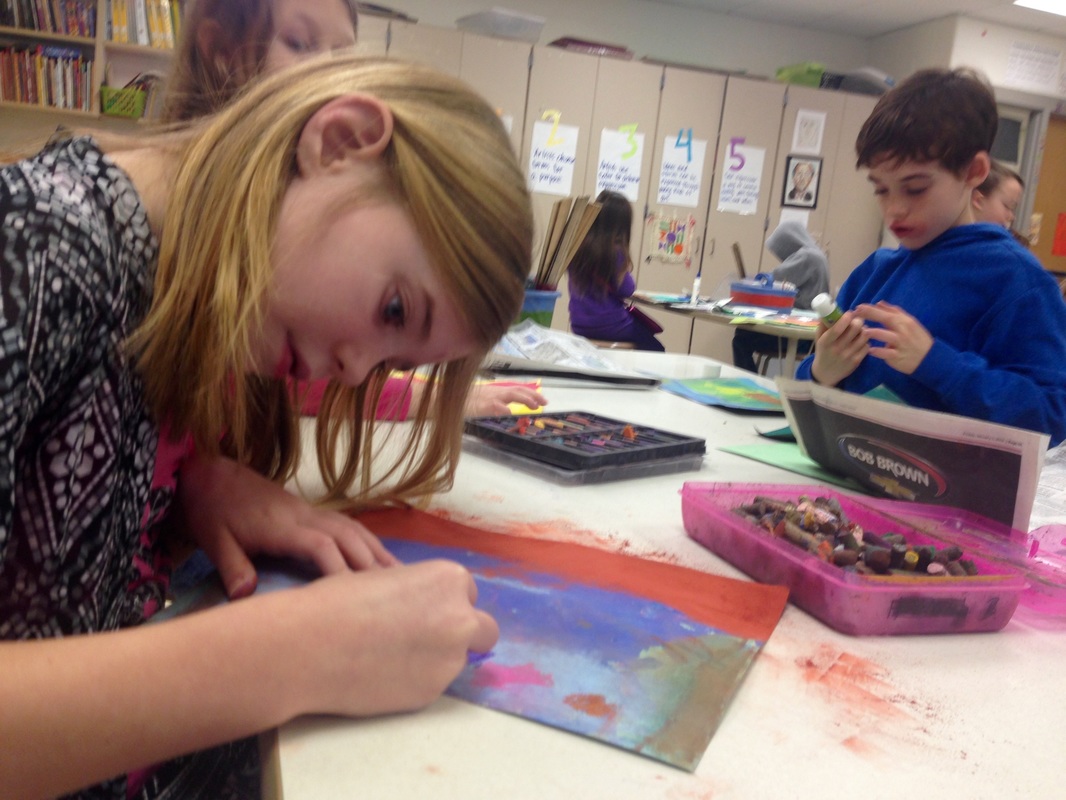
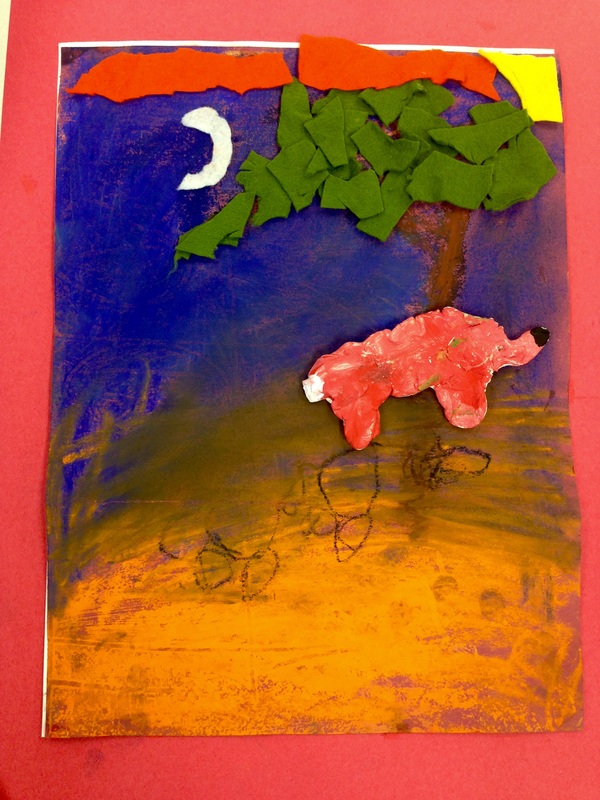
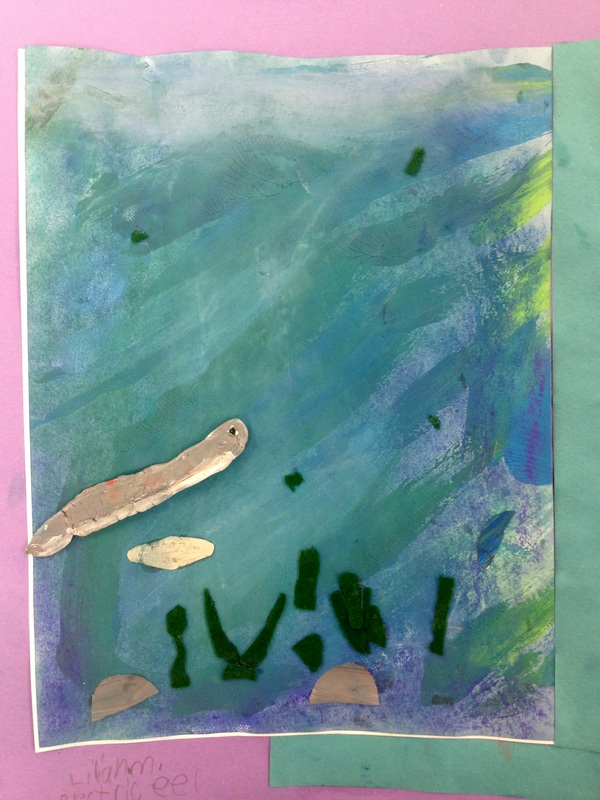
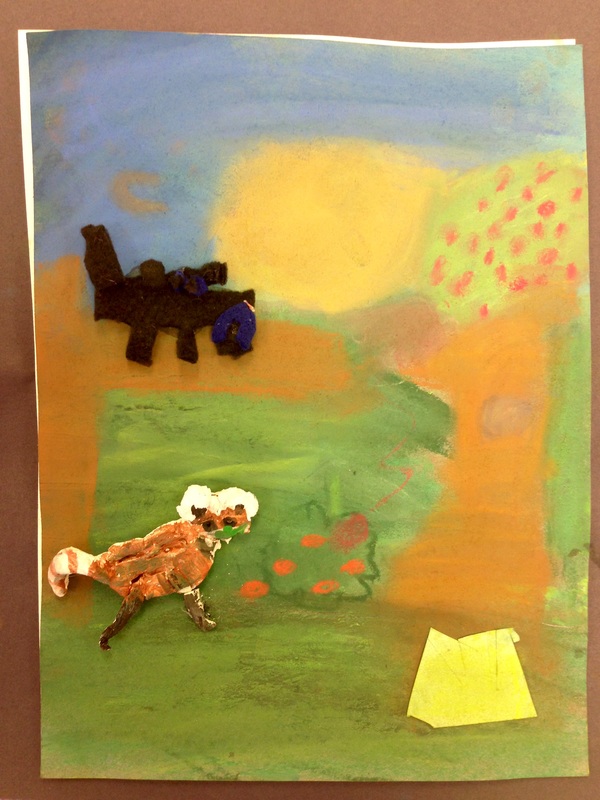
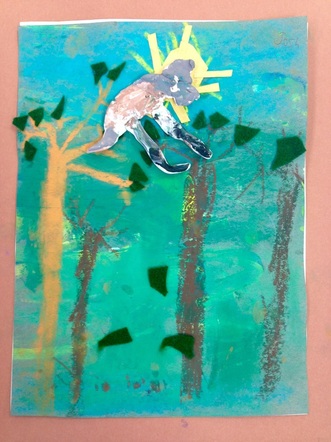
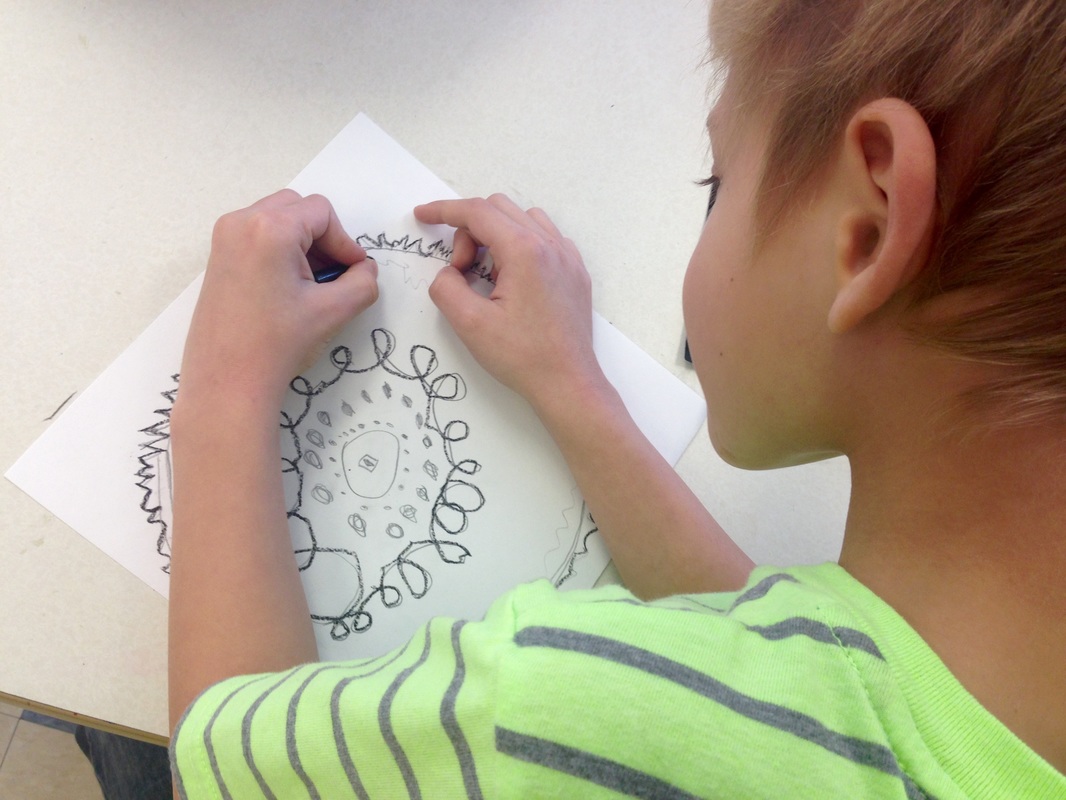
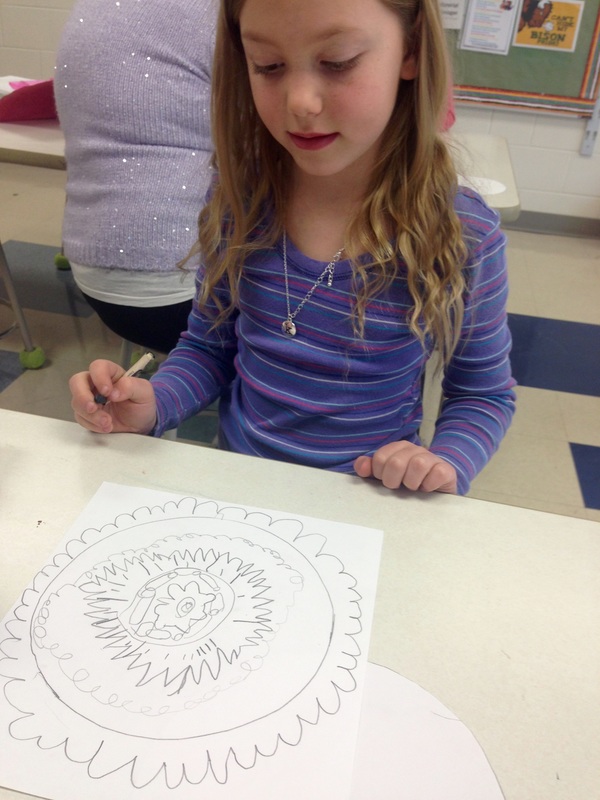
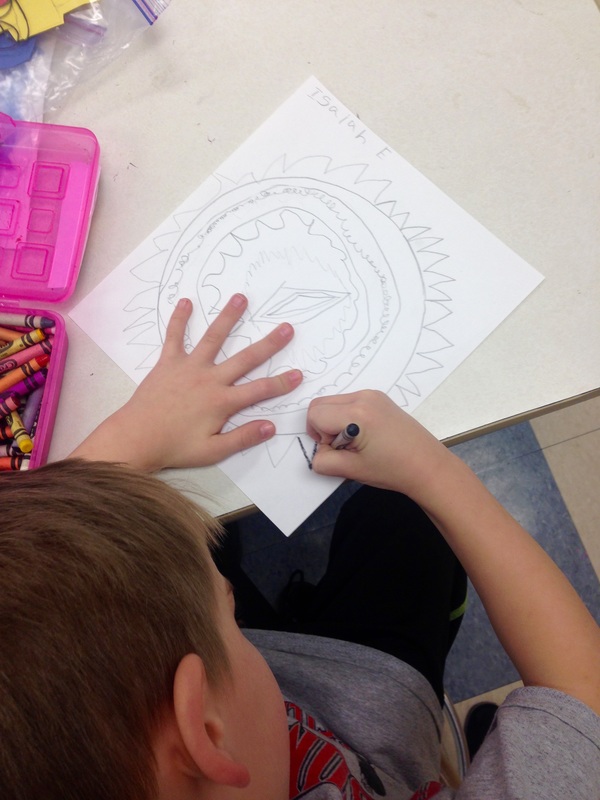
One 5th grade class has completed the first phase of our printmaking project. To begin, the artists chose an animal book (I checked out about 30 from the school library--thanks, Mrs. Huss!) and drew an animal on a piece of 9 x 12 paper. Next, they traced the outside of a piece of 6 x 9 printmaking foam onto their drawing and cut along that line. They now had a piece of 6 x 9 foam and a 6 x 9 animal drawing. They attached their drawing to the foam using a piece of masking tape and traced the OUTLINE ONLY (I really stressed this, as it is so easy to go in and trace the eyes and details without even thinking about it). Tracing through the paper onto the foam presses a slight line in the foam. They removed the paper and pressed the lines in using a pencil to ensure they were deep enough to not "catch" any of the ink. 
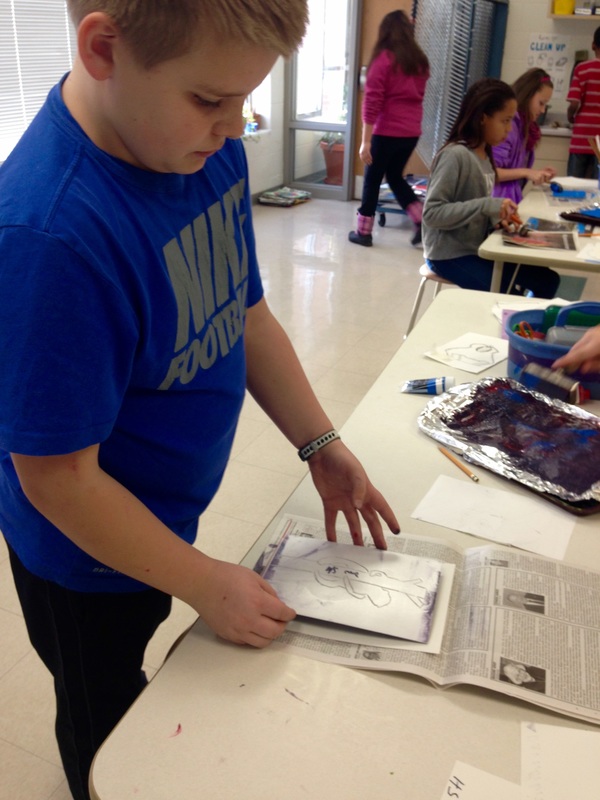
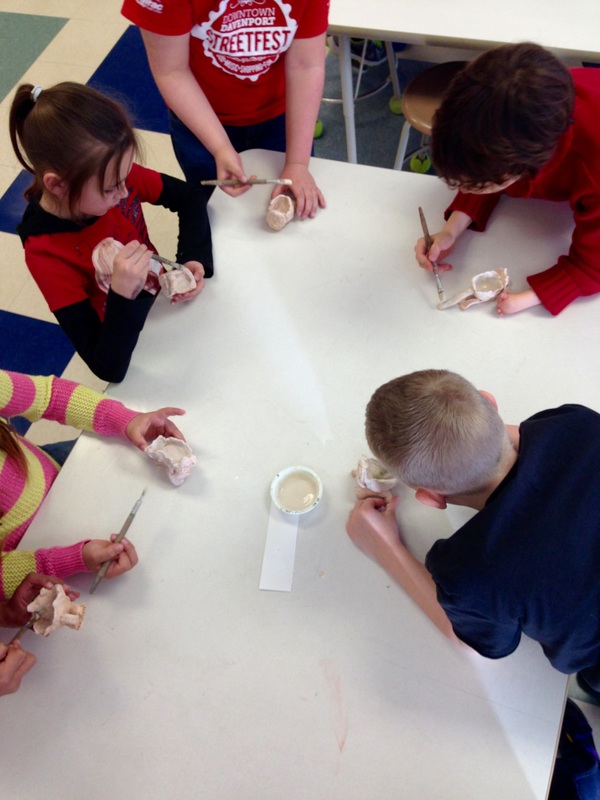
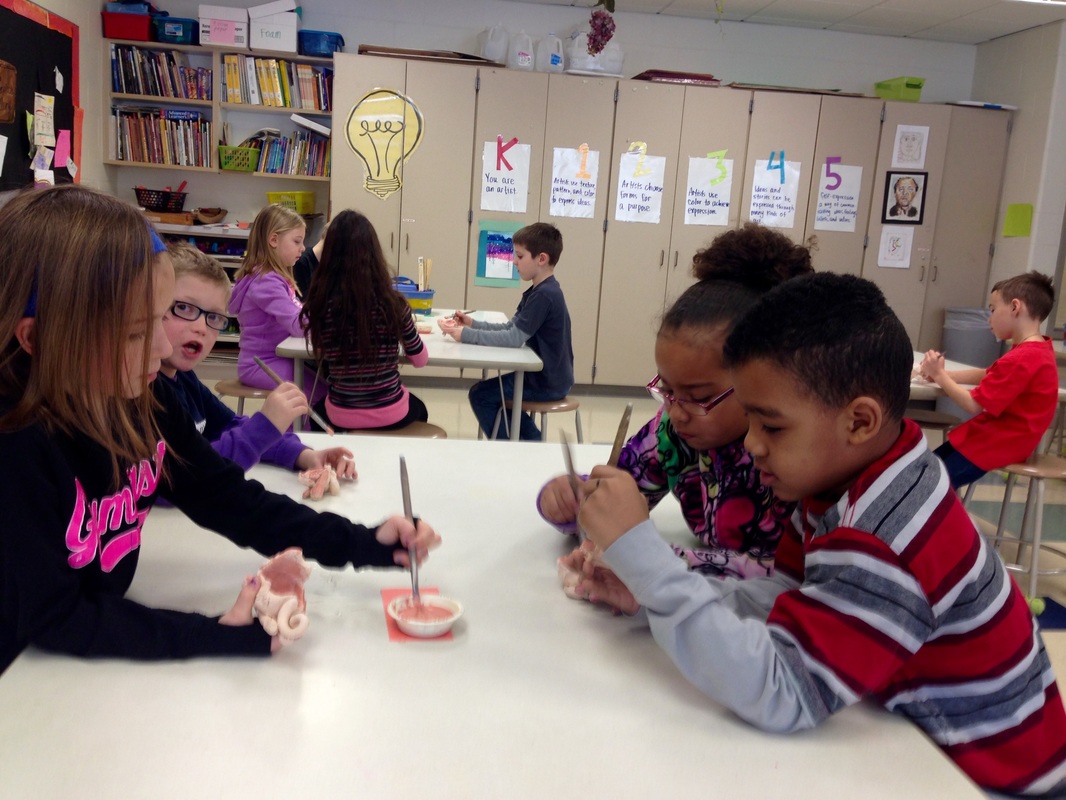
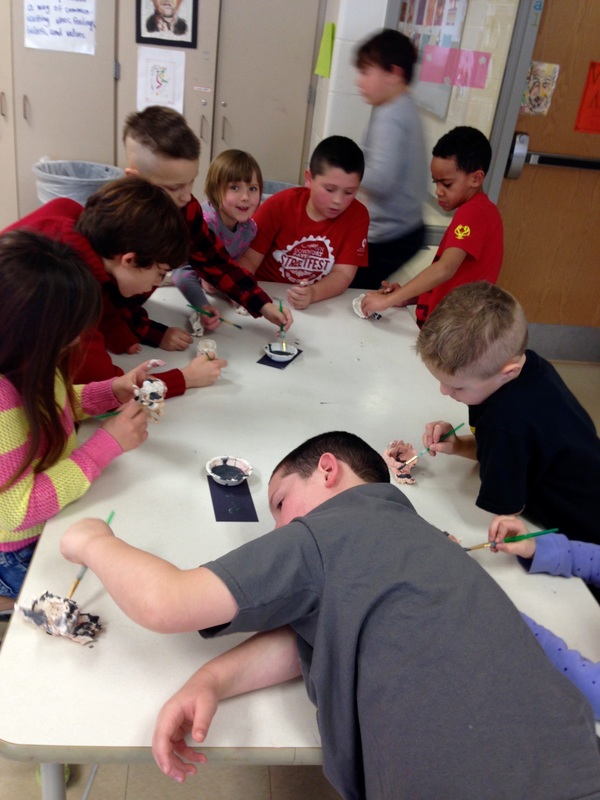
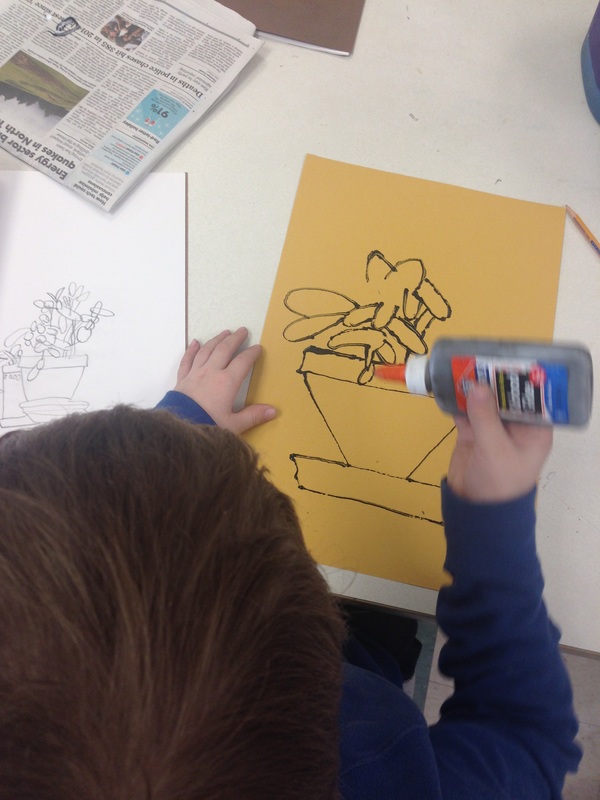
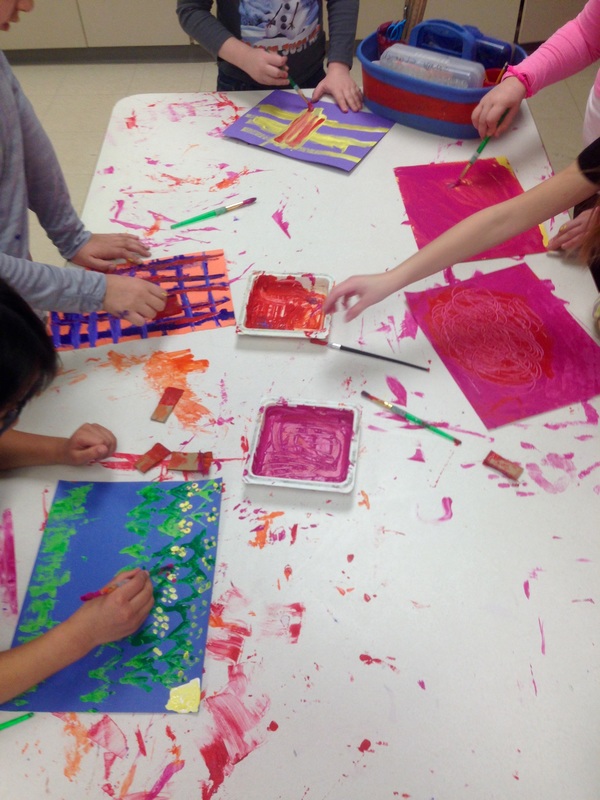
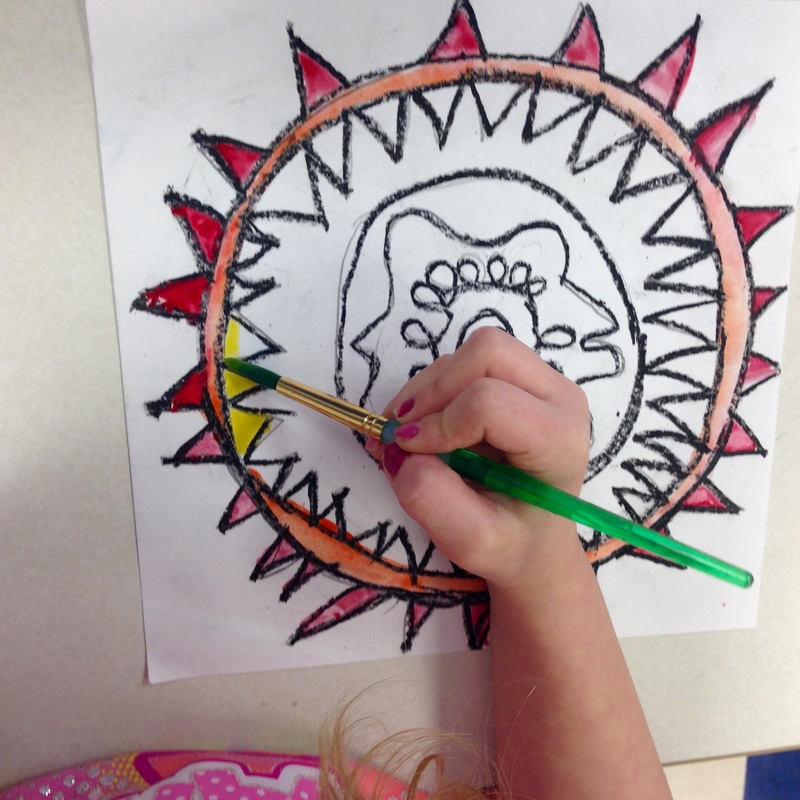
Next: time to print! I demonstrated squeezing out the ink (they were responsible for this at each station--I had 6 different colors set up), rolling it out with the brayer, and applying it to the foam until it sounded "sticky." I placed the foam on the table and carefully centered a piece of 7 x 10 white sulphite paper on top. Next I placed a piece of newspaper and used a clean brayer to press the paper onto the foam for the image to transfer. 
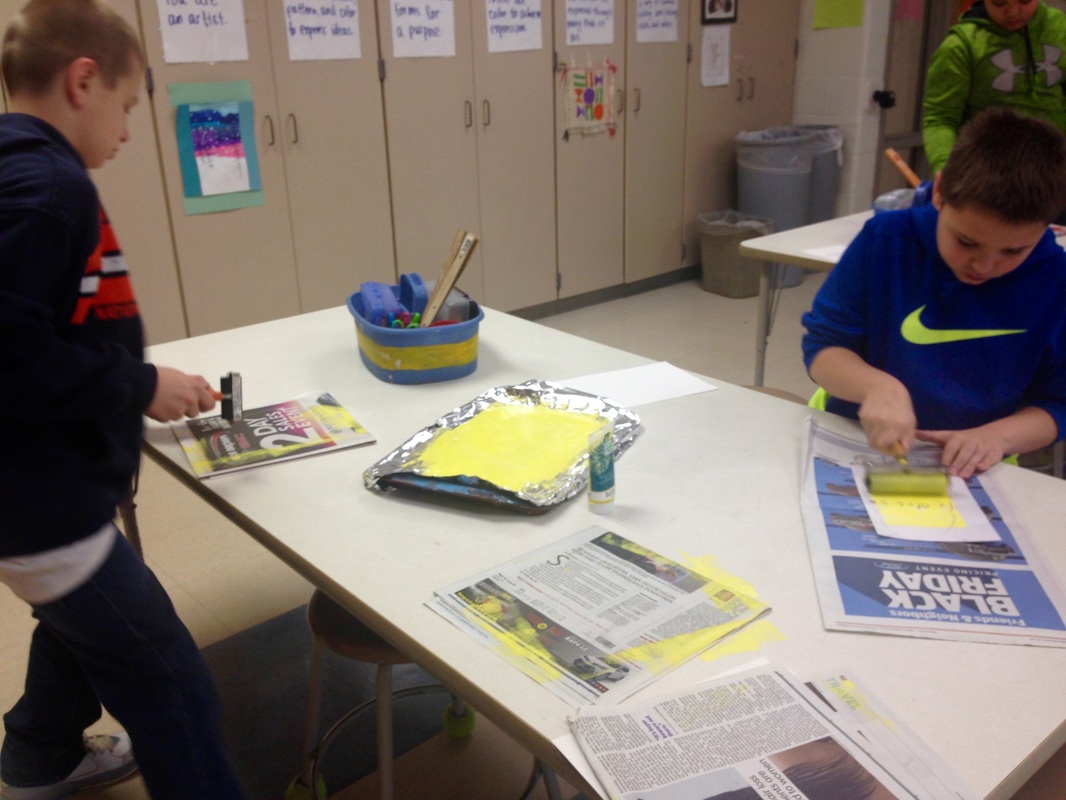
Rolling the ink onto the foam. The best way to know if you have enough ink is to listen for a "sticky" sound. 
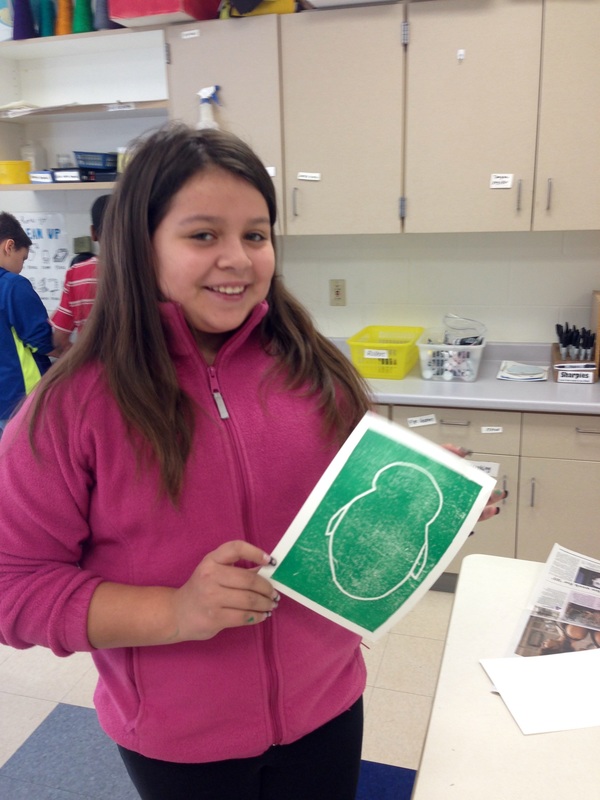
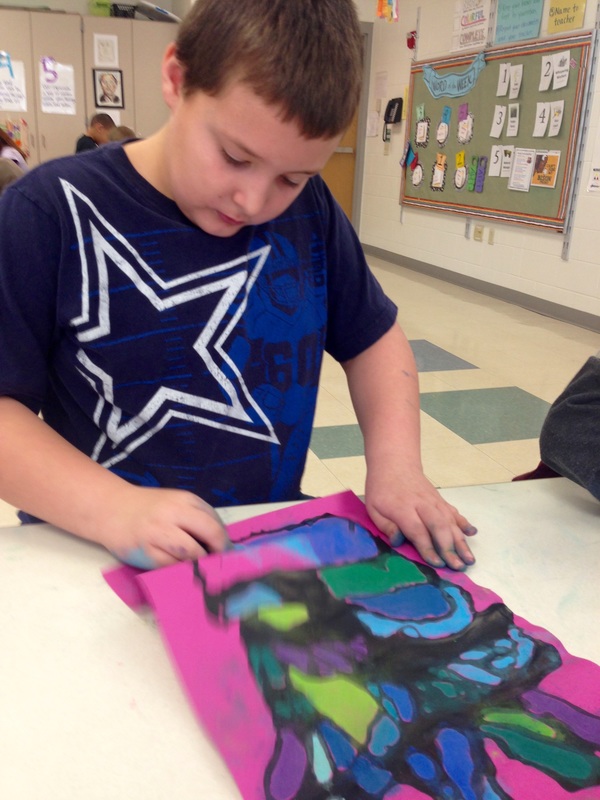
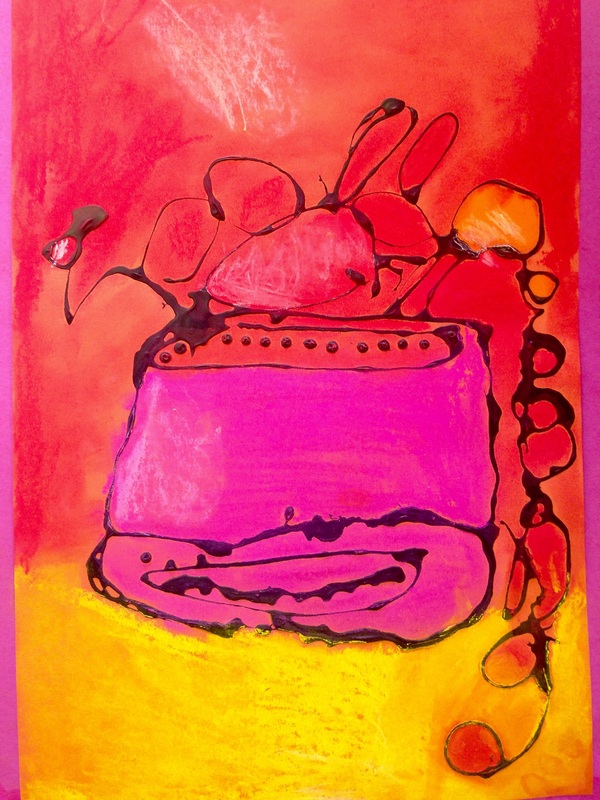
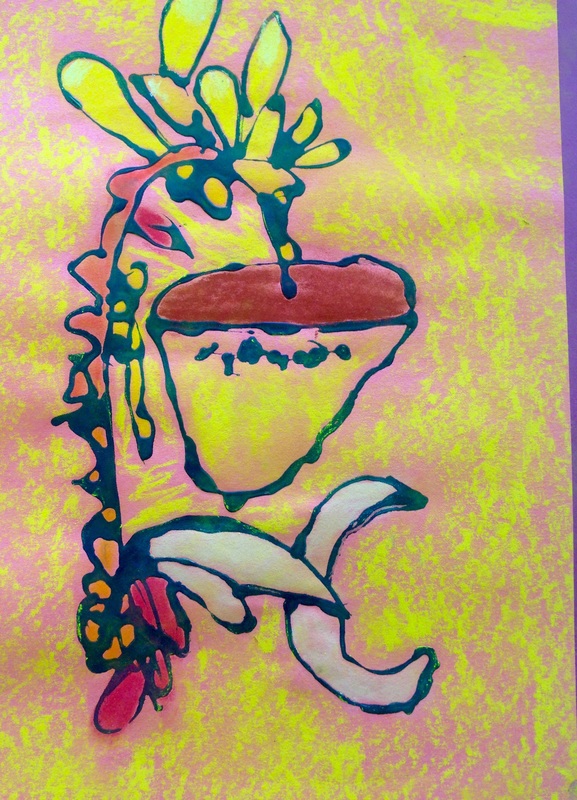
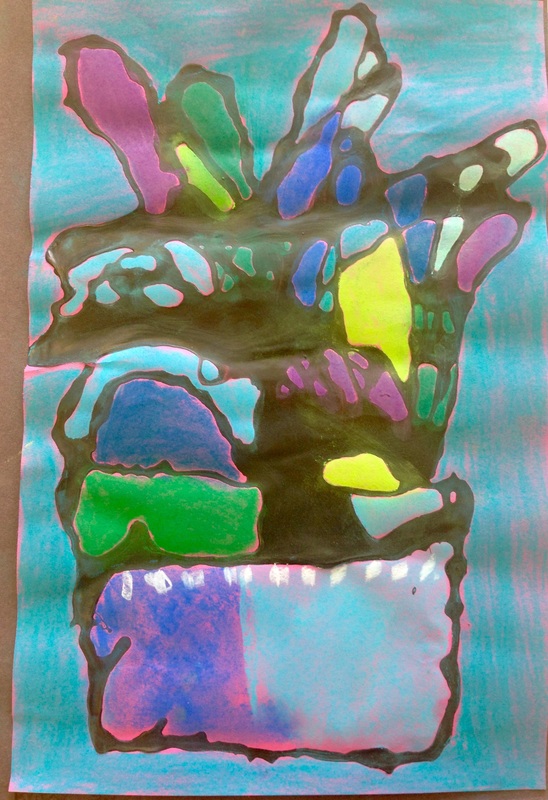
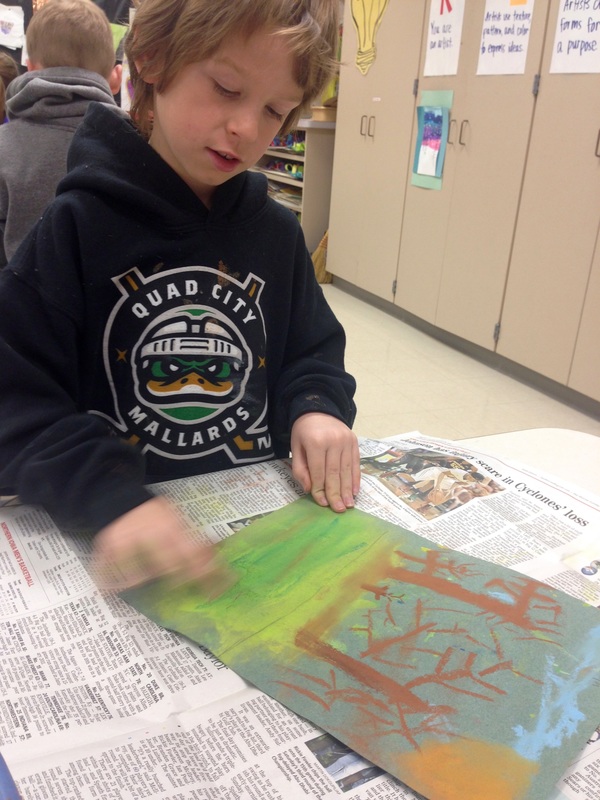
The best part about printmaking: pulling it off the paper to see how it turned out! This lesson is from the Thomas Elementary Art Blog. Thank you to Mr. Stoller for your detailed lesson plan!
0 Comments
All Davenport 2nd grade students create a pinch pot. This year we made it into a TIGER! Students began their pinch pot by rolling it into a sphere for 5 seconds. Next, they stuck their thumb into it and began gently pinching the sides to create a small pot. With another chunk of clay, they rolled two 4-inch long coils that later became the legs . These two pieces went wrapped up into a baggie until next class. On day 2, we created the tiger head and on day 3 scratch and attached the head, pinch pot, legs, and tail. After the tigers were bisque-fired, the artists glazed them. Glaze is a special kind of paint just for ceramic pieces. It looks chalky and dry when painted on, but after another fire in the kiln, turns glossy and bright. I ordered a new orange glaze for this project and I love the bright color! To glaze their pieces, the artists applied 3 coats of glaze. They could paint their tiger orange with black stripes or white with black stripes. I also had out blue and pink if they wanted to use those colors for the eyes and nose. 3rd grade artists combined their observational drawing skills and knowledge of warm and cool colors on this quick, 2-day project. I brought in my plants from home and borrowed 2 from the kindergarten pod and placed them in the center of the art room. I modeled how I follow the contour of each leaf on the plant with my eyes and my pencil at the same time. After a few drawings in their sketchbook, the students loosened up and were ready to draw with black glue. To make the black glue, I mixed Elmer's glue and black powder tempera paint in a bow with a little water (you want it to be the consistency of normal white glue)l and then scooped it back into the glue containers. After writing their name with pencil on a 11 x 17 piece of construction paper, they grabbed a black glue, tested it on a piece of scrap paper, and began drawing. Once complete, they placed it on the drying rack to dry. Drawing with glue was a new process for all of them and they did a great job with this new medium! The following art class, we used warm and cool color chalk pastels to add more color. Using these color schemes was a review since they just completed their Warm/Cool Color Chalk Landscapes. If their paper was a warm color, they stuck with warm colors. If their paper was a cool color, they had to stick with cool-colored chalk pastels. Adding color took most of them only one 45-minute class period. They matted it, wrote their name with a Sharpie, and were done! I love how they turned out. Thanks to Davenport School art teacher Stacey Houk for the lesson idea!
2nd graders are focusing on animals and their habitats in their classrooms for their STEAM project. We went on a field trip to learn more about this topic. You can read about it here. Each student chose an animal to research and created a presentation on their chosen animal in their classroom. They applied this new knowledge in the art room on this art project, inspired by Cassie Stephens' 4th grade mix media collage. Step 1: Form their animal out of Crayola Air-Dry Clay. Each student received a golf-ball sized amount of clay and, after a quick review of scratch and attach (slip and score), creating a sphere and squishing it to create a slab (great base for an animal body), and using tools to create texture, the artists were ready to go. Students had a photograph of their animal at their table to work from. We made pinch pot tigers (check back later to see the tigers--they are in the kiln right now) earlier this year and forming their animal came pretty easy for them. If they had extra clay, they could make an animal baby. Some opted to make eggs. Step 2: Make painted paper! Kids LOVE making painted paper (mostly because it is so messy) and these served as our backgrounds. I showed them a few techniques, like using cardboard to print designs, using a sponge, applying paint to one page and "printing" it onto another, and using the back of their paintbrush to scratch the paint. No other explanation was needed; this stuff is second nature to kids. One 2nd grade class was behind the other due to a field trip earlier this year, so one class made enough painted paper for both classes. Step 3: Paint animal. The artists had a photograph of their animal at their table to work from. We used liquid tempera paint. Step 4: Create habitat. We reviewed warm and cool colors and looked at some photographs of each of the 5 types of habitats: forest, rainforest, river, ocean, and desert. The artists were to use either all warm or all cool colored chalk pastels for their sky; the ground was up to them. They chose a warm or cool piece of 9 x 12 painted paper and took off. Step 5: Add finishing details using painted paper, felt, oil pastels and glue on animal. I put out painted and recylced paper (organized into warm, cool, and black/brown boxes) and felt scraps for students to glue on finishing touches. Once they completed their habitat, they got their animal, placed it in their habitat, and I hot-glued it on. They matted their work on another piece of paper, added a border if desired, and wrote their name and the name of their animal at the bottom. These will be displayed at STEAM night at Buffalo Elementary on March 2nd. Come see the masterpieces! This artist informed me that the felt at the bottom is the animal's "nest." It is hibernating. And this bobcat and baby have their own hammock! Lucky cats.
My kinders played architect with this art project. We learned about what architects do and, after identifying the two basic shapes that make up the house, made the plan for our house using 6 popsicle sticks and our paper. It was important to make our plan first to make sure we had enough room for our house to fit on our paper and for a pathway at the bottom. Once the architects had a good plan, they used liquid glue to glue it down. Next step: draw details with a Sharpie. We chatted about adding a horizon line and pathway. I had the artists put their arms in the shape of an upside down V and then spread them out a little bit at the top. We wanted our pathway to show perspective and get smaller as it went towards the door. For their STEAM project this year, kindergarten is focusing on the seasons. They sang their season song for me and their job was to choose a season and show that season in the details of their artwork. They used their Sharpies to add clouds, trees, pets, suns, windows, doors, chimneys, snowmen, themselves, family, and friends. One student drew her guinea pigs, labeling each one with it's respective name of "Munchie" and "Gunchie." Some drew multiple pathways leading to their homes for the neighbors to come visit:) Color! Kinders added color using crayon. I stressed "No Swiss cheese coloring." We have good craftsmanship and don't leave holes in our coloring. They could use some tempera cake in the sky and ground to finish if desired. Art project from Whitney Elementary School's Artsonia page. This house looks like it may be on fire. Perhaps that's a firefighter fighting the fire up on the roof? :)
On a square piece of paper, artists traced a small plate to begin their design with a circle. Next they added other rings using a variety of lines and shapes. They were required to have at least 6 rings, one for each color of the rainbow. We talked about using symmetry in our designs. They traced their pencil lines with black crayon and added color in ROYGBV order (review from the Geometric and Organic Color Wheel Mobile) using watercolors. The last step was to trace the black crayon lines again--this time with black paint. This made the designs stand out and they look beautiful with a colorful mat.
Project inspired by Whitney Elementary School's Artsonia page. Creating an artwork of a local landmark is one of the 4th grade units in the art curriculum. I ask them, "If you had a friend visit that had never been to Buffalo or Davenport before, where would you take them? What are some places that make Buffalo and Davenport special?" We identify some international and national landmarks, but focus on local landmarks. We usually have a quick chat about why Wal-Mart and Casey's are not landmarks and I show a number of images of local landmarks. The students choose the landmark they draw; I encourage them to pick a landmark that is special to them or they have visited before. I drove around Davenport and Buffalo this past summer and took pictures of all of the landmarks and printed them off at a photo shop. The kids liked working from a color photograph. The artists chose the medium for adding color. Options included tempera, watercolor, Sharpie, chalk pastels, oil pastels, crayon, and colored pencil. To complete this project, the artists wrote 3 sentences about their landmark: what makes it special to Buffalo/Davenport, a memory they have at the landmark, what they enjoyed about making their art, or their creating process. One landmark from each DCSD school is displayed at Davenport City Hall for one year. Check back in a few days to see which landmark will be showcased and honored with a reception at Davenport City Hall on March 9th, 2016. I am very proud of each 4th grade artist; the landmarks are very well done!
5th graders are pros at color mixing after this fun project. Contemporary artist Xavier Castellanos (and art teacher Cassie Stephens) was our inspiration. He was raised in Mexico and Frida Kahlo influenced his work. He uses bright colors and bold lines. Our inspiration: Xavier CastellanosWe started with a horizon line and broke up the land into different sections. We reviewed the color wheel and the artists painted the sky. They could mix only 2 different colors together (not including white). They mixed a different color for each section of the land and added pattern once it was dry. Details like sheep, houses, and trees were added last. Once complete, the artists matted their work, wrote their name, and also named their piece. We listened to The Lion, the Witch, and the Wardrobe while they worked and there are a few Narnia-influenced artwork names:)
Thank you to Cassie Stephens for the fabulous project. We loved it! |
Author
Archives
June 2016
Categories
All
|