Art with Mrs. White
  • Home
  • About
  • Blog

Art with Mrs. White

Check out what the artists at Buffalo Elementary are creating!

Ojo de Dios

4/27/2016

0 Comments

 
Picture
Picture
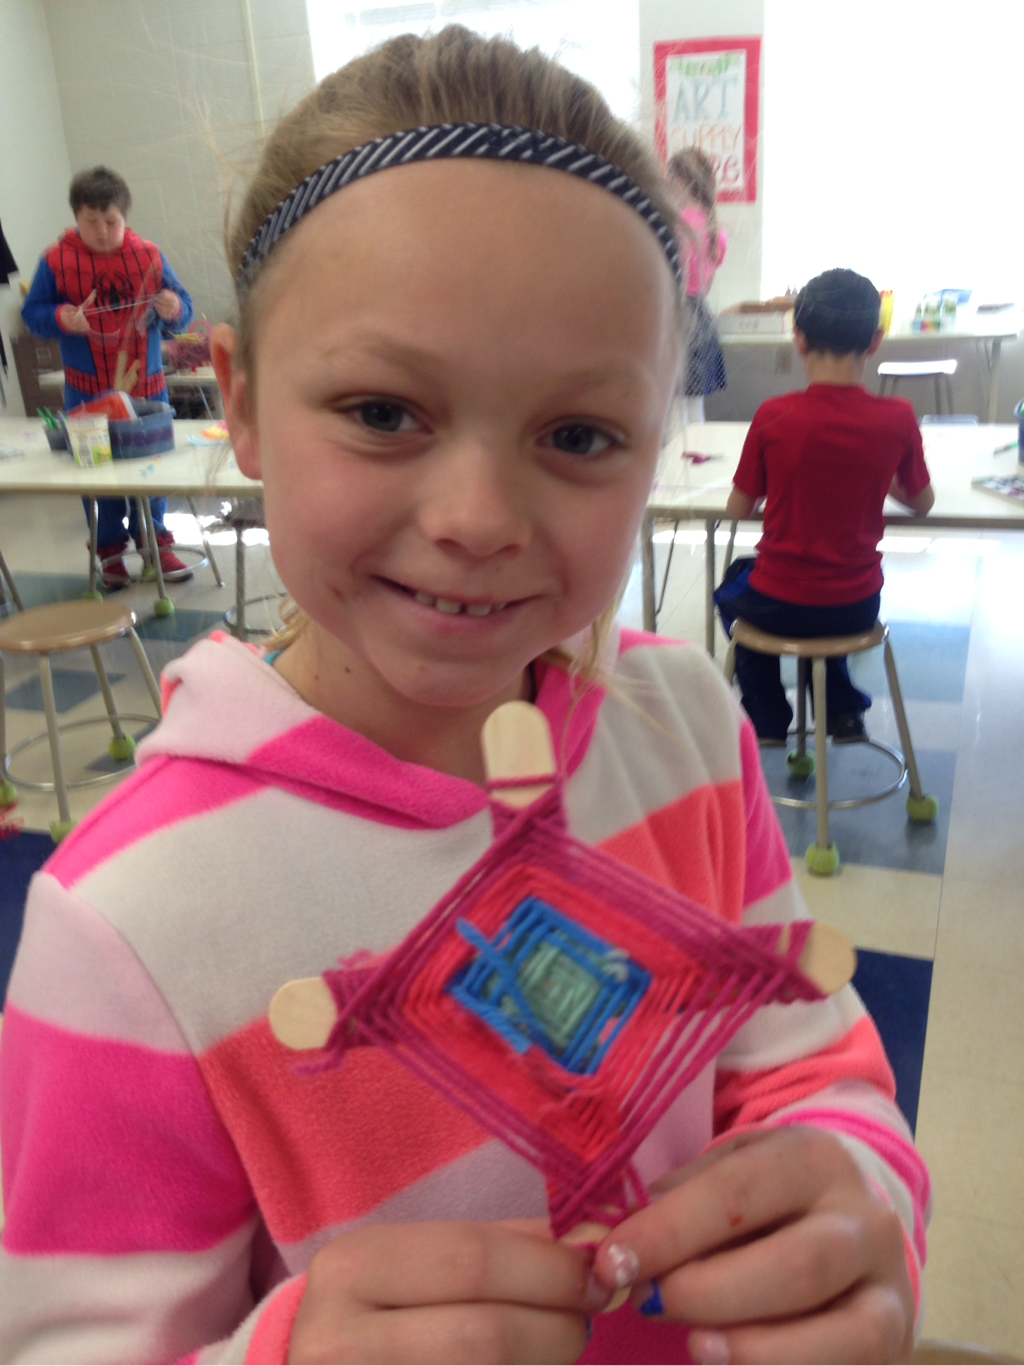
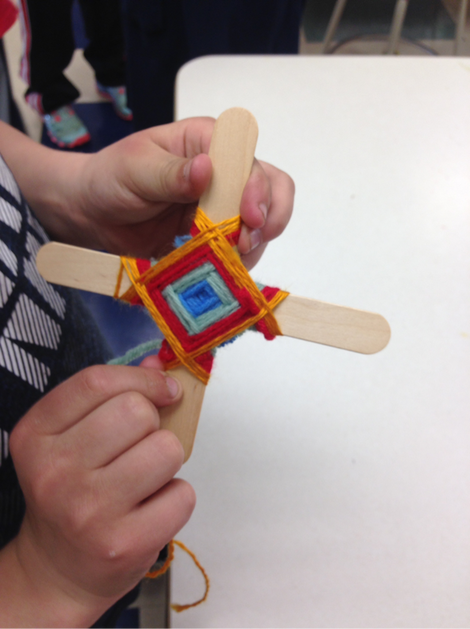
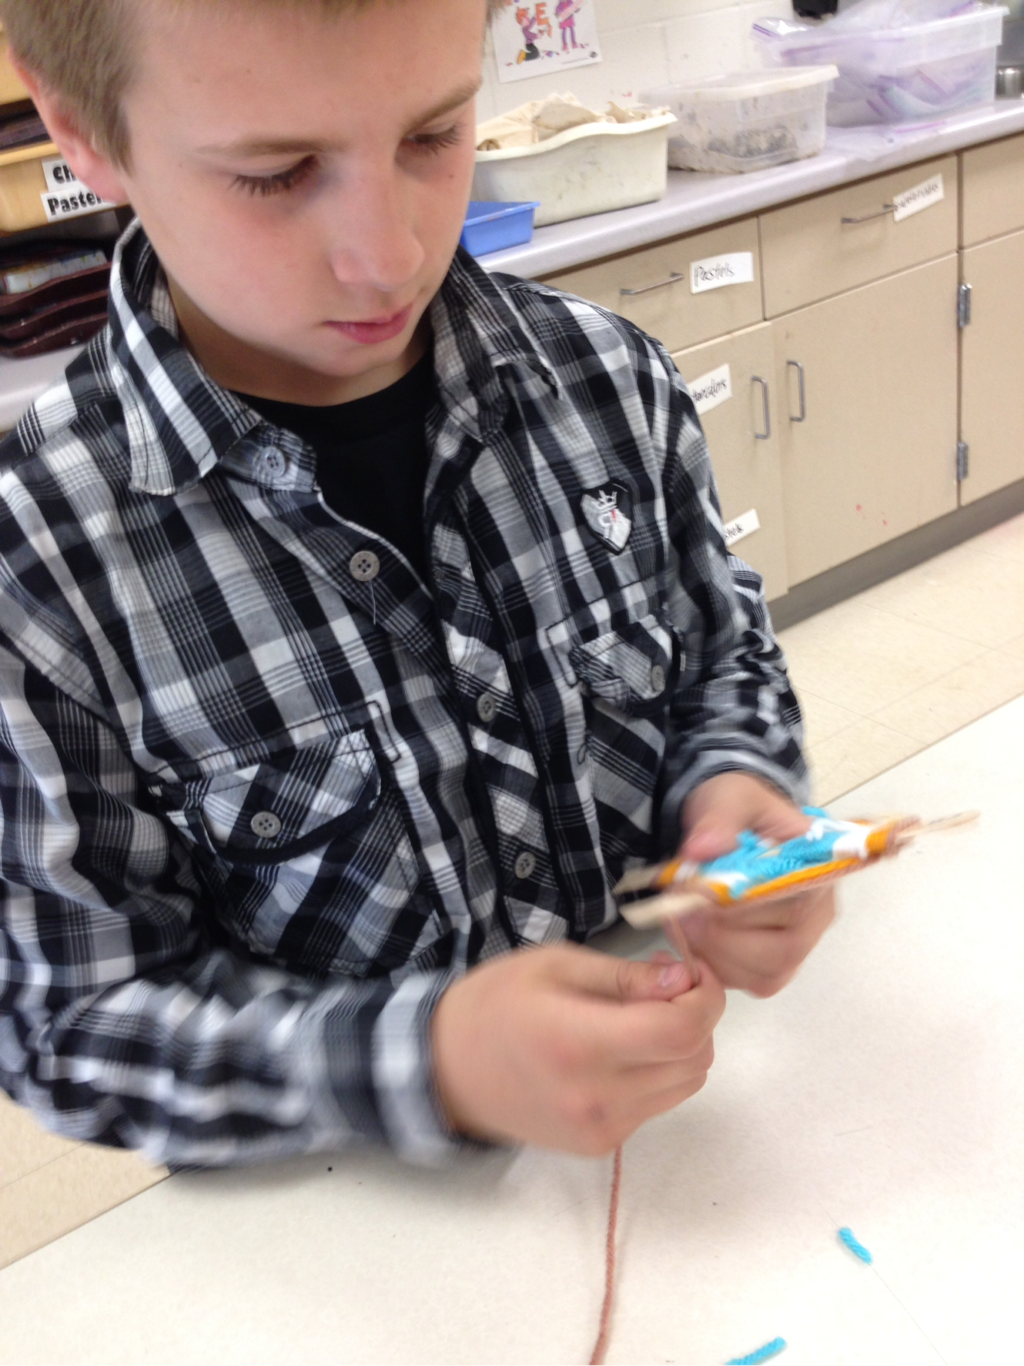
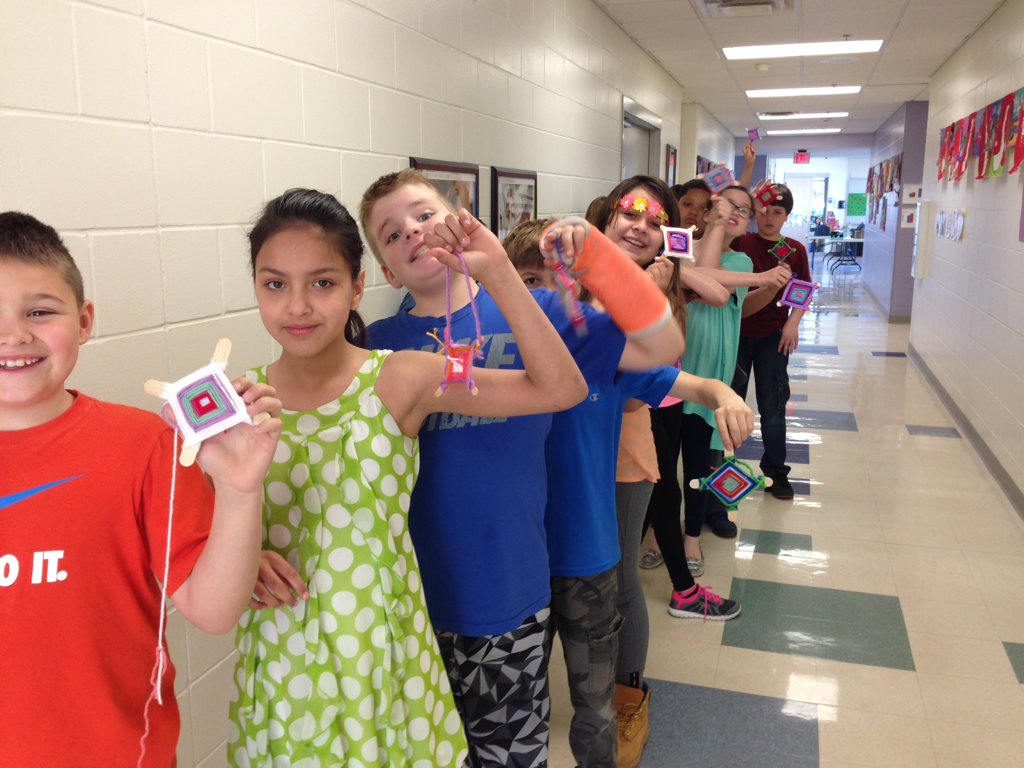
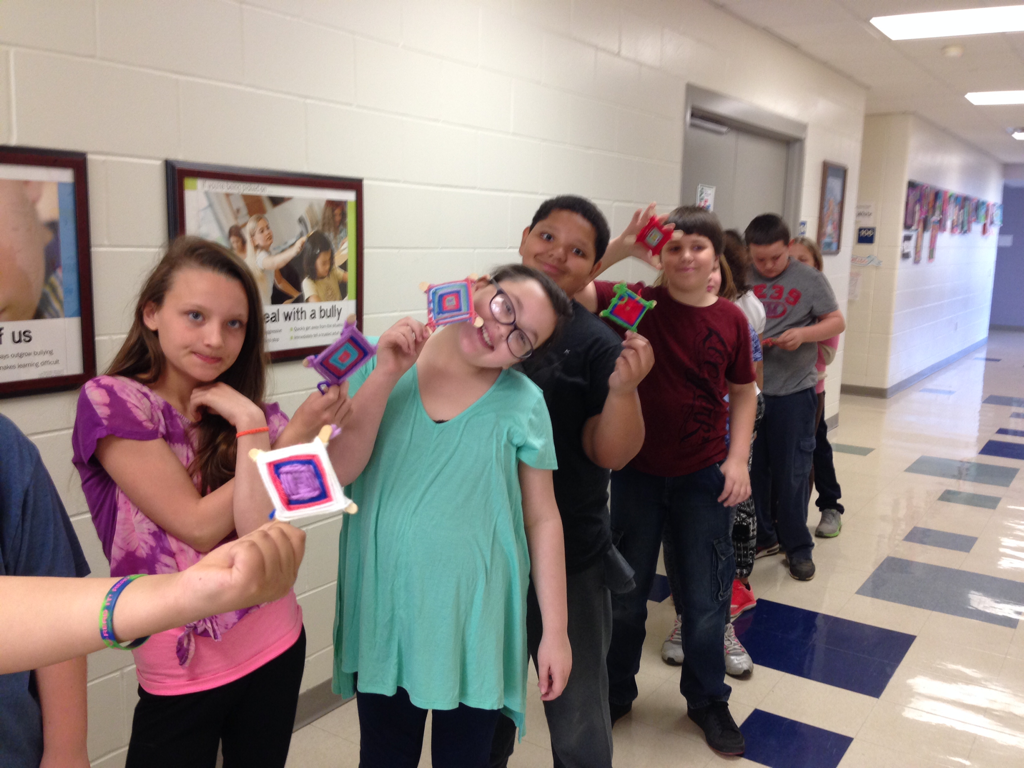
This early-finisher project was so popular, everyone wanted to do it! Every student 3-5 grade has started or completed a "God's Eye" this year and 2nd grade may make one soon, too. Cassie Stephens recently posted about creating Ojo de Dios in her classroom and I was inspired. I remember learning how to make a God's Eye in vacation Bible school at Land's Church in Canton, SD when I was younger. This little weaving project would keep me occupied if I was bored outside: I would find two similar-sized twigs on the ground and tie together blades of grass for my "yarn." For the classroom, I hot-glued together 2 pop sickle sticks and we used colorful yarn. 
Picture
Picture
Picture
Picture
0 Comments

4th Grade City Reflection Prints

4/27/2016

0 Comments

 
Picture
In order to prepare them for animal reduction prints next year, I wanted to expose my 4th grade artists to printmaking this year. This is another project from my sister, Amy Clay. She shared all of her art projects with me and I am extremely grateful to her for her help! 

1. Learn about printmaking

If an artist doesn't have any experience with printmaking, it is helpful to see the process from beginning to end to have a better understanding of what each step involves and why it is necessary. We use this website from MoMA to get a brief introduction to printmaking. 

2. Create 3 warm/cool colored background papers

Our city prints contained a warm colored side (representing the sunrise or sunset) and a cool colored side (representing the refection in the water).  Each student received 3 sheets of 9 x 12 sulphite. Each of these papers were folded in half and painted with warm colors on one side and cool on the other. We created three papers because we will create 3 prints! The first print one pulls usually doesn't turn out so well. This gives us 3 chances to get at least one successful print. 
Picture
Picture
Picture

3. Draw city on printmaking foam

To start this lesson off, we looked at a few interesting buildings in our world. I showed them out some buildings have clock towers, domes on the top, or diagonal lines. Each student received a 6 x 9 piece of printmaking foam. They wrote their name on the back with a sharpie, grabbed a pen, and drew 5-6 buildings on the foam. The buildings shared a vertical wall and I encouraged the students to use variety, one of our principles of art. Adding variety made our city much more interesting. They drew over each line twice to ensure the foam was adequately pressed down. 
Picture
Picture

4. Print!

I modeled the process of using the brayer to apply ink to the foam, flipping the paper over and massaging to transfer the ink, peeling off just a corner to see if the ink transferred, and folding the paper quickly to get a reflection on the other side. Most students pulled at least 1 successful print! The most frequent problem is not applying enough ink. The trick is to listen for a "sticky" sound and make sure every spot on the foam is wet. 
Picture
Picture
0 Comments

4th Grade Masks

4/13/2016

0 Comments

 
Picture
Picture

1. Plan

To begin this unit we watched Masks from Many Cultures. This short video showcases over one hundred images of masks from a variety of cultures and time periods. Students learn why different people groups create masks, their purpose, and the variety of materials used. Following the video, students designed their own mask. Their design typically changes throughout the process, but I have found this planning time ensures that building their armature will be purposeful and more efficient. 
Picture

2. Build the Armature

We collected gallon size milk jugs for a few weeks. Before the class time, I used an xacto knife to create an opening at the bottom. There is a seam at the bottom that is too thick for scissors to cut through. I demonstrating cutting the milk jug and how each side can be used. We talked about how when we remove material from a sculpture it is called subtractive. When material is added  to a form it is called additive. I required them to use both methods to construct their form. Extra milk jug plastic was used to add--simply cut the desired shape and tape it on with masking tape. 
Picture
I cut a slit on the bottom of the milk jug to help get them started. It is too difficult for the classroom scissors to snip through the thick plastic on the bottom of the jug.
Picture
This artist is using the subtractive method here.

3. Apply plaster wrap

Plaster gauze can be extremely messy! Students covered their entire table in newspaper before cutting their plaster gauze into strips. I placed a tub of warm water on each table and they were ready to go. Check out this video, this artist will explain the process! 
Picture
Picture
This is what we want--a smooth surface with no holes or "swiss cheese" as we call it in the art room.
Picture
We have some swiss cheese problems here. This mask will be a little weaker than the mask on the left.

4. Paint

We've used the element form, now it is time to add color. Before they got a paintbrush in their hand, I set the timer for 4 minutes and they used a pencil to draw out a plan on their mask.  I placed colors at each table and students were able to walk around to the color they needed. 
Picture

5. Varnish

Sometimes tempera paint (the kind we always use in the art room; it is washable) can look chalky; especially on 3D artwork. Painting a coat of acrylic varnish made their mask shiny and much stronger.

6. Add embellishments 

Feathers, yarn, raffia, pipe cleaners, shells, sequins, felt--there were many different materials the students cut glue on to embellish their mask. 
Picture
Picture
The kiddos were begging me to take them home. I like to show them off in the school first, but they have to wait all year long to get the rest of their artwork home (so I have work to share at art shows), so I finally obliged:) 
0 Comments

4th Grade Clay Masks

3/1/2016

0 Comments

 
The mask unit is a favorite among Davenport 4th grade artists. At Buffalo we begin this unit by created a small mask out of clay. I demonstrate how to press an oval-shaped sphere into a slab base, adding eyes, a nose, mouth, horns, and designs. The only tools they use are a sharpened pencil and a Popsicle stick (and a toothbrush to scratch and attach when we use the earthenware clay). I encourage them to be creative and make their mask unique. They practice making a mask one day with modeling clay and use stoneware clay on the second day. This ensures that the stoneware clay will not dry out too much from them working and re-working it. They are so creative!
Stoneware clay
Picture
Picture
We use a toothbrush dipped in some water to "scratch and attach" or "slip and score." This ensures that two pieces joined together will stay attached as the clay dries.
Picture
After the masks were bisque-fired, it was time to glaze. I ordered some new colors from Blick (Blick Essential Gloss Glazes) and am happy with the results. In my art room, each table is labeled with a color. I placed red glaze at the red table, orange at the orange table, etc. I also set out black and white for the students to use. It is important to apply 3 coats of the glaze to ensure a bright and glossy color. 
Picture
One of my favorite things as an art teacher is opening up a glaze fire. The masks are beautiful! I am so proud of the 4th grade work. Here are a few.
Picture
Picture
The masks are on display in the 4th/5th grade pod! Be sure to go check them out at the STEAM night on March 2nd! 
0 Comments

4th Grade Landmarks

2/2/2016

0 Comments

 
Creating an artwork of a local landmark is  one of the 4th grade units in the art curriculum.  I ask them, "If you had a friend visit that had never been to Buffalo or Davenport before, where would you take them?  What are some places that make Buffalo and Davenport special?" We identify some international and national landmarks, but focus on local landmarks. We usually have a quick chat about why Wal-Mart and Casey's are not landmarks and I show a number of images of local landmarks. The students choose the landmark they draw; I encourage them to pick a landmark that is special to them or they have visited before. I drove around Davenport and Buffalo this past summer and took pictures of all of the landmarks and printed them off at a photo shop. The kids liked working from a color photograph. 

The artists chose the medium for adding color. Options included tempera, watercolor, Sharpie, chalk pastels, oil pastels, crayon, and colored pencil. 

Picture
To complete this project, the artists wrote 3 sentences about their landmark: what makes it special to Buffalo/Davenport, a memory they have at the landmark, what they enjoyed about making their art, or their creating process.
Picture
One landmark from each DCSD school is displayed at Davenport City Hall for one year. Check back in a few days to see which landmark will be showcased and honored with a reception at Davenport City Hall on March 9th, 2016. I am very proud of each 4th grade artist; the landmarks are very well done! 
0 Comments

3rd, 4th, and 5th Grade Winter Concert

12/24/2015

0 Comments

 
The 3rd, 4th, and 5th grade students performed in the winter concert on December 10. I displayed seasonal artwork from each class on art panels.
Picture
0 Comments

4th Grade Winter Deer

12/8/2015

0 Comments

 
Each grade is creating some seasonal artwork at Buffalo Elementary. 4th grade artists drew a simple outline of a deer using pencil and added color using oil pastels. They each had a photograph of a young deer at their work space and I encouraged them to look like a scientist to try to record what they saw. We looked at a real branch of an evergreen tree and they used green and brown to add a few branches in the background. The final step was to blend a few cool-colored chalk pastels in the sky. I love the different expressions of each deer. Come check them out at the winter concert on Thursday, December 10 at Buffalo Elementary!
Picture
Picture
0 Comments

4th Grade Monochromatic Sky

11/23/2015

1 Comment

 
Monochromatic artworks are those that contain only one color. 4th Grade artists chose one color and created tints of this color by adding white and shades by adding black. Tints were painted around the moon and then the shades after a ring of pure color. The final step was to use an eyedropper to drop a little India ink on the edges of the paper and blow it towards the center using a straw to create moody tree branches. 

Thank you to my sister Amy Clay for the lesson!
Picture
1 Comment

Art Party!

11/3/2015

0 Comments

 
One of the ways I encourage good behavior in the art room is my Art Party Gameboard. Each class has the opportunity to win 3 points each 45-minute art class. These three points are represented by the "A R T" letters above the gameboard. If the class gets a little too loud, is especially talkative during instruction time, or doesn't line up silently at the end of class, a letter gets flipped, starting with the letter "A." If it happens again, the "R" gets flipped. A third time (which rarely occurs) results in the "T" getting flipped. The back of the "T" card states "No talking." I set my timer for 5 minutes and the students work silently for those five minutes. After the timer goes off, students earn their "T" back and continue working and talking quietly. The number of letters remaining at the end of the class designates how many spots they move on the gameboard. When they reach the end, they earn an Art Party! It is possible to earn one art party per quarter.

What is an Art Party?
I set up three different stations -- free paint, modeling clay, and shaving cream. Each student spends about 10 minutes at each station.  They paint, build, or draw their choice of artwork at each station. The shaving cream station is usually the favorite:)

Congratulations to Mrs. Mitchell and Mrs. Bendixen's class! They were the first to earn an art party this year and had a blast!
Picture
0 Comments

4th Grade Self-Portraits

10/28/2015

0 Comments

 
Using a mirror, the students drew a self portrait using general portrait proportions (drawing our eyes in the middle of the face is the most difficult rule to put into practice!). They added details in the background to show their personal interests. Students used watercolors, crayons, or oil pastels to add color. ​
0 Comments
<<Previous

    Author


    ​Welcome! My name is Lisa White. I teach art at Buffalo Elementary, a small rural school in the Davenport Community School District.

    Picture

    Archives

    June 2016
    May 2016
    April 2016
    March 2016
    February 2016
    January 2016
    December 2015
    November 2015
    October 2015

    Categories

    All
    1st Grade
    2nd Grade
    3rd Grade
    4th Grade
    5th Grade
    Classroom Management
    Events
    Kindergarten

    RSS Feed

Powered by Create your own unique website with customizable templates.
  • Home
  • About
  • Blog