
1. Plan
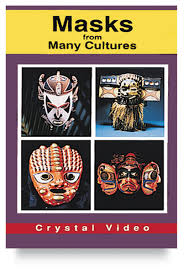
To begin this unit we watched Masks from Many Cultures. This short video showcases over one hundred images of masks from a variety of cultures and time periods. Students learn why different people groups create masks, their purpose, and the variety of materials used. Following the video, students designed their own mask. Their design typically changes throughout the process, but I have found this planning time ensures that building their armature will be purposeful and more efficient.
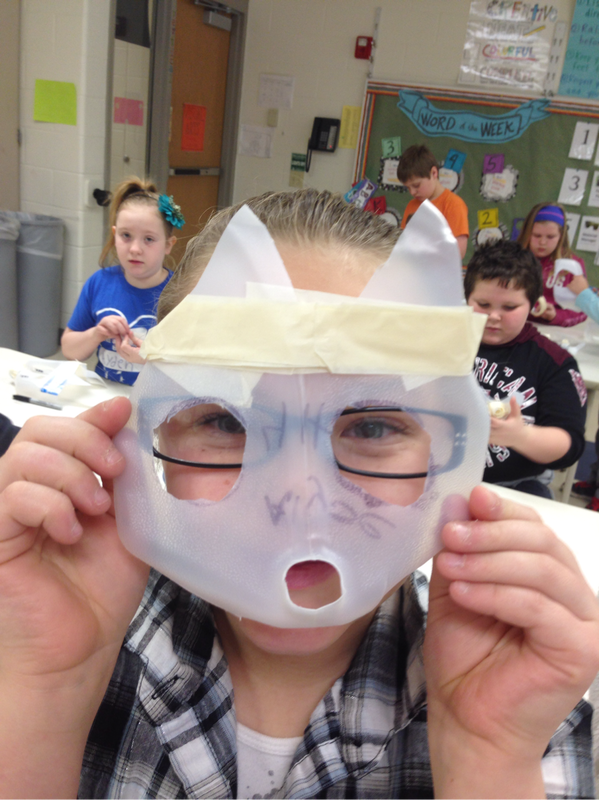
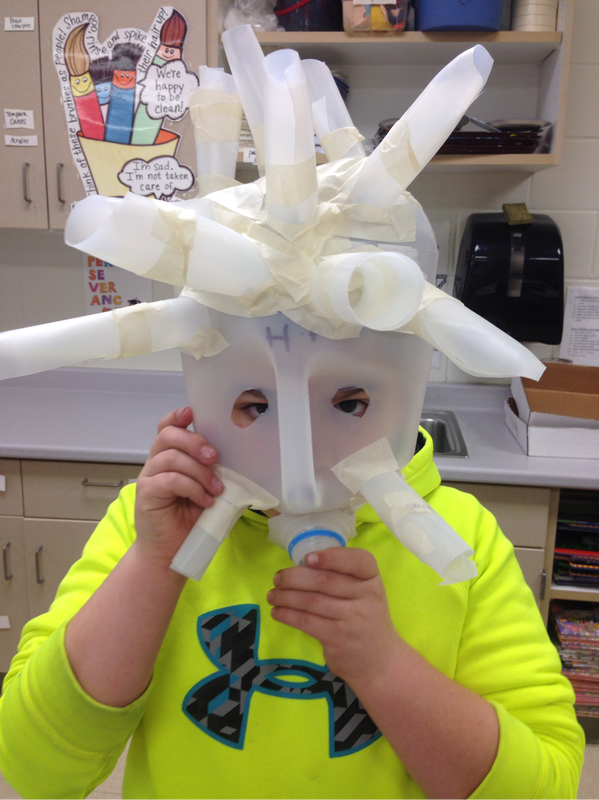
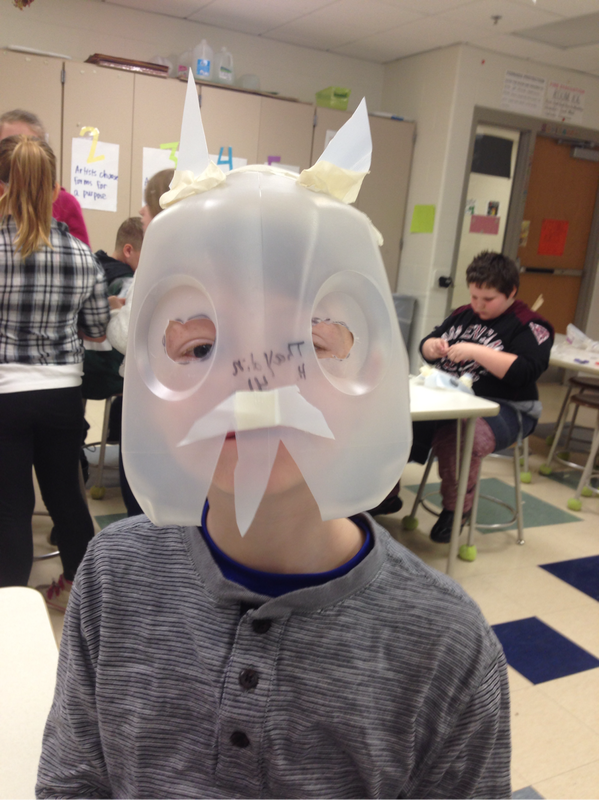
2. Build the Armature
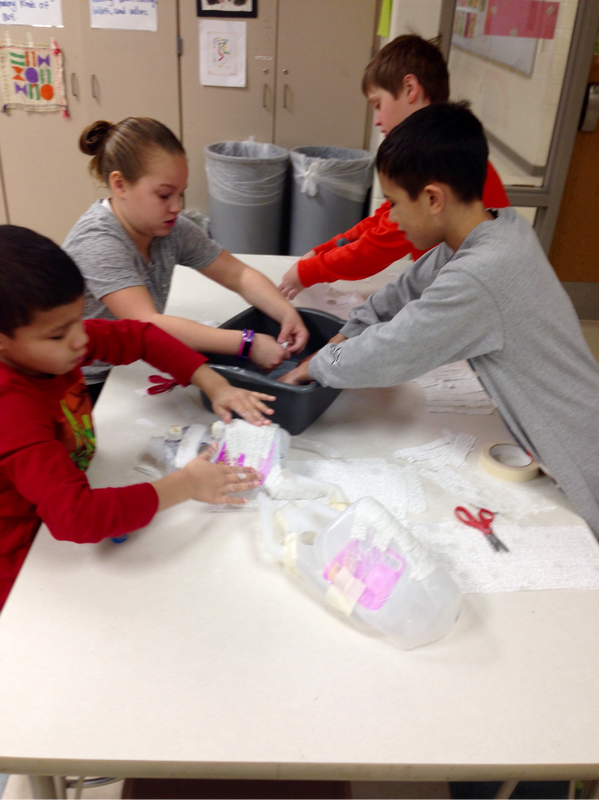
We collected gallon size milk jugs for a few weeks. Before the class time, I used an xacto knife to create an opening at the bottom. There is a seam at the bottom that is too thick for scissors to cut through. I demonstrating cutting the milk jug and how each side can be used. We talked about how when we remove material from a sculpture it is called subtractive. When material is added to a form it is called additive. I required them to use both methods to construct their form. Extra milk jug plastic was used to add--simply cut the desired shape and tape it on with masking tape.
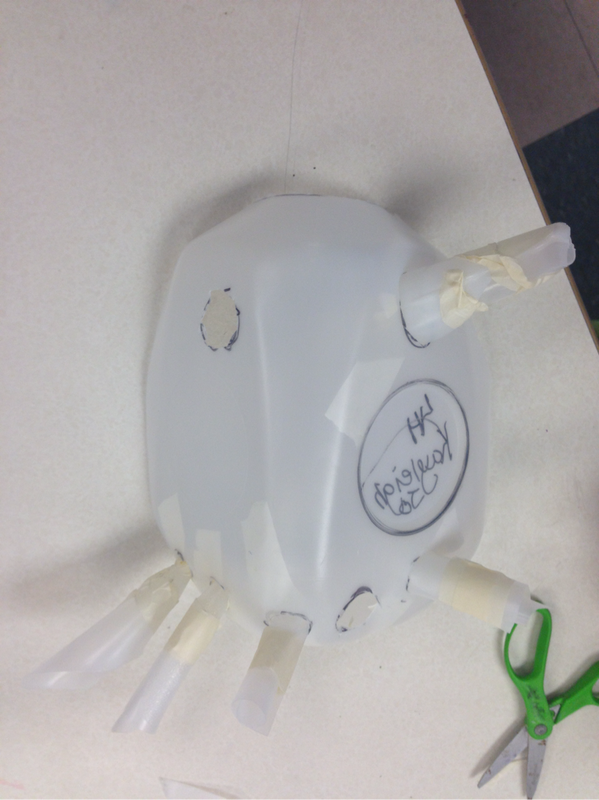
 I cut a slit on the bottom of the milk jug to help get them started. It is too difficult for the classroom scissors to snip through the thick plastic on the bottom of the jug. | 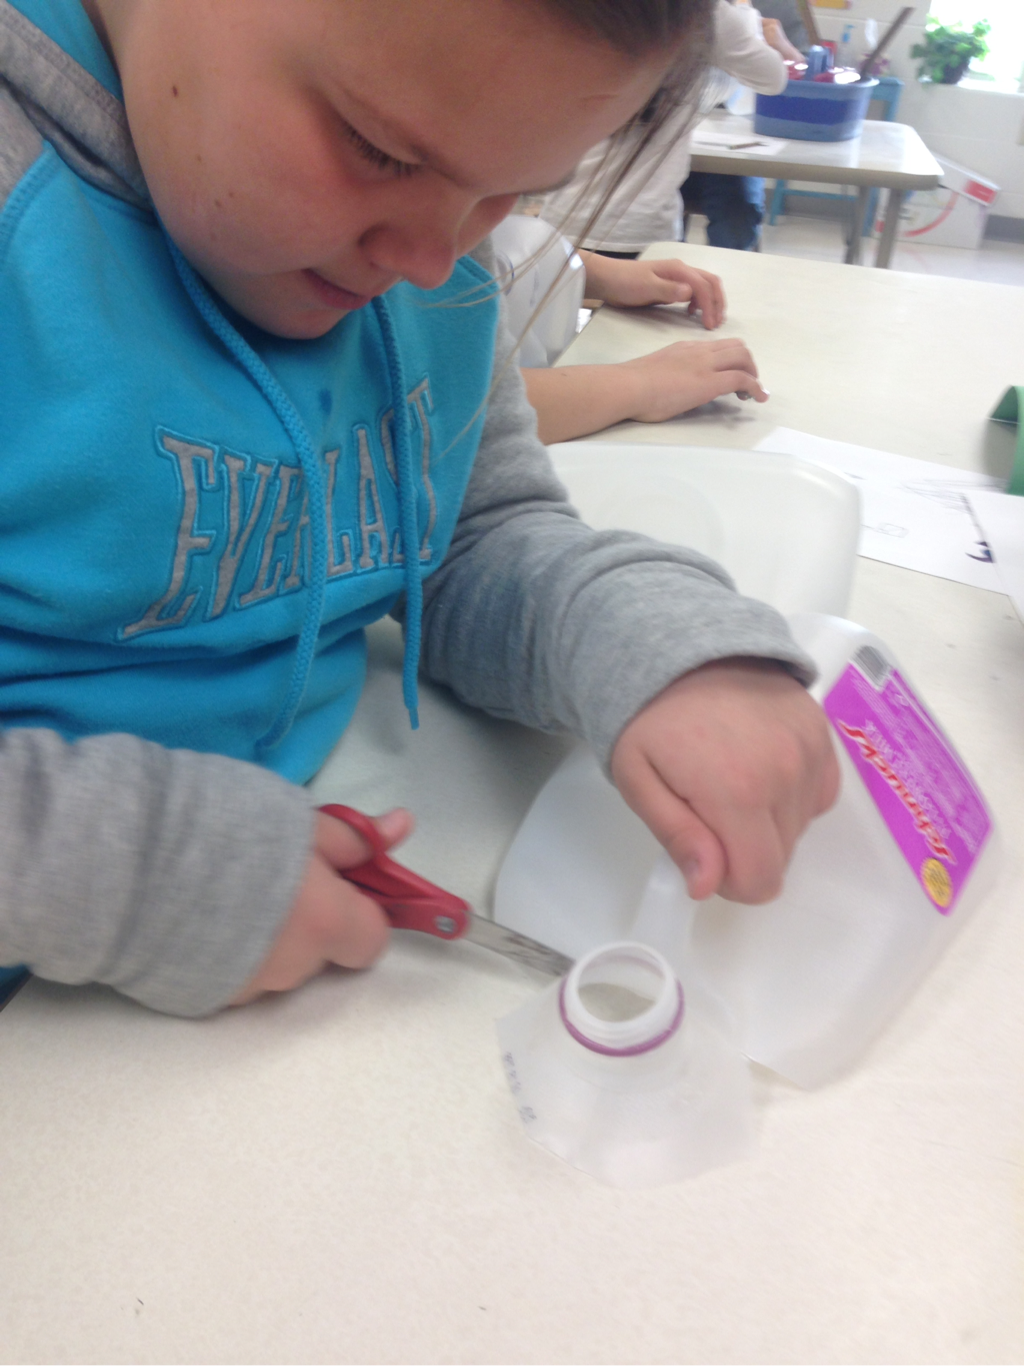 This artist is using the subtractive method here. |
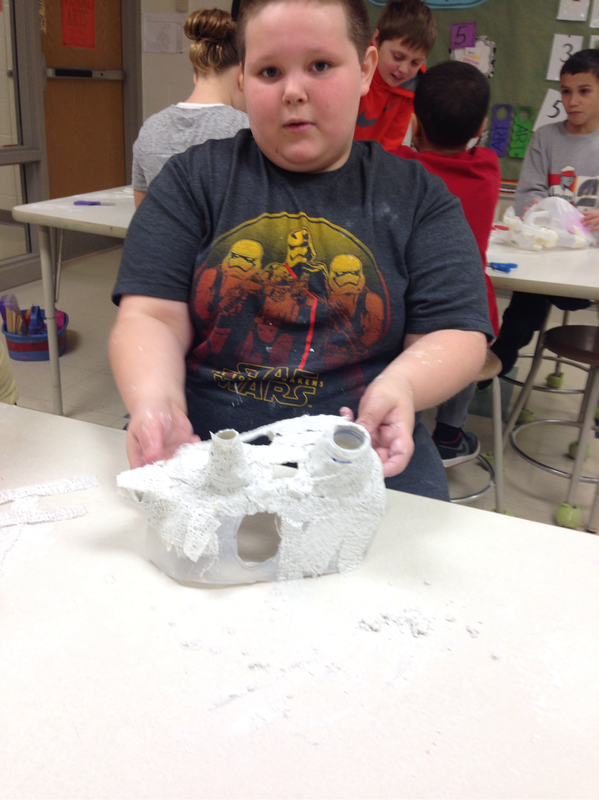

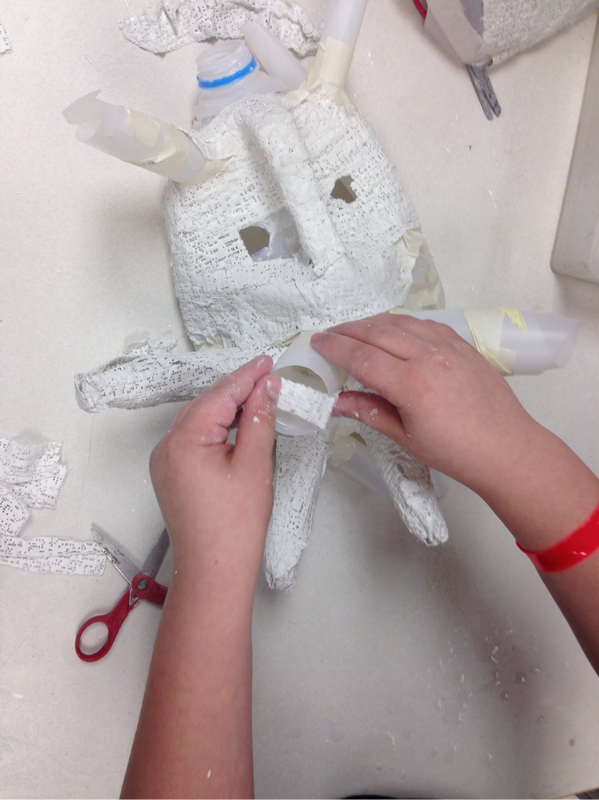
3. Apply plaster wrap
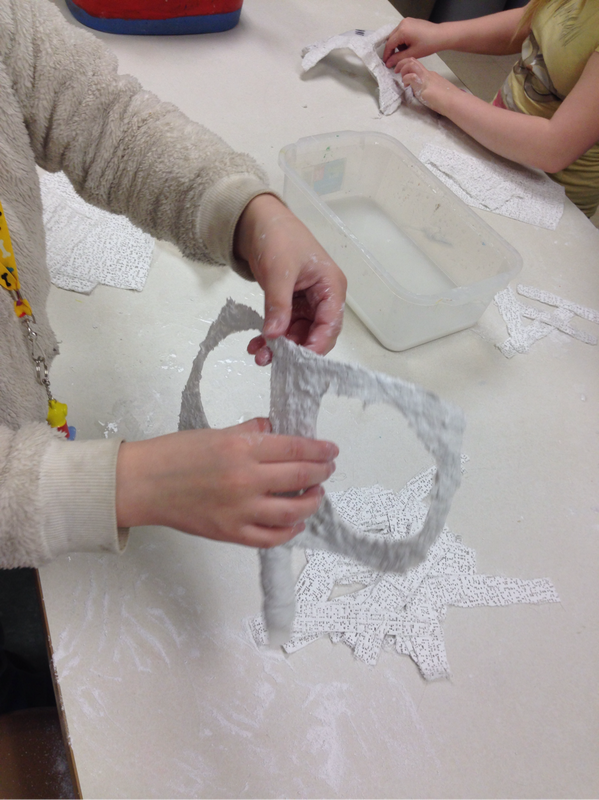
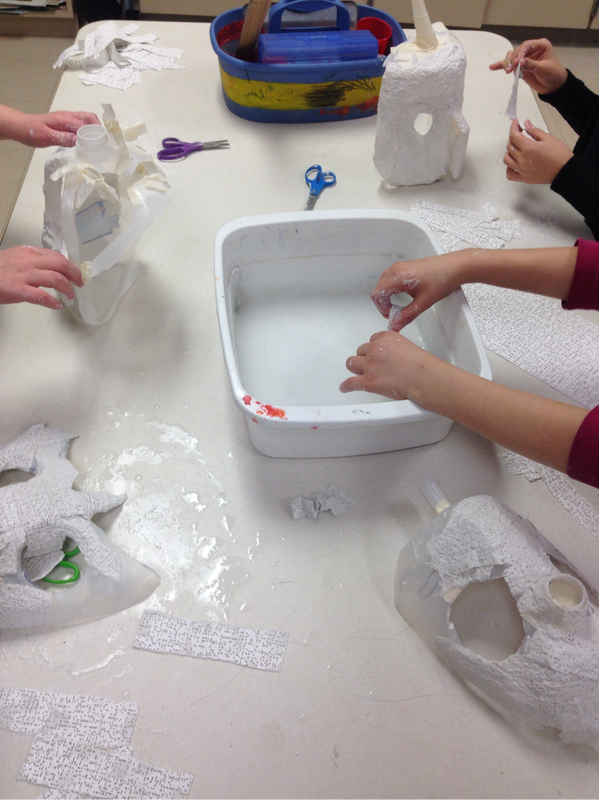
Plaster gauze can be extremely messy! Students covered their entire table in newspaper before cutting their plaster gauze into strips. I placed a tub of warm water on each table and they were ready to go. Check out this video, this artist will explain the process!
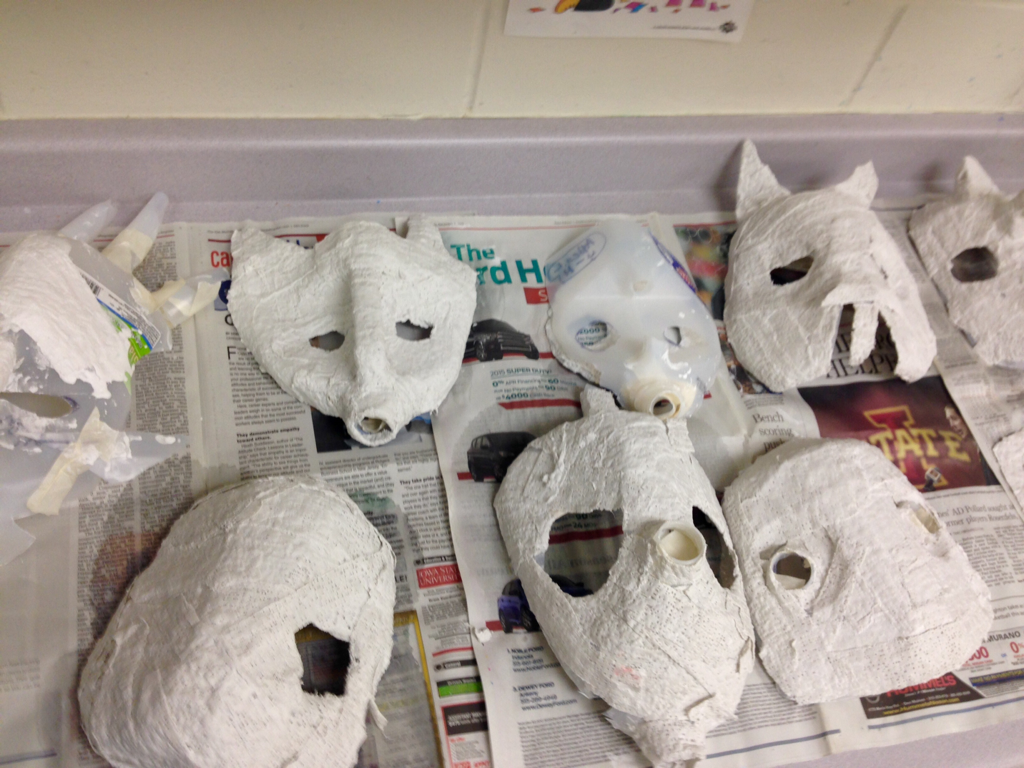

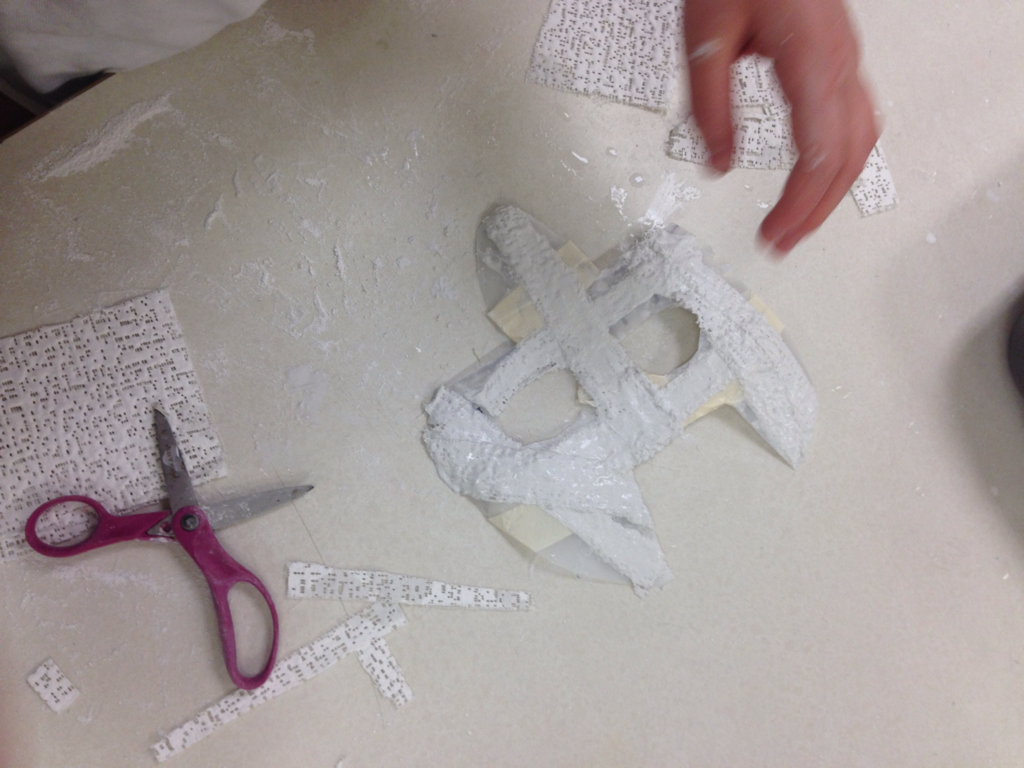
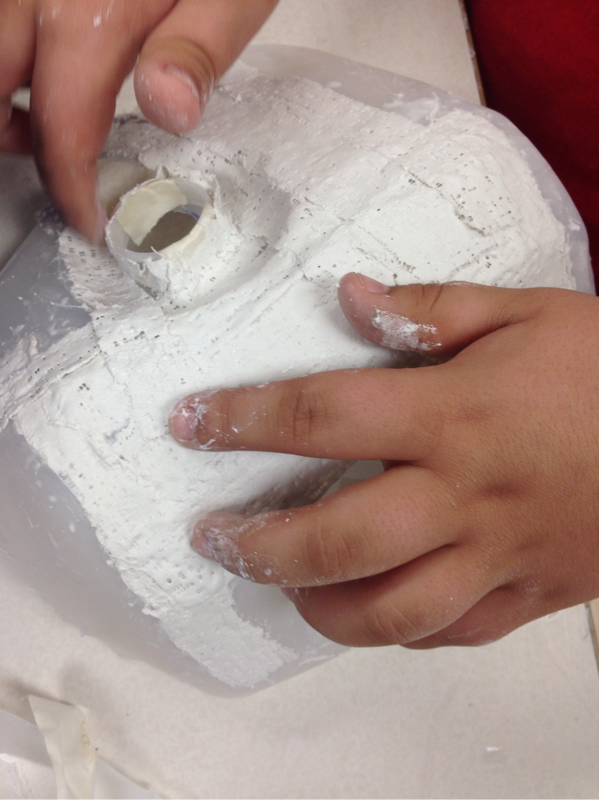
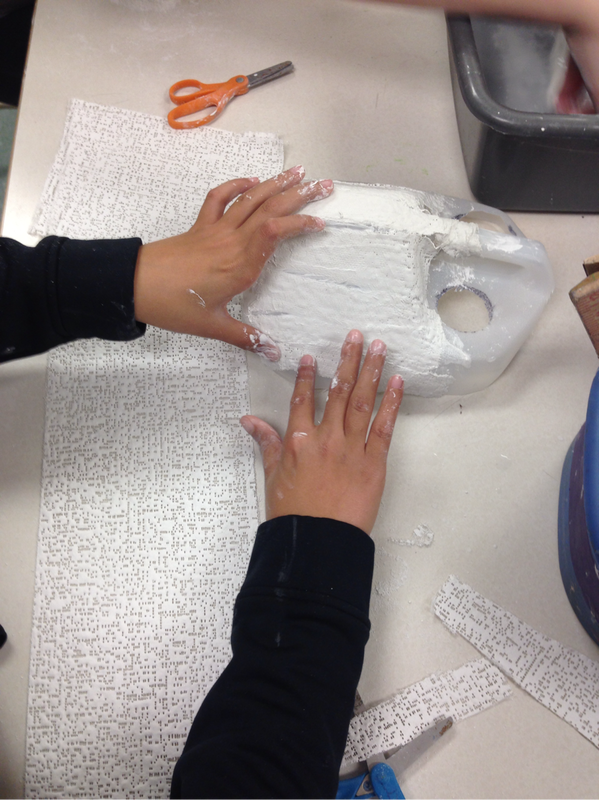


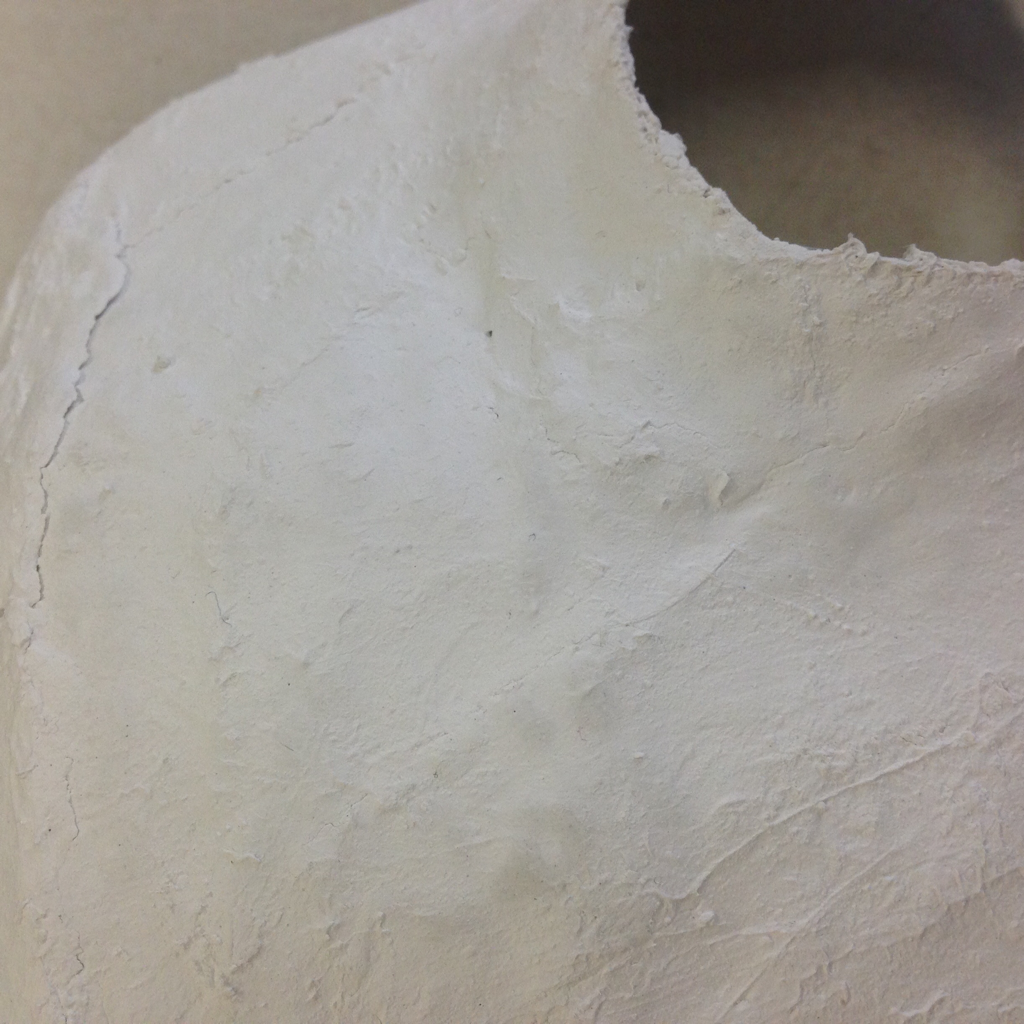 This is what we want--a smooth surface with no holes or "swiss cheese" as we call it in the art room. | 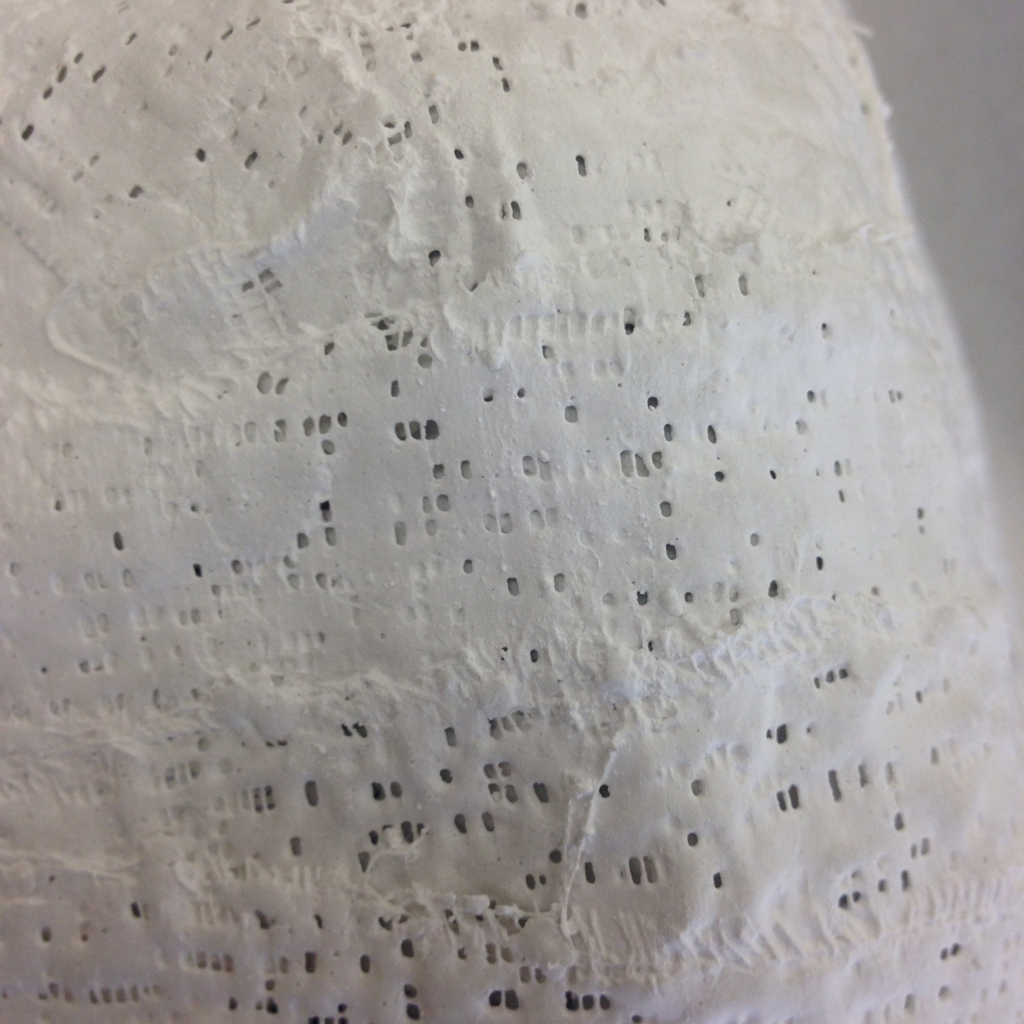 We have some swiss cheese problems here. This mask will be a little weaker than the mask on the left. |
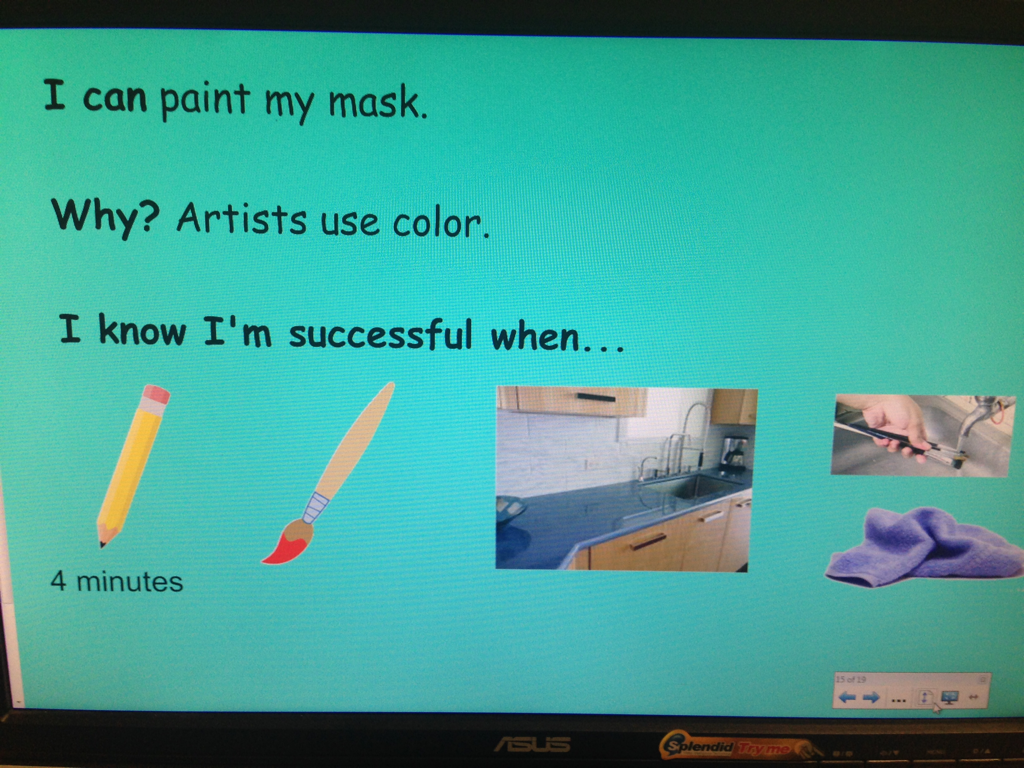
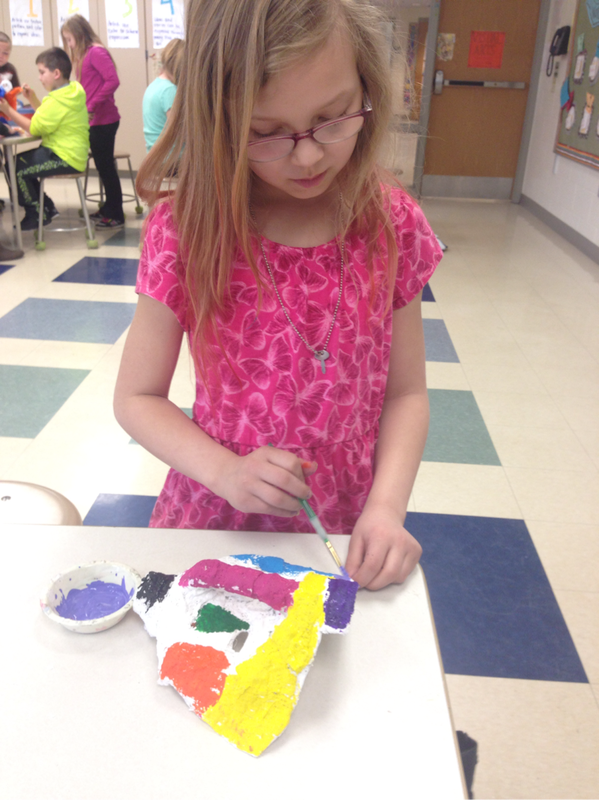
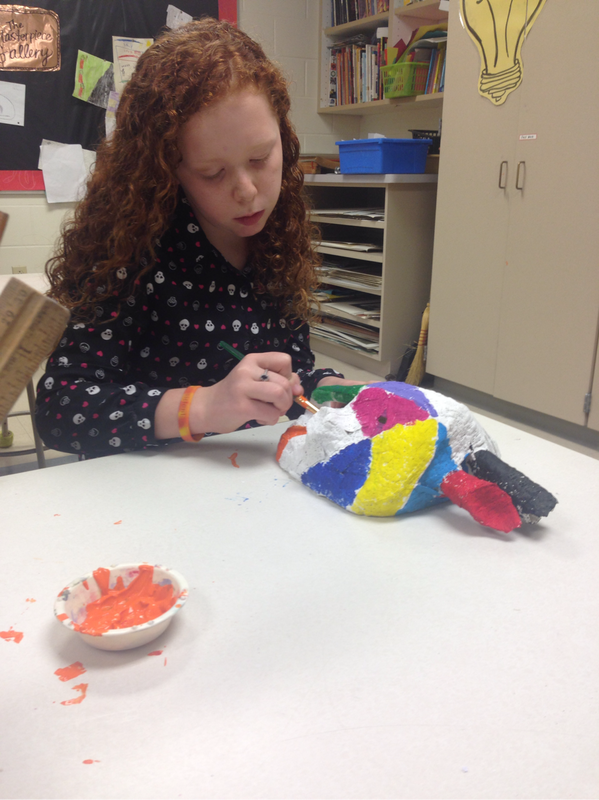
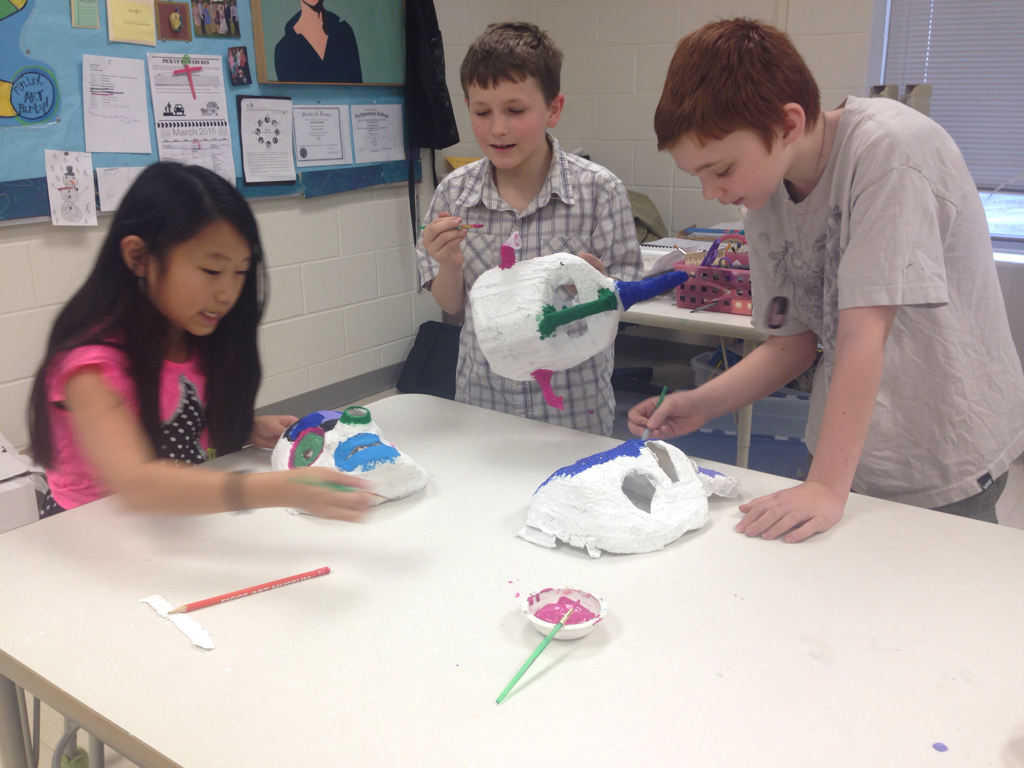
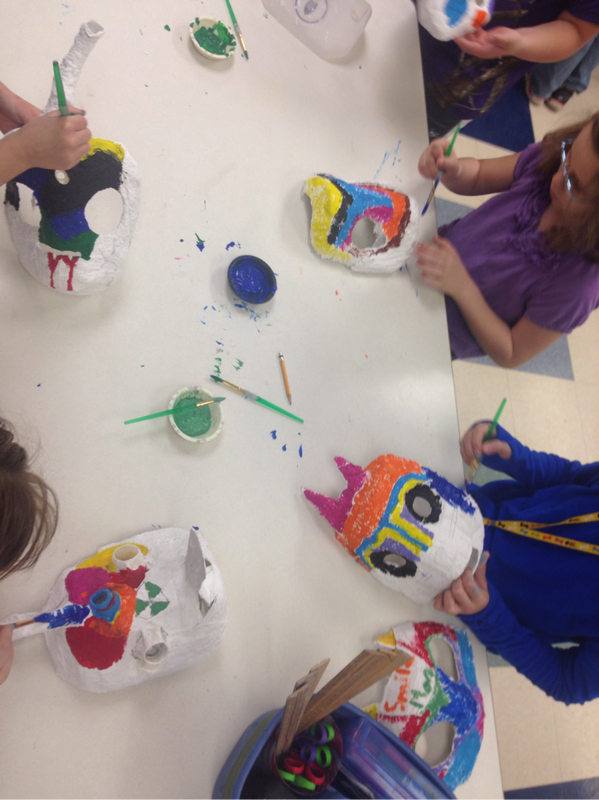
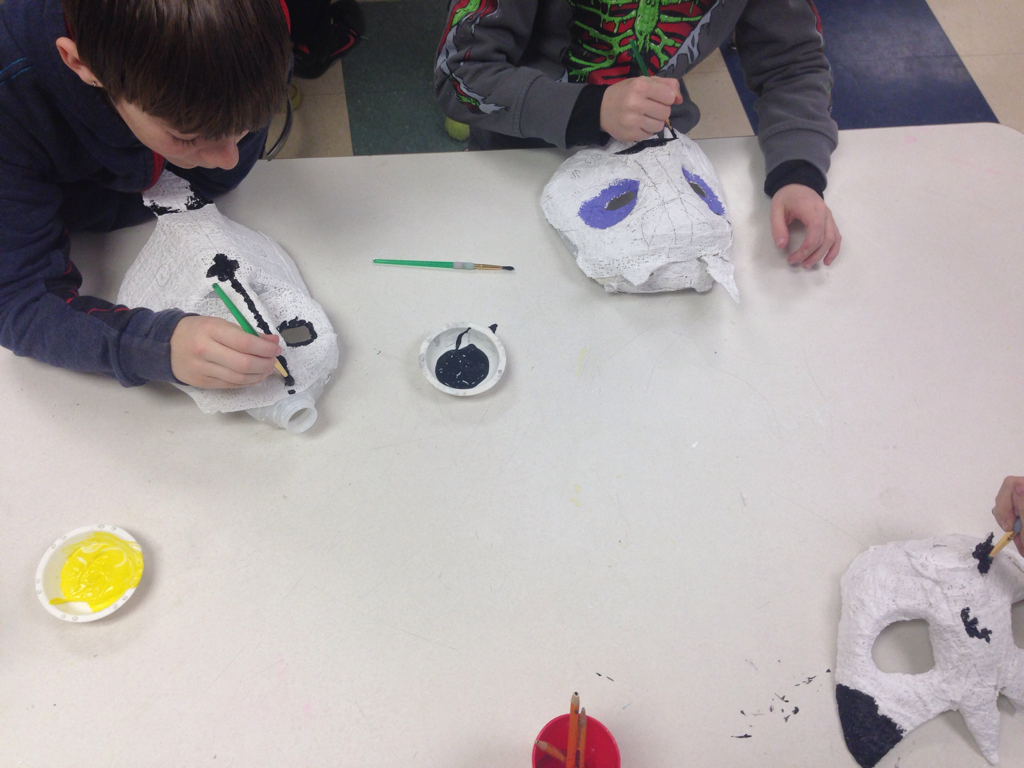
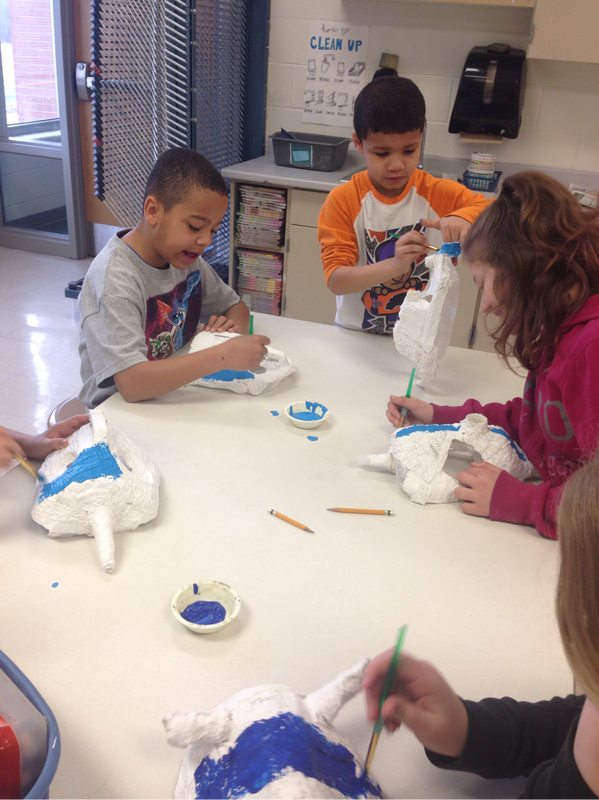
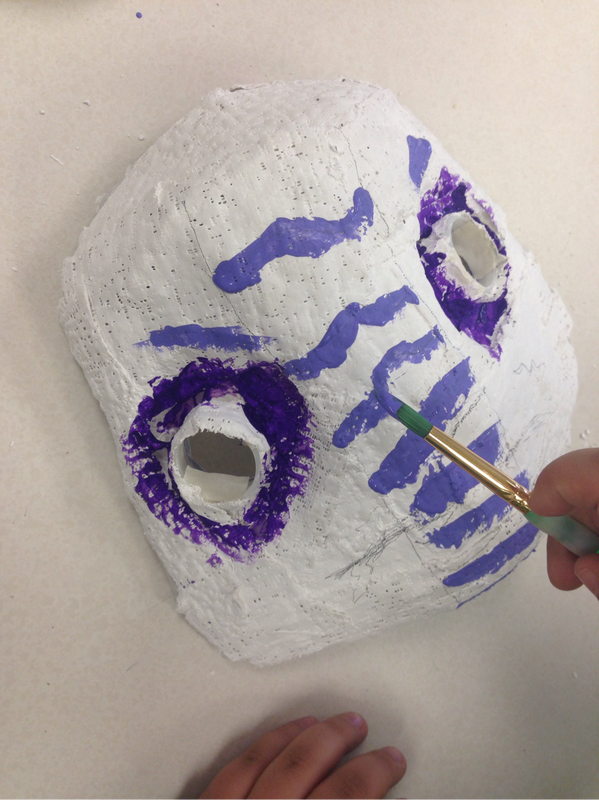
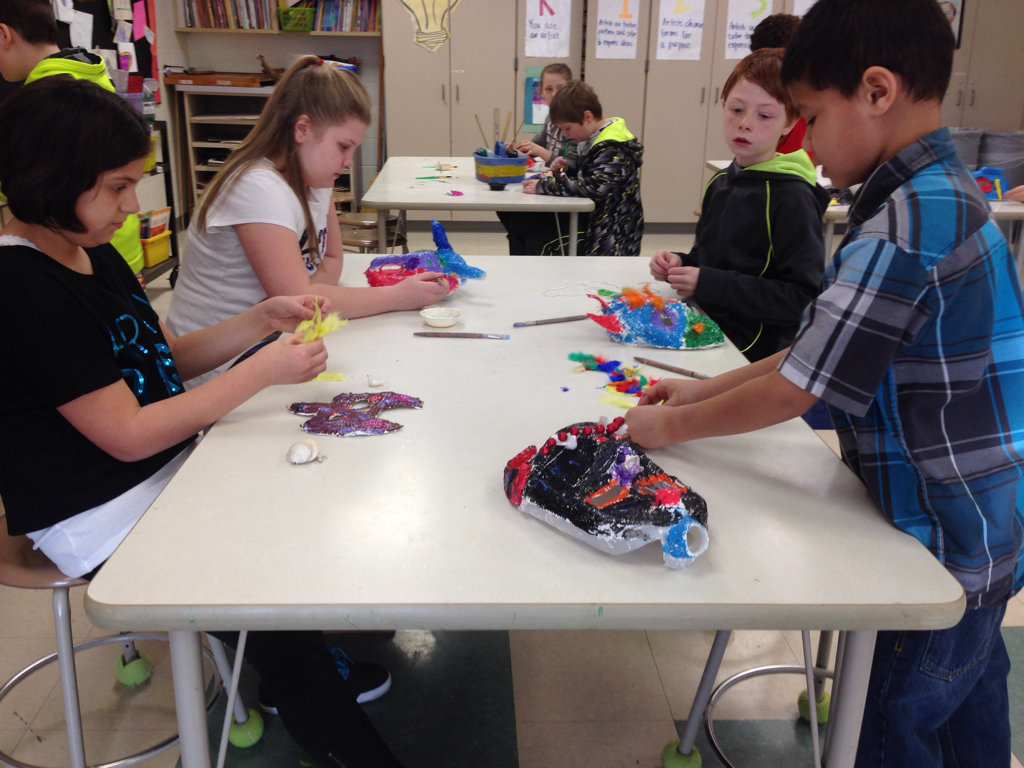
4. Paint
We've used the element form, now it is time to add color. Before they got a paintbrush in their hand, I set the timer for 4 minutes and they used a pencil to draw out a plan on their mask. I placed colors at each table and students were able to walk around to the color they needed.


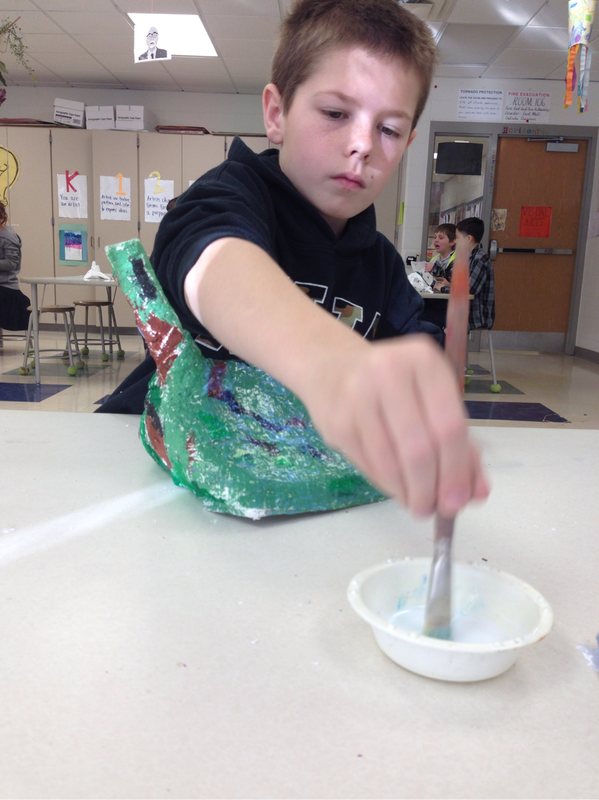
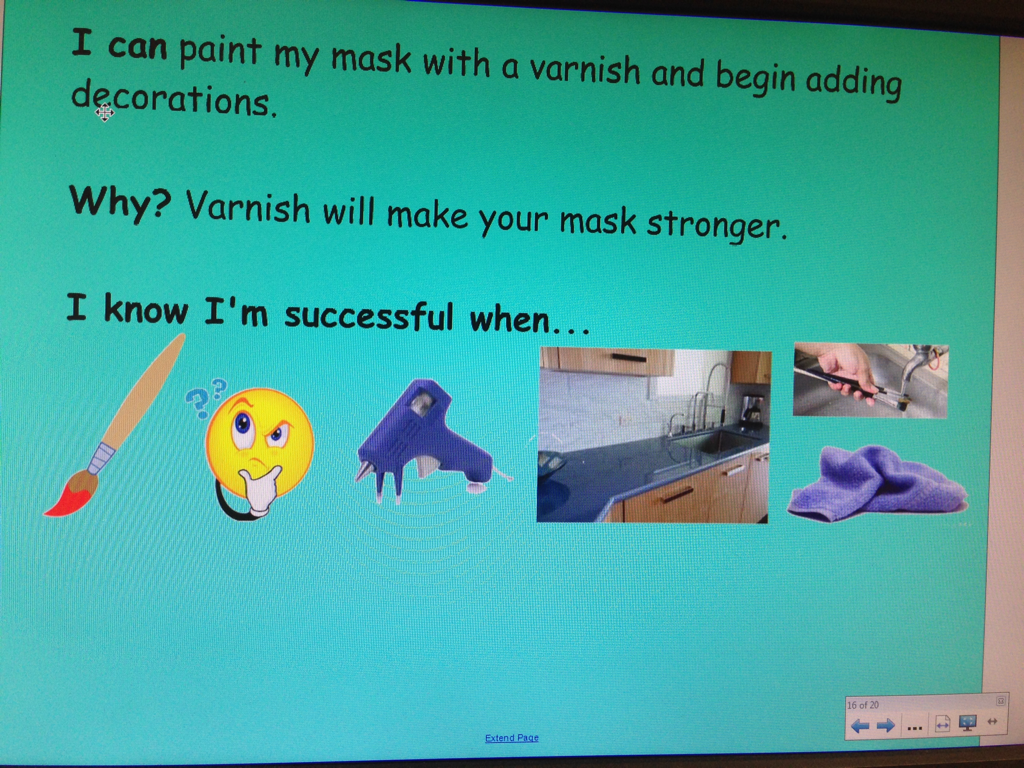
5. Varnish
Sometimes tempera paint (the kind we always use in the art room; it is washable) can look chalky; especially on 3D artwork. Painting a coat of acrylic varnish made their mask shiny and much stronger.
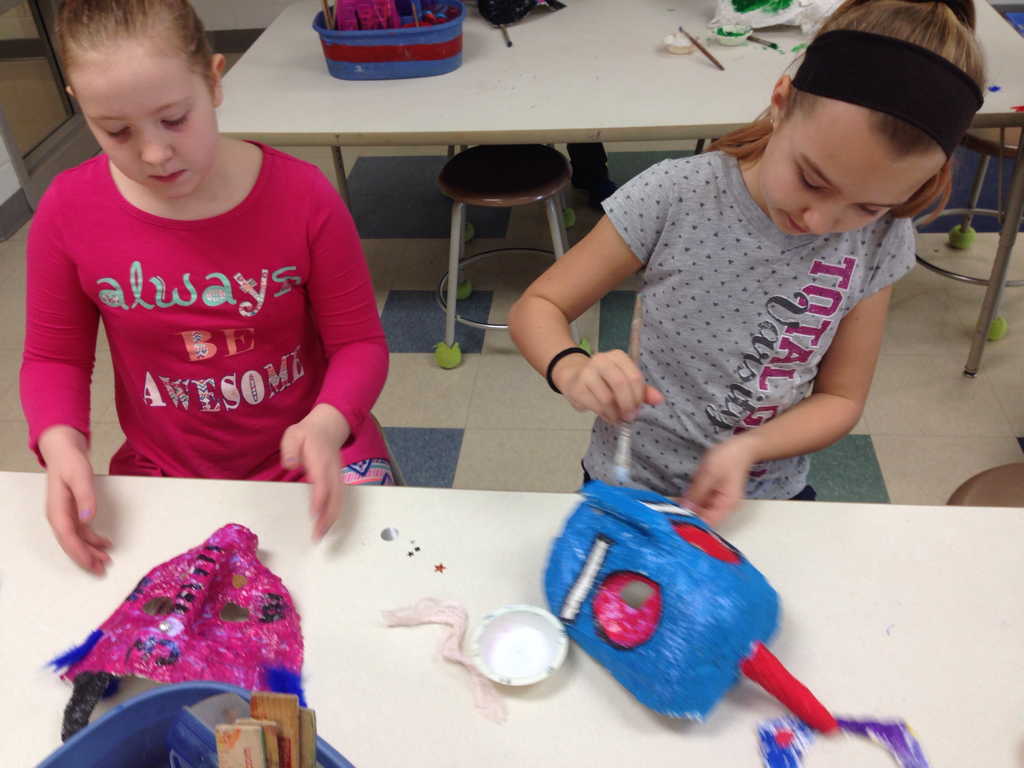
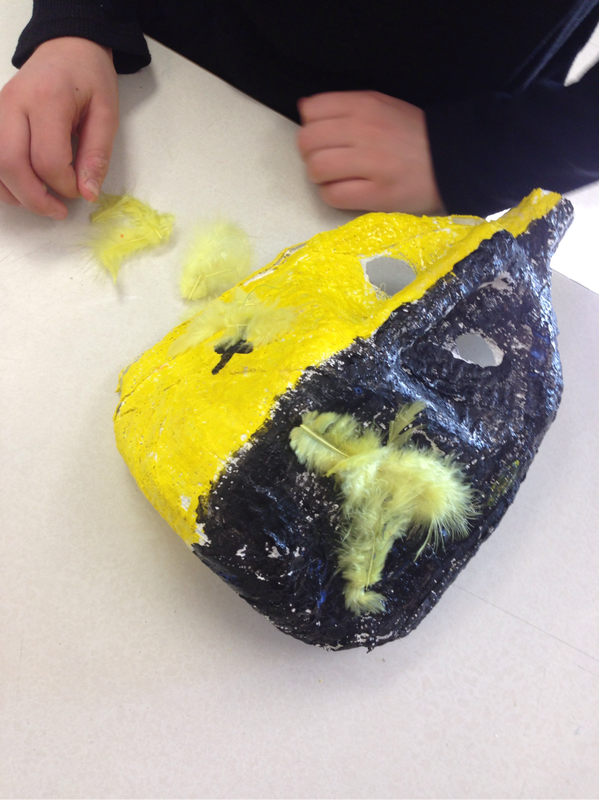
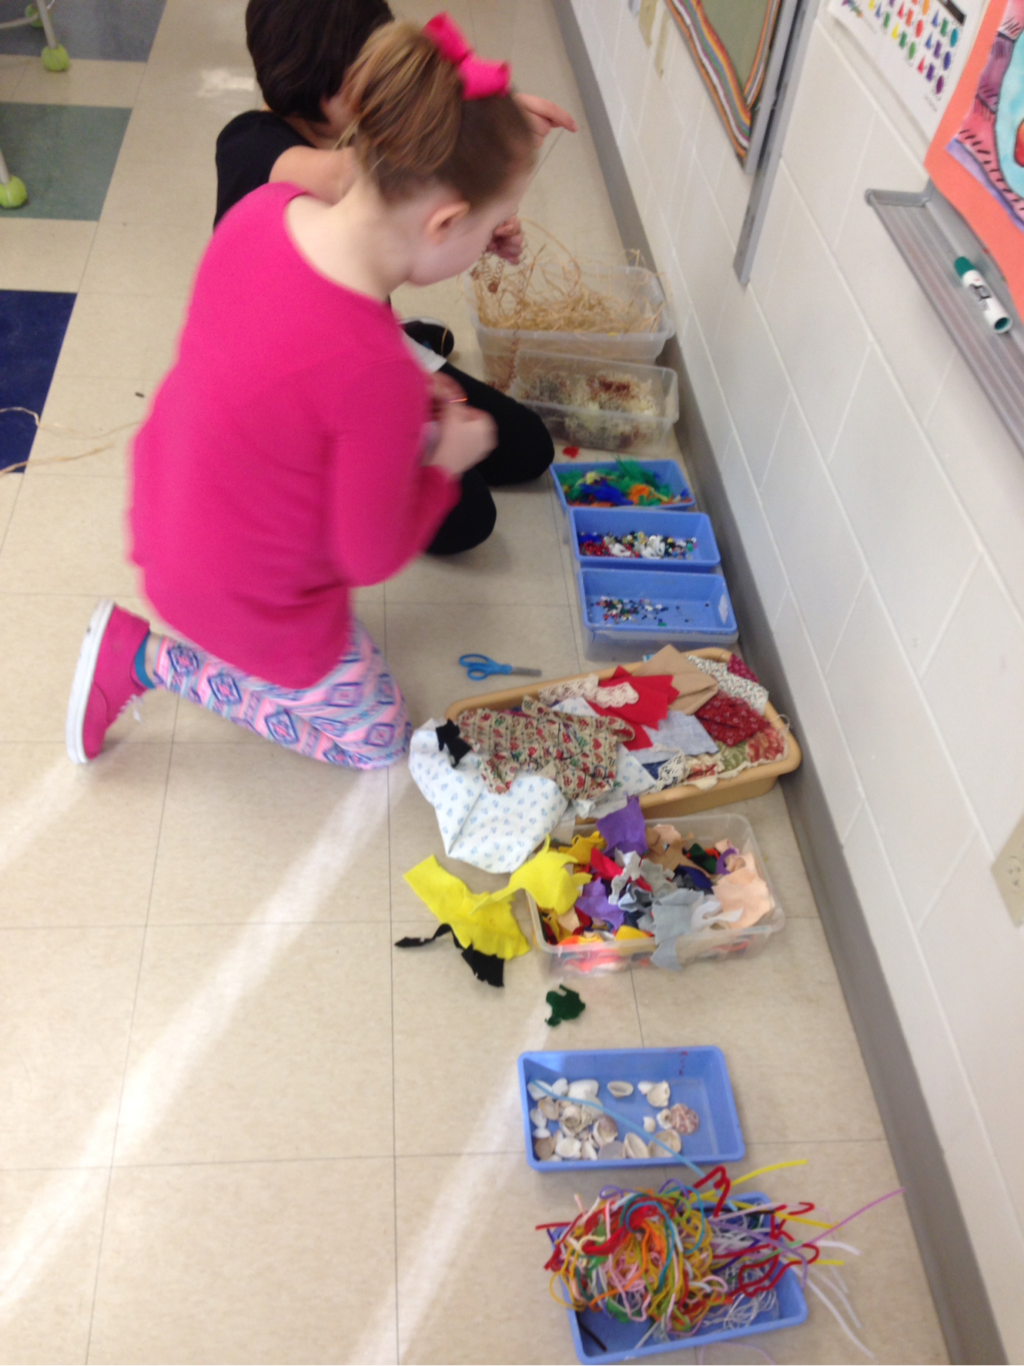
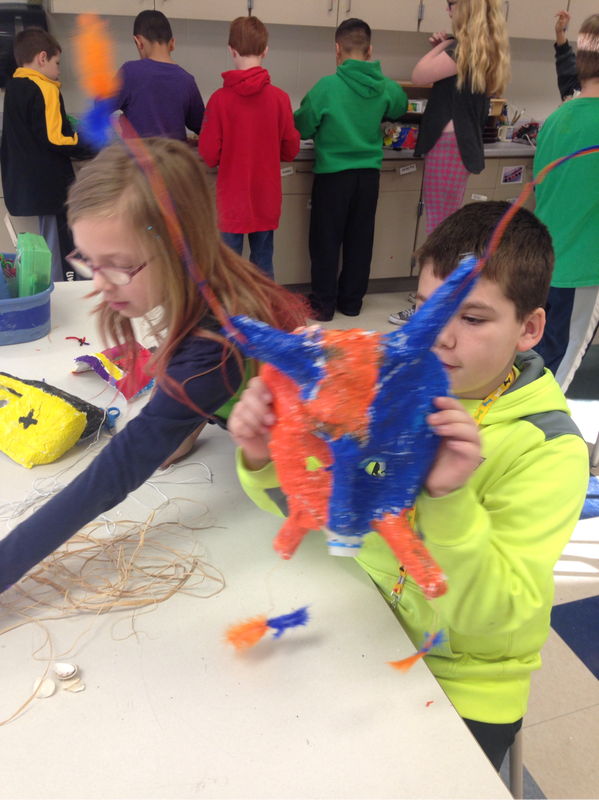
6. Add embellishments
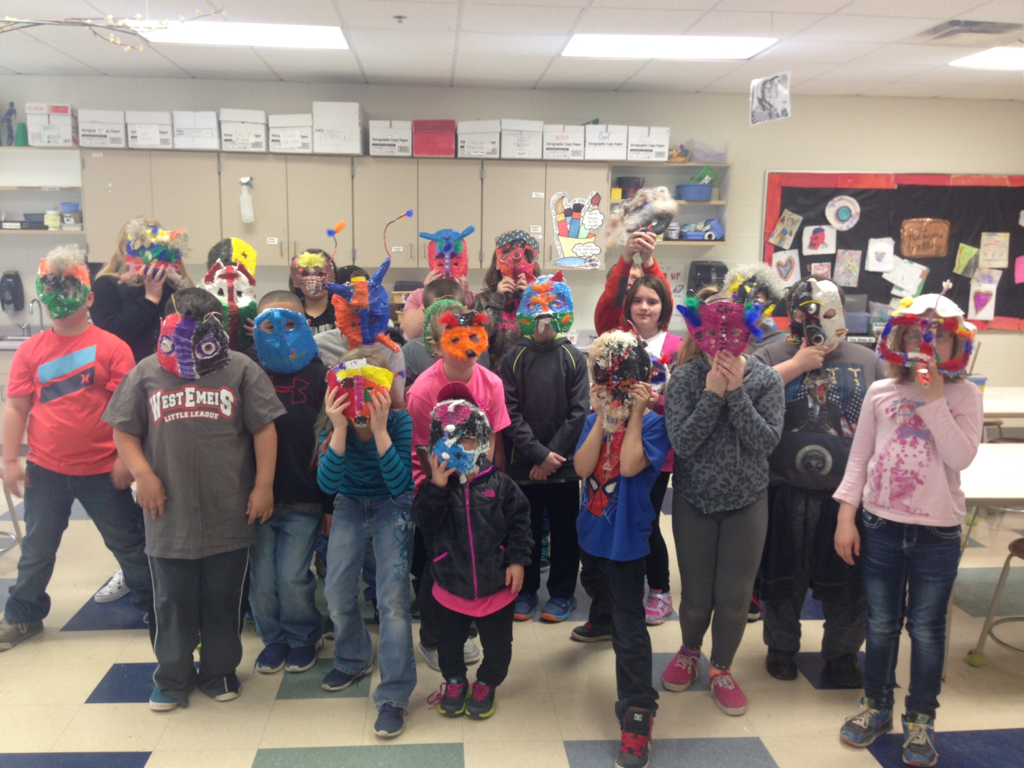
Feathers, yarn, raffia, pipe cleaners, shells, sequins, felt--there were many different materials the students cut glue on to embellish their mask.
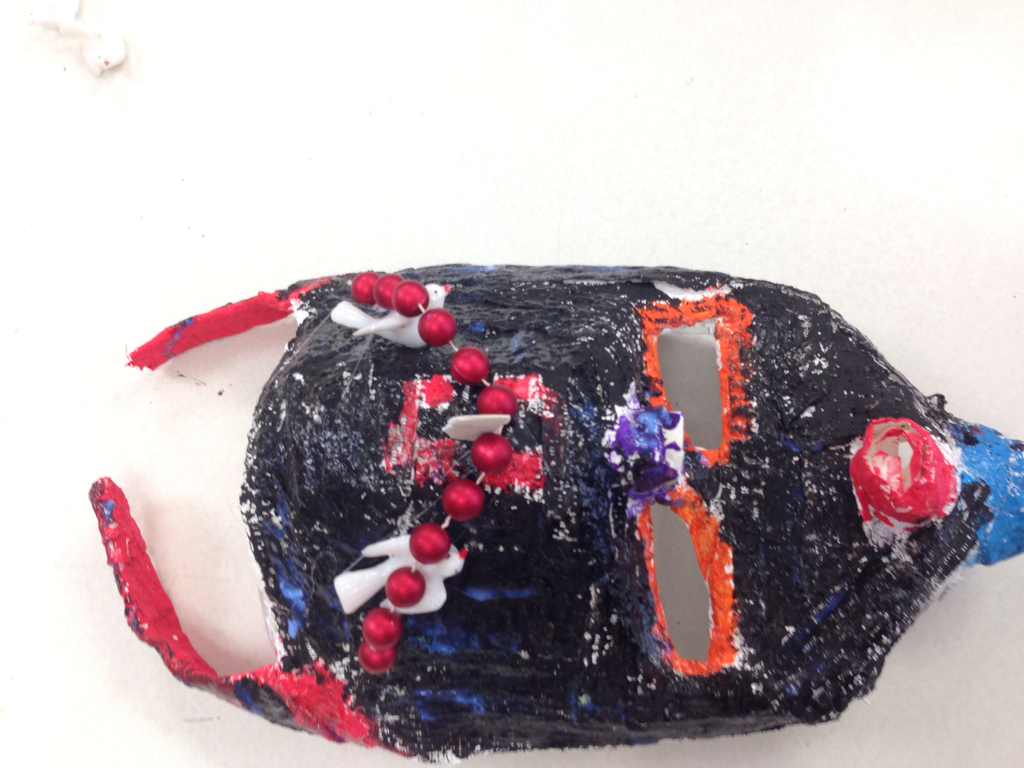

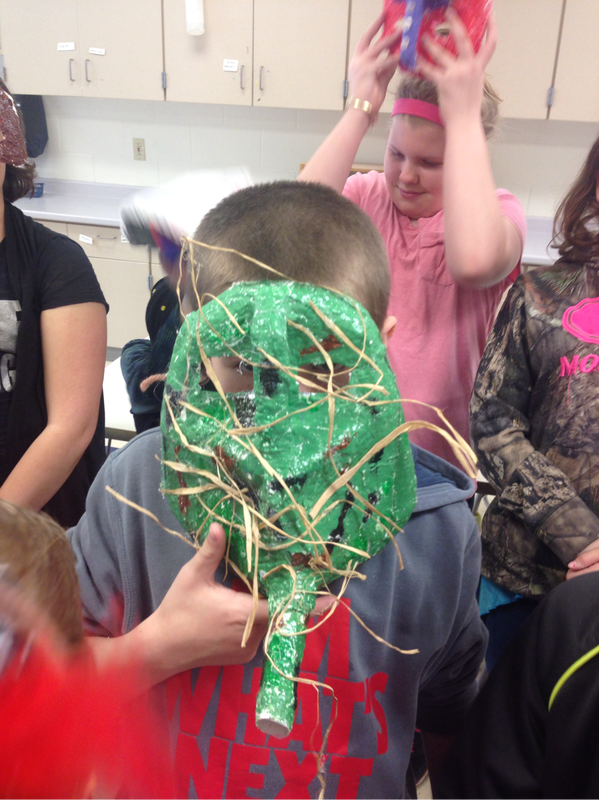


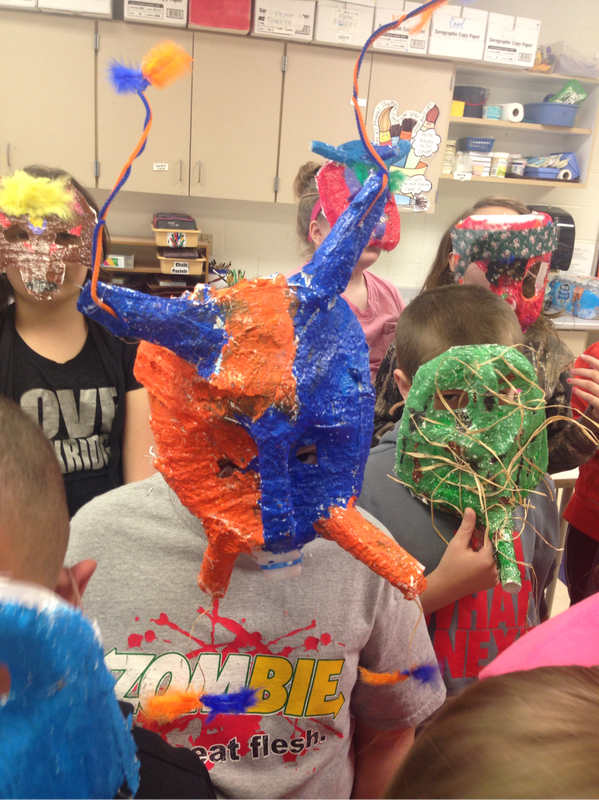

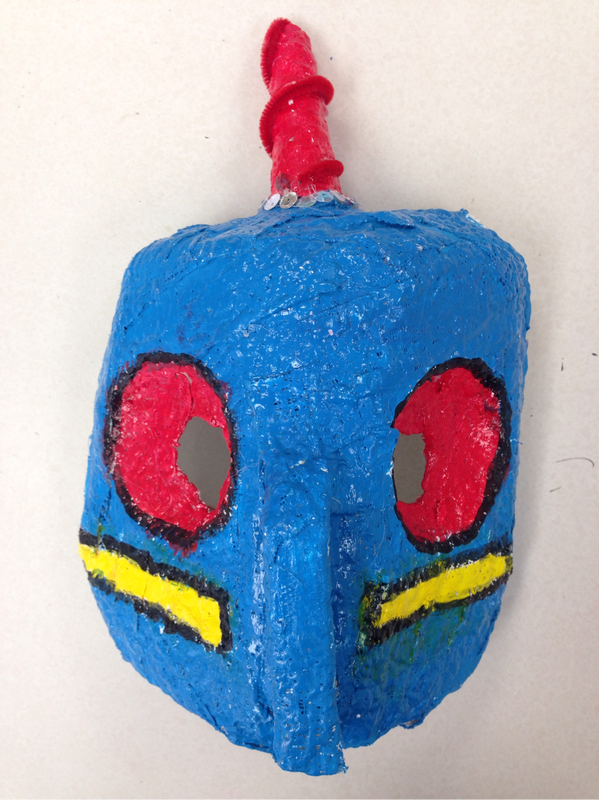
The kiddos were begging me to take them home. I like to show them off in the school first, but they have to wait all year long to get the rest of their artwork home (so I have work to share at art shows), so I finally obliged:)
 RSS Feed
