Another fabulous, much loved, highly-successful project from Cassie Stephens! She has very detailed instructions (including a short video!) for this project on her website. Check it out for more information!
|
Another fabulous, much loved, highly-successful project from Cassie Stephens! She has very detailed instructions (including a short video!) for this project on her website. Check it out for more information!
0 Comments
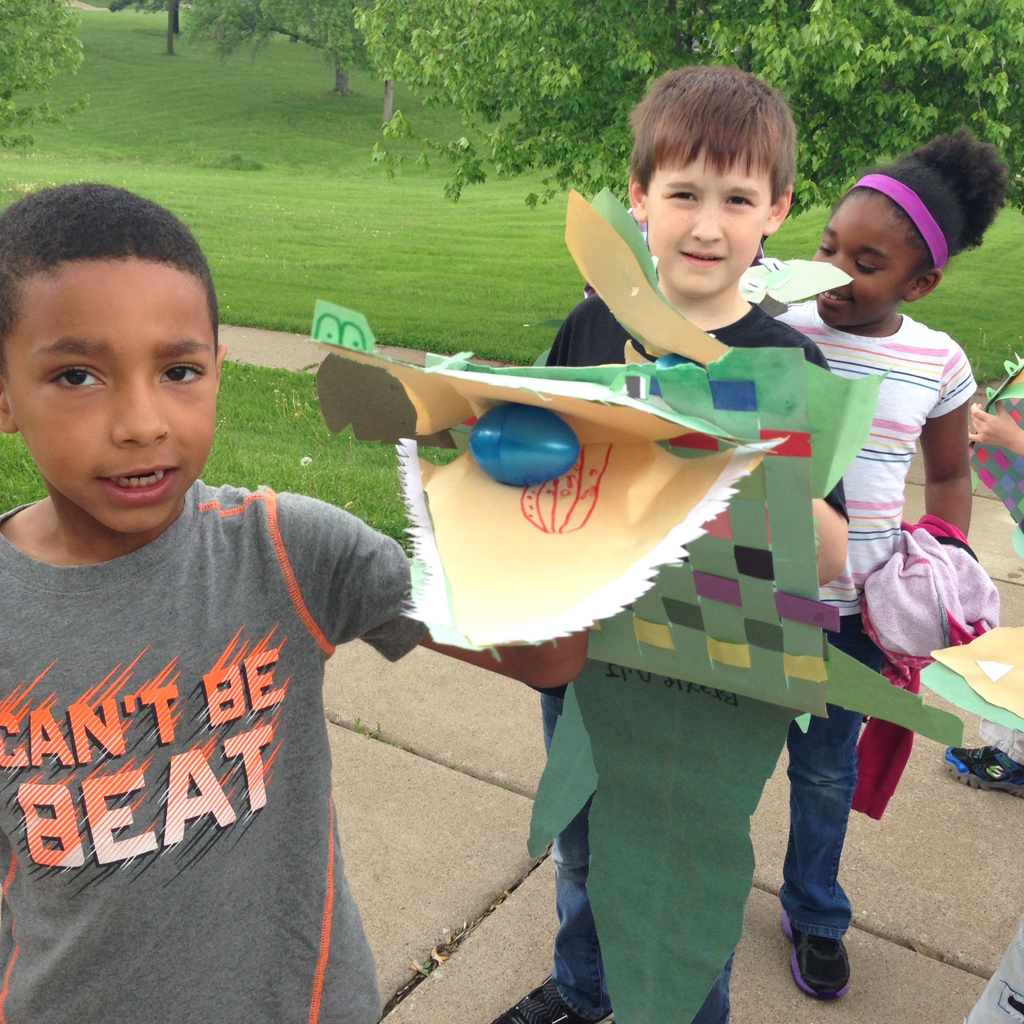
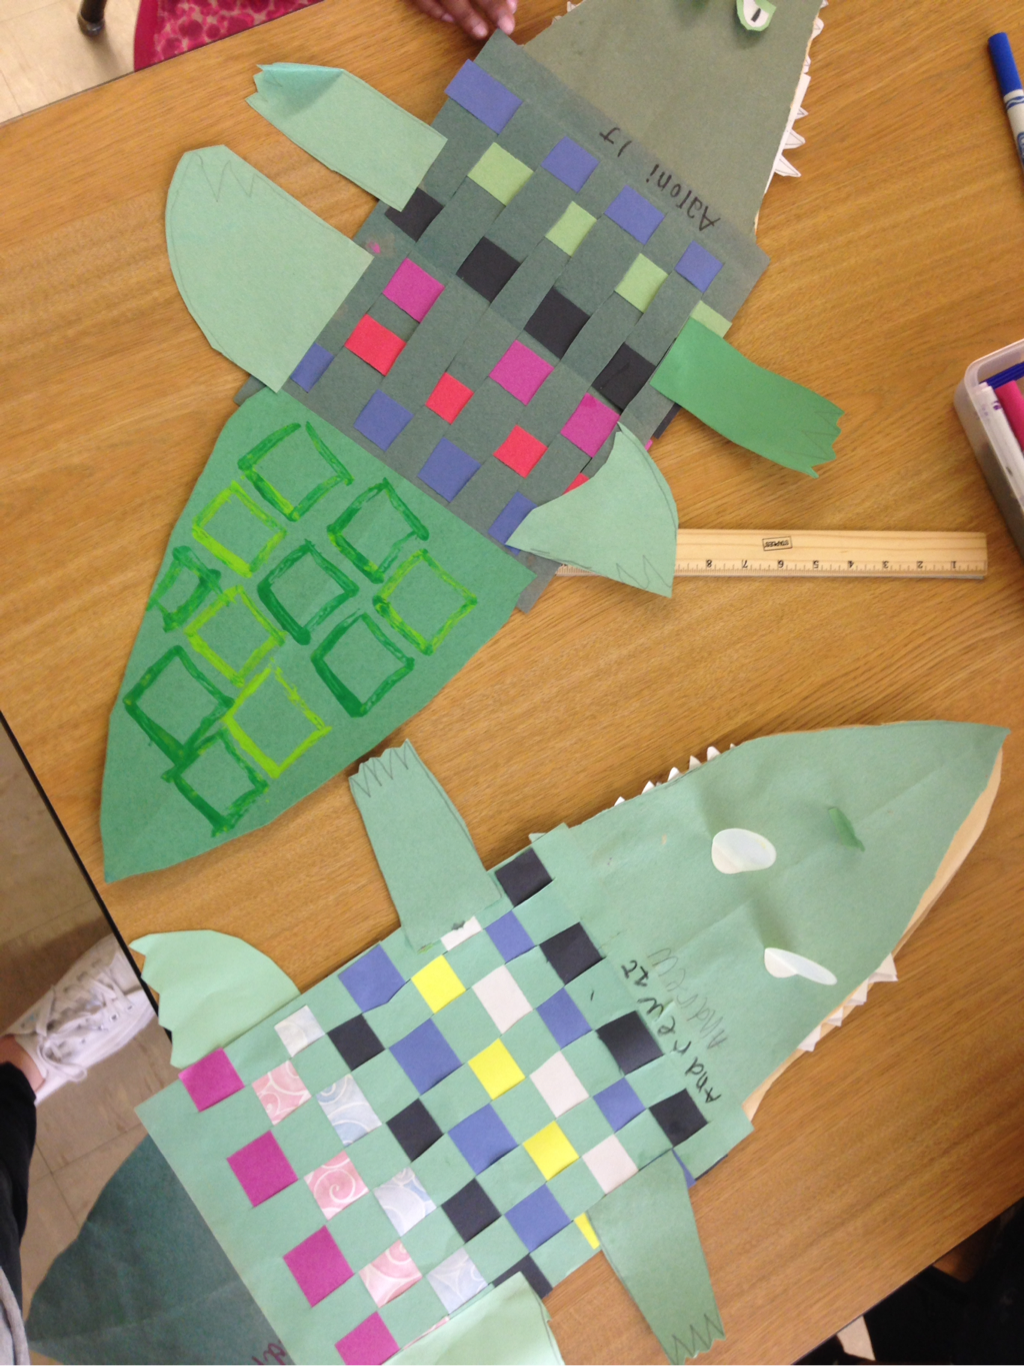
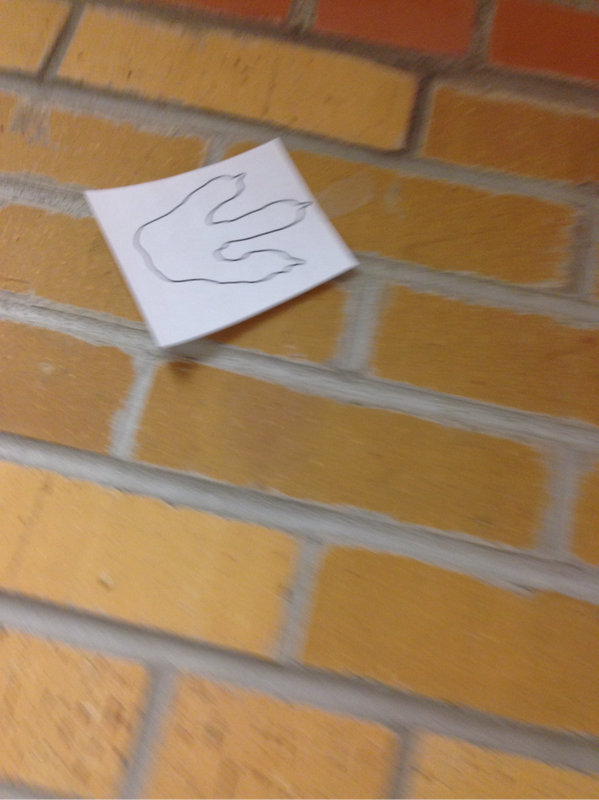
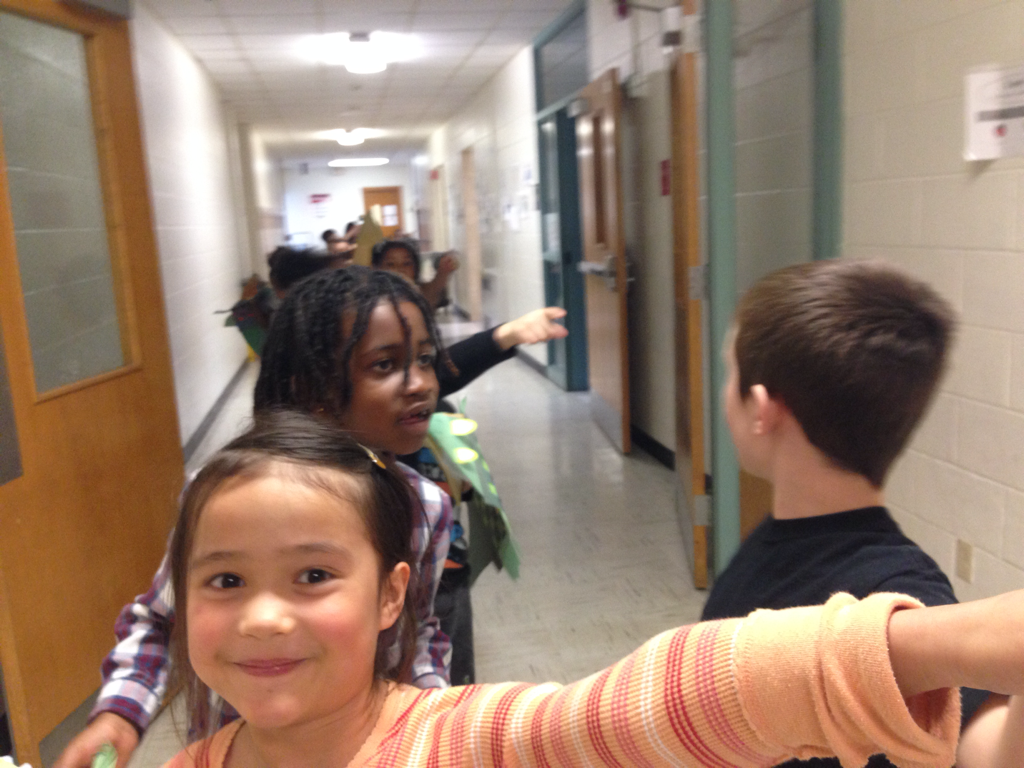
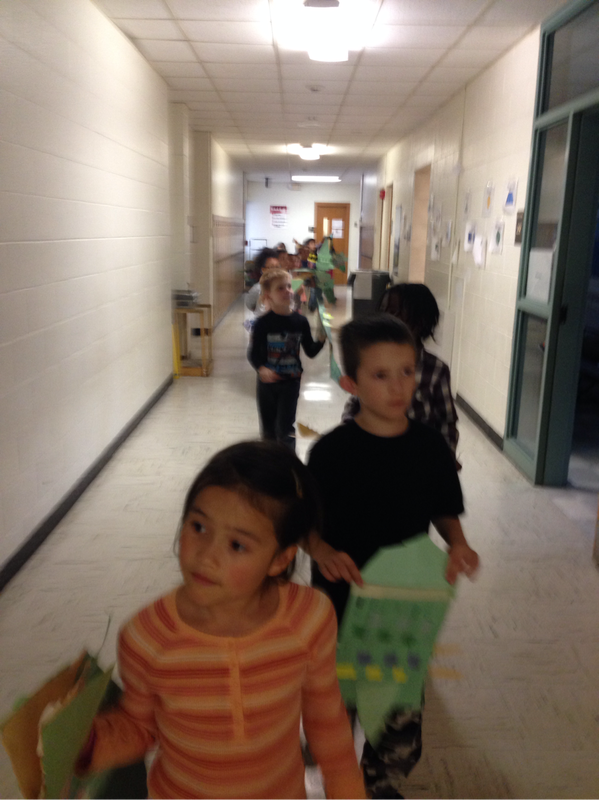
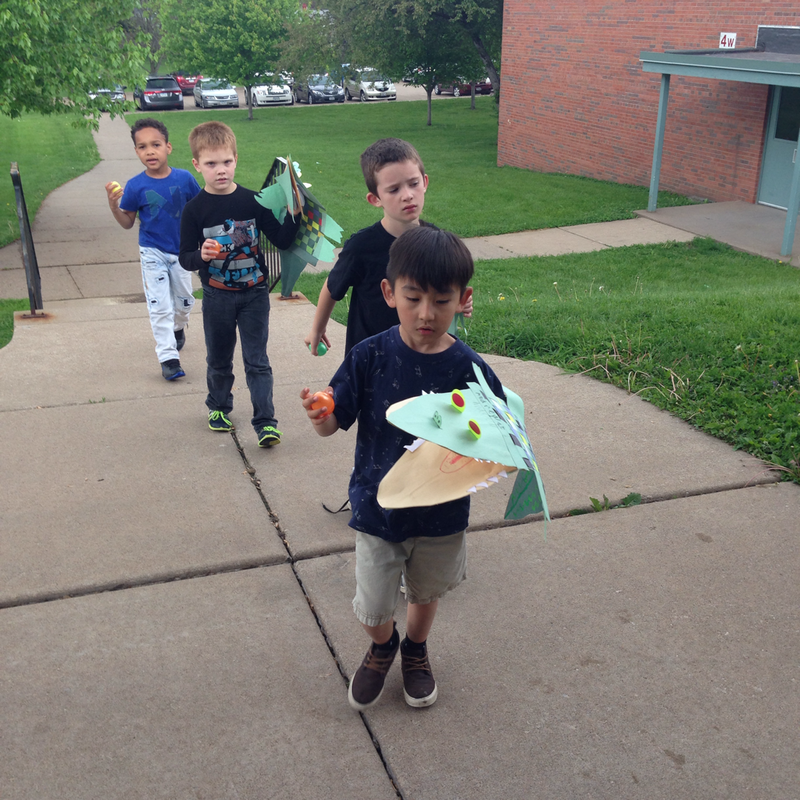
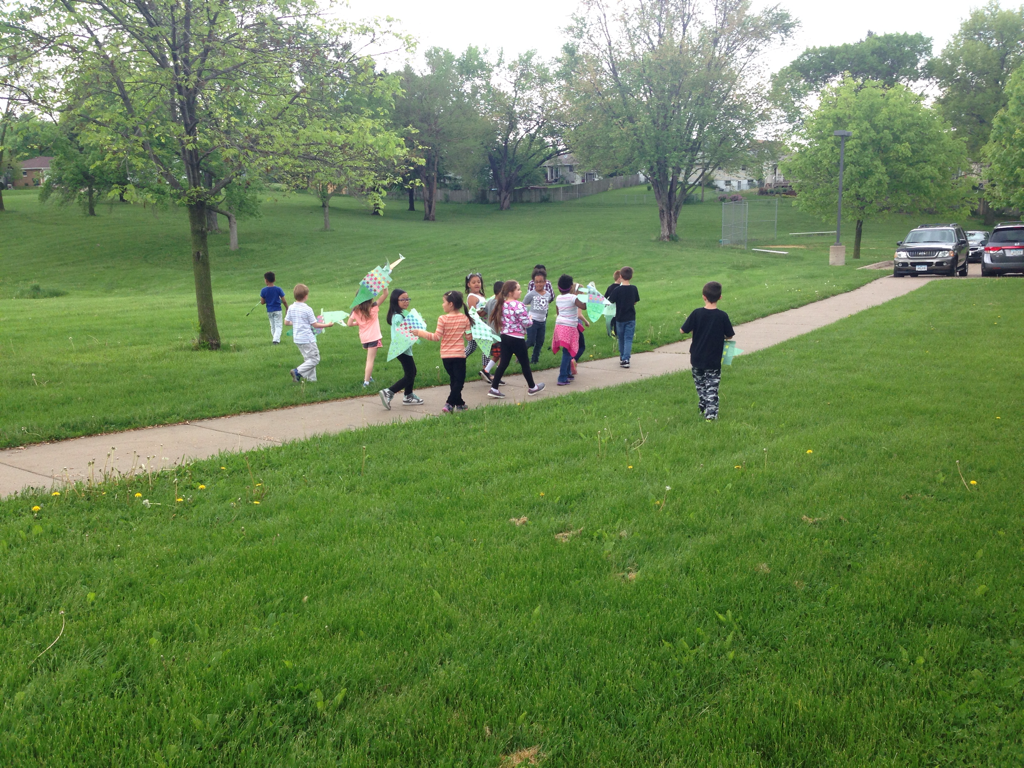
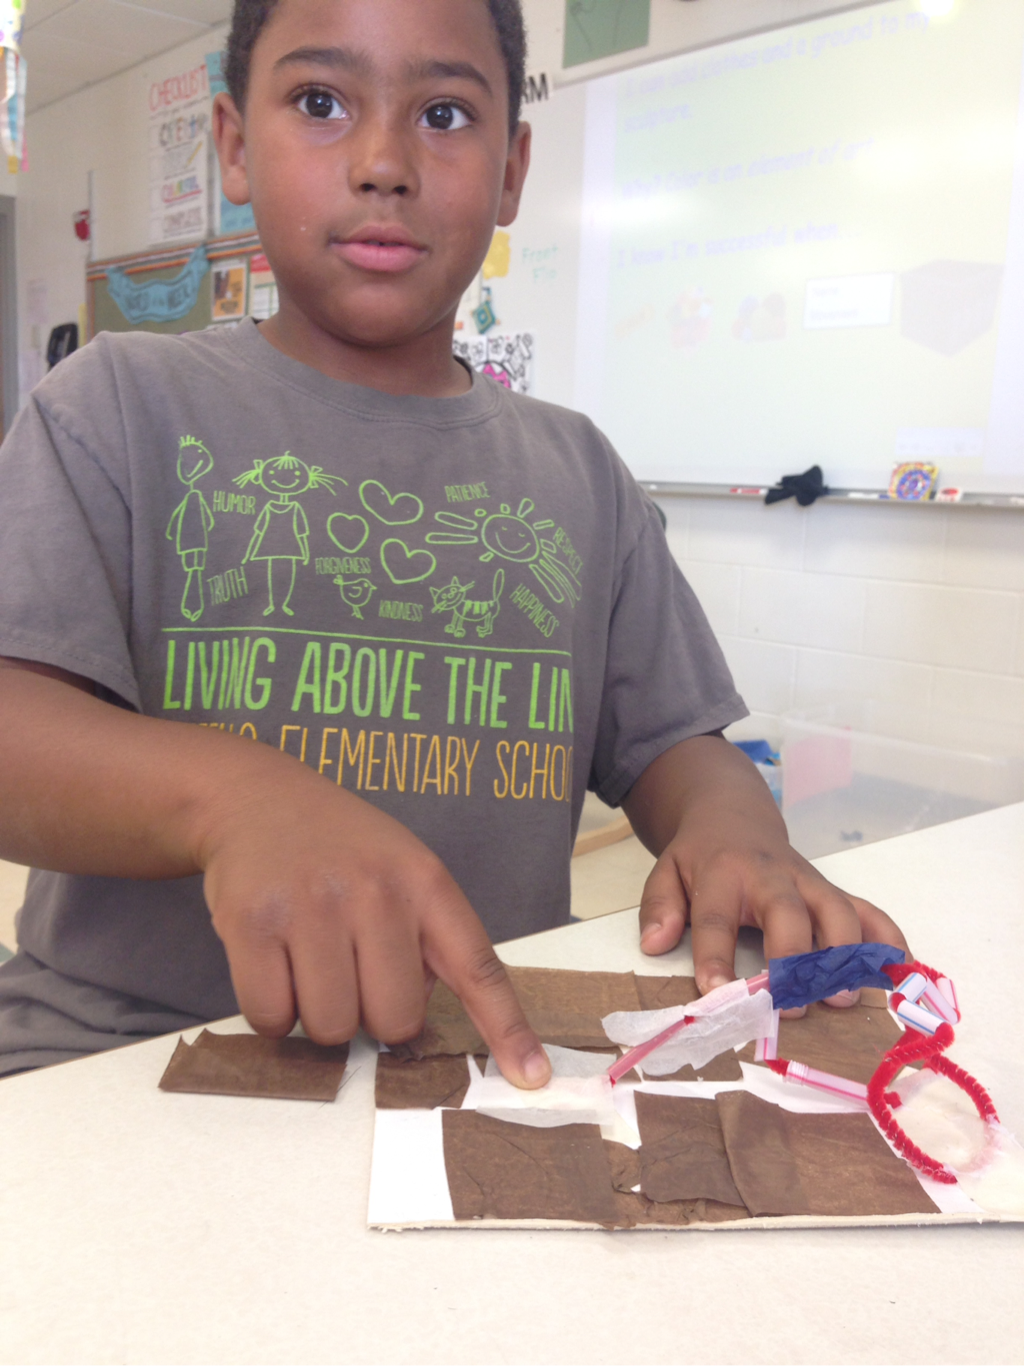
This fabulous project is from Cassie Stephens! We didn't have time to make these crocodile puppets at Buffalo Elementary, but we did at Wilson Elementary! This project packs in a lot of techniques: printmaking, weaving, folding (a difficult skill for youngsters!), cutting, and glueing. The best part is going on a crocodile hunt once the puppets are complete! Before art class, I print off reptile footprints, post them around the school, and throw a bunch of plaster easter eggs in a safe area outside of the school building. In class, I show a short video of a nile monitor eating and stealing eggs from a crocodile nest. Now we crocodiles have a mission: go find our eggs and return them to the nest! After review hallway expectations, we get our crocodile puppets on and silently follow the reptile footprints. This year the kids had a difficult time finding the easter eggs; it took some searching! There is always lots of squealing and shouting once one student finds an egg. Each student puts one egg in their mouth and we carry them back inside to drop them in the "nest".
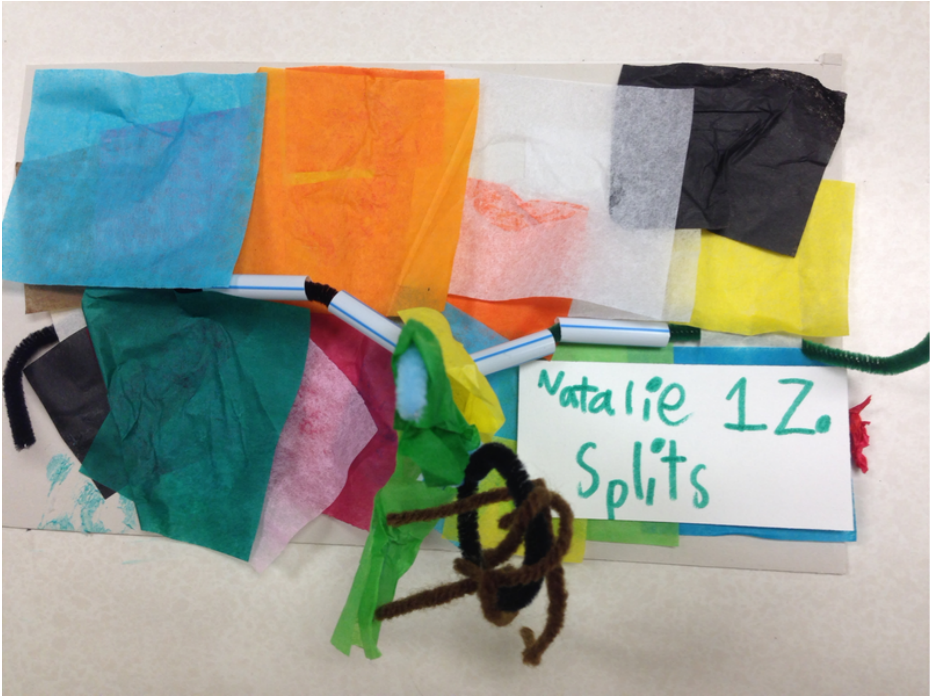
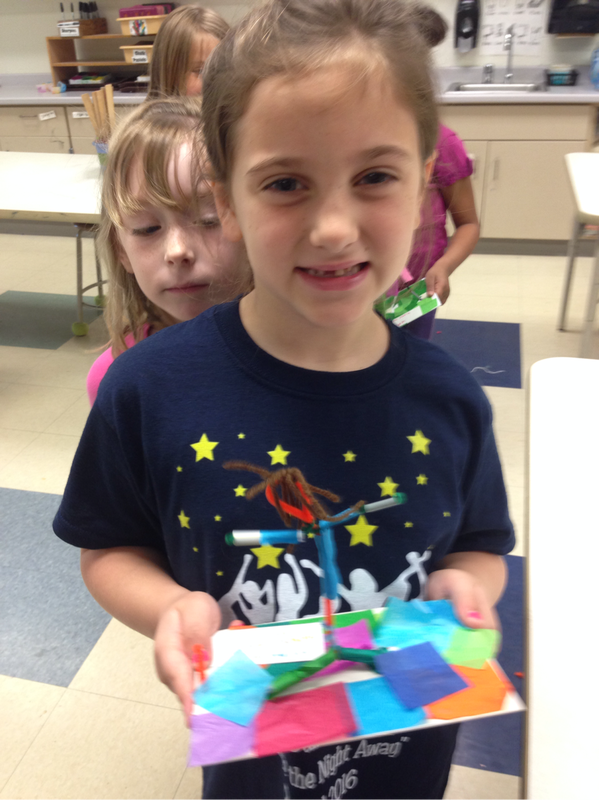
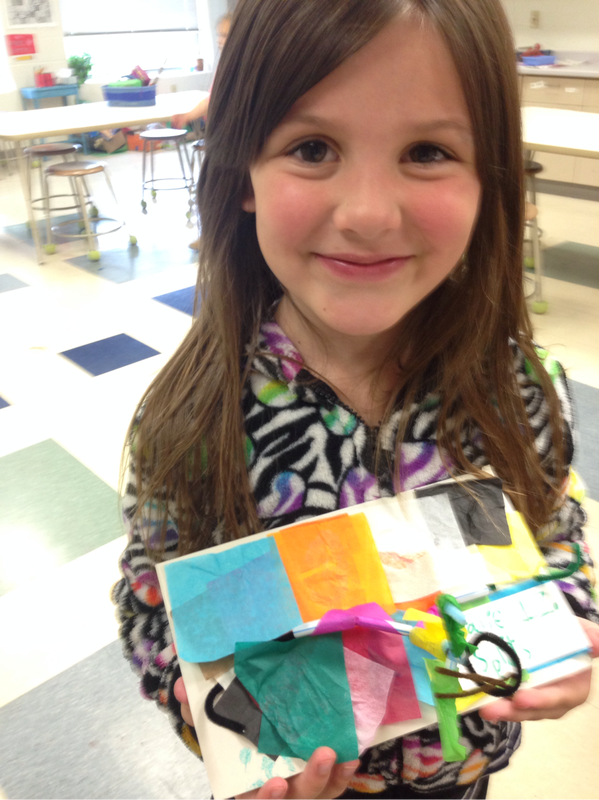
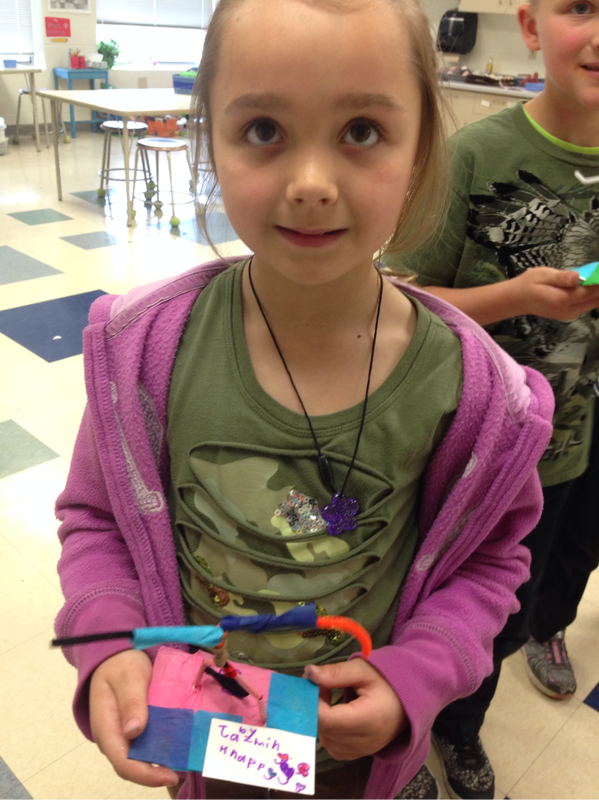
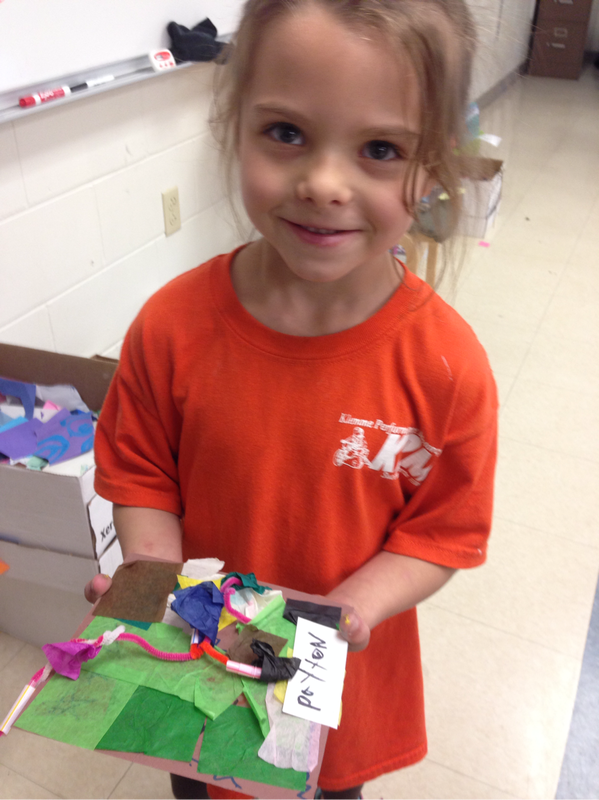
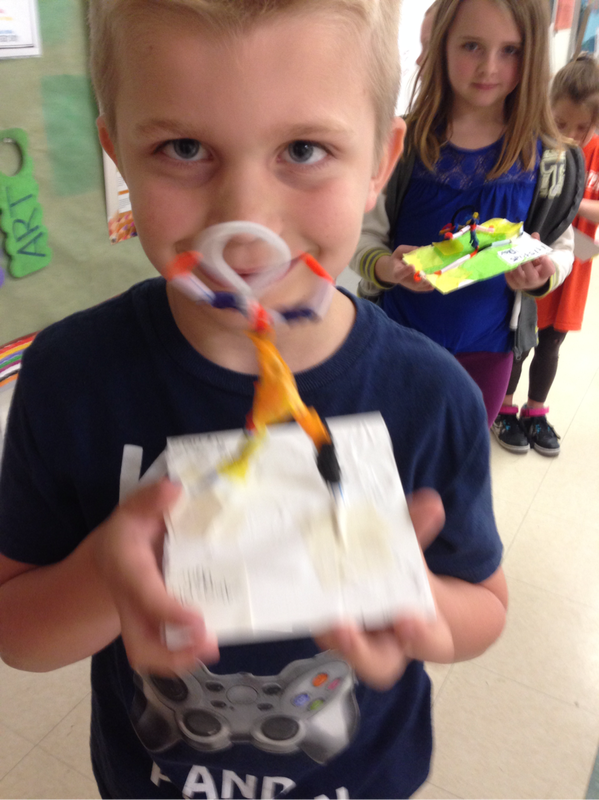
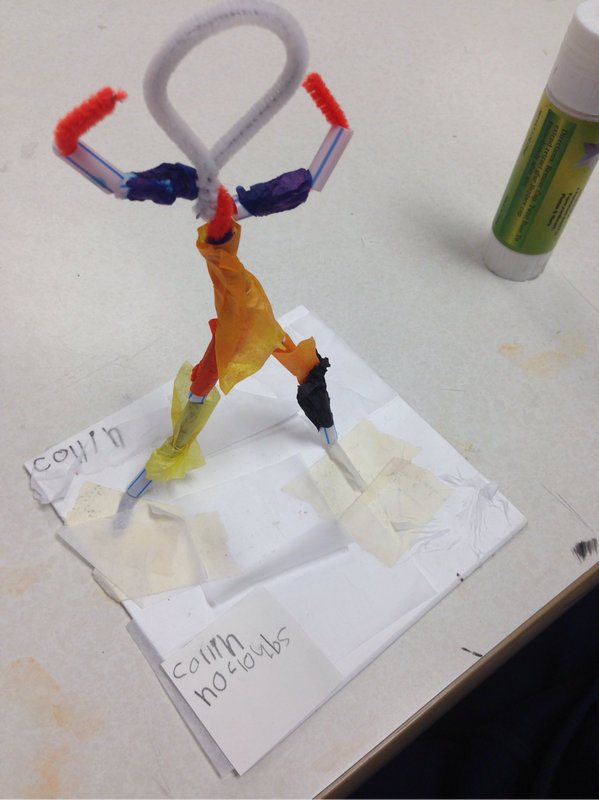
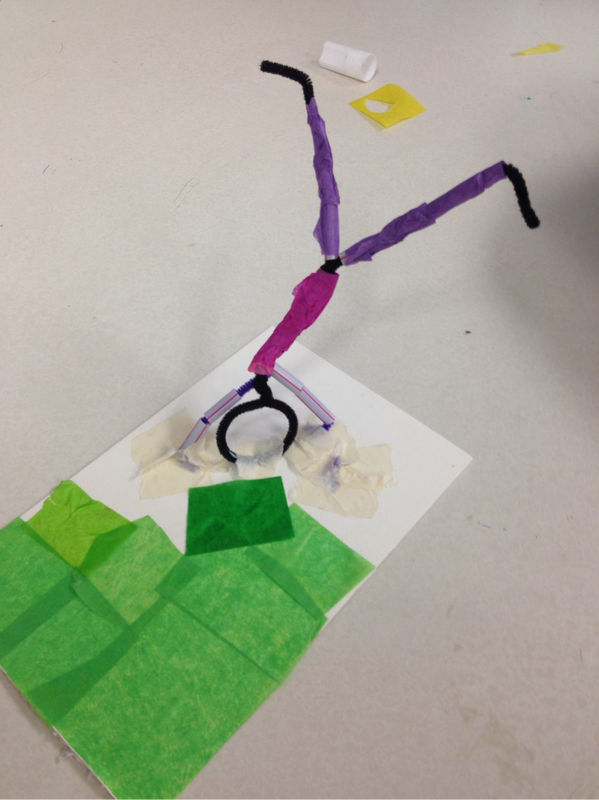
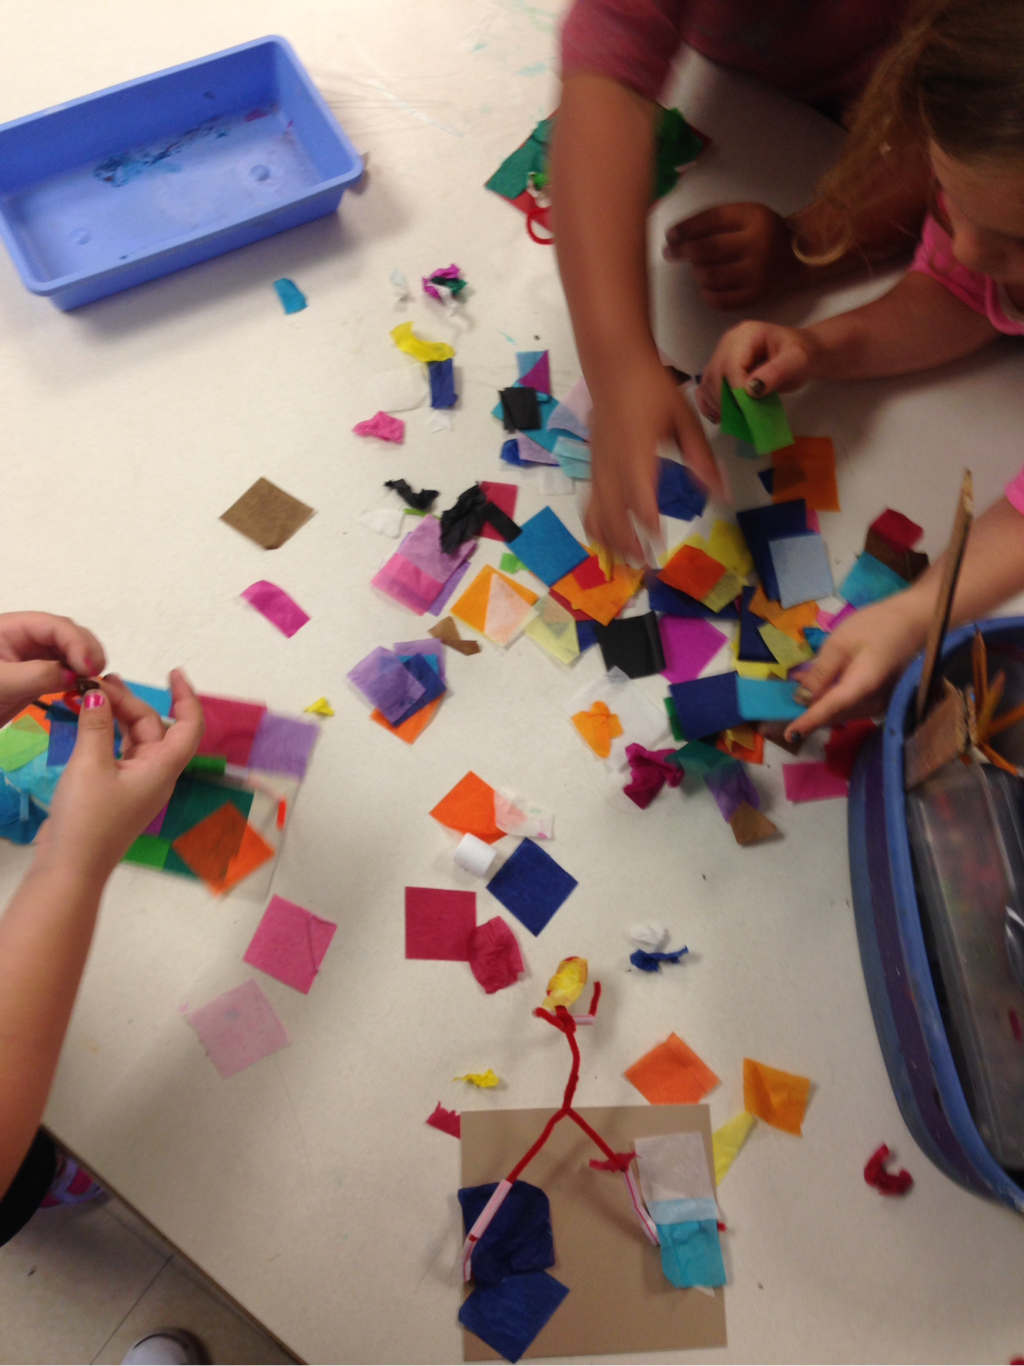
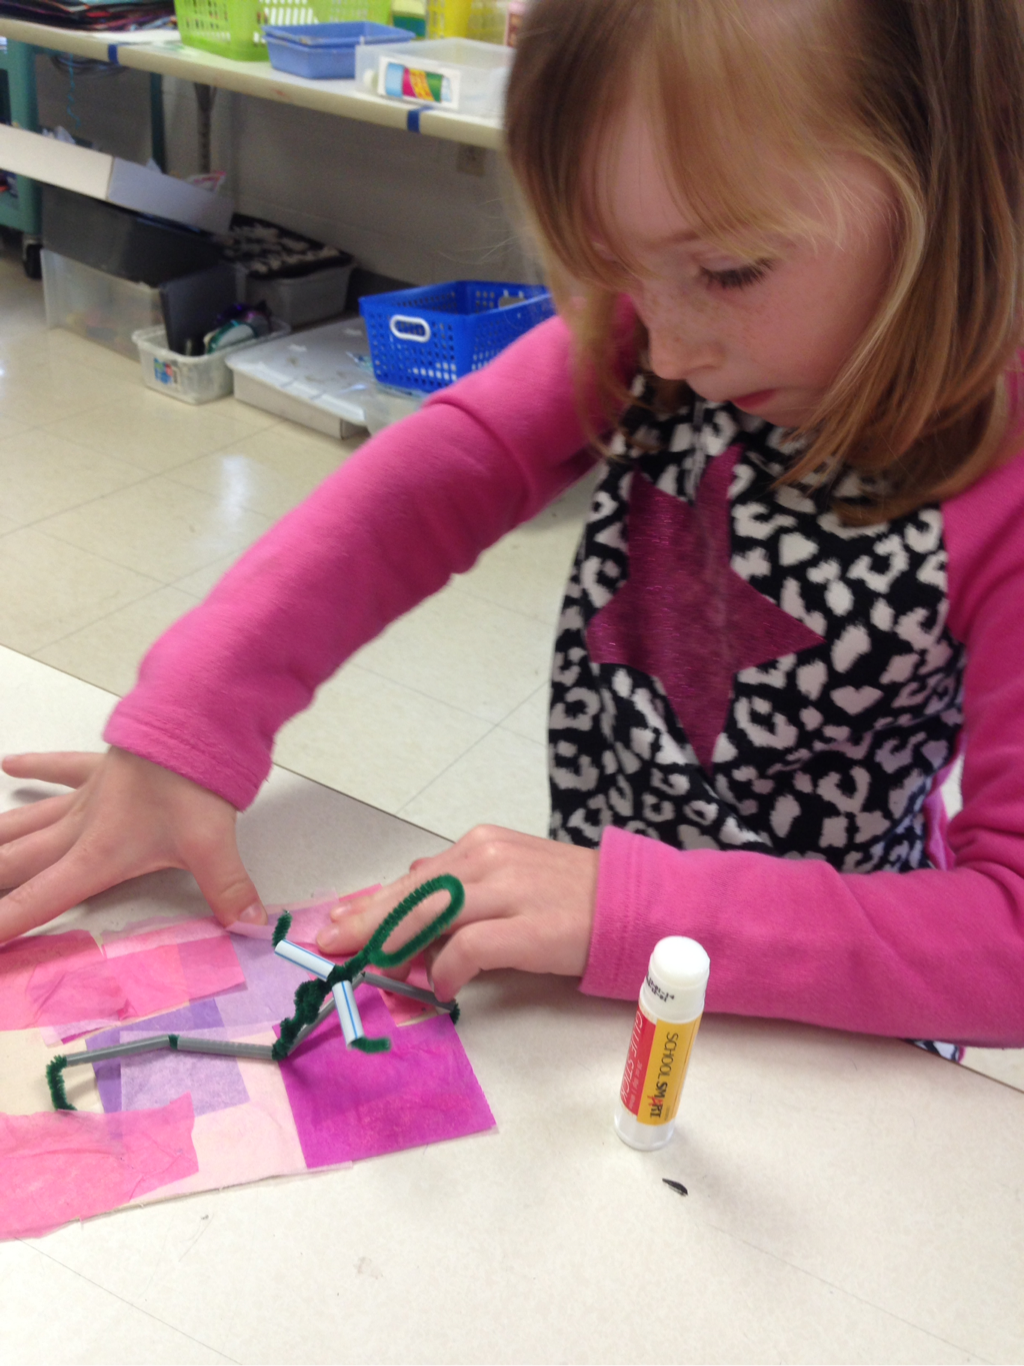
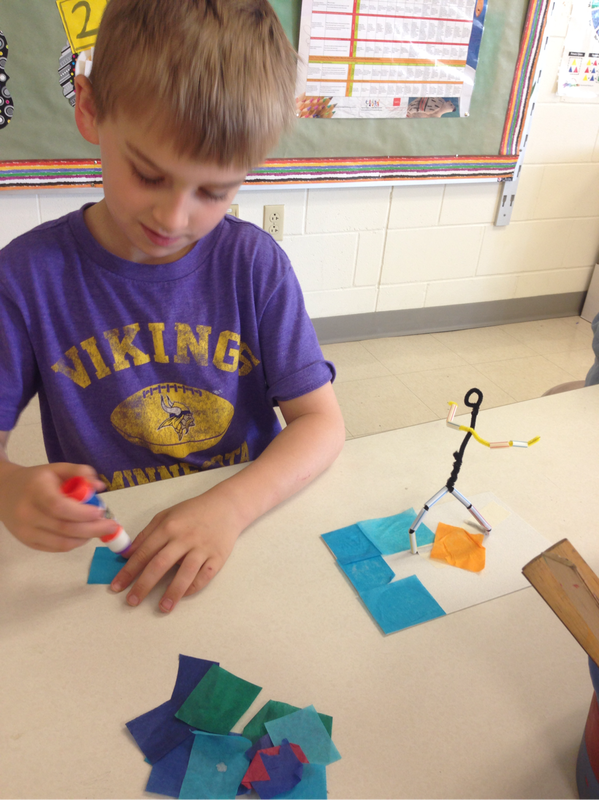
 This project is from Ann, the art teacher at Washington Elementary in Davenport. I spent an afternoon in her room a few weeks ago and saw her first grade students completing this project. She gave me the directions and we tried it out at Buffalo! I'd say it was a success. 1. Create the person using pipe cleanersWe used 1 whole and 2 halves to create our person. Ms. Zinn's class was so excited about this project that they clapped after each step! 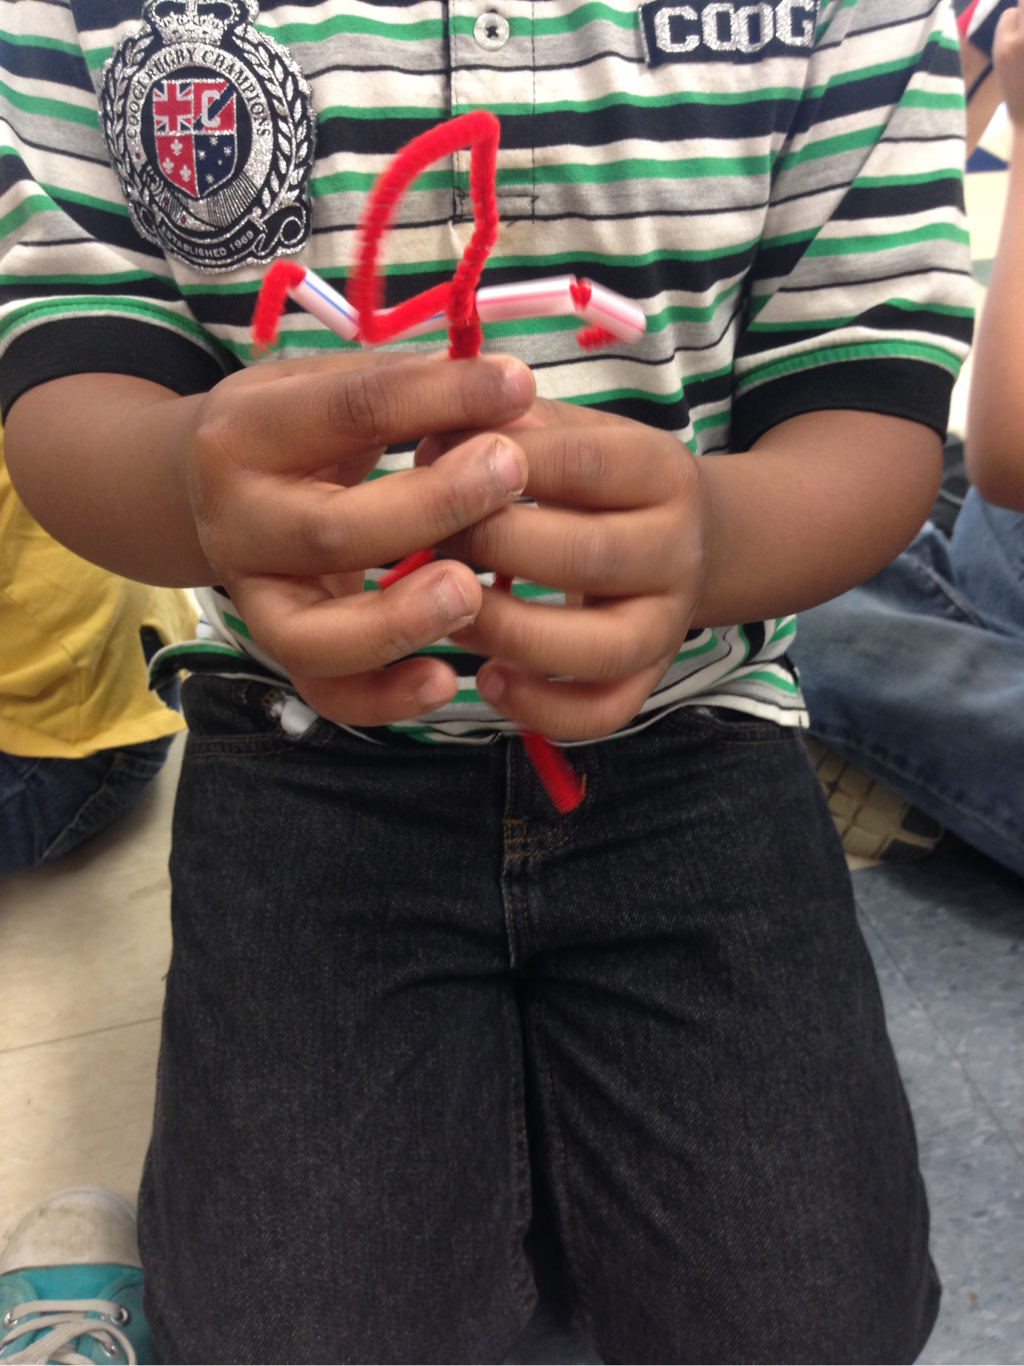 2. Make our person stronger with strawsWe talked about how our bones make our body stronger. In this case, we used straws. 2 on each arm; 2 on each leg. A joint was created in between the two straws. 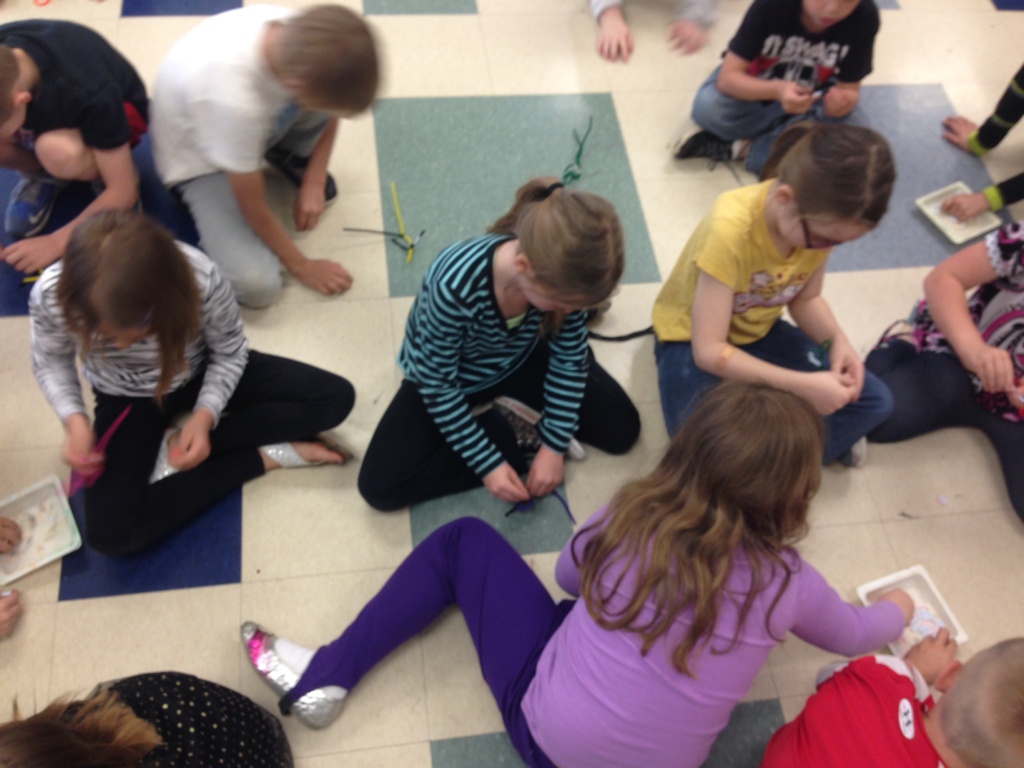 3. Choose a movementRunning, dancing, handstand, karate, surfing...these are just a few examples of the creative movements these artists thought of. Once they chose their movement, they taped it down on a piece of cardboard. 4. Add colorI cut squares of tissue paper and the students glued them to the "floor" and also added clothes. 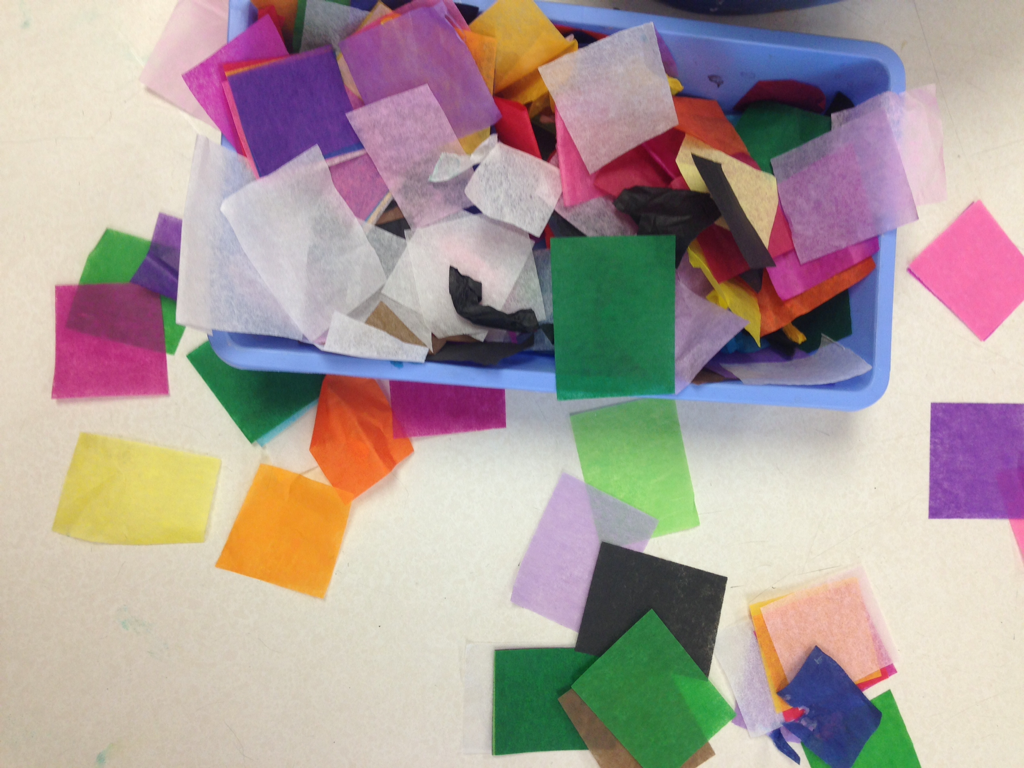
5. Add hair and a labelHair was optional. If students wanted to tie some yarn on the head to make some crazy hair (or for any other purpose), they could. Everyone was required to label their sculpture with their name and movement. 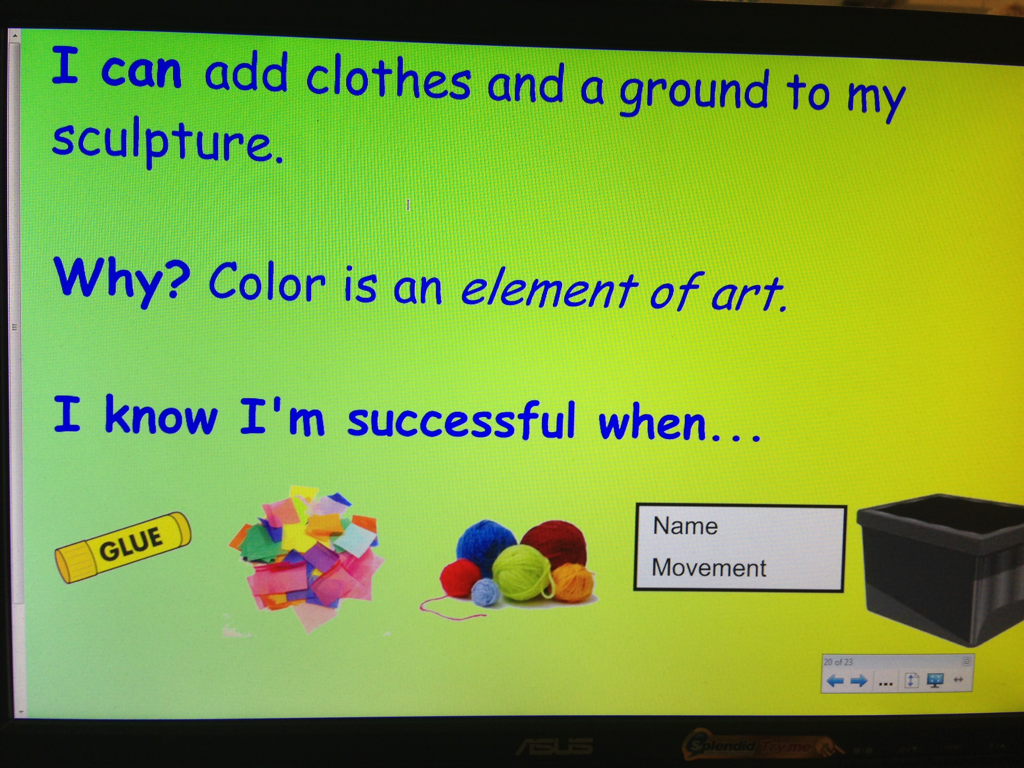
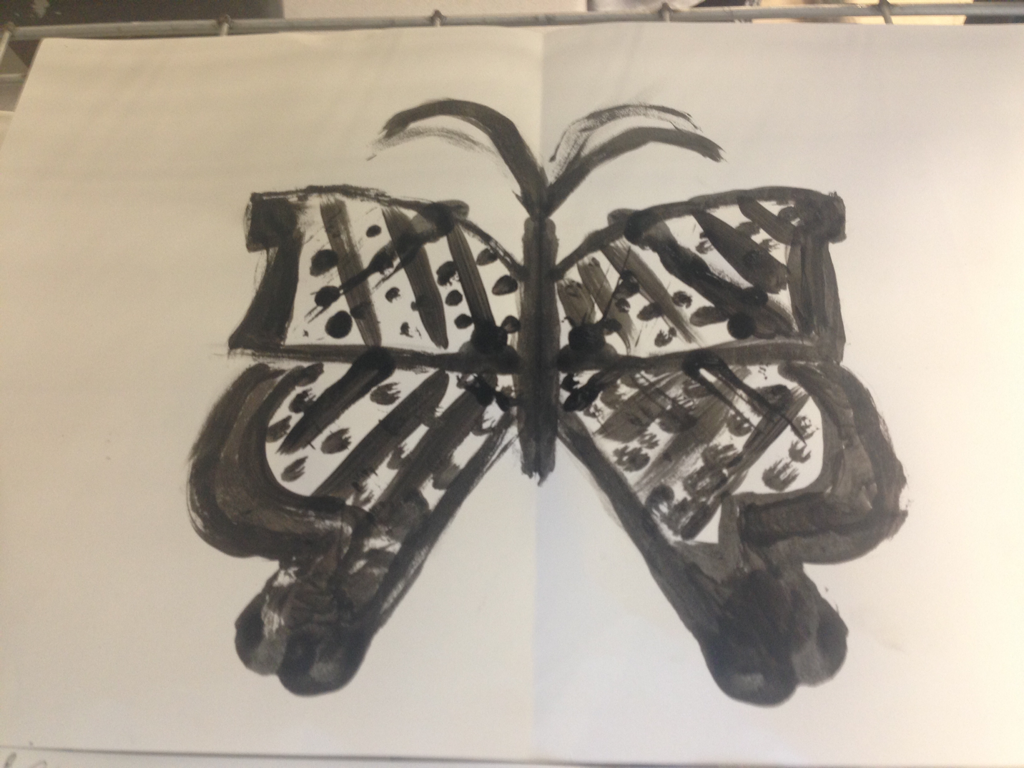
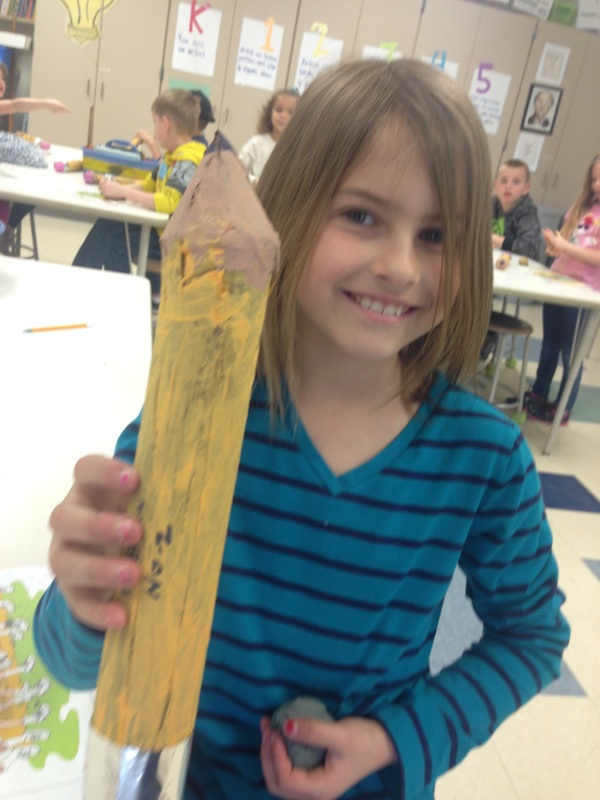
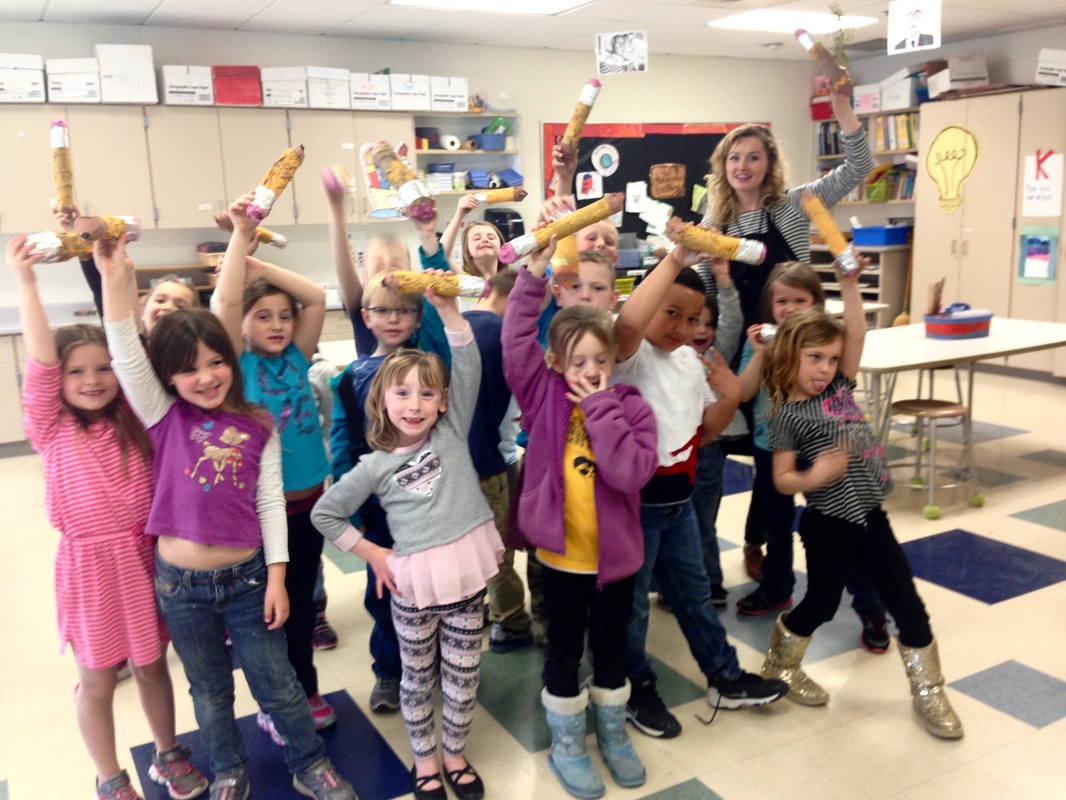
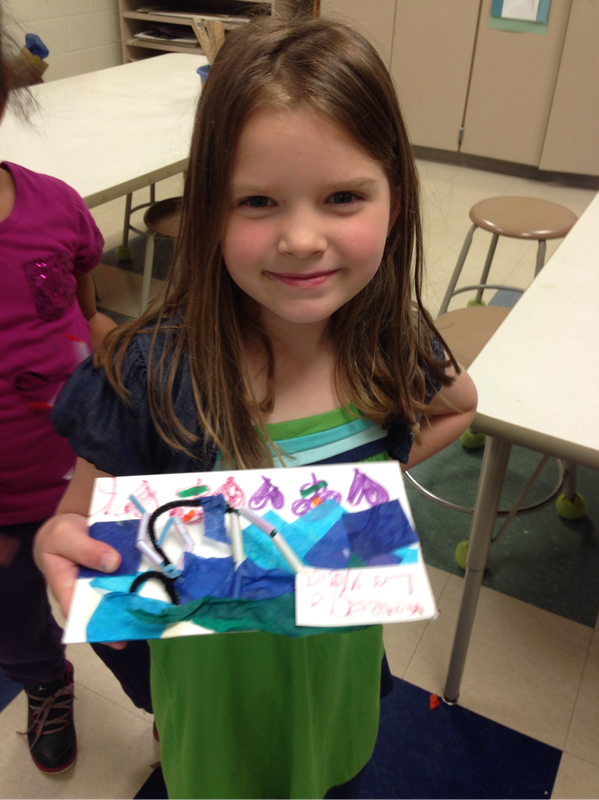
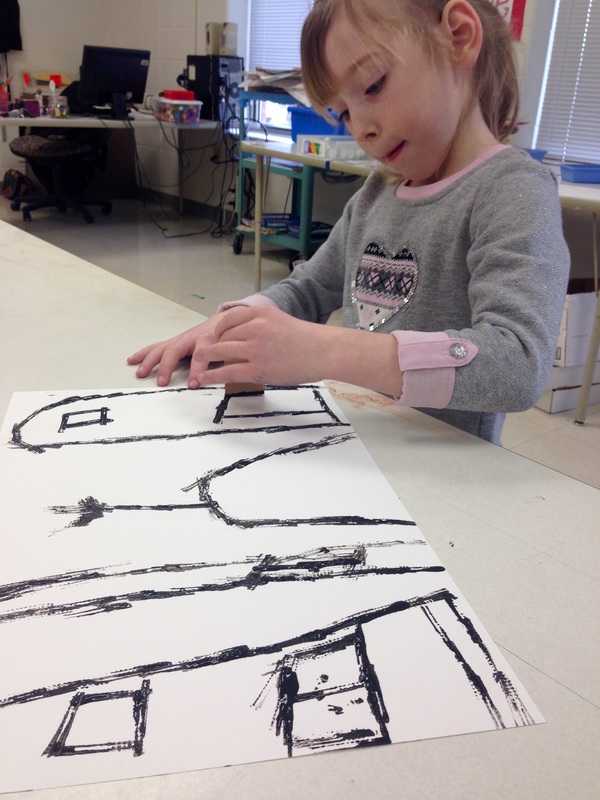
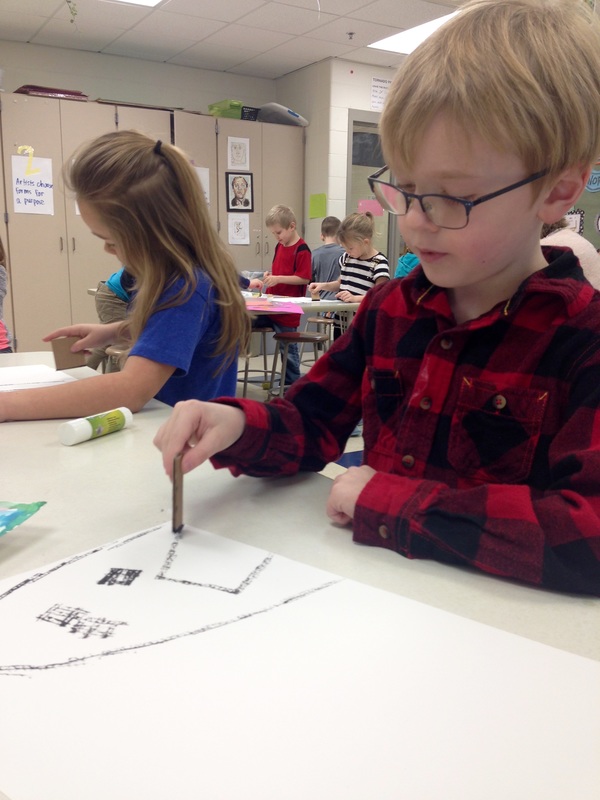
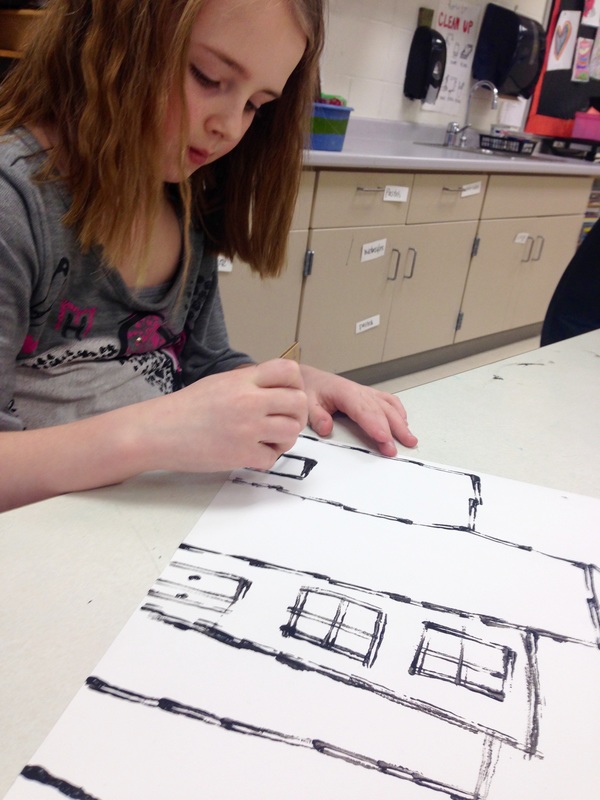
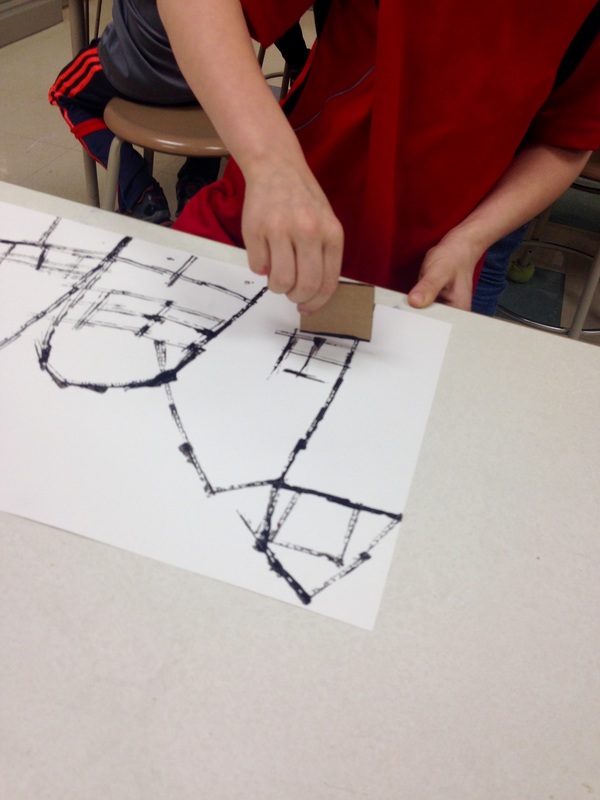
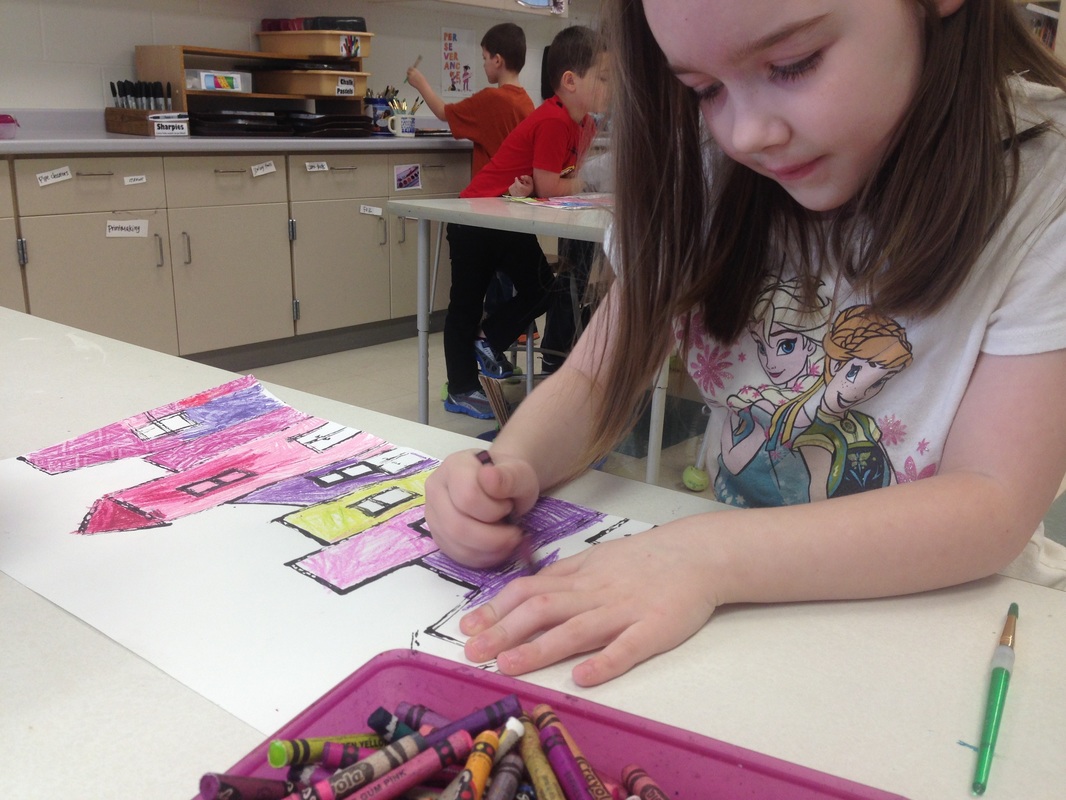
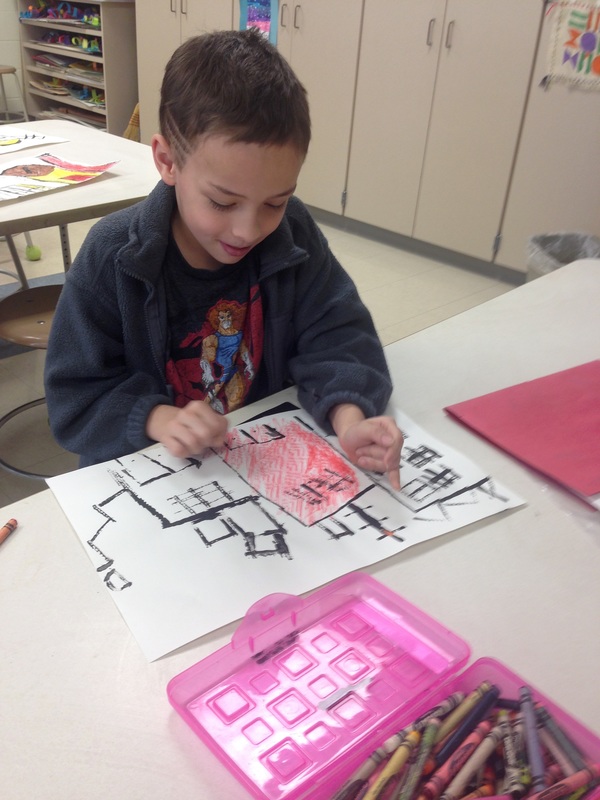
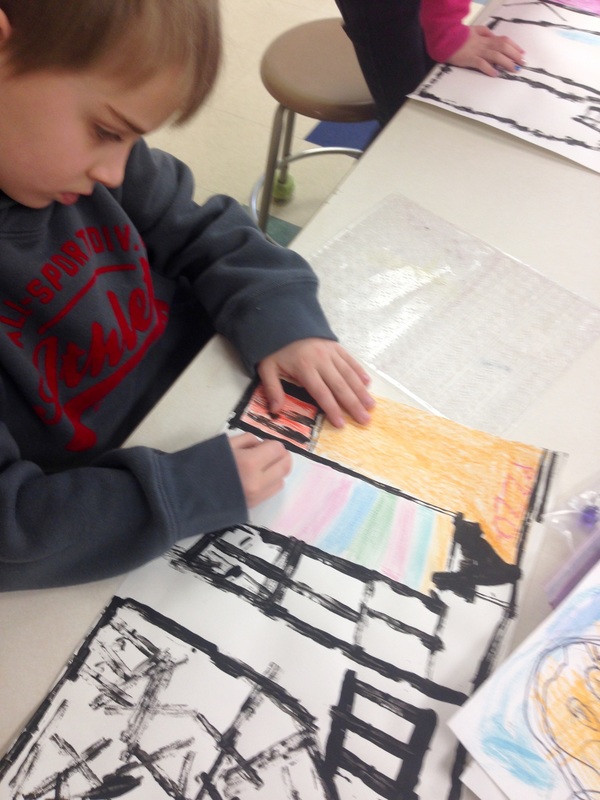
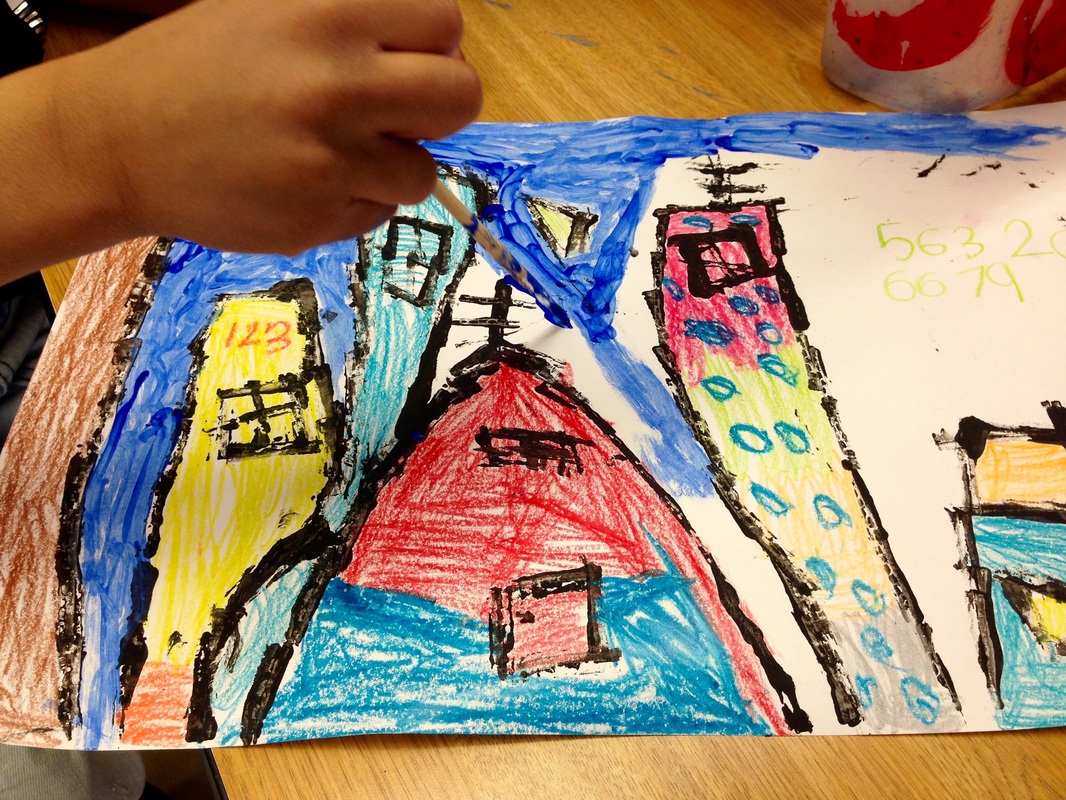
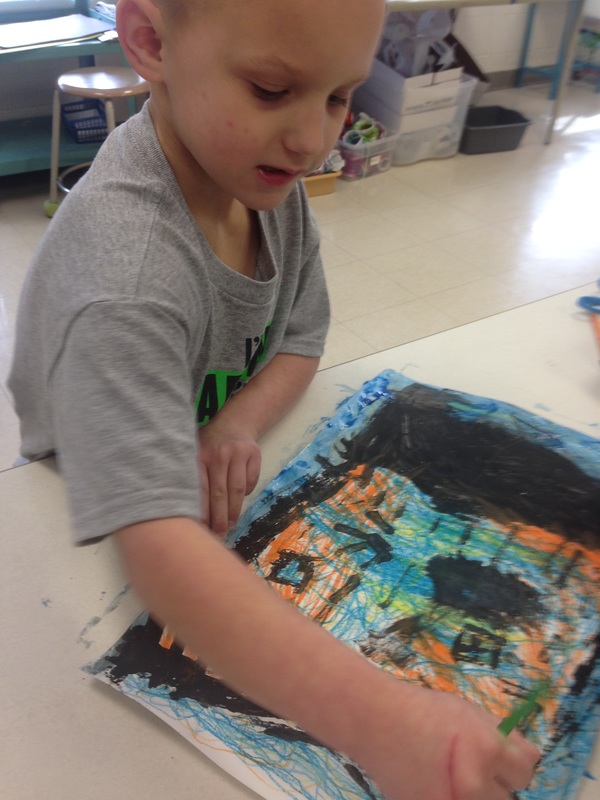
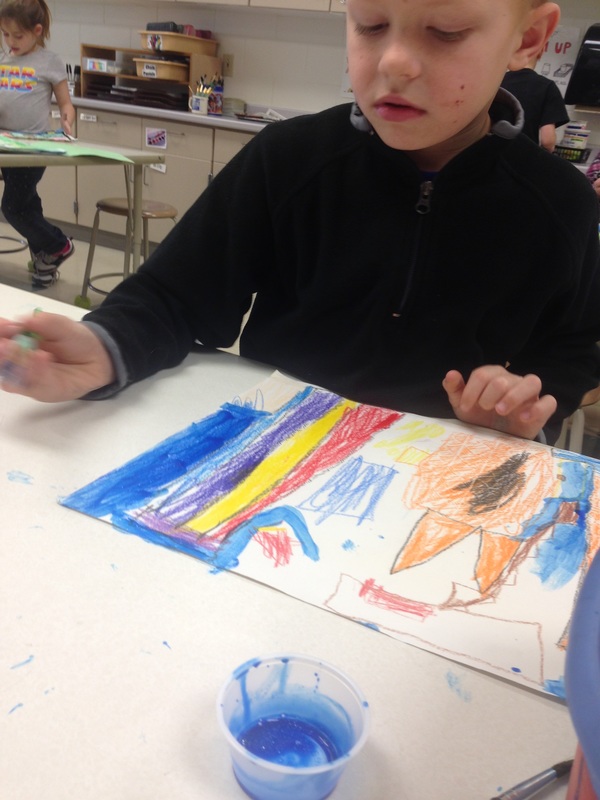
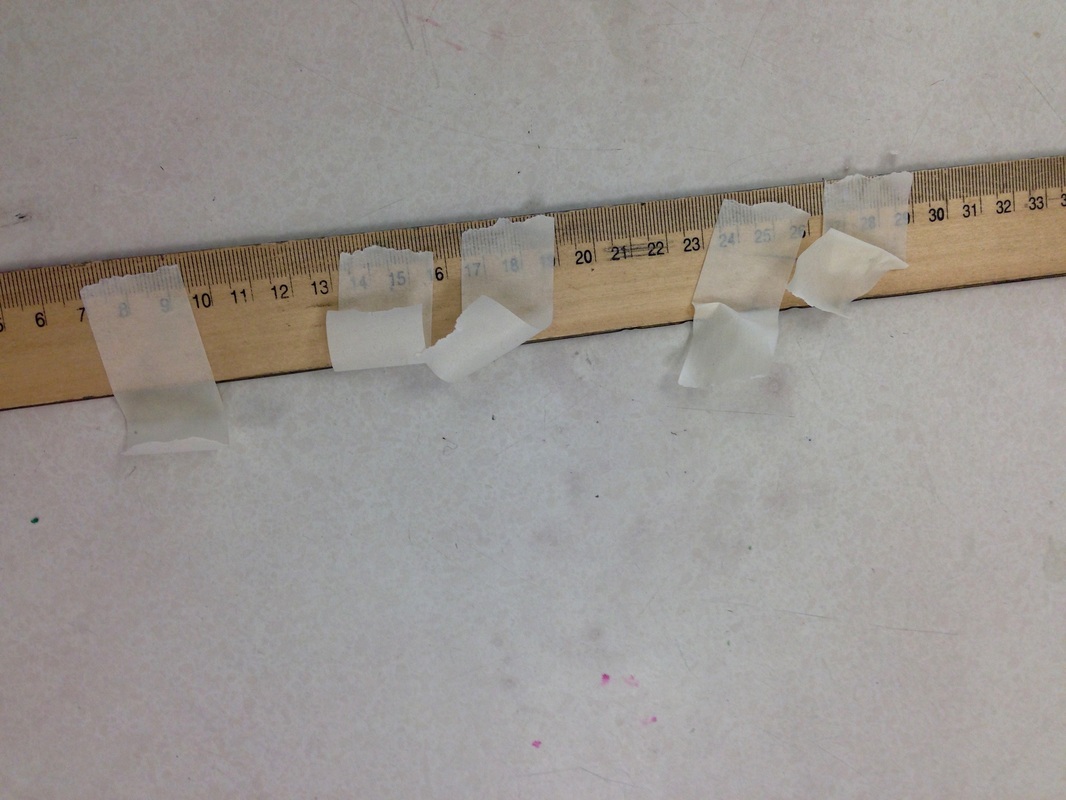
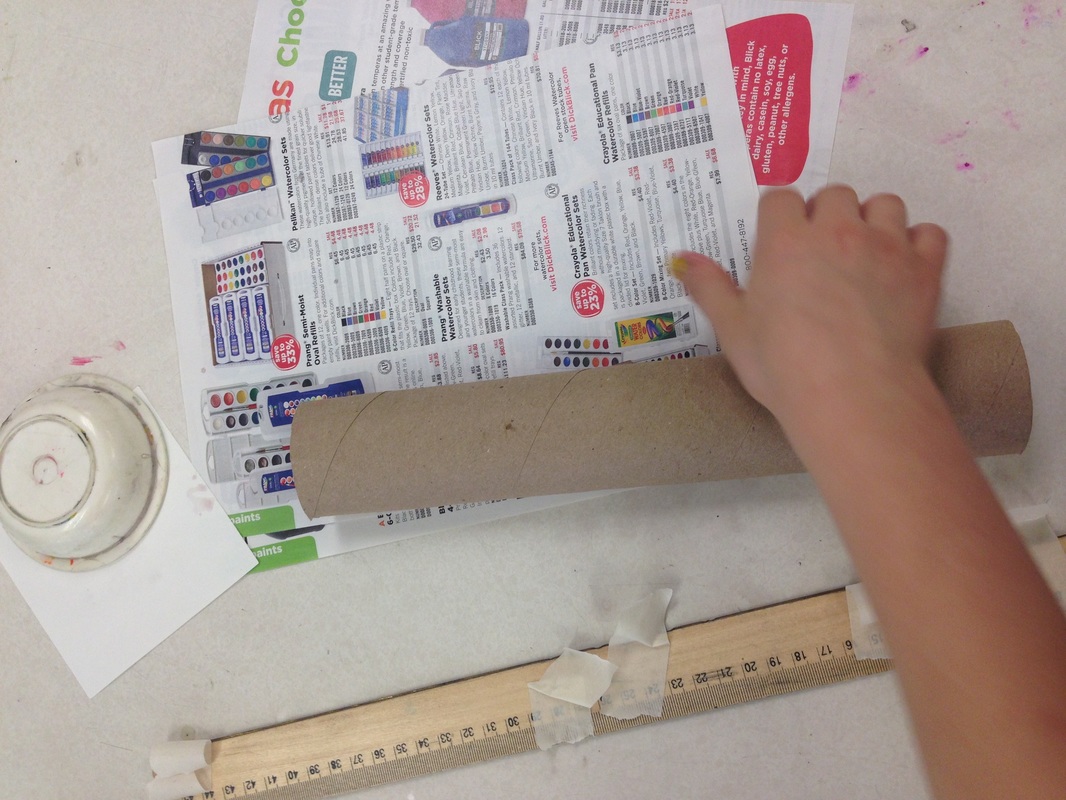
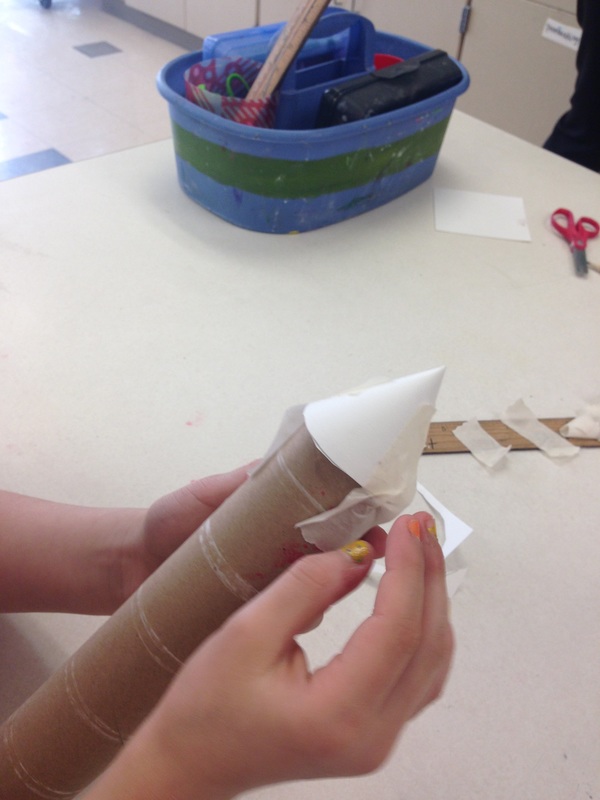
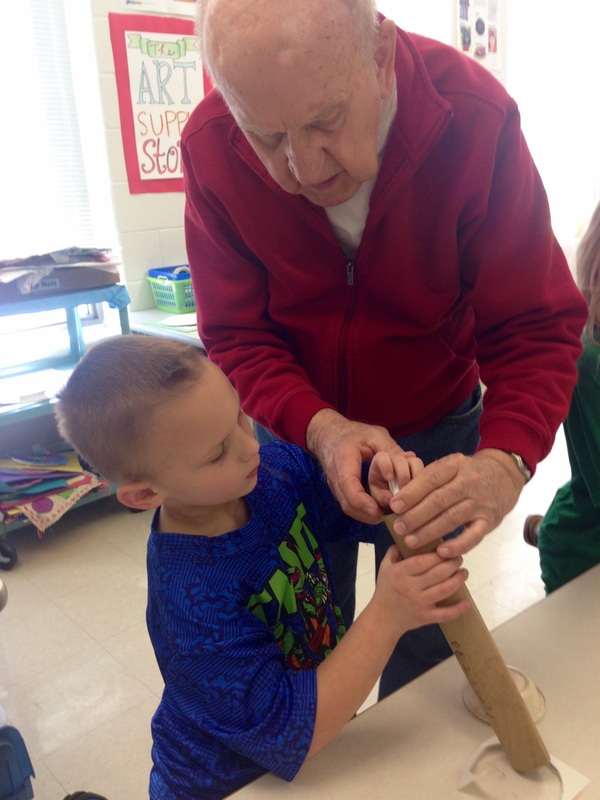
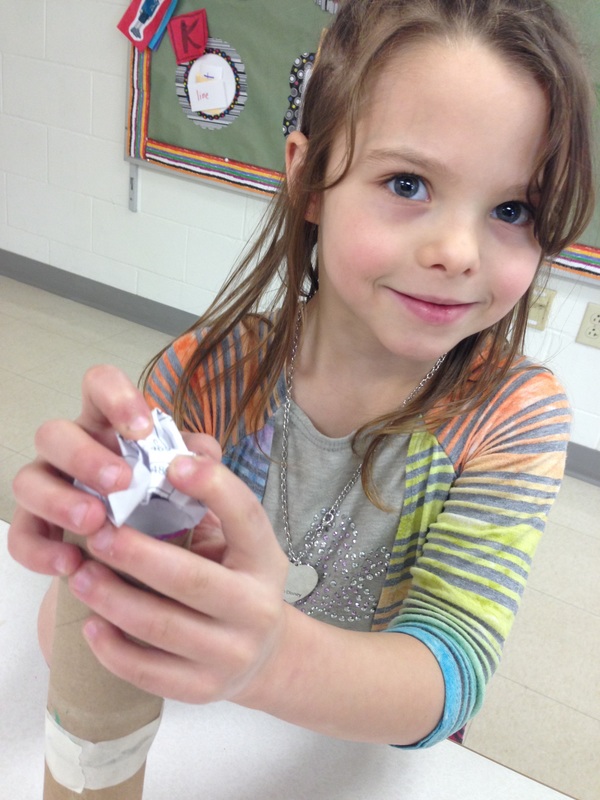
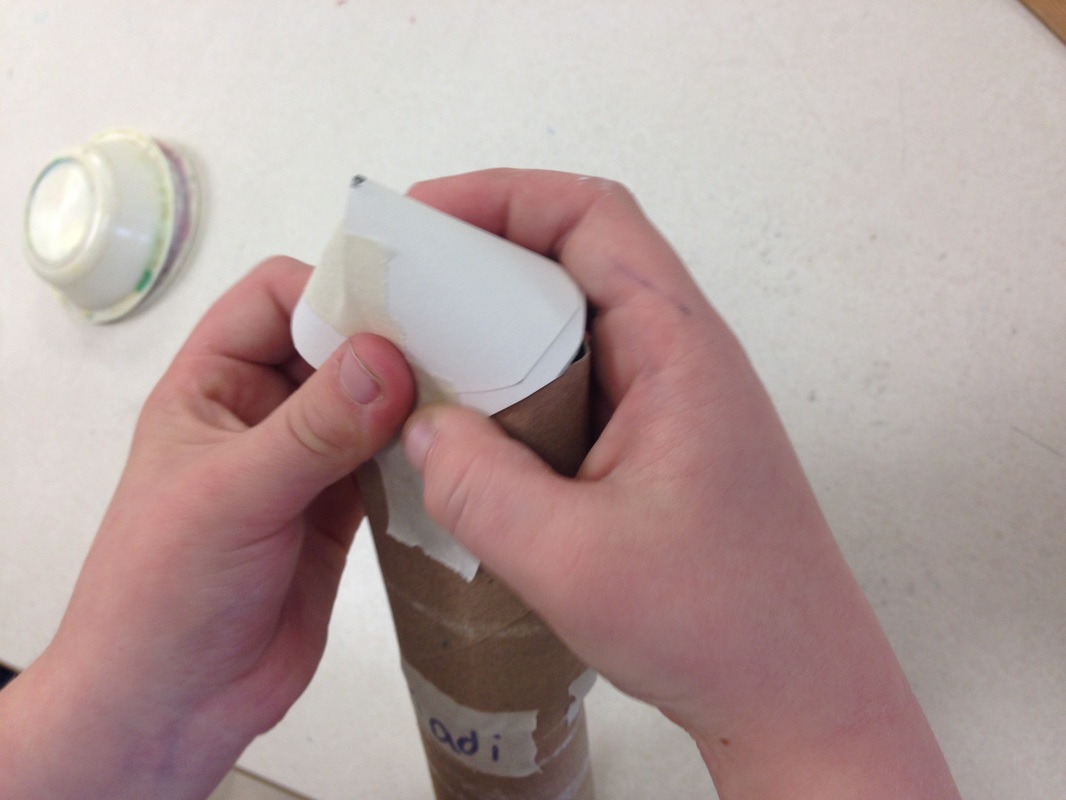
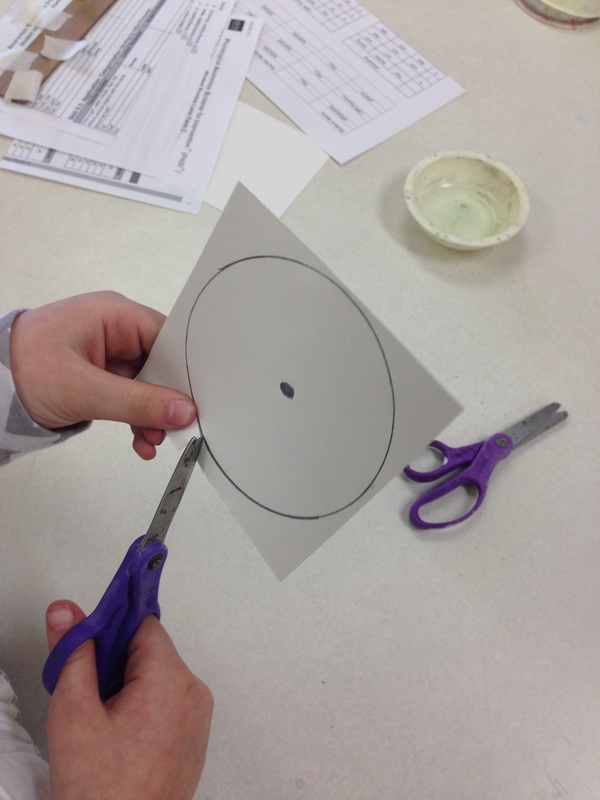
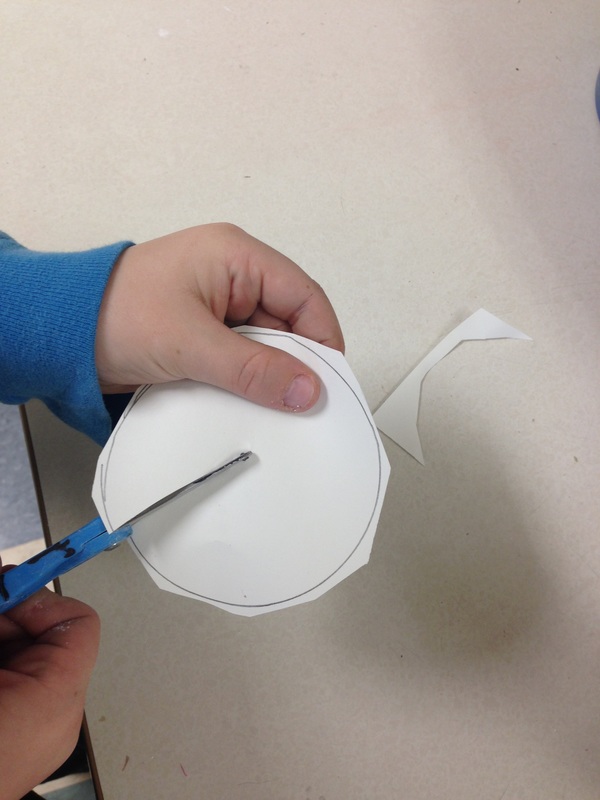
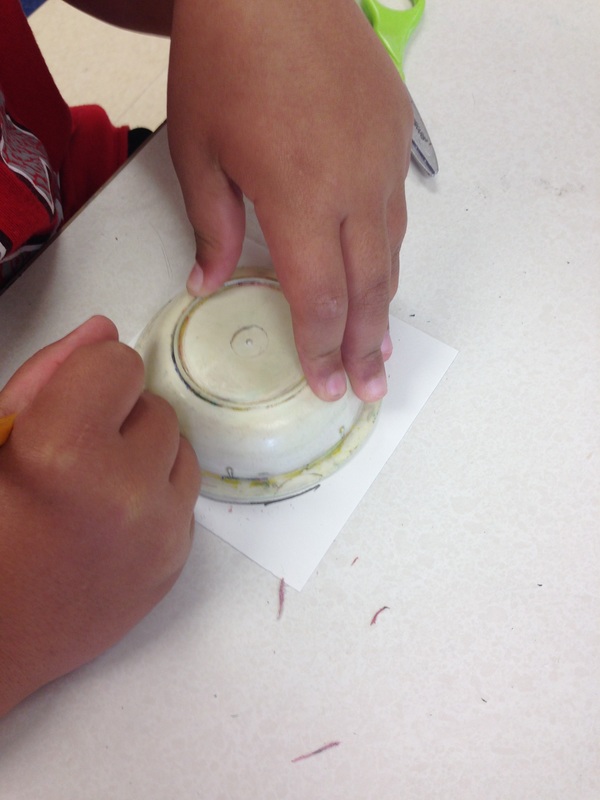
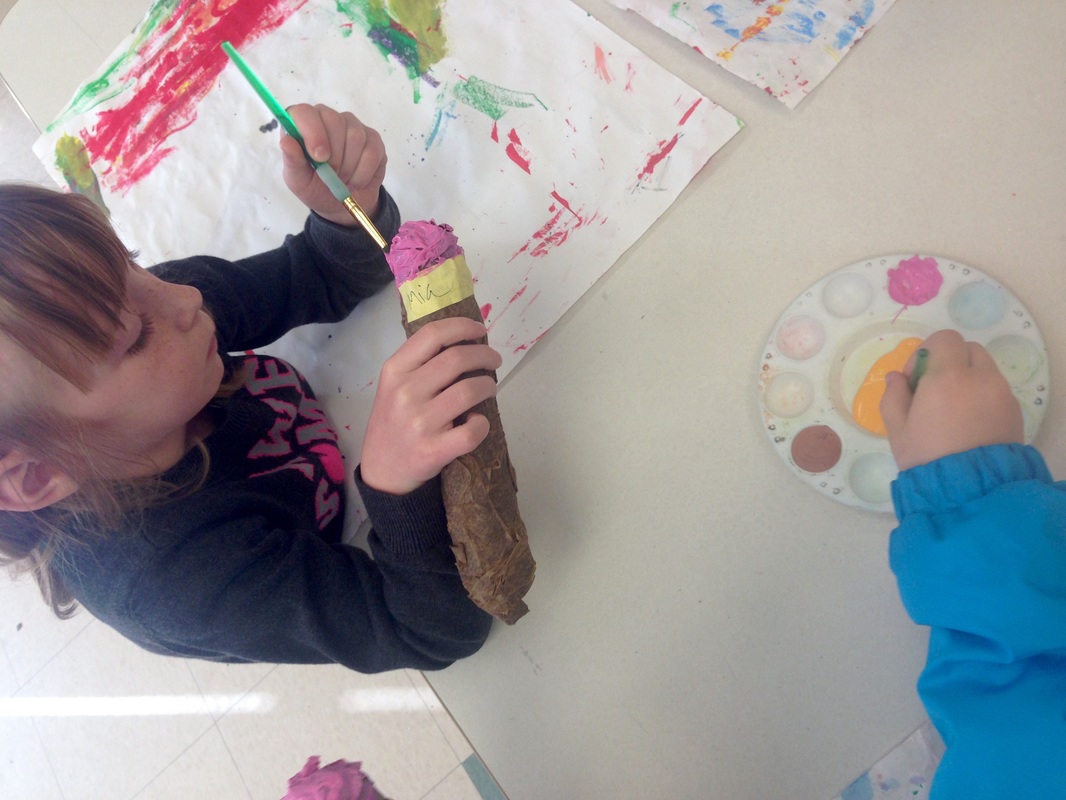
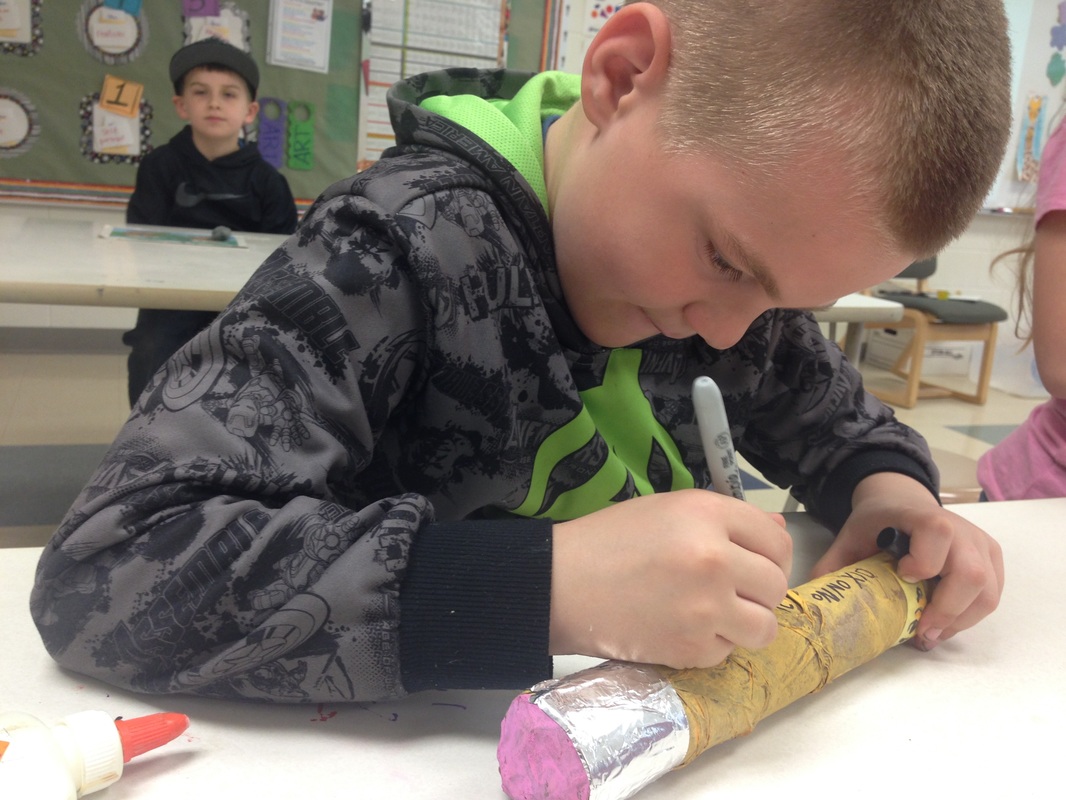
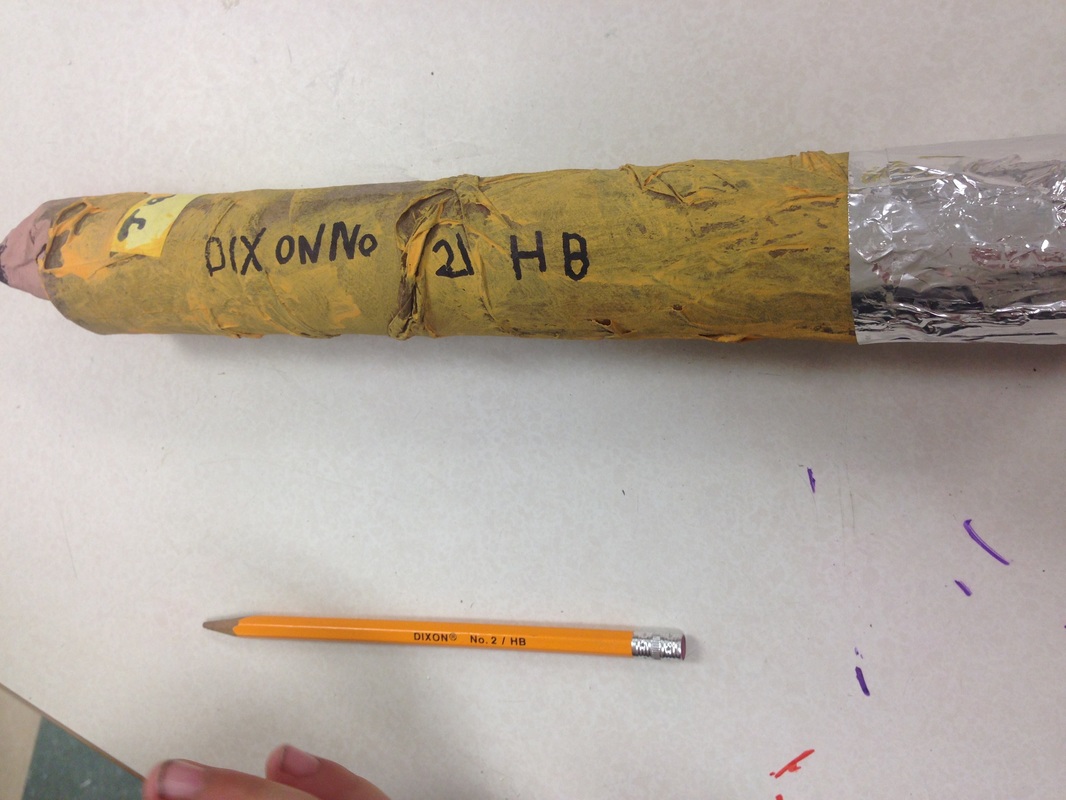
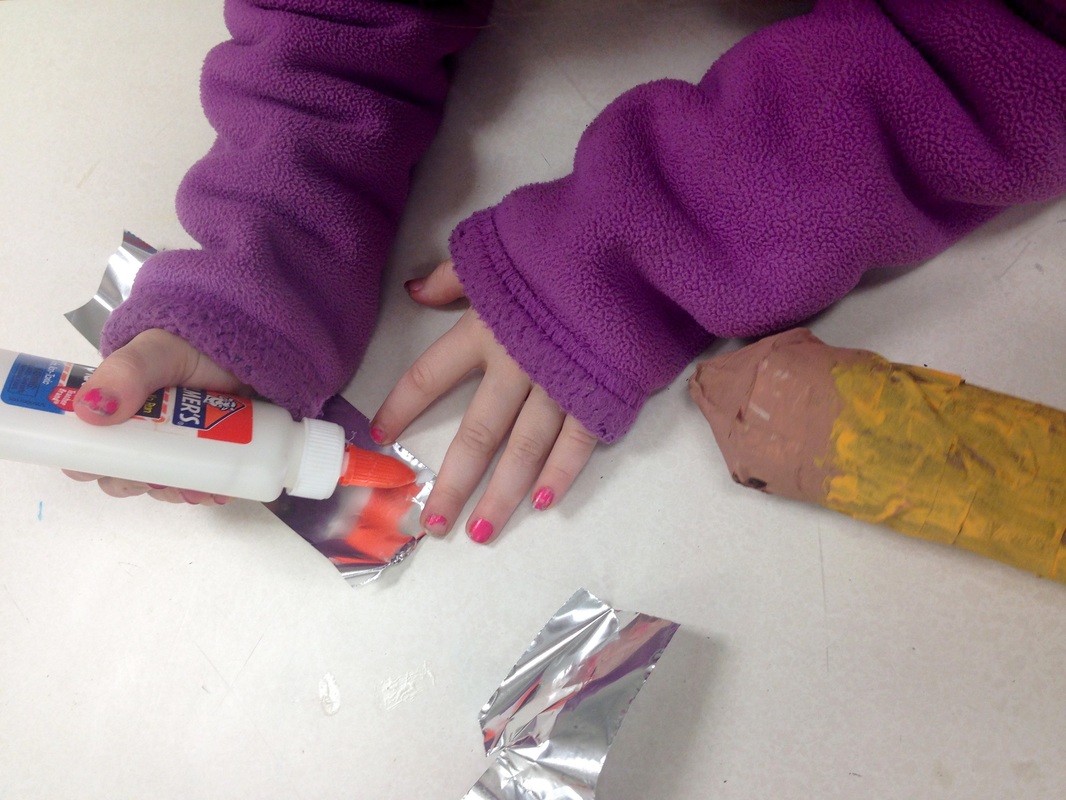
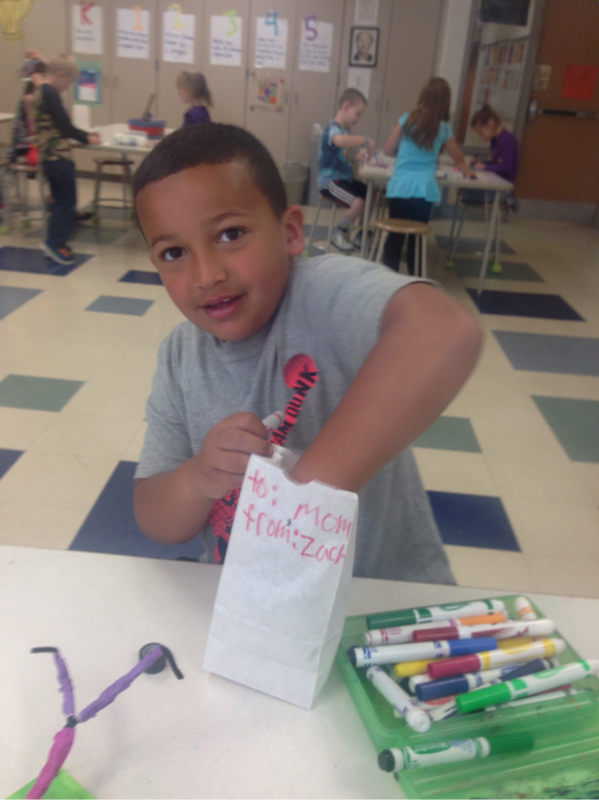
 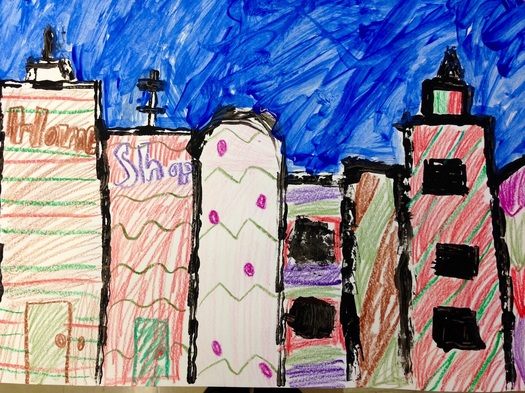 Day 1: Printmaking1st grade artists created a city with black paint and a piece of cardboard. We talked about how printmaking is different than painting. When we paint, we go back and forth, back and forth. I use Cassie Stephens' analogy that a paintbrush is like a ballerina: it always dances on its tiptoes and never scoots around on its bottom. When we print, we press and lift, press and lift. I displayed some photographs of cityscapes to inspire them. They used diagonal, vertical, horizontal, and curved lines to create their buildings, windows, doors, antenna, etc. Day 2: ColorWith our city prints, we already had a few elements of art: line, shape, space (students overlapped the buildings and created two layers of buildings), and texture (in the corrugated cardboard). Today we focused on the element color. Students used pattern and texture plates to color their buildings. They could label the buildings if desired. Day 3: Finish coloring + Sky PotionStudents finished coloring their city and used sky potion to paint the sky. I also set out some boxes of scrap painted paper if they wanted to cut and glue anything onto their city. I have found that the younger grades love having multiple mediums to choose from. Not only are they much more focused on their work, but they also are more creative with the options that are provided. The first grade artists are very proud of their work! 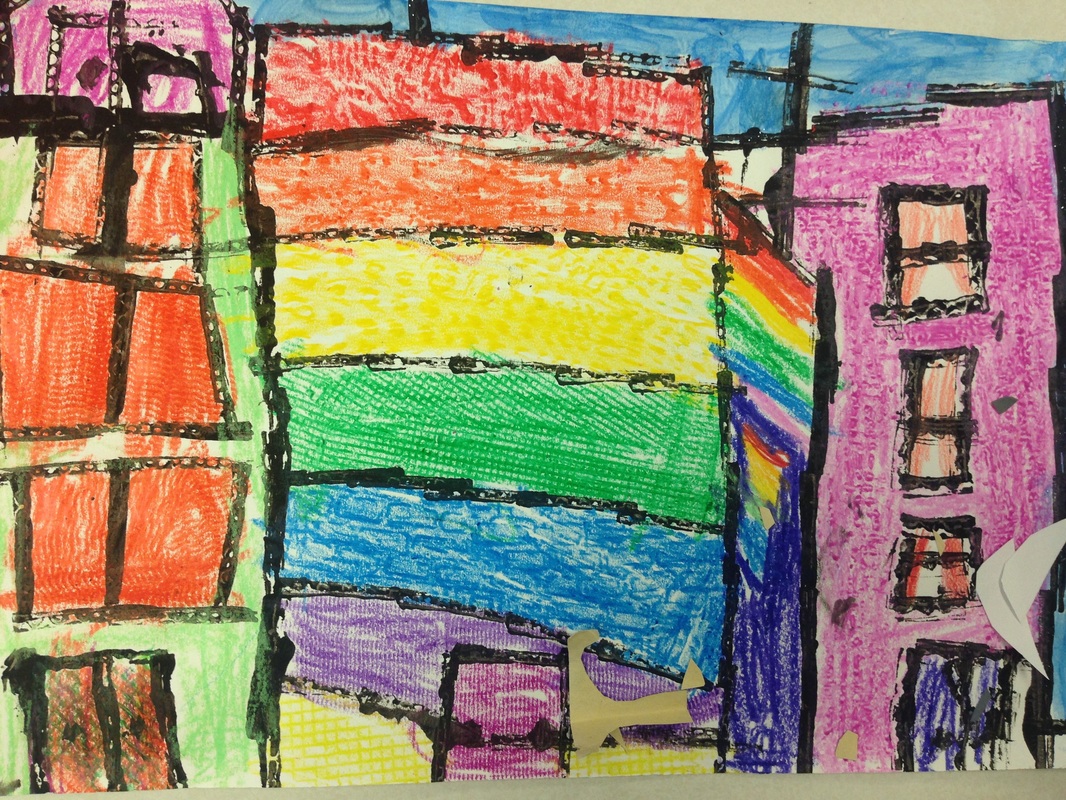 We learned about the ROYGBIV order earlier this year; I'm always happy to see them apply concepts learned in a previous project in a new one! 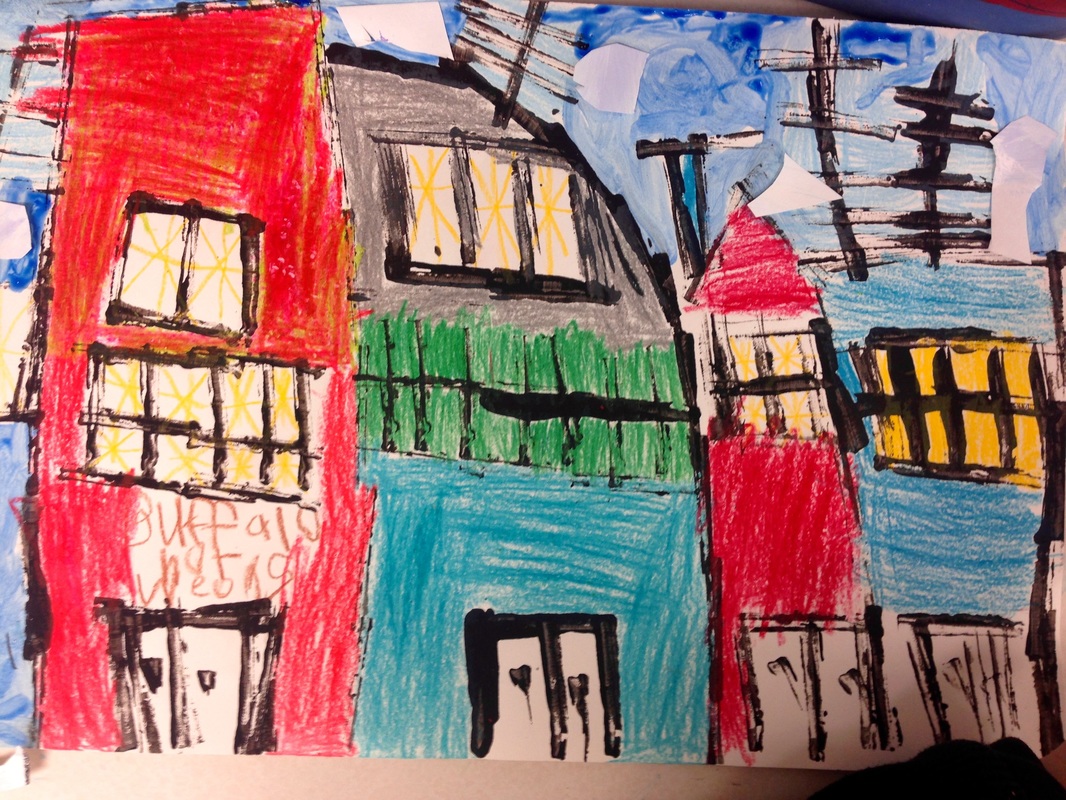 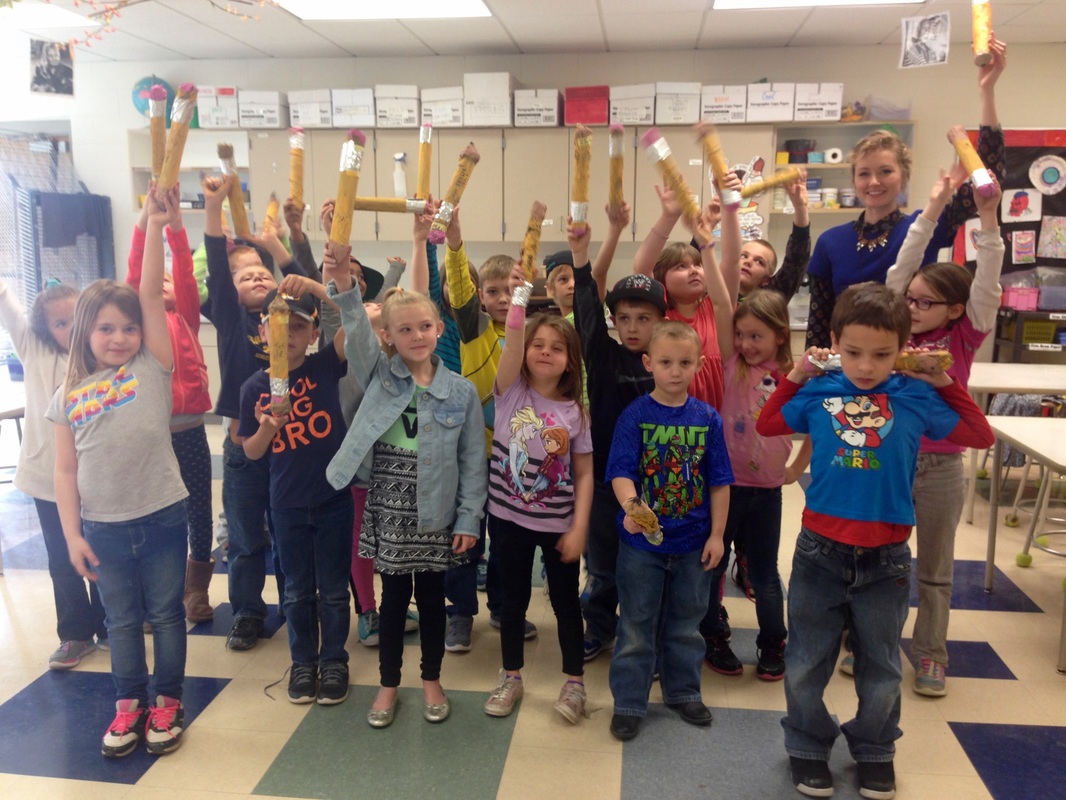 This is a favorite project for 1st grade artists. "Does it actually write?" Is usually the first question asked when I pull out my example to show them:) This project comes from my sister, Amy Clay. Thank you, Amy! We absolutely love this lesson! 1. Build the formThere are 2 main forms on a pencil: a cylinder and a cone. A paper towel roll is the perfect start for our cylinder. The eraser end was formed by crumpling up a piece of paper (I pulled paper thrown into the recycling bin in the copy room) and taping it inside one end of the cylinder. The cone is formed by tracing a lid on a piece of white sulphite (4 x 4), and drawing a dot in the center of the circle. Cut out the circle and, starting anywhere on the perimeter of the circle, make one straight cut to the dot in the center and stop. We now have a walking circle! Cross the legs and once you have a cone that fits your cylinder, apply the tape. 2. Paper MacheNow it's time to get messy! As they entered the art room, I handed each student a little rectangle of gold paper and instructed them to write their name with a Sharpie. This "golden ticket" is placed in a safe place to be stuck on their pencil at the end of class. I make my paper mache paste using water and glue with a 1:1 ratio. This year I used paper towels for the strips of paper, but newspaper also works well. I think the kids were a little more successful with getting a smooth finish on their pencil with the paper towels. I tell them they need to cover everything at least once, twice if they have time. 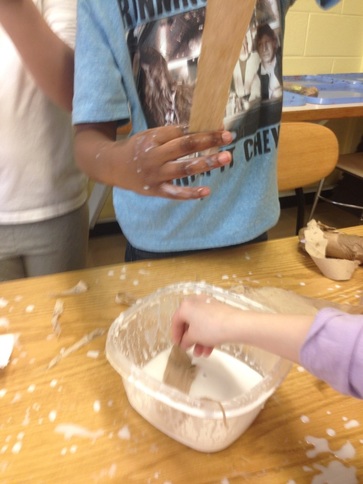 3. PaintWhy do we paint our pencils? To add color, which is an element of art and to make them look more realistic. 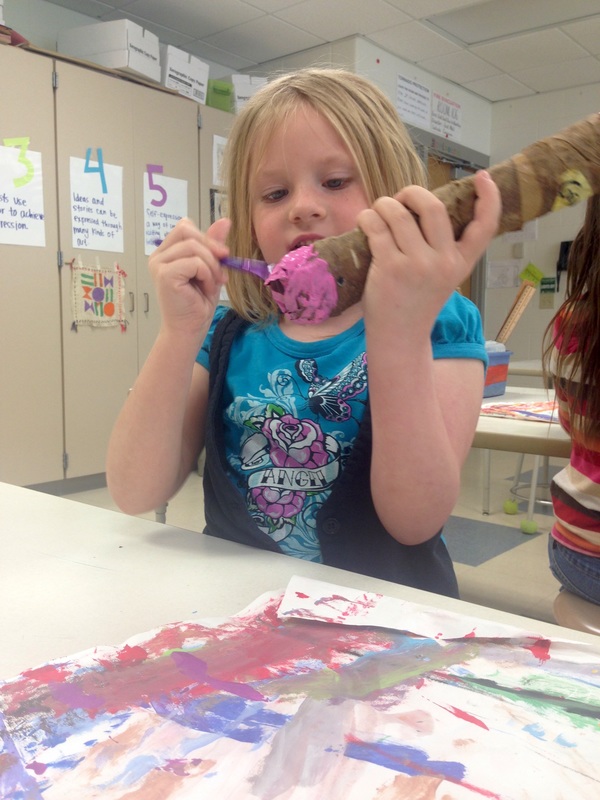 4. Add final details and take home!We watched a short video on how real pencils are made. Turns out the metal ring at the end is made of aluminum. How fitting, then, that we used aluminum foil for our pencil sculptures! The artists appied some glue to a 2 x 9 piece of aluminum foil and wrapped it around the end. They were responsible to use a Sharpie for 3 things:
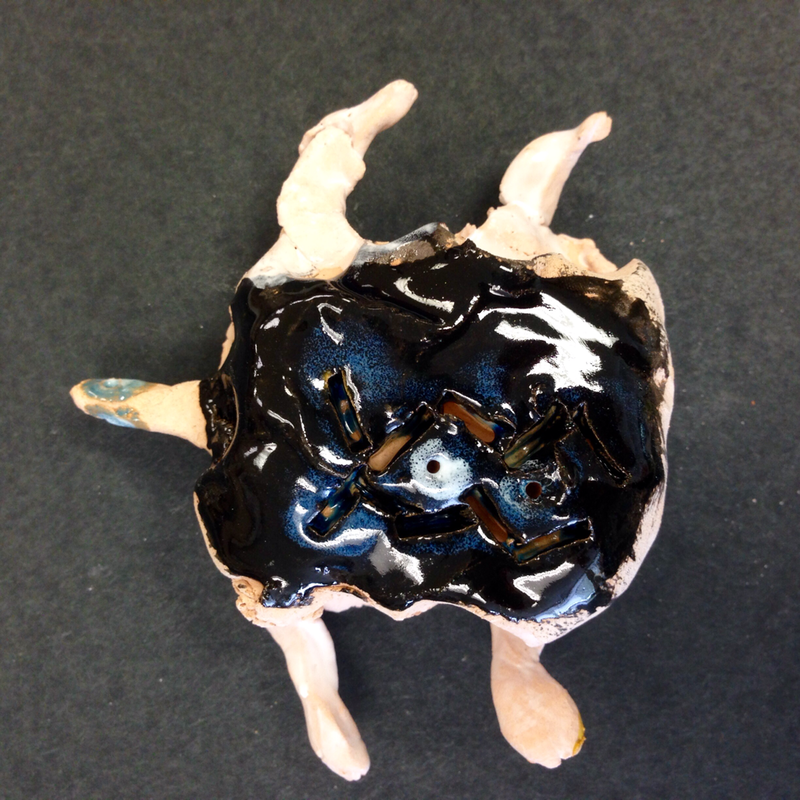
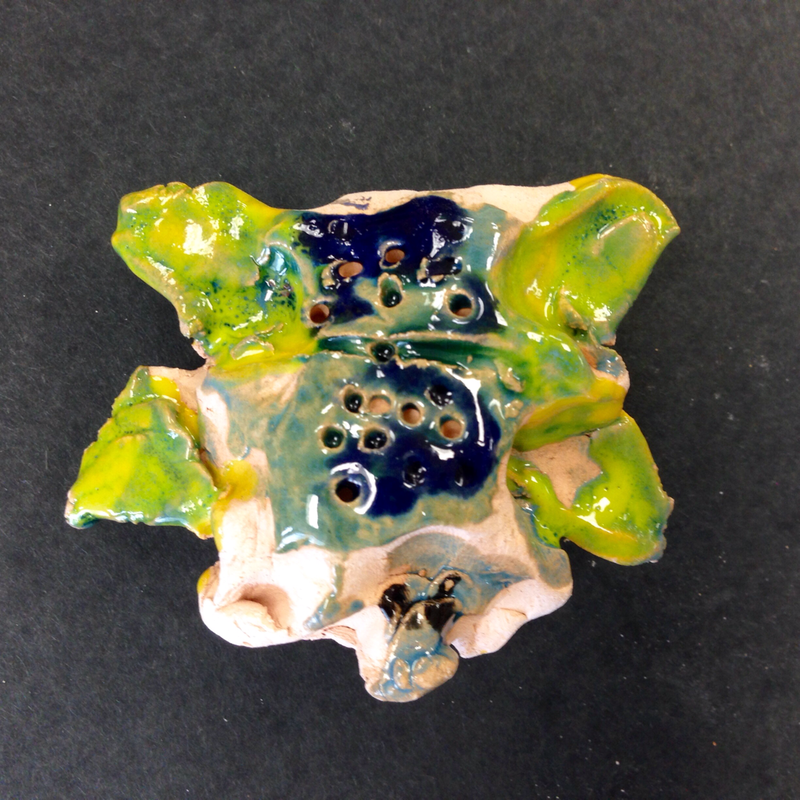
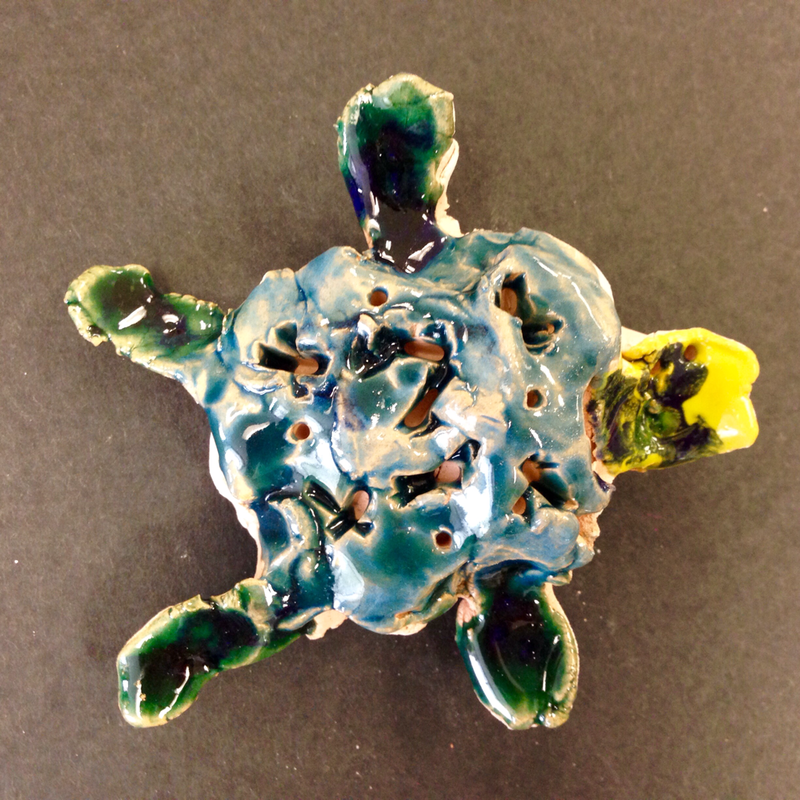
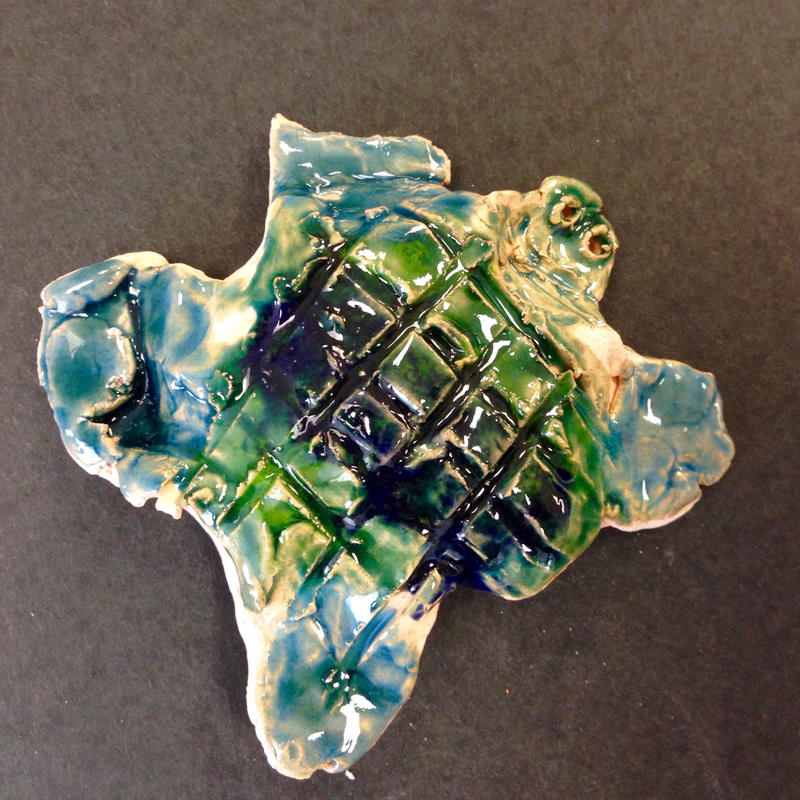
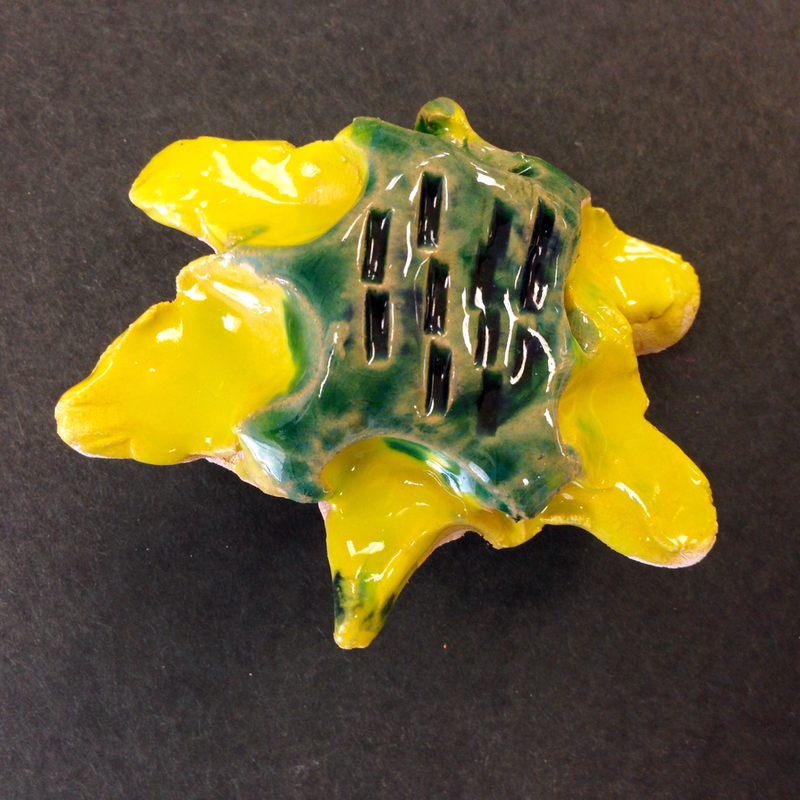
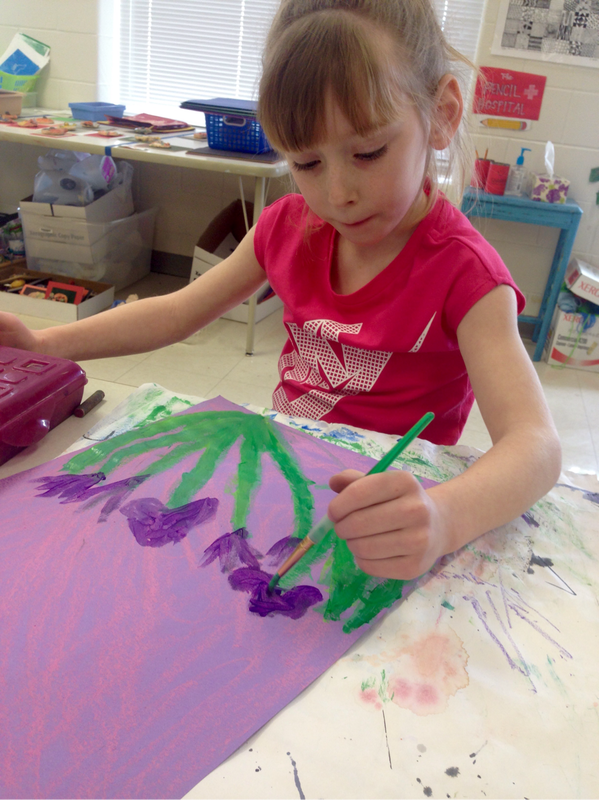
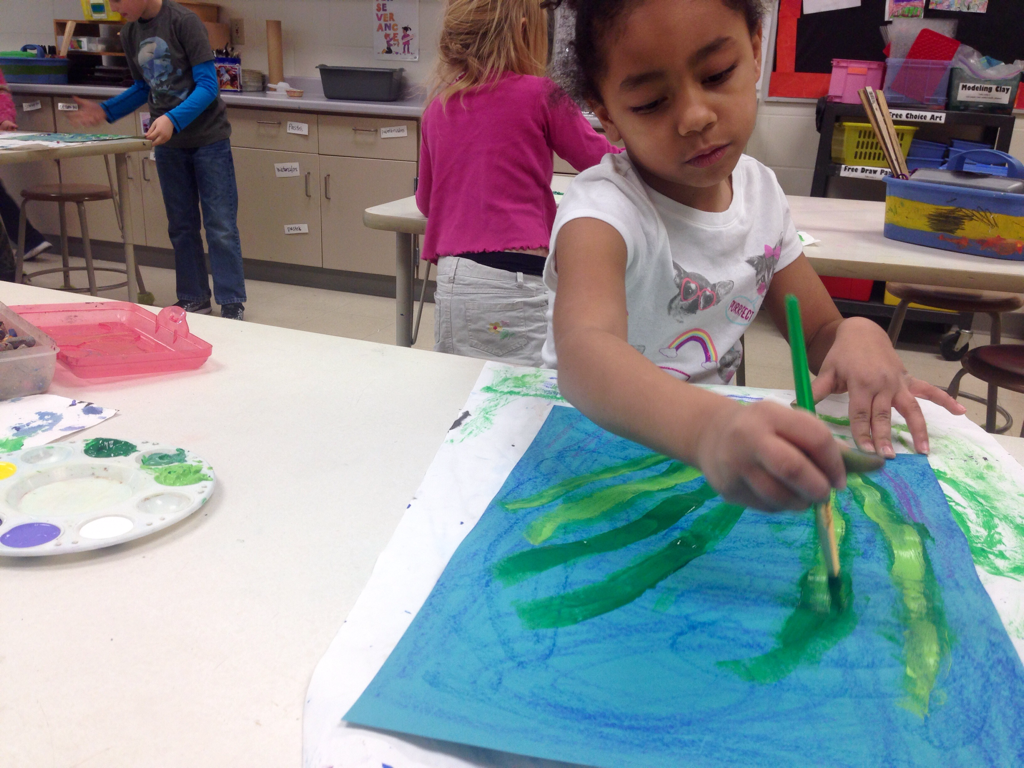
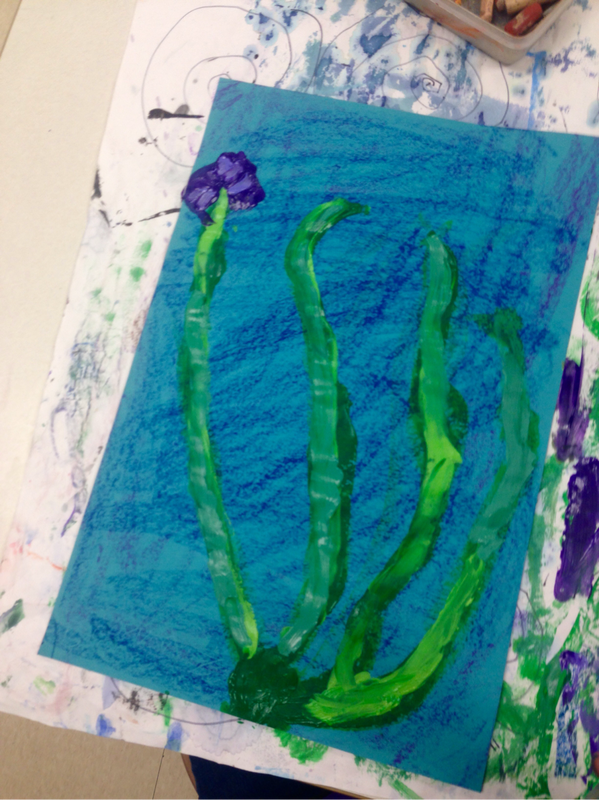
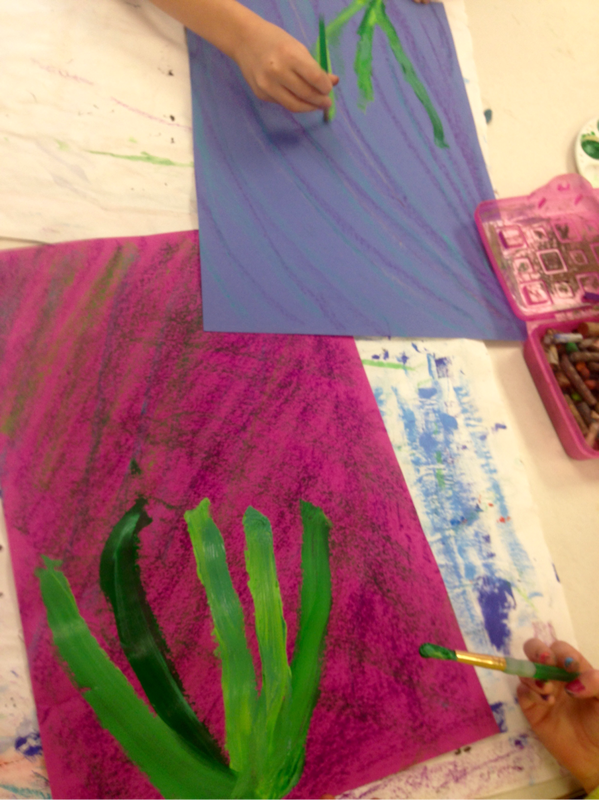
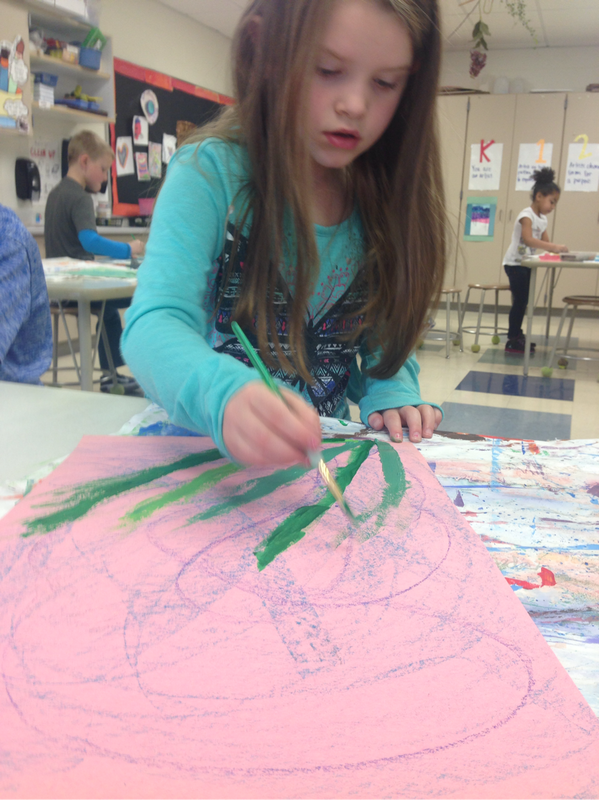
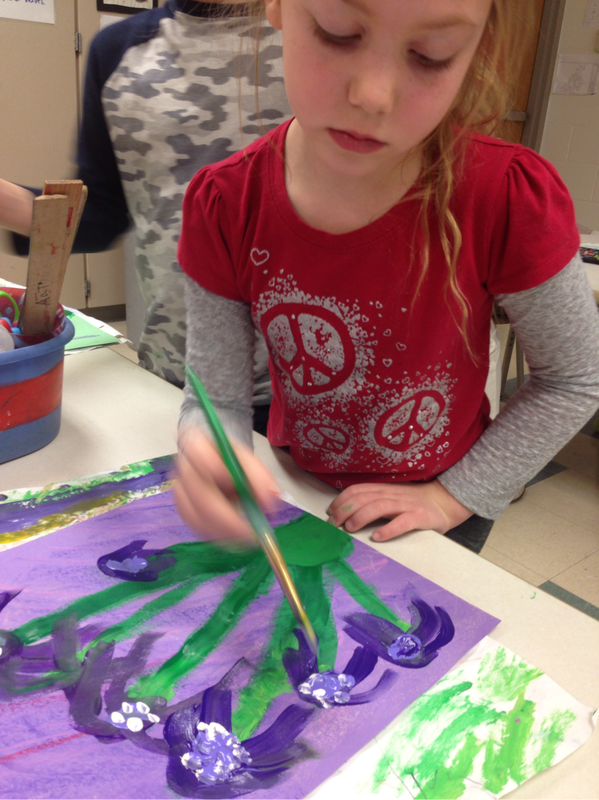
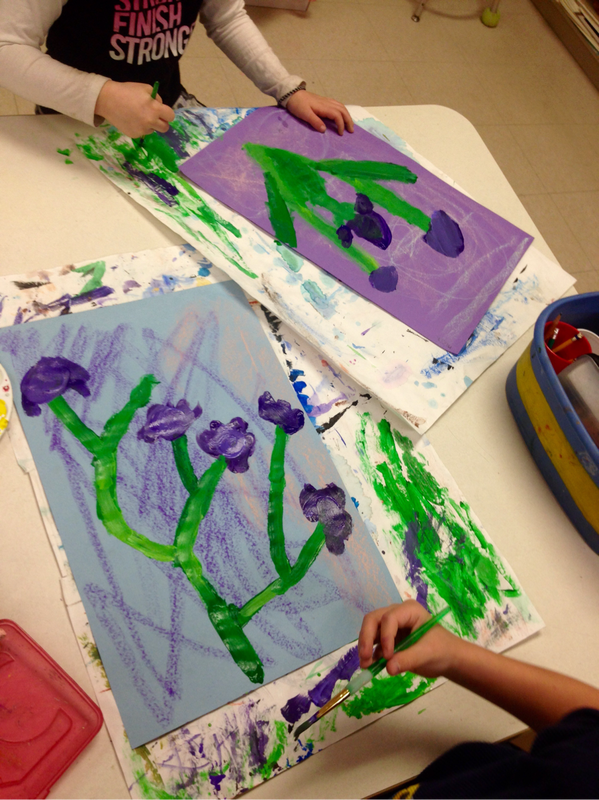
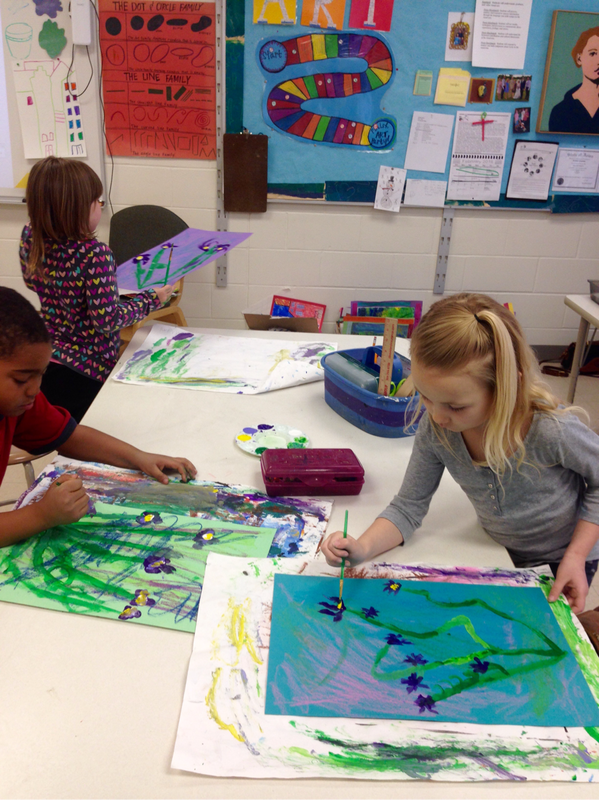
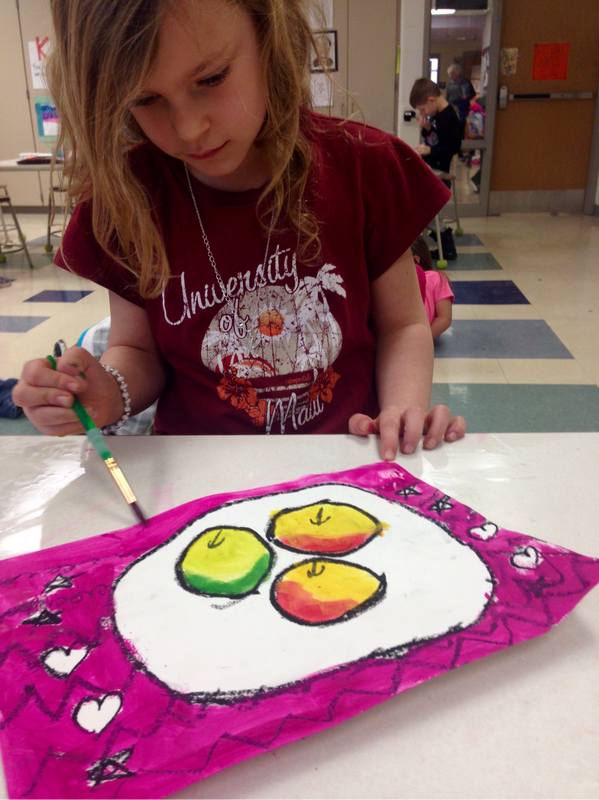
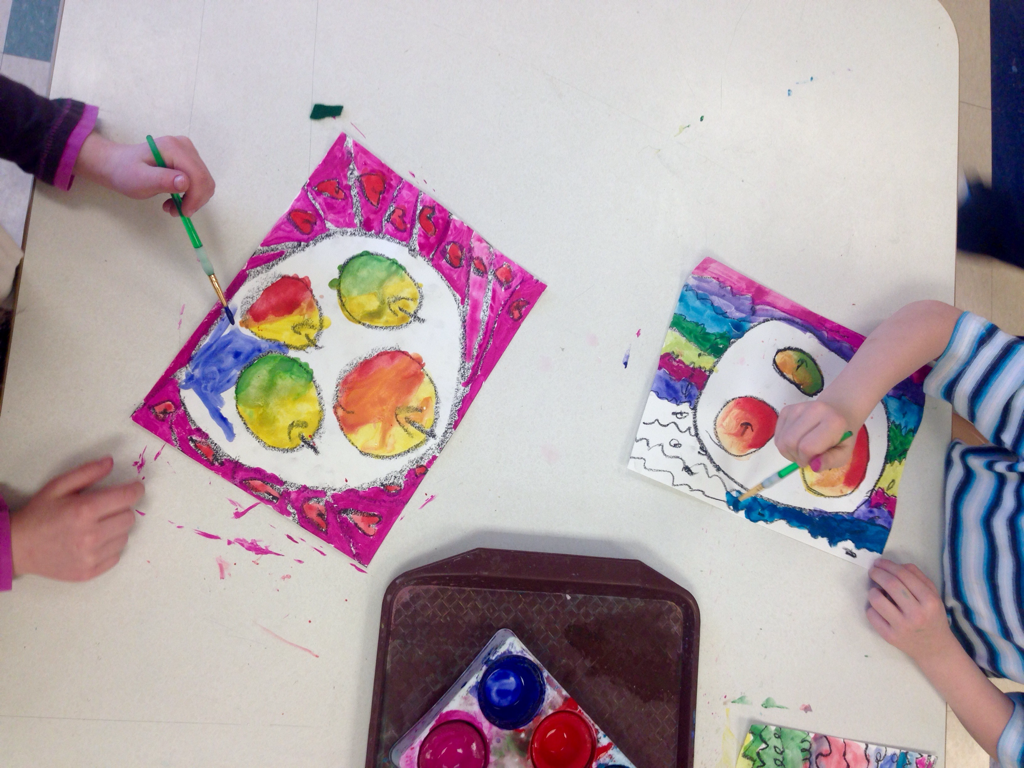
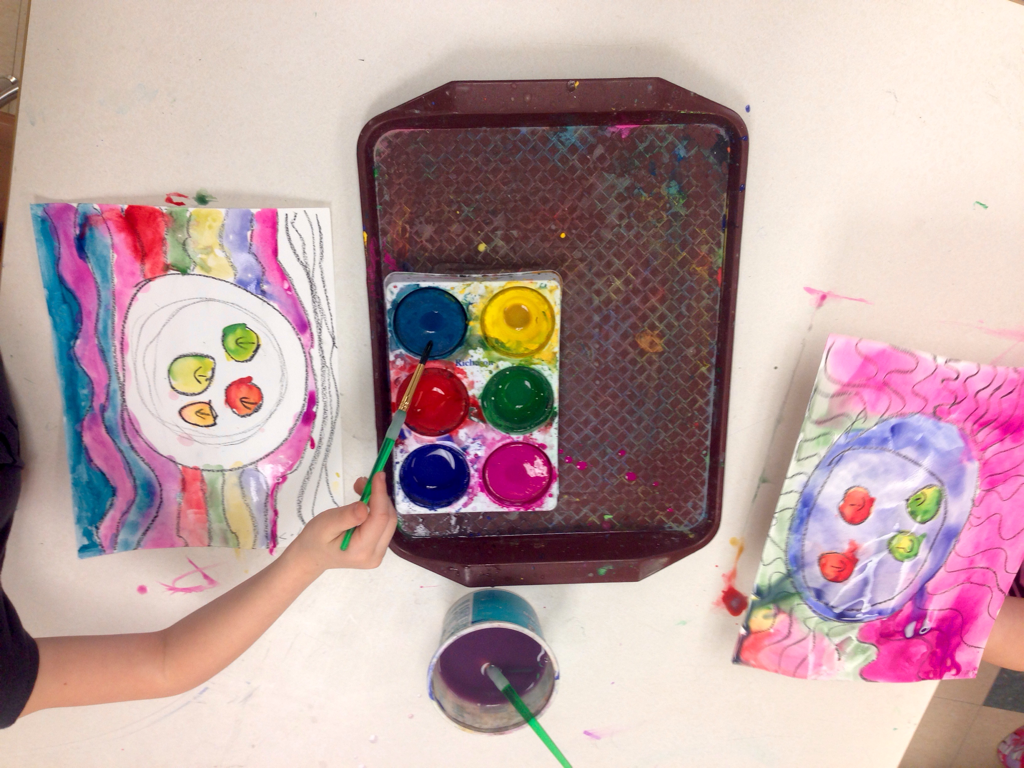
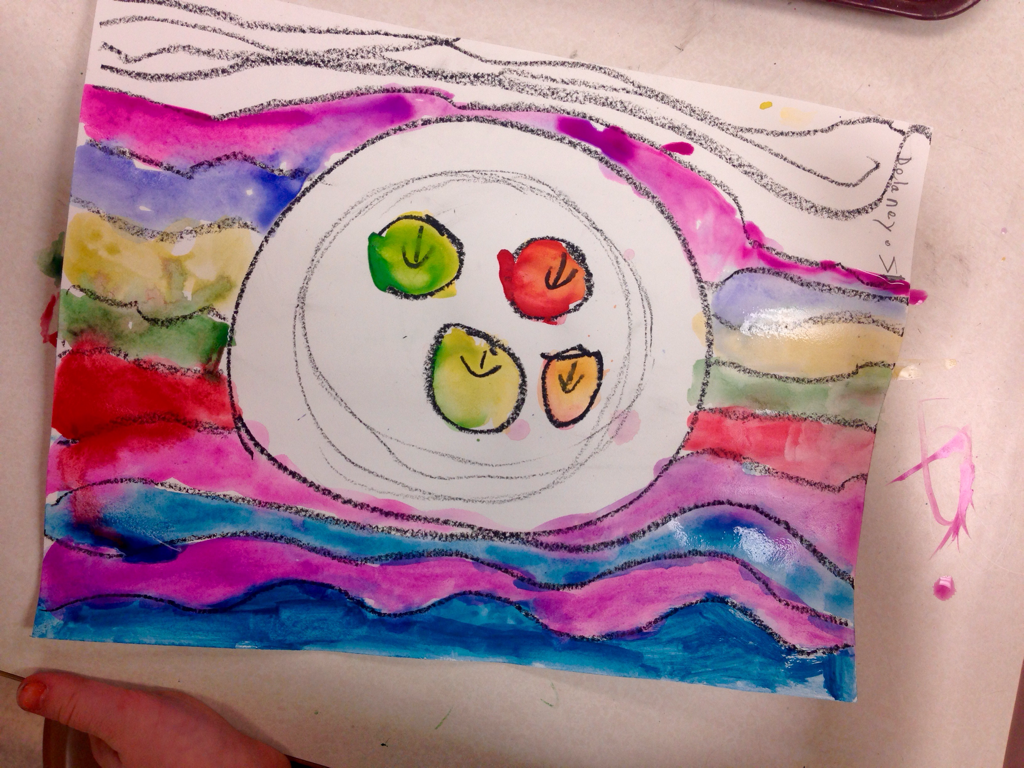
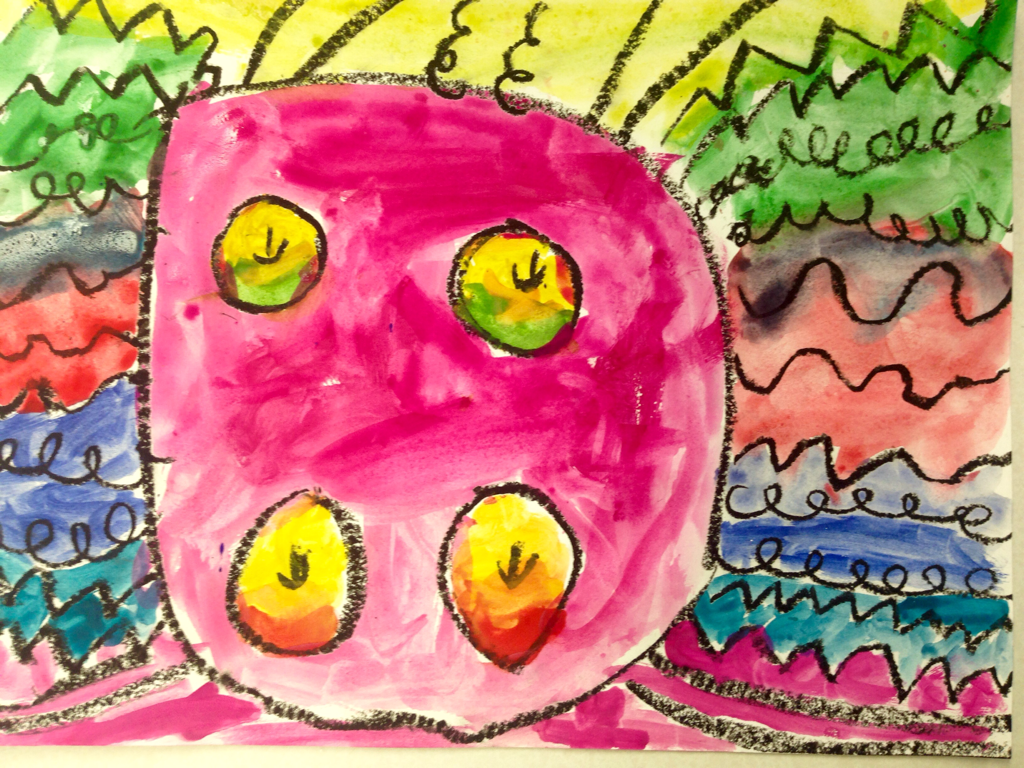
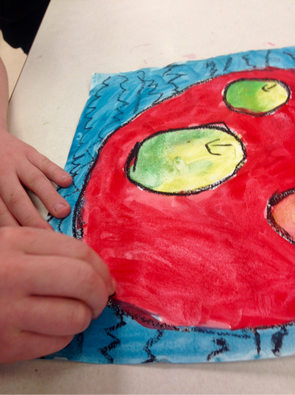
  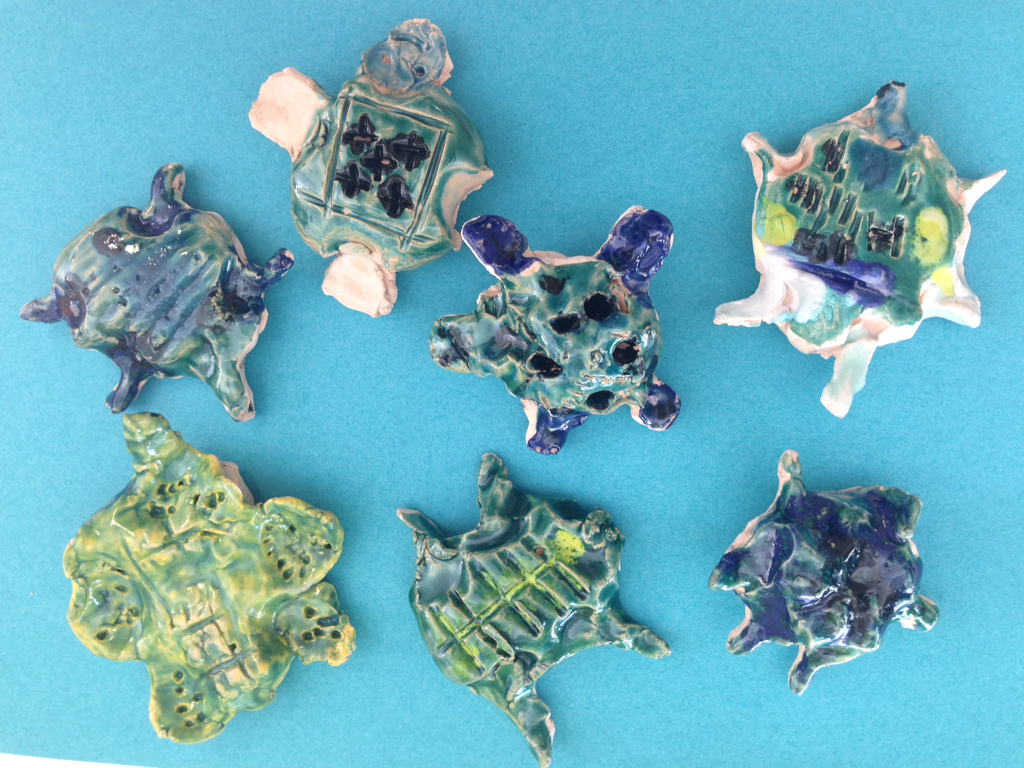 1. Practice with modeling clayI always like to practice with modeling clay before getting out the earthenware clay. Oftentimes the kids will overwork and dry out the earthenware clay and get frustrated because it cracks and doesn't stick together. Practicing with modeling clay first ensures that when they get the "real" clay in their hands, they'll be ready to be successful from the get-go. 2. Earthenware ClayThis time around the artists raise their hand when they are finished and I write their name and the name of their class on the bottom. If their turtle is thick, I also poke a few holes in the bottom to ensure it dries out quickly and completely. If there are any air pockets or moisture in the clay when I fire it in the kiln, the piece is likely to explode. 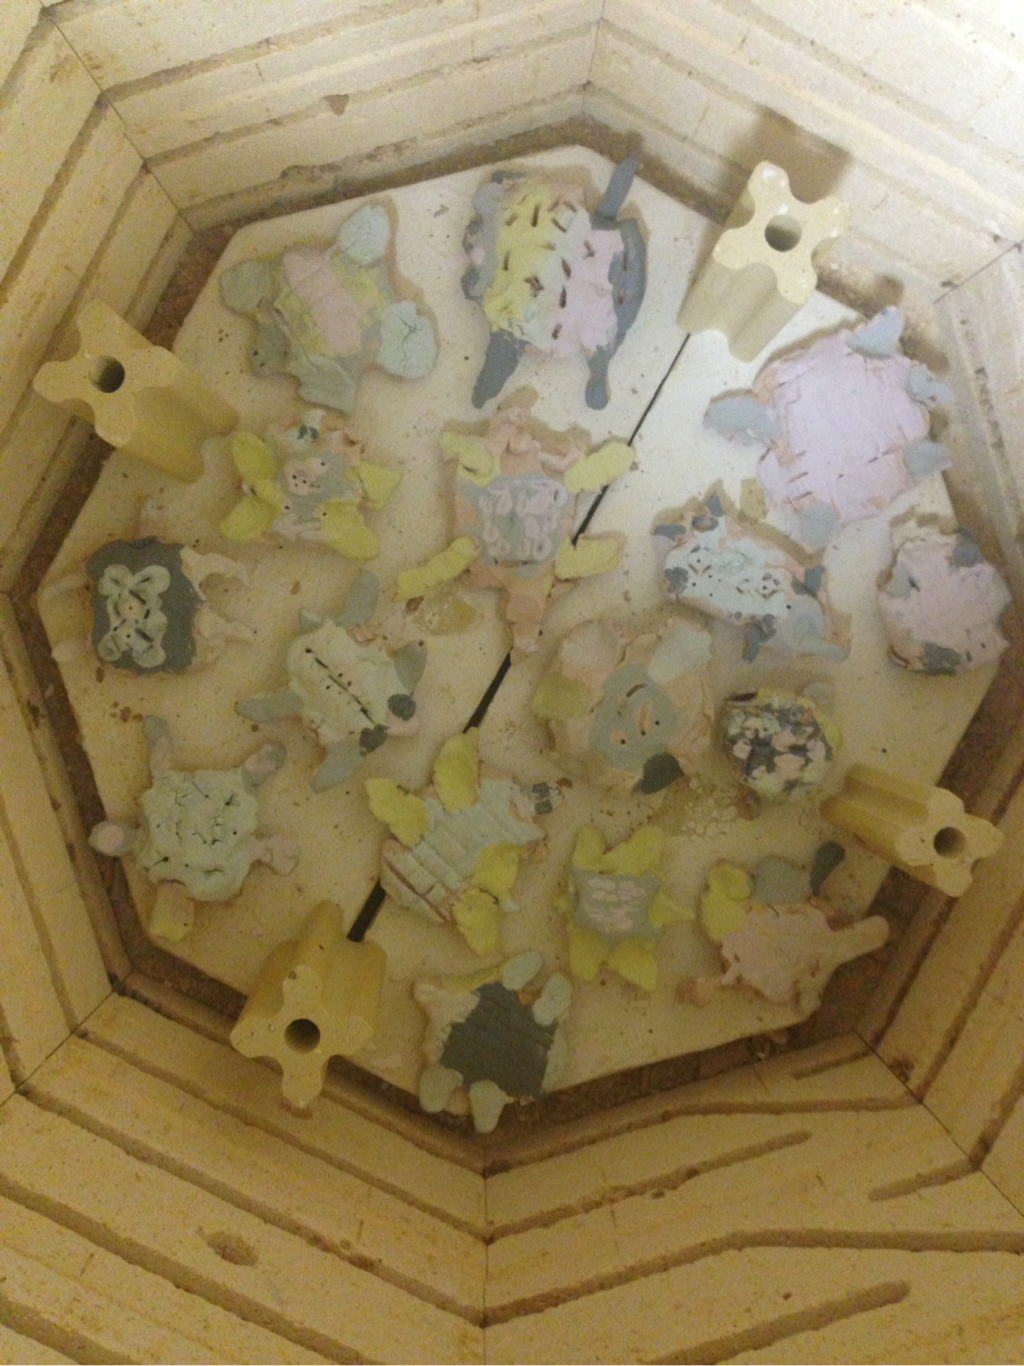 3. GlazeOnce the pieces are bisque fired, the artists glaze their turtle. Applying 3 coats of glaze promises bright, glossy colors. 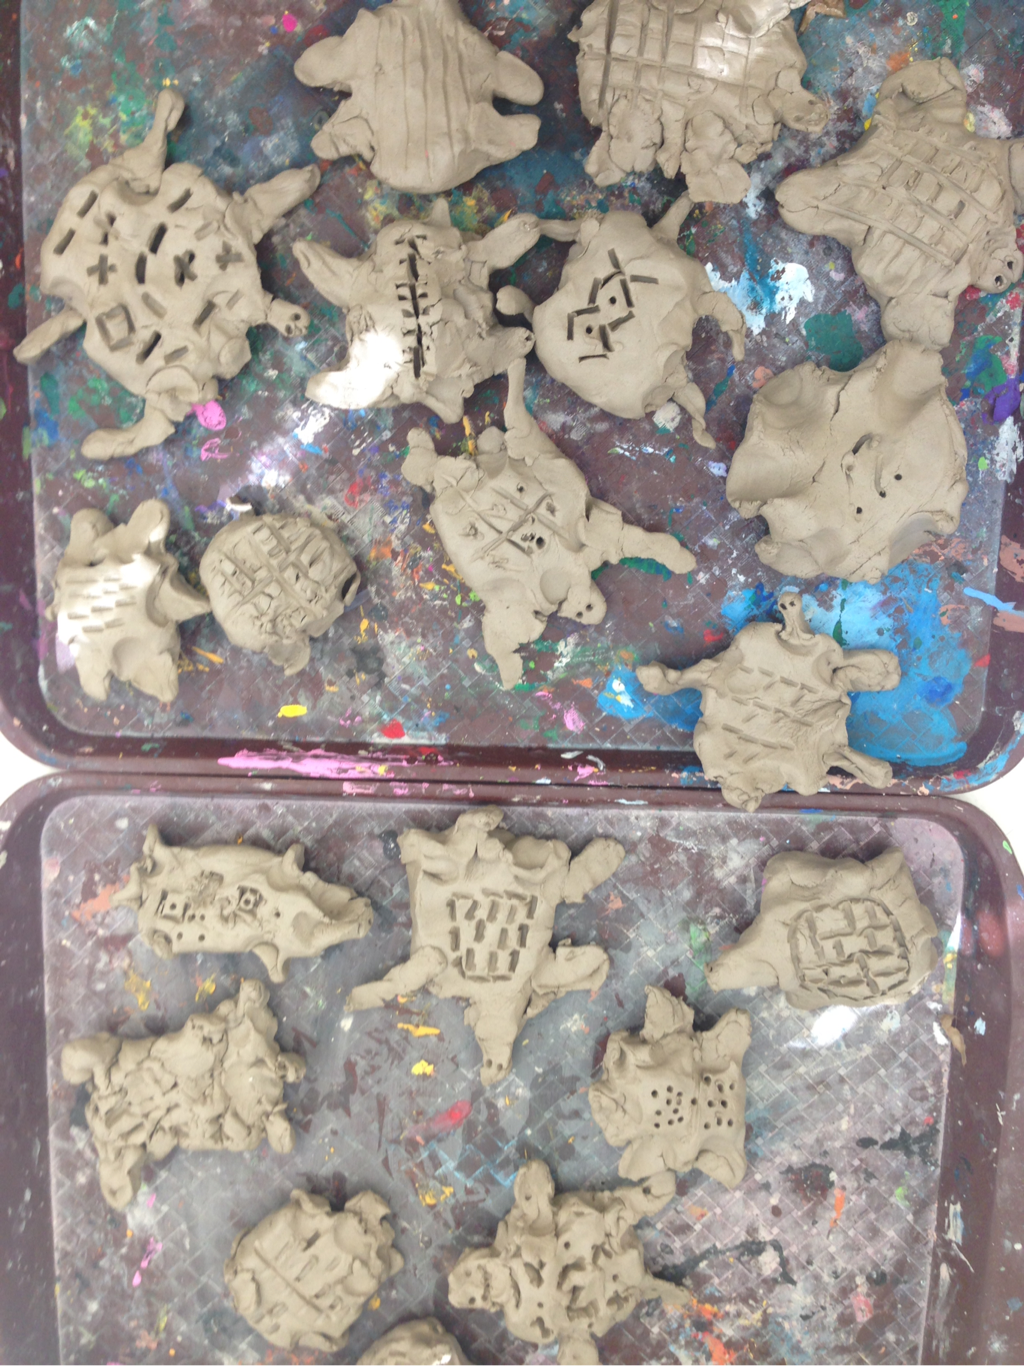 4. Wrap it up for Mother's DayI think all of us are ready for Spring. This one-day project got us all in the mood for warm, breezy days. First we looked at Monet's Irises. Our inspiration: Monet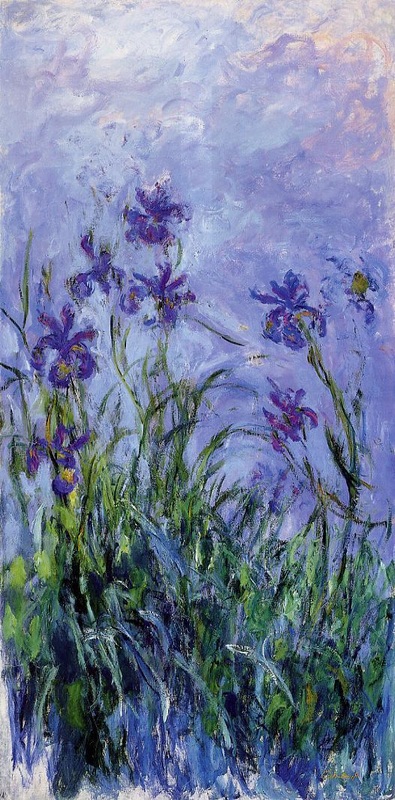 Monet had a beautiful garden at his home in Giverny. He frequently painted the flowers there and once said, "I perhaps owe having become a painter to flowers." 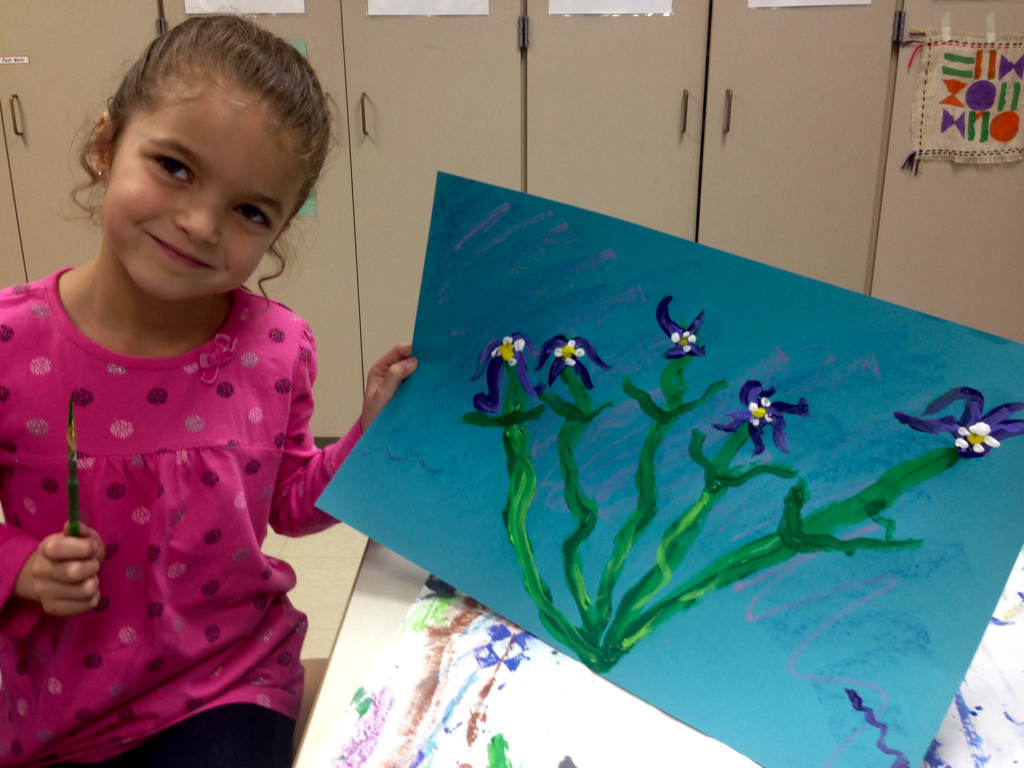 First, the students used cool-colored oil pastels and rubbed them on their paper to create some texture. Next, they dipped their paintbrush in green and a tint of green (tint: color + white) to create the stems for their flowers. I encouraged them to not blend the colors together too much so we would have variety. Next they cleaned their brush off on their messy mat, dipped their paintbrushes in the tints of purple, and painted the irises. Last step: add white and yellow dots to the center of the iris. Thank you to Painted Paper in the Art Room for the fabulous lesson! To begin this project, we first looked at images of Cezanne's still life. We chatted about what kinds of things could count as a still life. Mrs. White? No. A vase of flowers? Yes. A deer? No. Our table caddies? Yes. I showed an image of a few apples on a round plate and the artists identified the shapes we would be using to draw our own still life. We drew with a black oil pastel on 9 x 12 white sulphite. The tablecloth was up to them: flowers, hearts, stripes, dots, zig-zags, whatever! 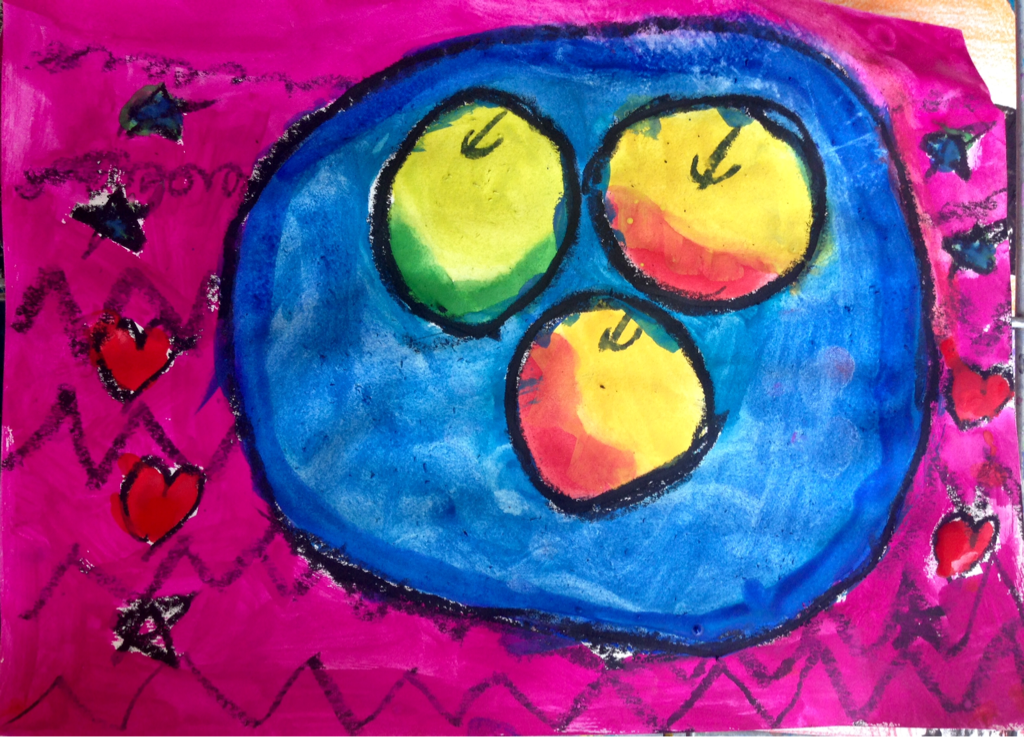 Color baby colorWe had the elements line and shape, now it was time to add some color. We talked about how apples are forms: full, not flat. I showed them how we could make them look full by making one side of our apples red or green, adding yellow, and blending the colors together. They chose one color for the plate and the tablecloth was up to them. The last step was to outline with black oil pastel.
Still-life lesson from Teach and Shoot.
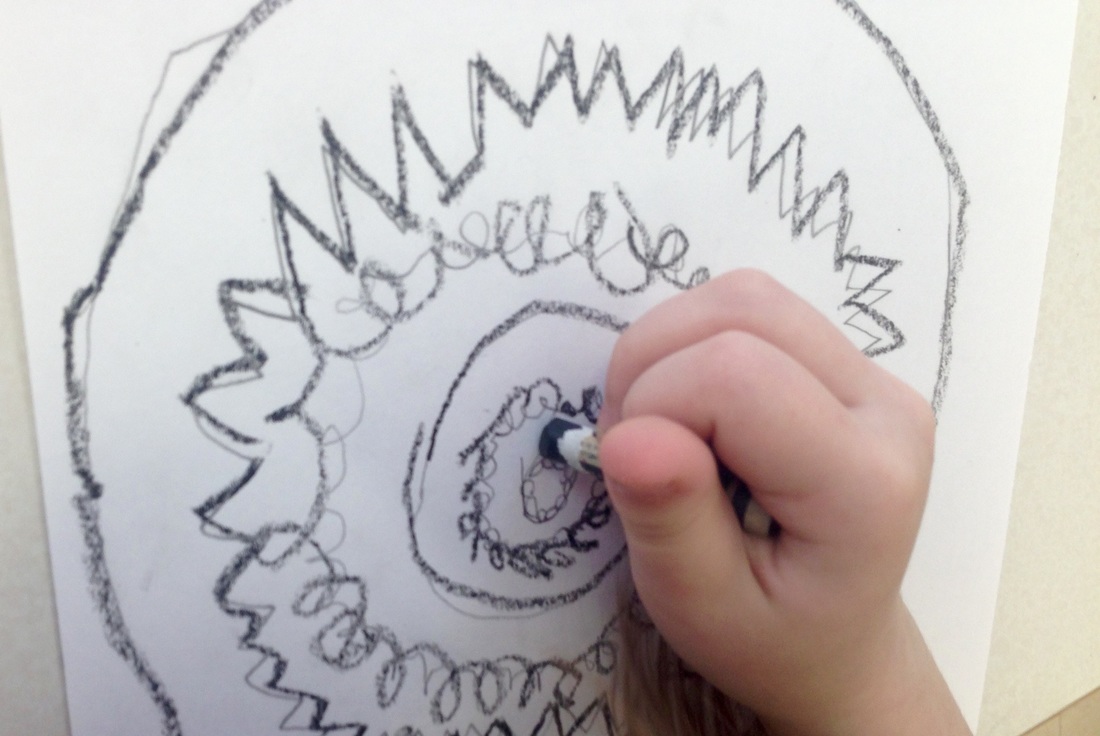
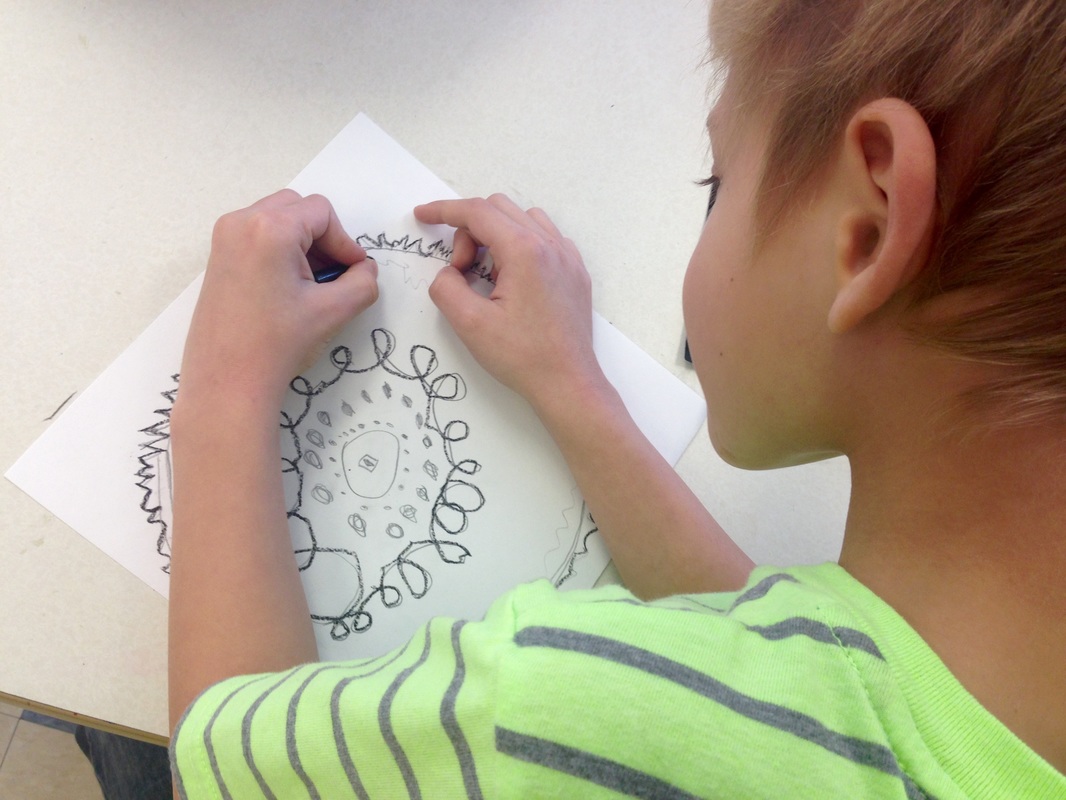
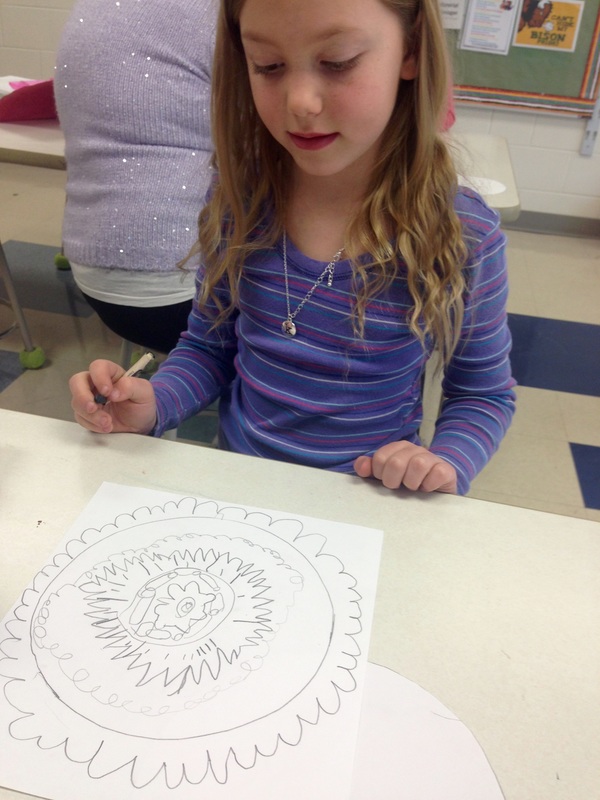
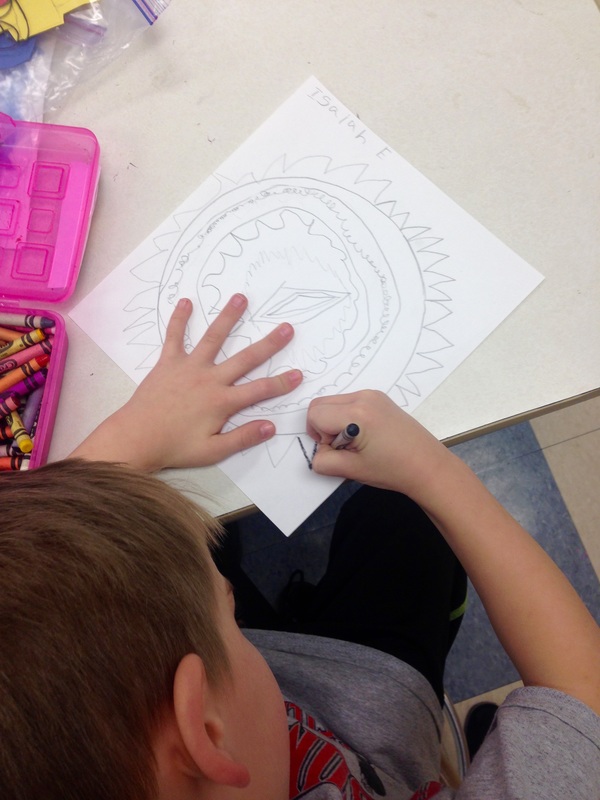
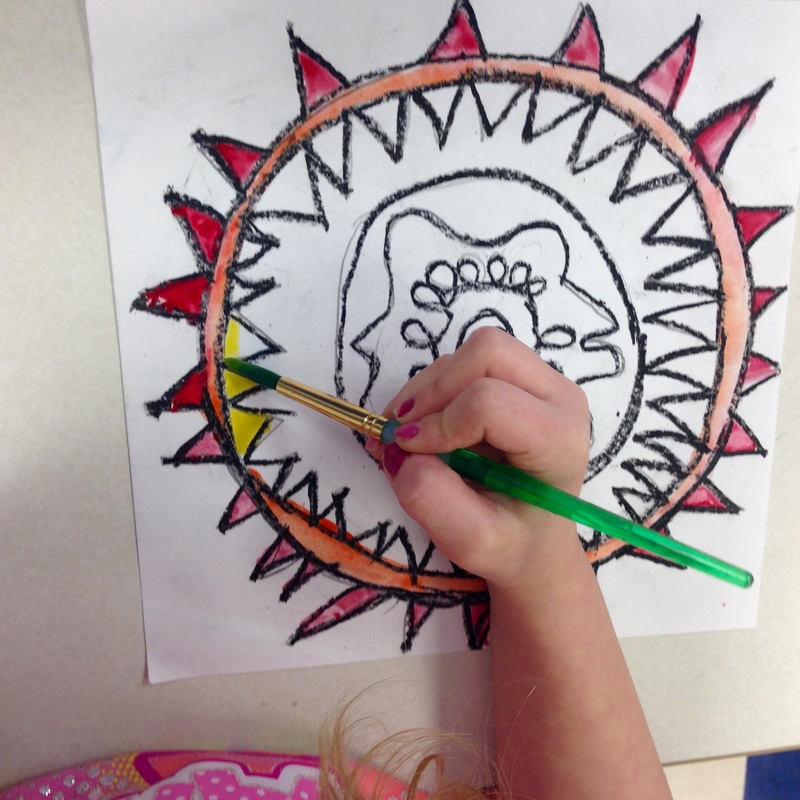
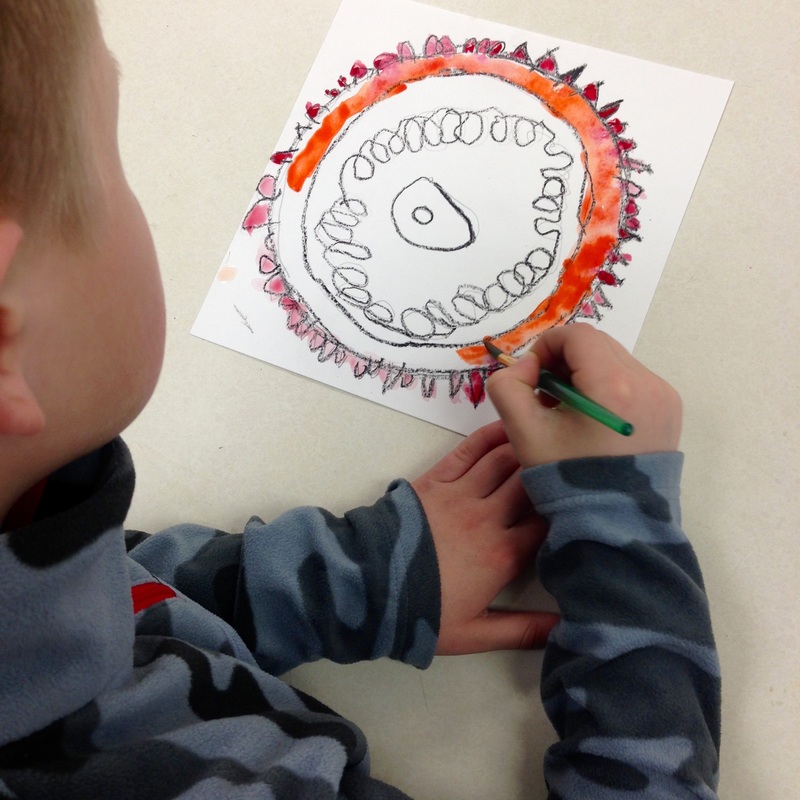
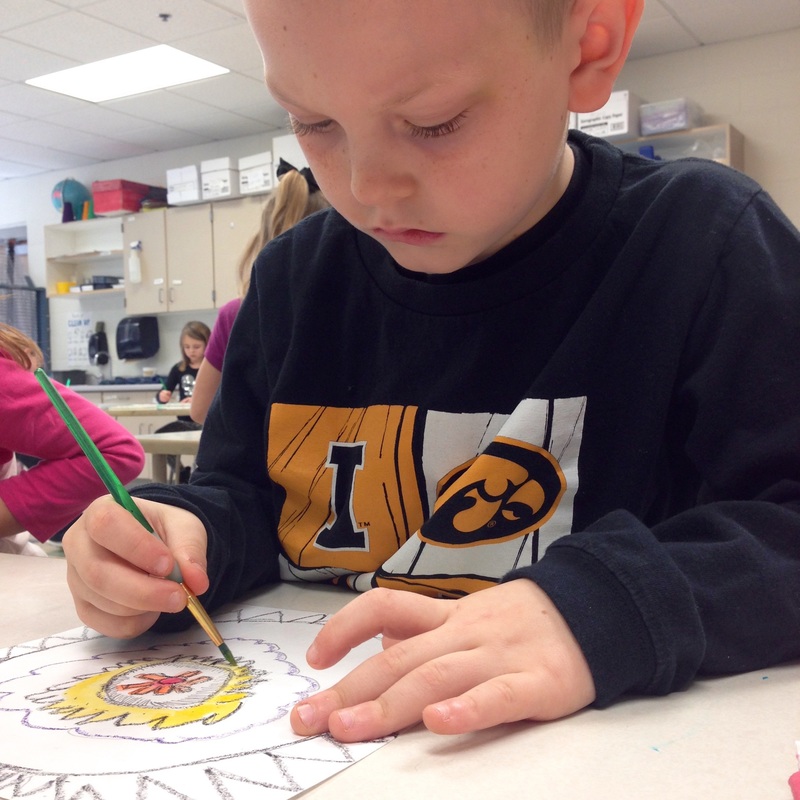
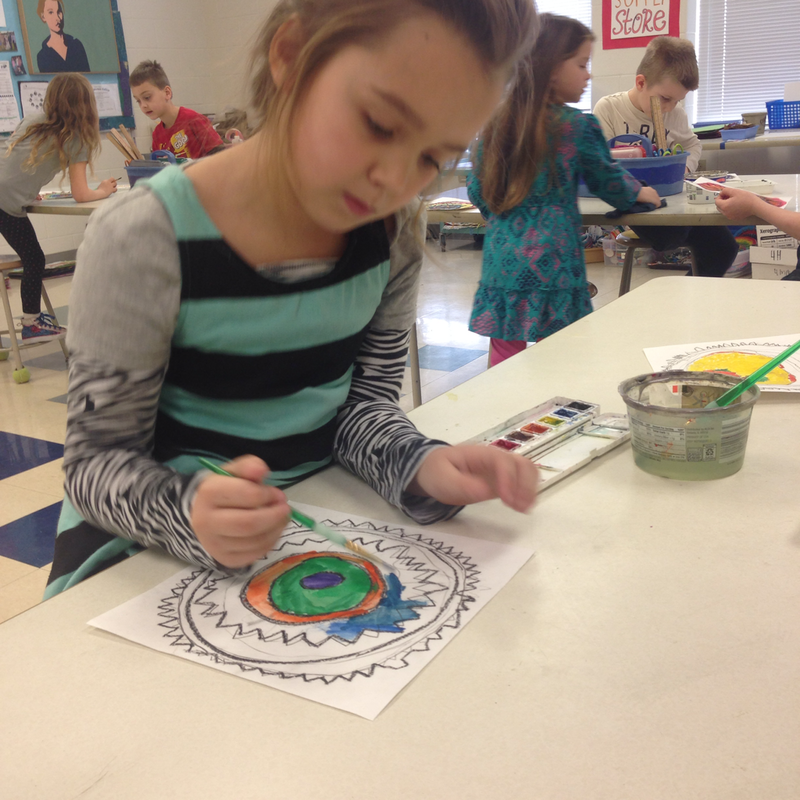
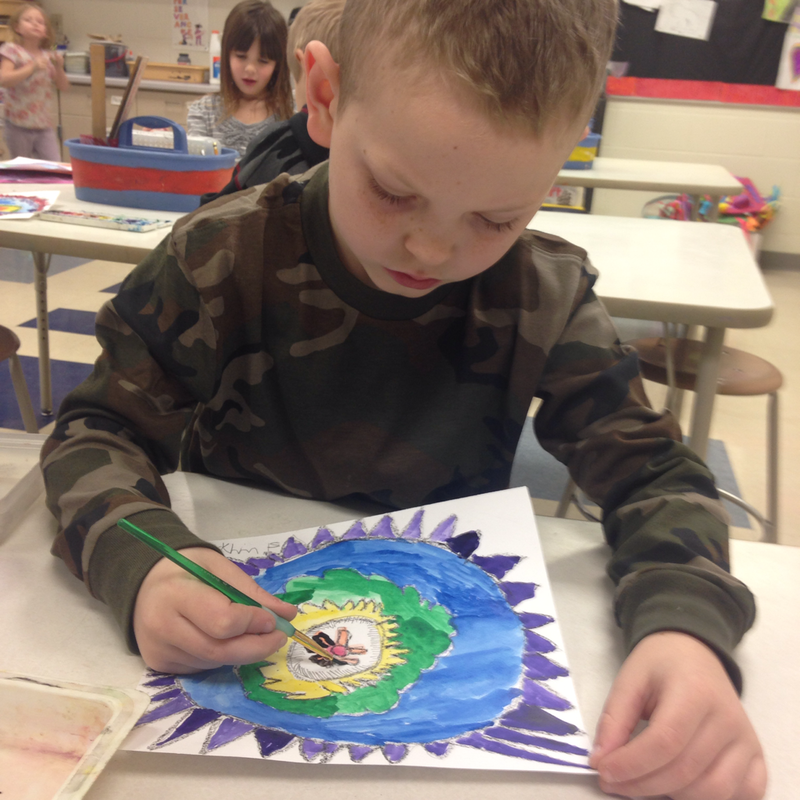
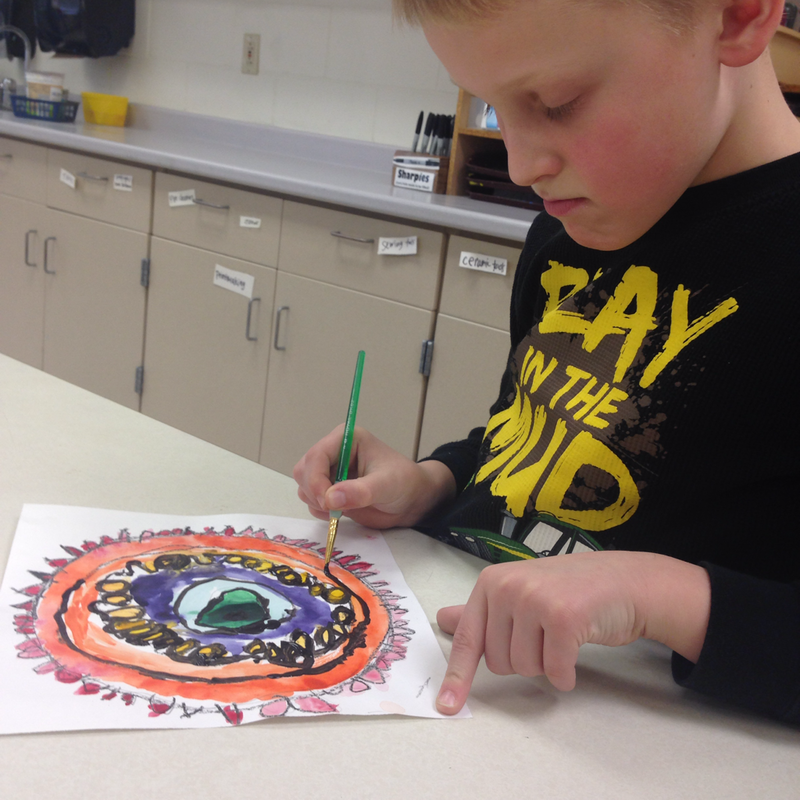
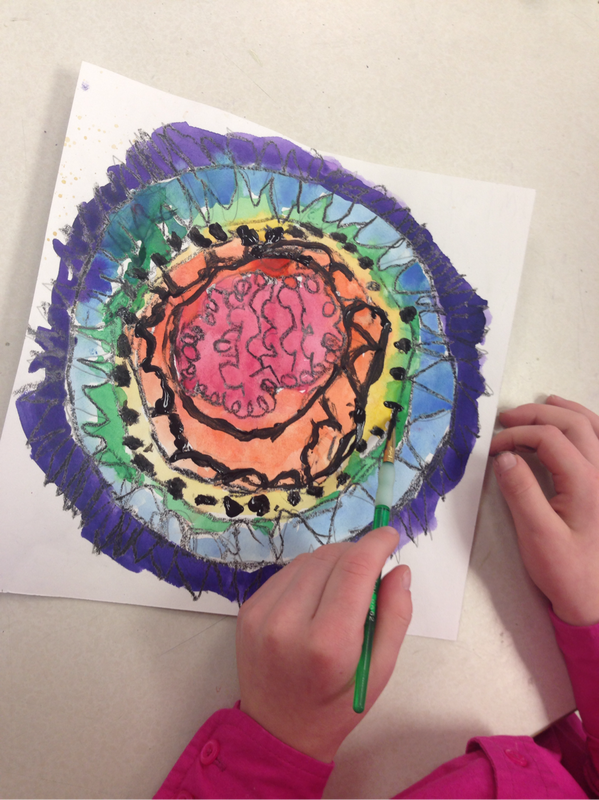
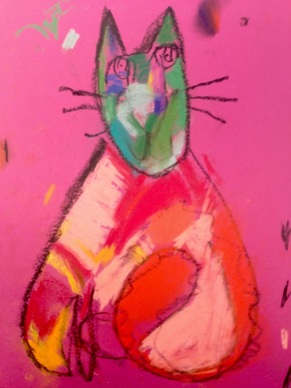
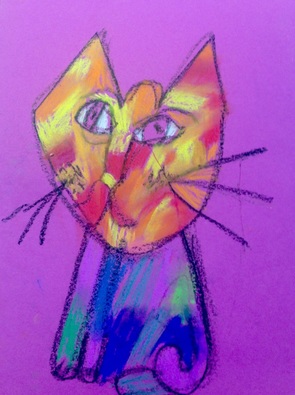
On a square piece of paper, artists traced a small plate to begin their design with a circle. Next they added other rings using a variety of lines and shapes. They were required to have at least 6 rings, one for each color of the rainbow. We talked about using symmetry in our designs. They traced their pencil lines with black crayon and added color in ROYGBV order (review from the Geometric and Organic Color Wheel Mobile) using watercolors. The last step was to trace the black crayon lines again--this time with black paint. This made the designs stand out and they look beautiful with a colorful mat. Project inspired by Whitney Elementary School's Artsonia page. 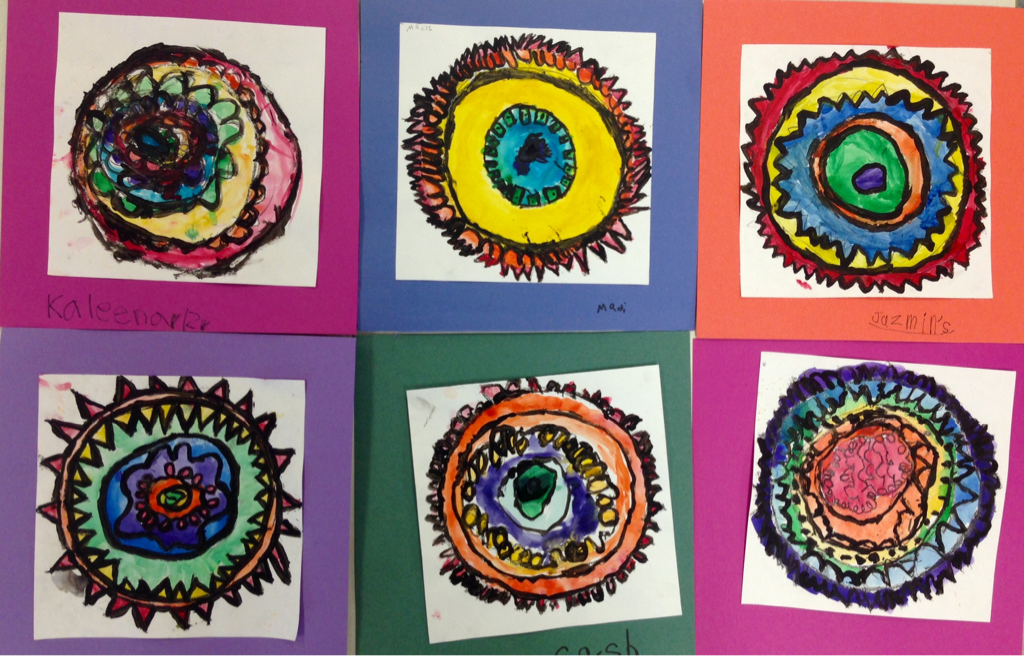 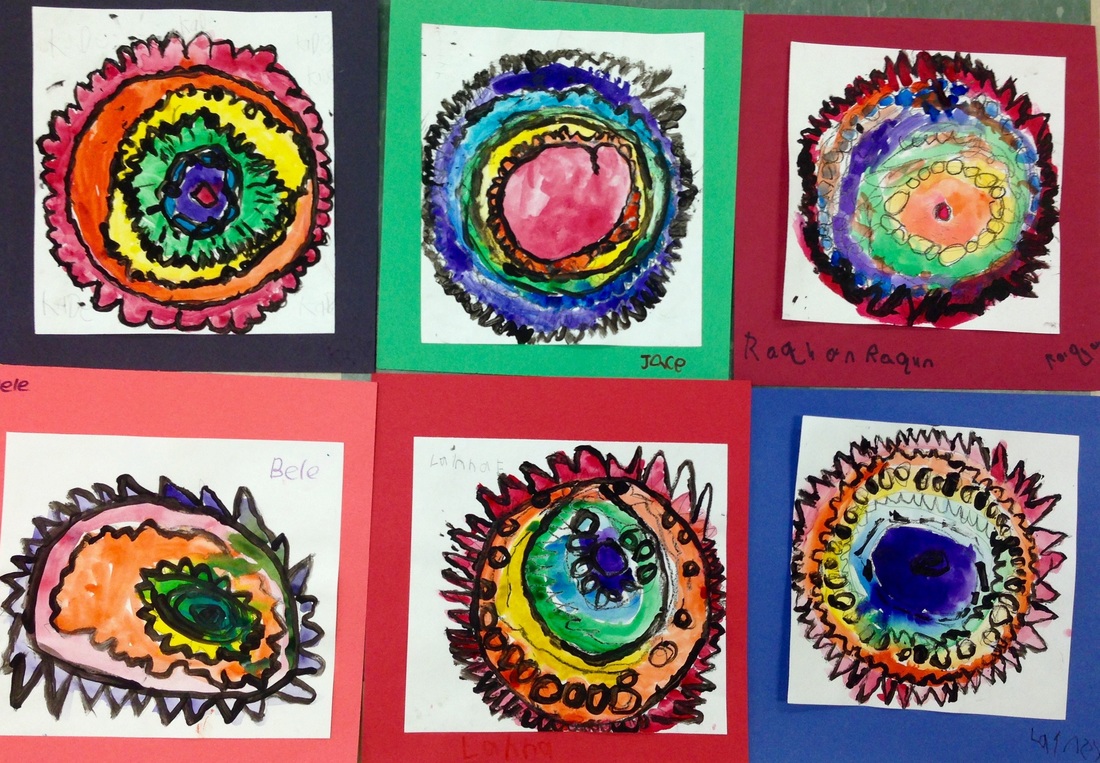 California artist Laurel Burch inspired our cat drawings. We used warm and cool colors to add color. Students learned how to neatly blend the chalk pastels and the final step was to outline in black oil pastels. Thank you to my sister Amy Clay for the lesson! our inspiration: Laurel Burch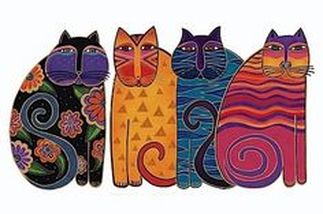 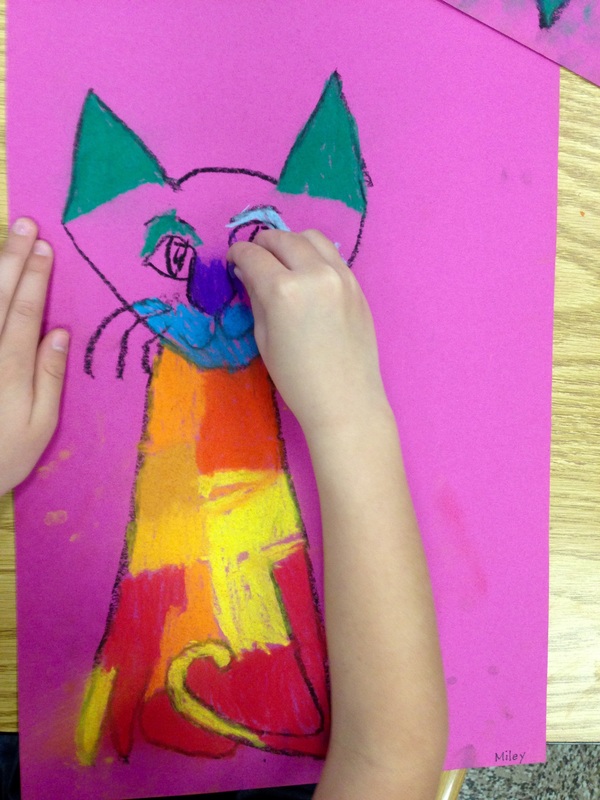 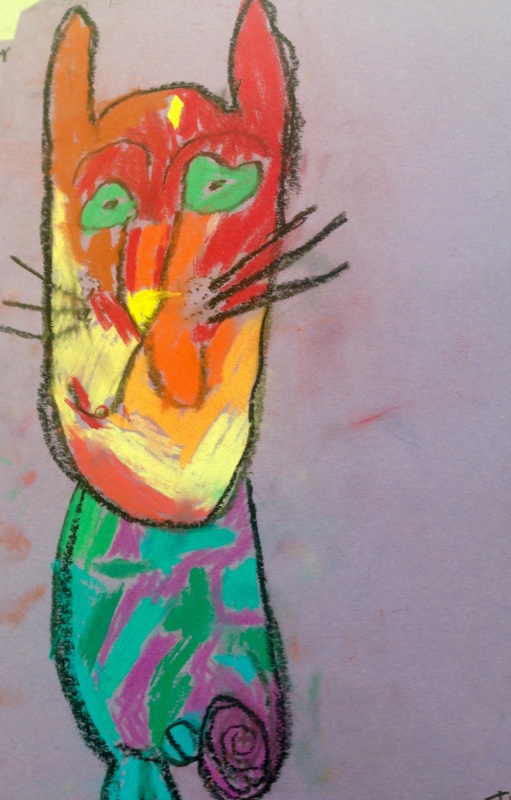 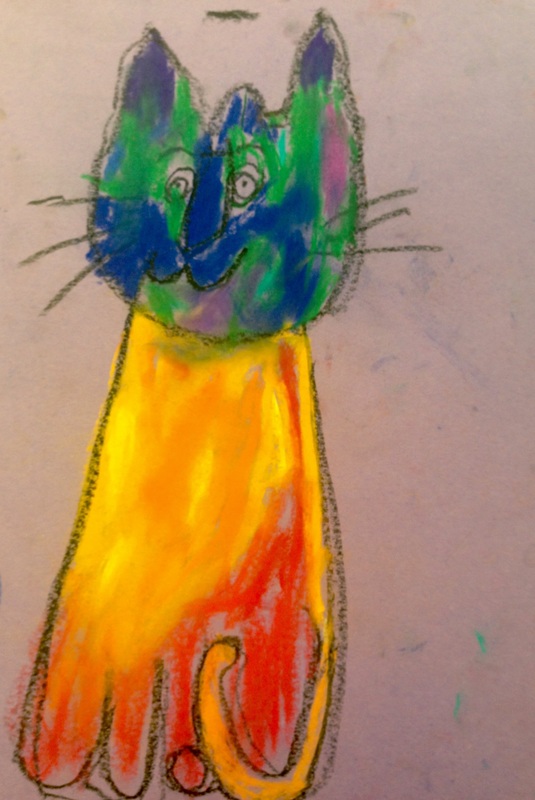 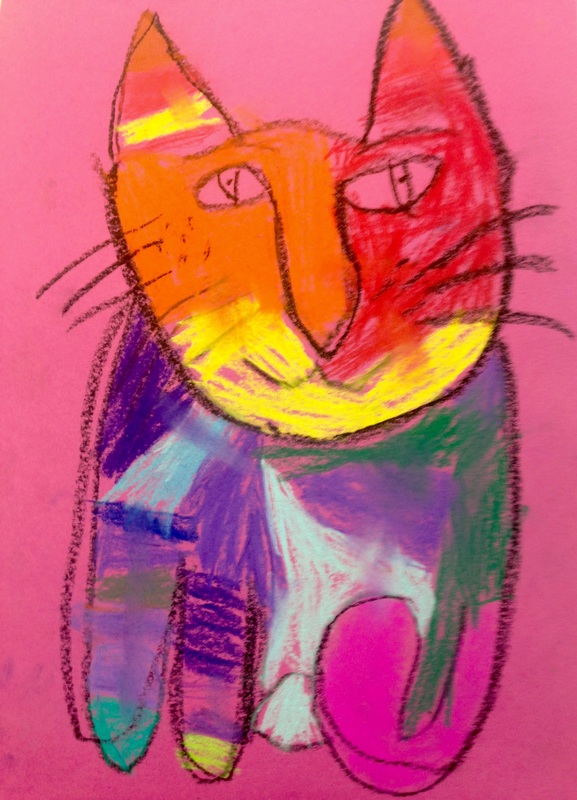
|
Author
Archives
June 2016
Categories
All
|


 RSS Feed
