1. Practice with modeling clay
I always like to practice with modeling clay before getting out the earthenware clay. Oftentimes the kids will overwork and dry out the earthenware clay and get frustrated because it cracks and doesn't stick together. Practicing with modeling clay first ensures that when they get the "real" clay in their hands, they'll be ready to be successful from the get-go.
2. Earthenware Clay
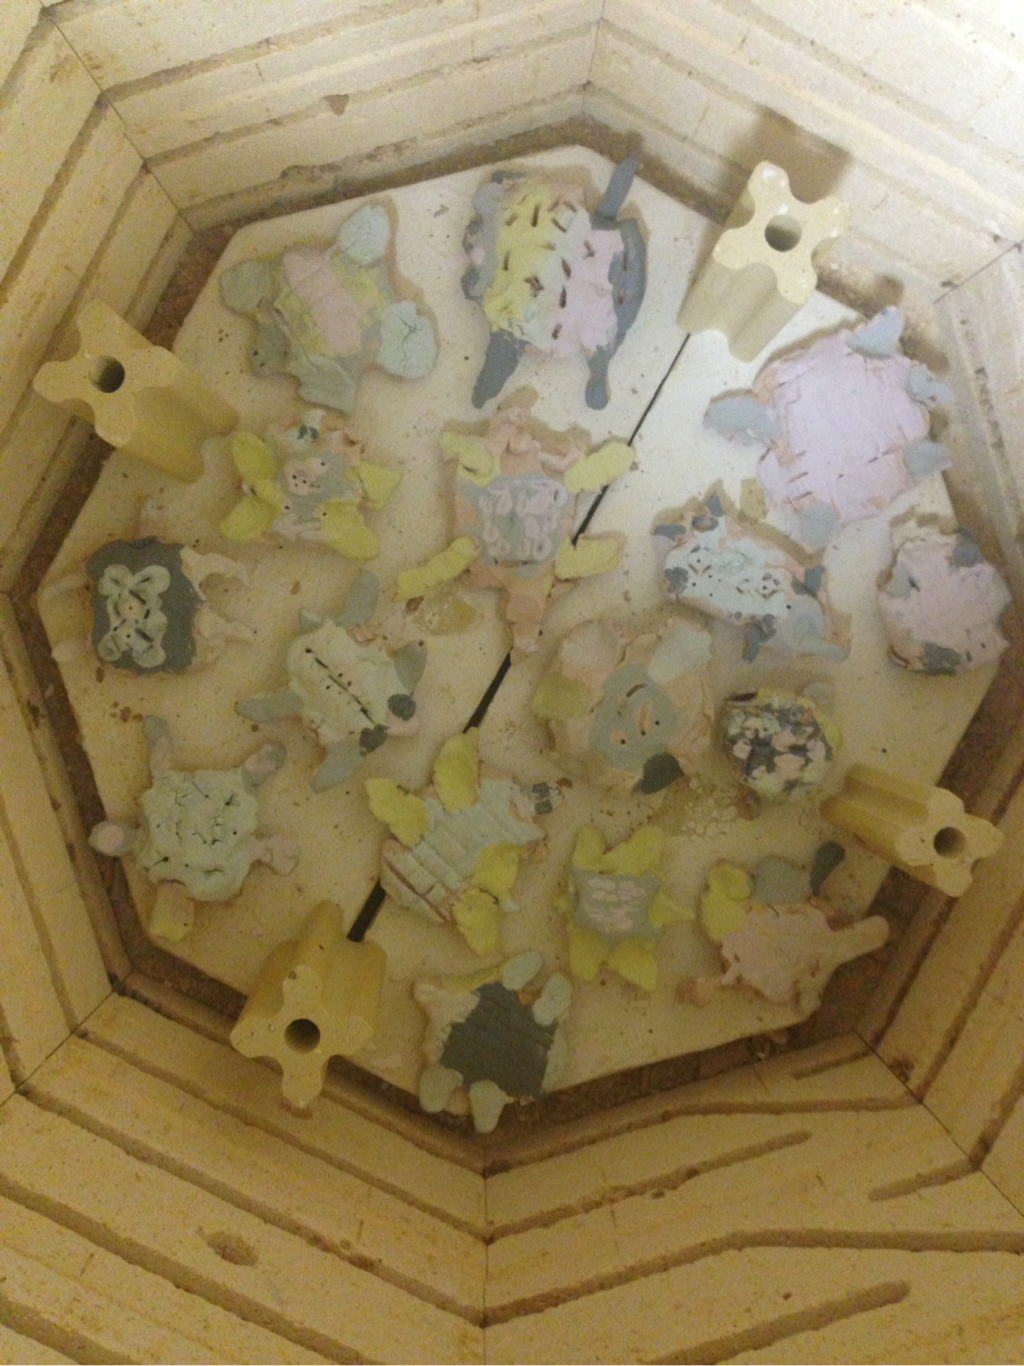
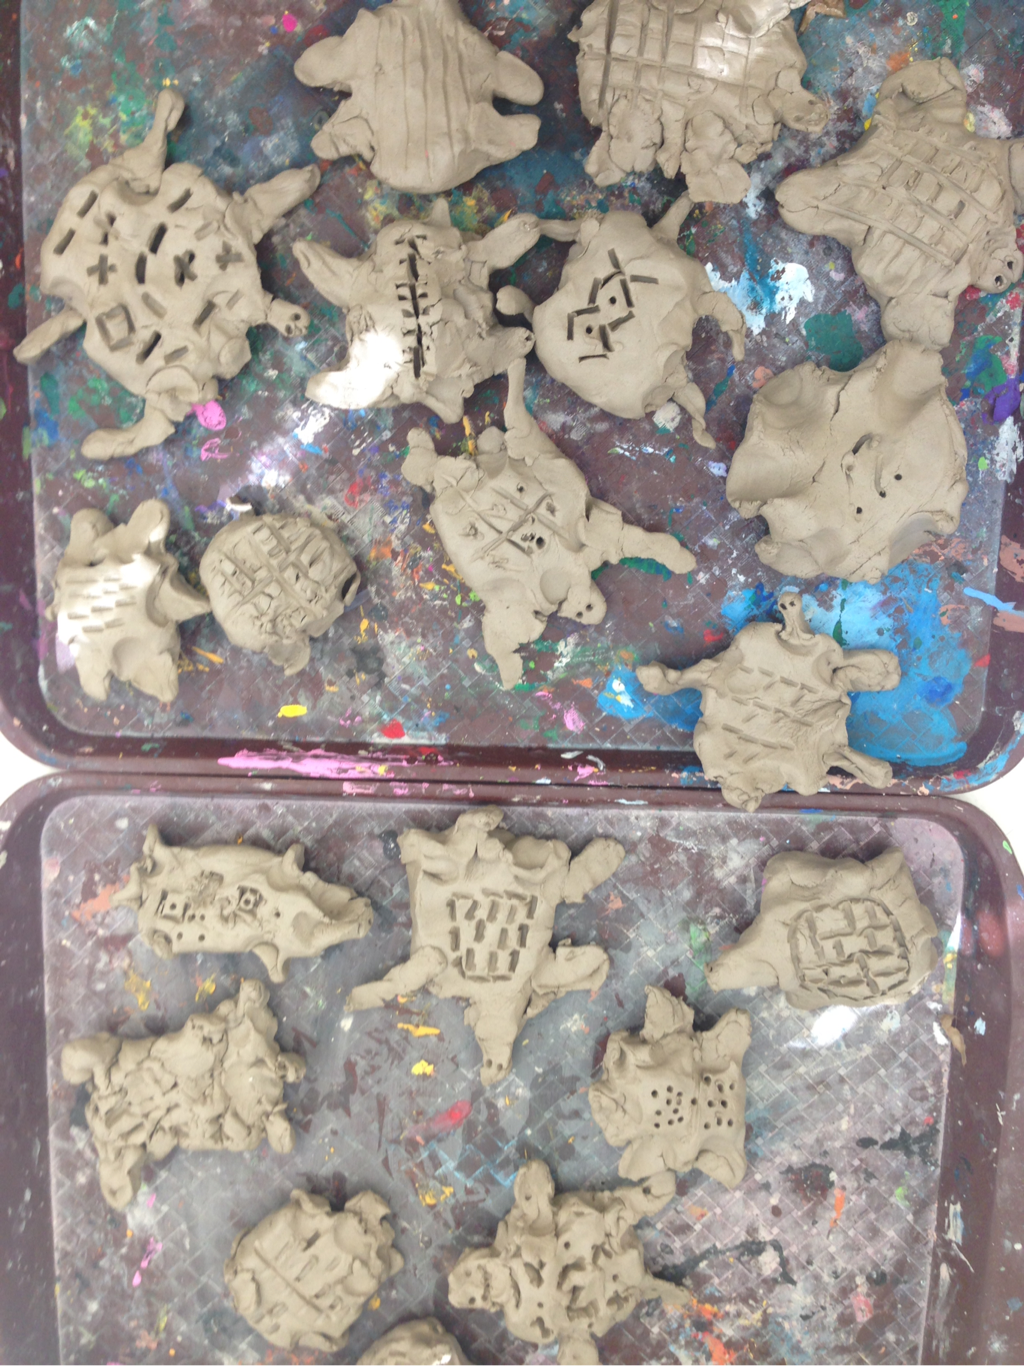
This time around the artists raise their hand when they are finished and I write their name and the name of their class on the bottom. If their turtle is thick, I also poke a few holes in the bottom to ensure it dries out quickly and completely. If there are any air pockets or moisture in the clay when I fire it in the kiln, the piece is likely to explode.
3. Glaze
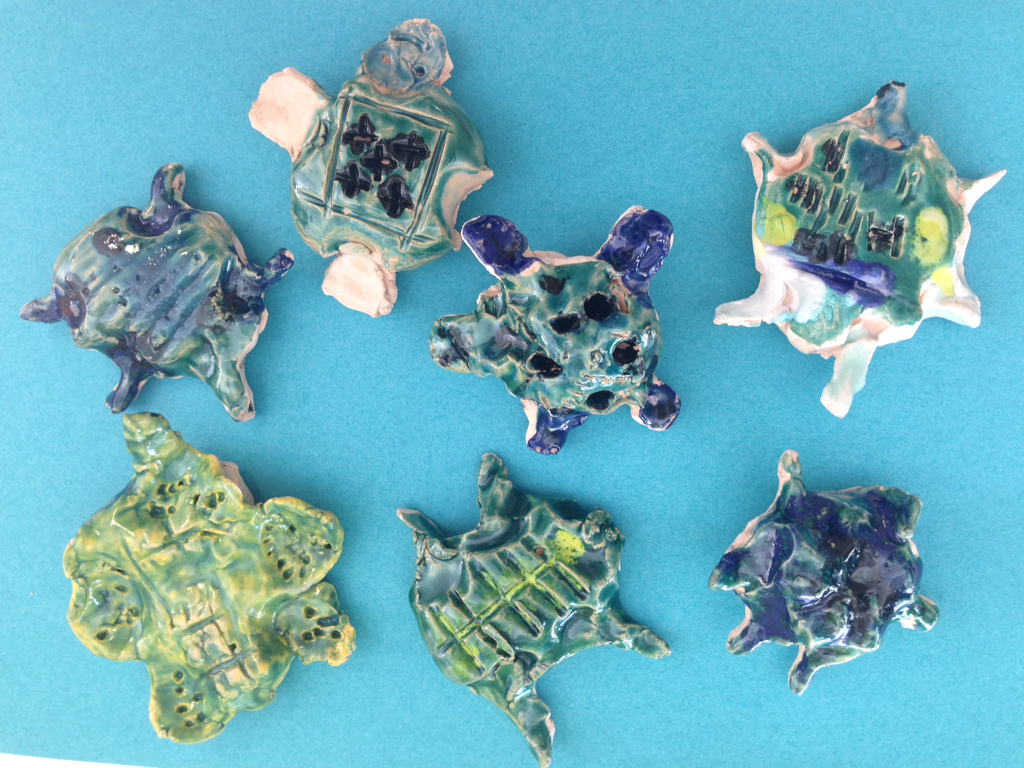
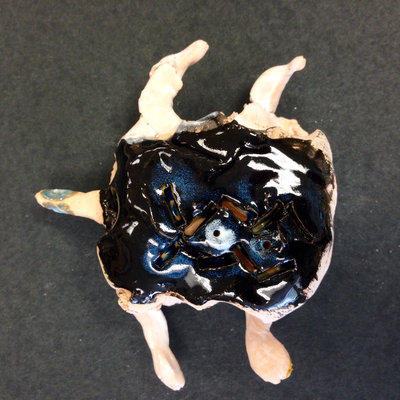
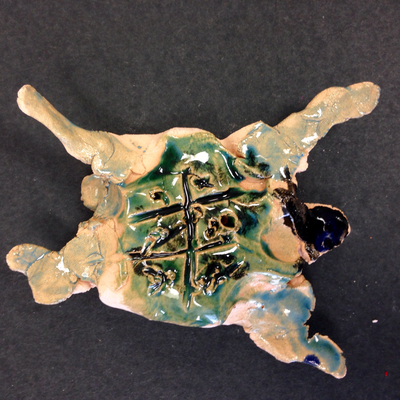
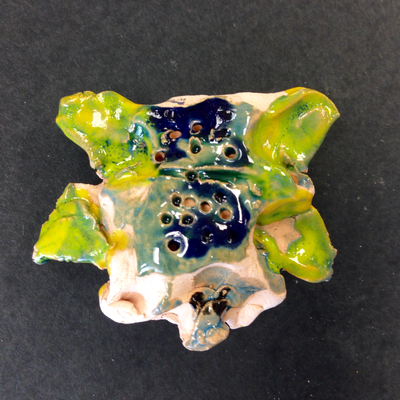
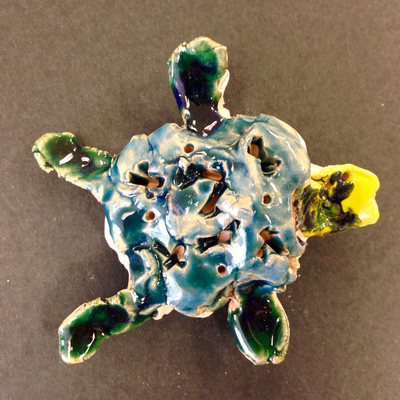
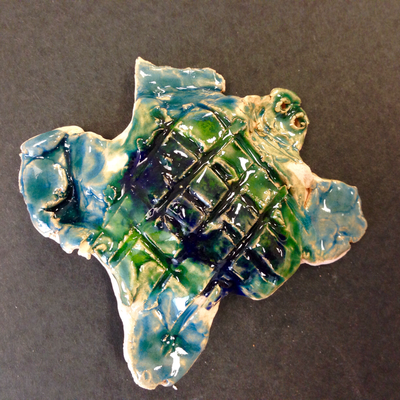
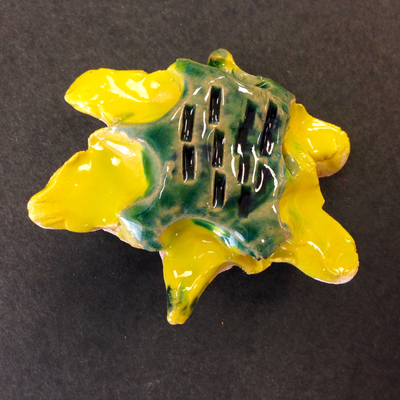
Once the pieces are bisque fired, the artists glaze their turtle. Applying 3 coats of glaze promises bright, glossy colors.

 RSS Feed
