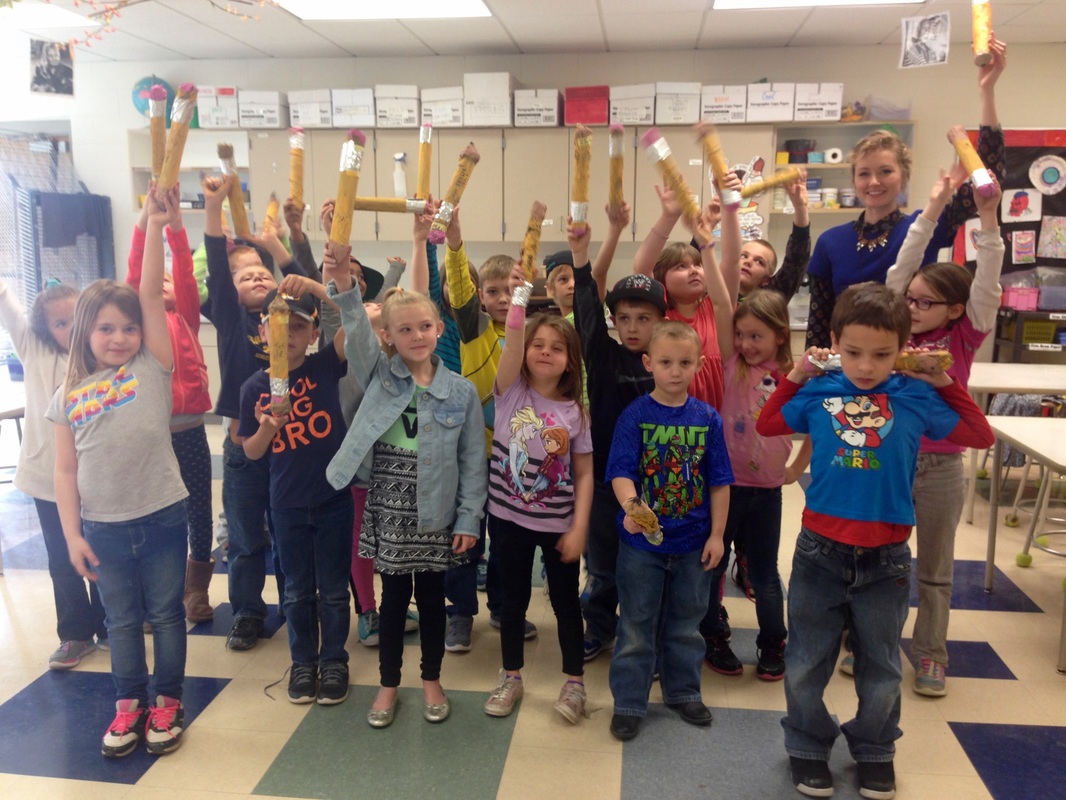
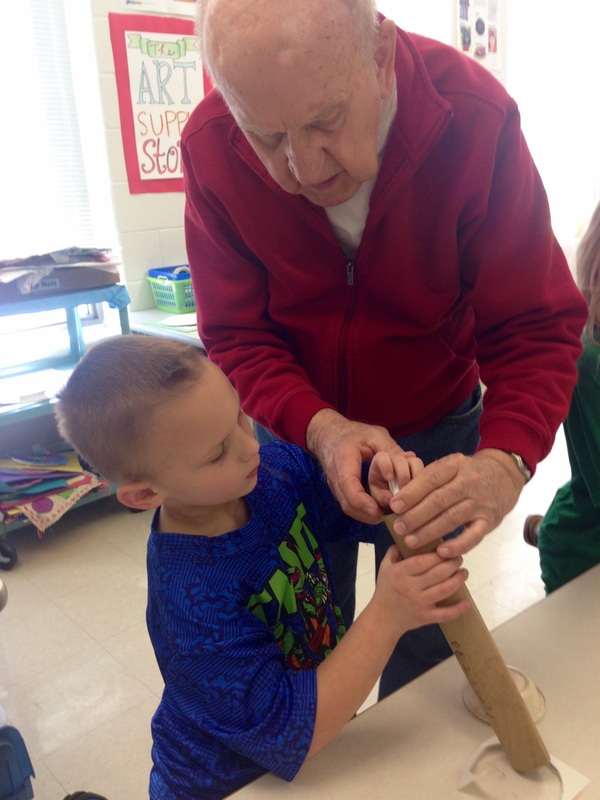
This is a favorite project for 1st grade artists. "Does it actually write?" Is usually the first question asked when I pull out my example to show them:) This project comes from my sister, Amy Clay. Thank you, Amy! We absolutely love this lesson!
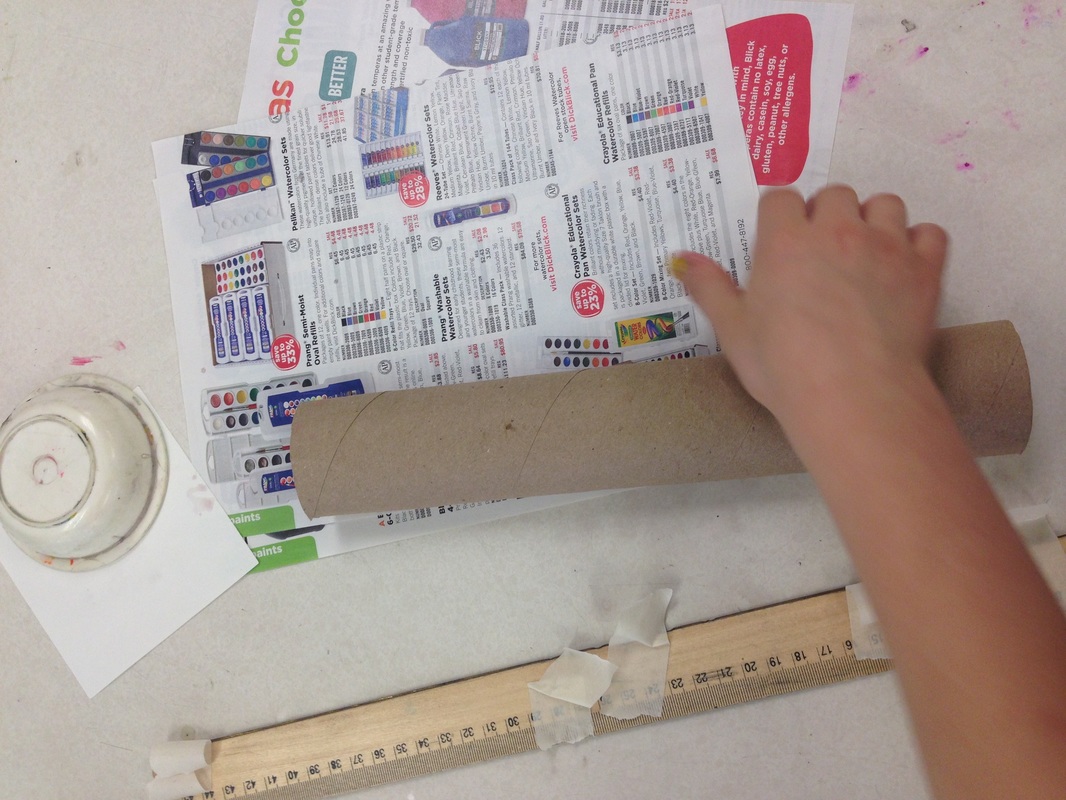
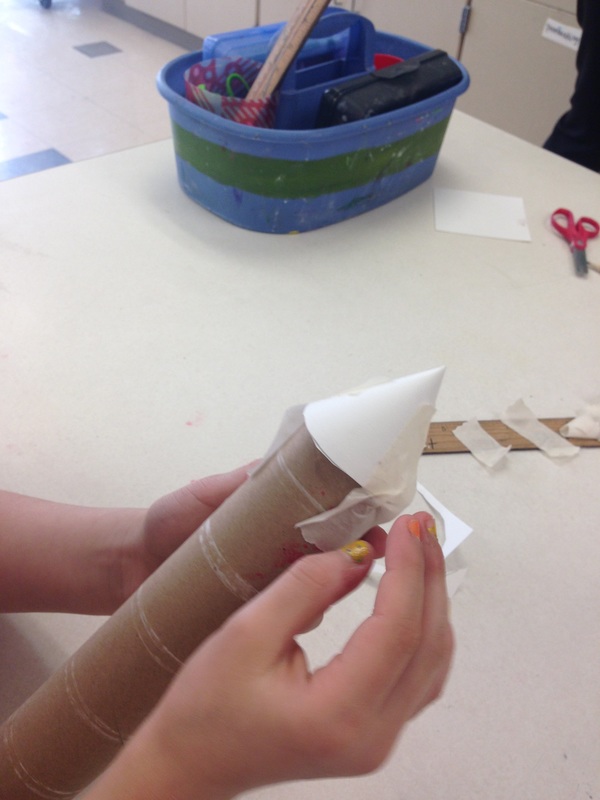
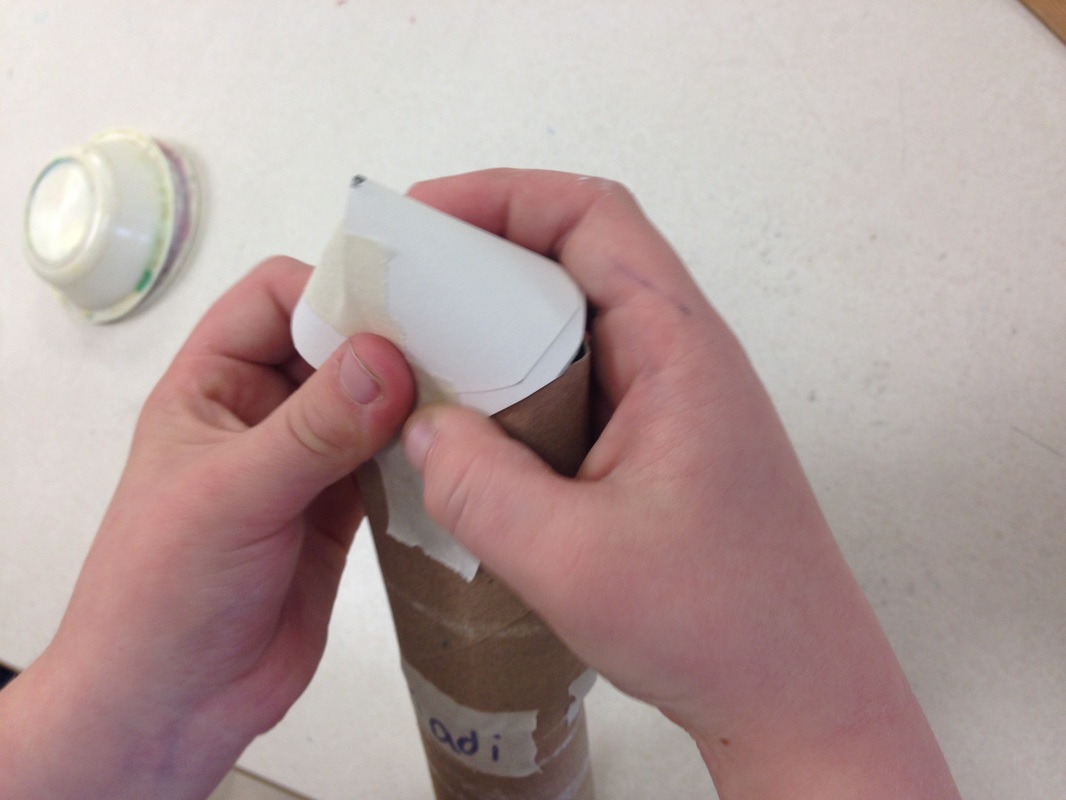
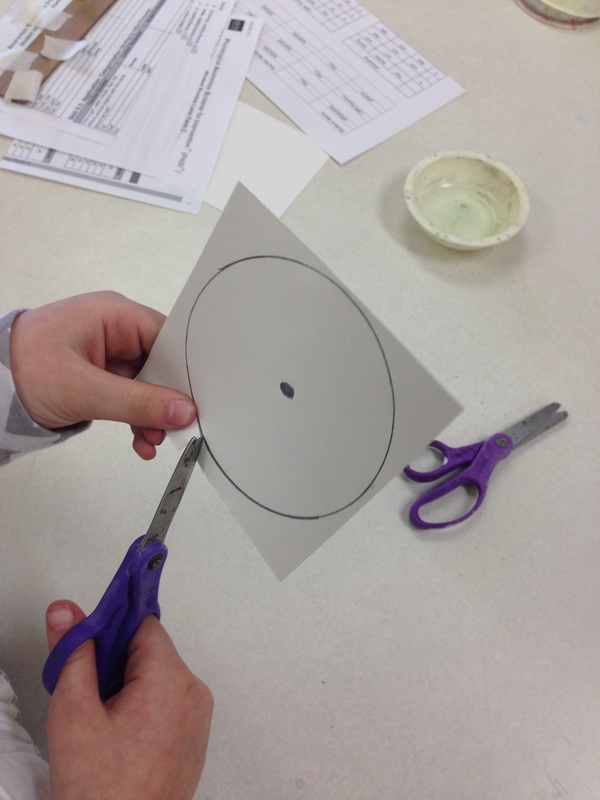
1. Build the form
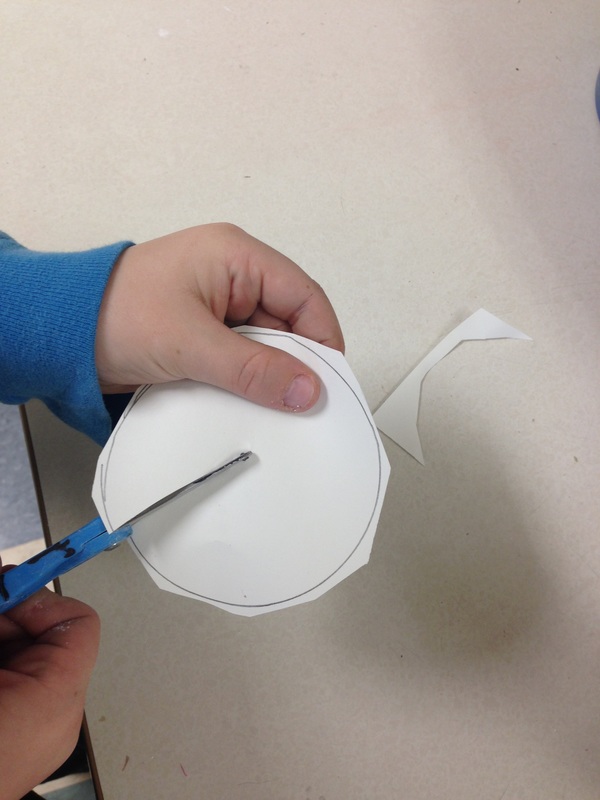
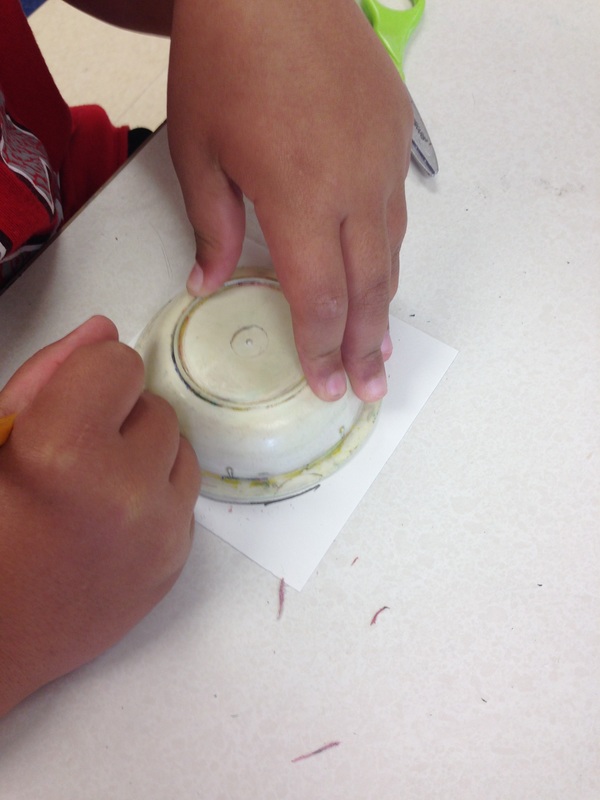
There are 2 main forms on a pencil: a cylinder and a cone. A paper towel roll is the perfect start for our cylinder. The eraser end was formed by crumpling up a piece of paper (I pulled paper thrown into the recycling bin in the copy room) and taping it inside one end of the cylinder. The cone is formed by tracing a lid on a piece of white sulphite (4 x 4), and drawing a dot in the center of the circle. Cut out the circle and, starting anywhere on the perimeter of the circle, make one straight cut to the dot in the center and stop. We now have a walking circle! Cross the legs and once you have a cone that fits your cylinder, apply the tape.


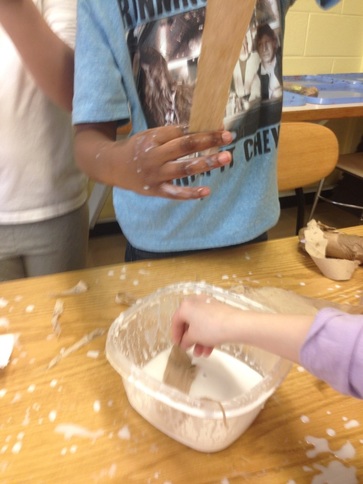
2. Paper Mache
Now it's time to get messy! As they entered the art room, I handed each student a little rectangle of gold paper and instructed them to write their name with a Sharpie. This "golden ticket" is placed in a safe place to be stuck on their pencil at the end of class. I make my paper mache paste using water and glue with a 1:1 ratio. This year I used paper towels for the strips of paper, but newspaper also works well. I think the kids were a little more successful with getting a smooth finish on their pencil with the paper towels. I tell them they need to cover everything at least once, twice if they have time.
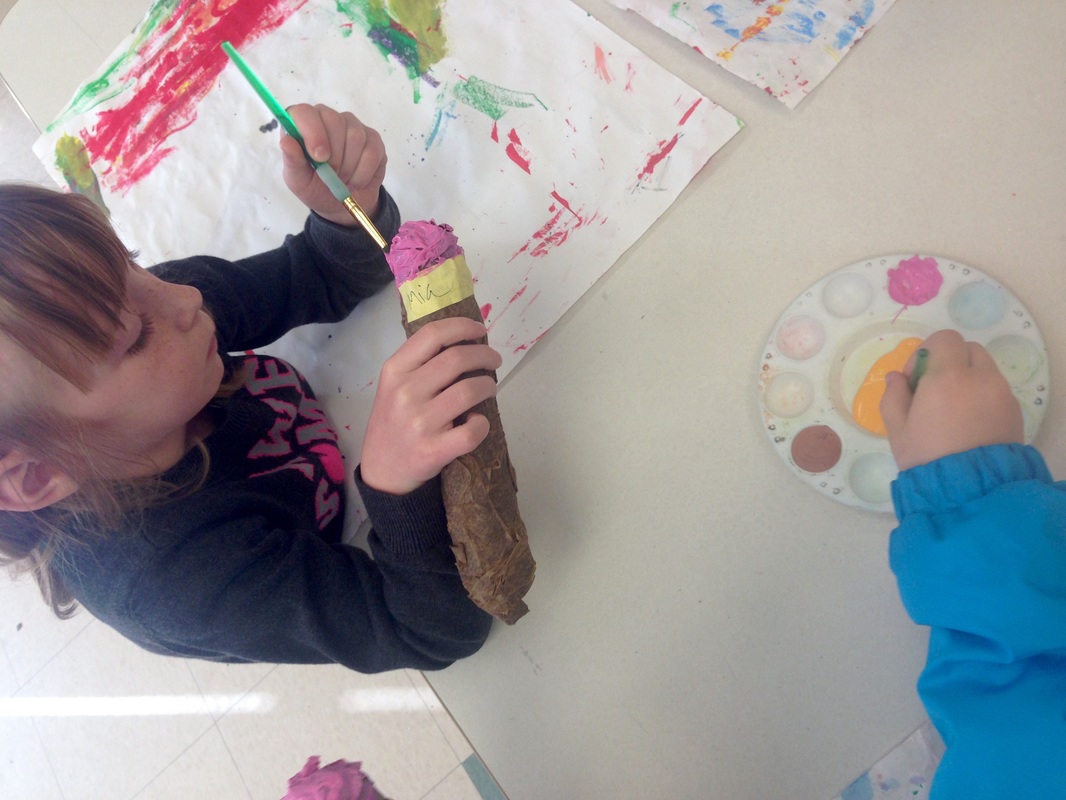
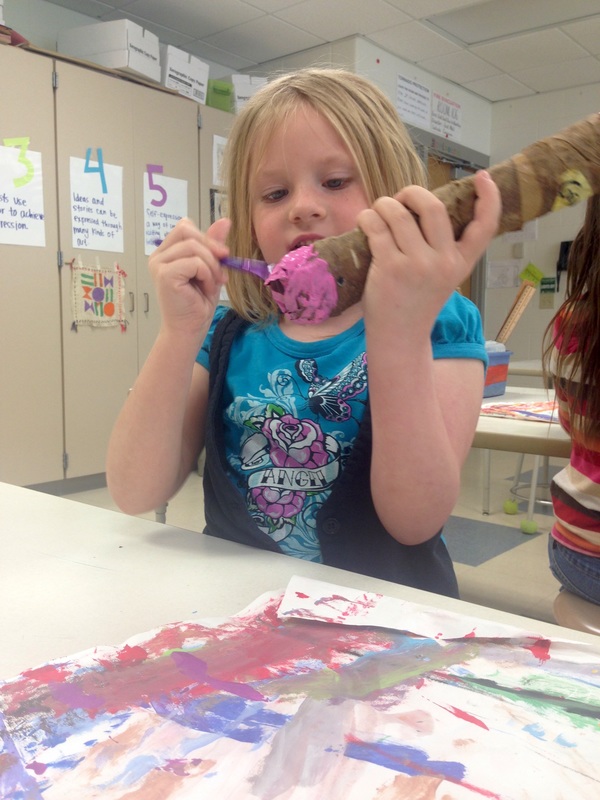
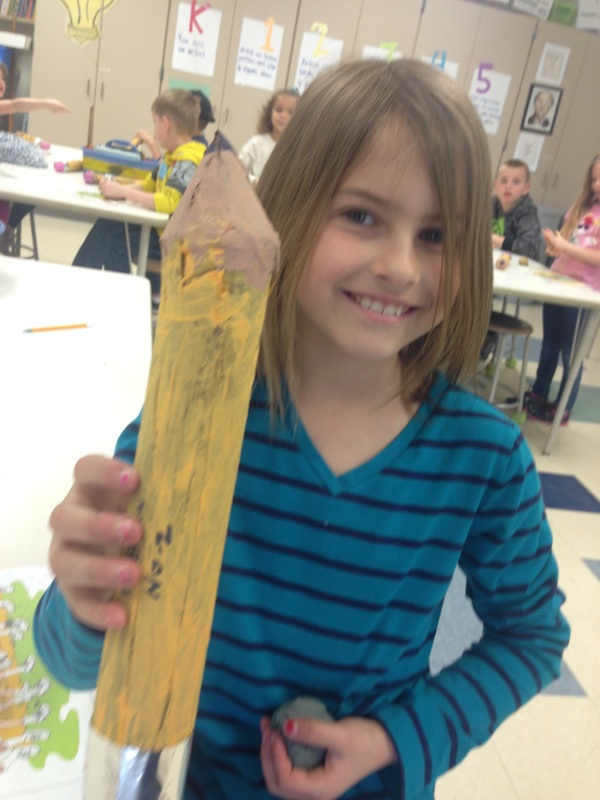
3. Paint
Why do we paint our pencils? To add color, which is an element of art and to make them look more realistic.

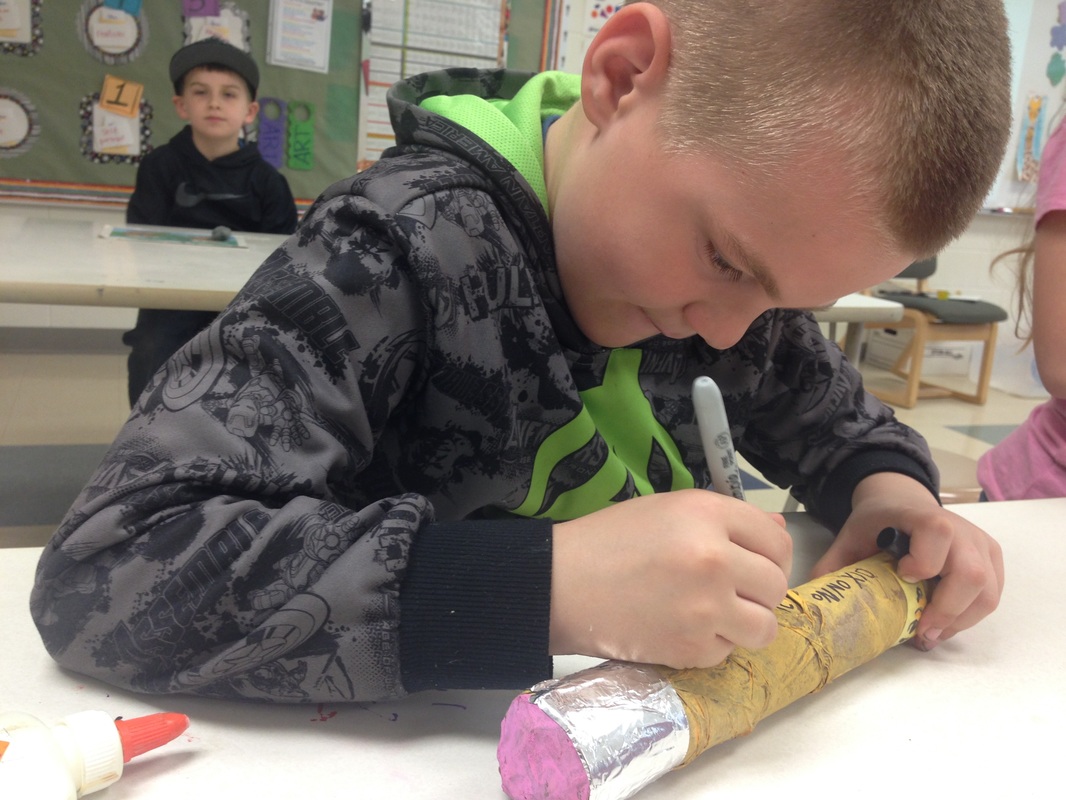
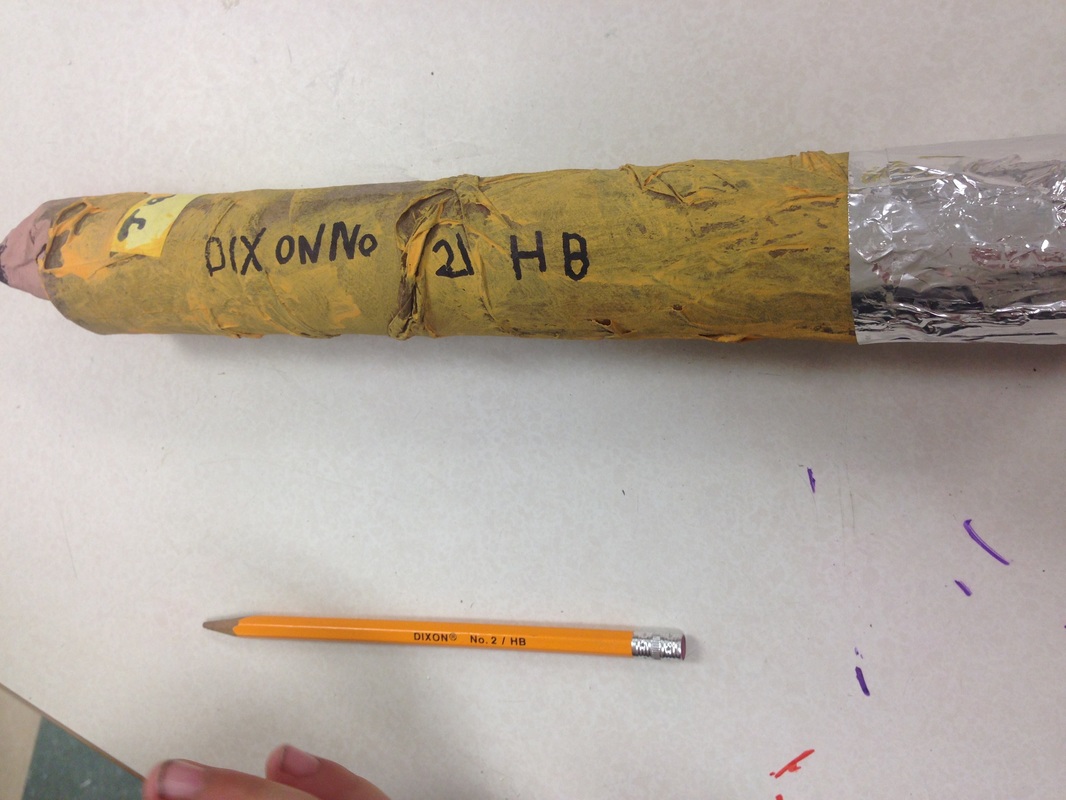
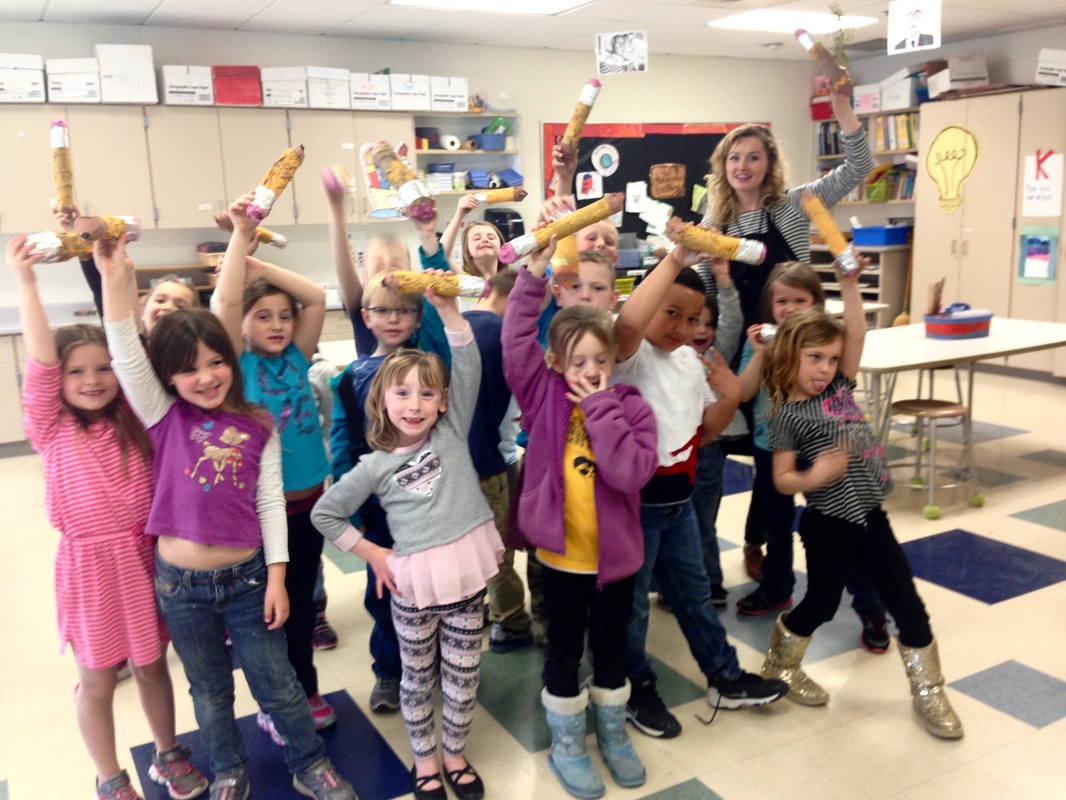
4. Add final details and take home!
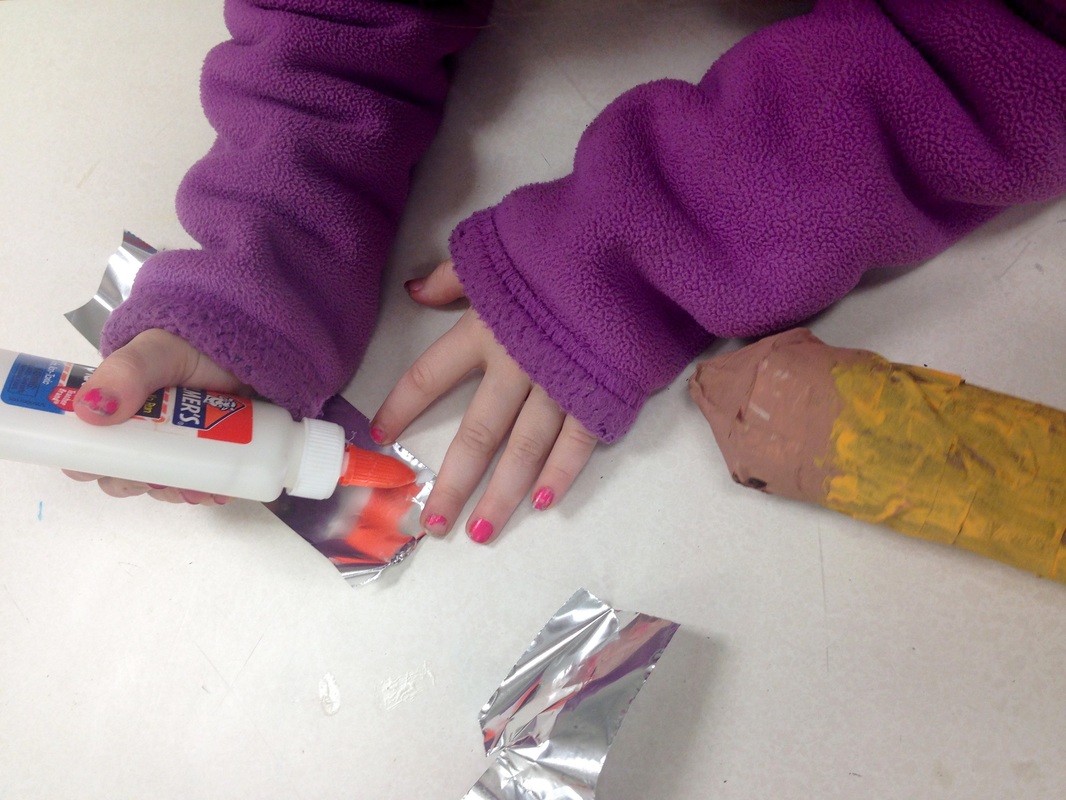
We watched a short video on how real pencils are made. Turns out the metal ring at the end is made of aluminum. How fitting, then, that we used aluminum foil for our pencil sculptures! The artists appied some glue to a 2 x 9 piece of aluminum foil and wrapped it around the end. They were responsible to use a Sharpie for 3 things:
- Name on side of pencil
- No. 2 by name
- Draw the graphite tip. (We learned in the video that this "lead" is made with a mixture of graphite and clay.)
 RSS Feed
