 |  |
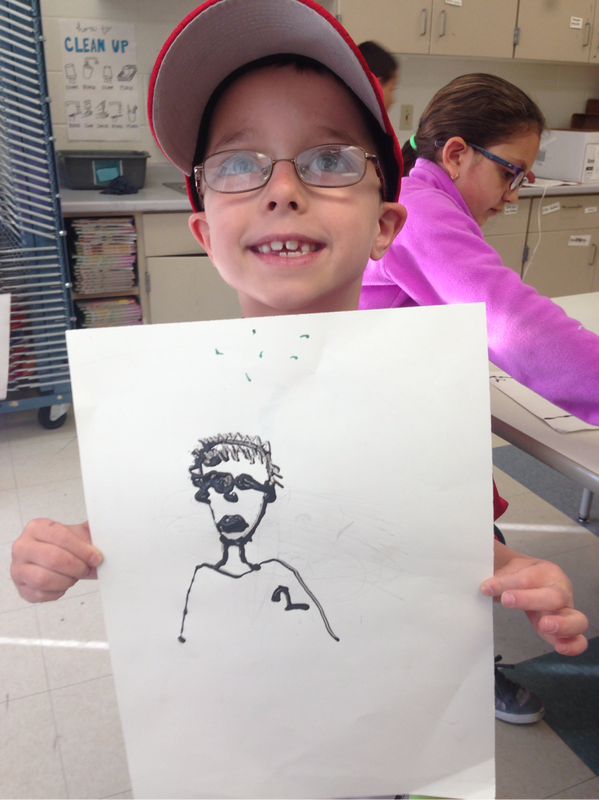
As kids get older, self-portraits can become more and more frustrating. They so badly want their drawing to show likeness and get upset when the nose or the eyes or the hair just isn't looking right! A few of us experienced some frustration and confusion but we must remember: confusion is a natural and necessary part of ALL learning!
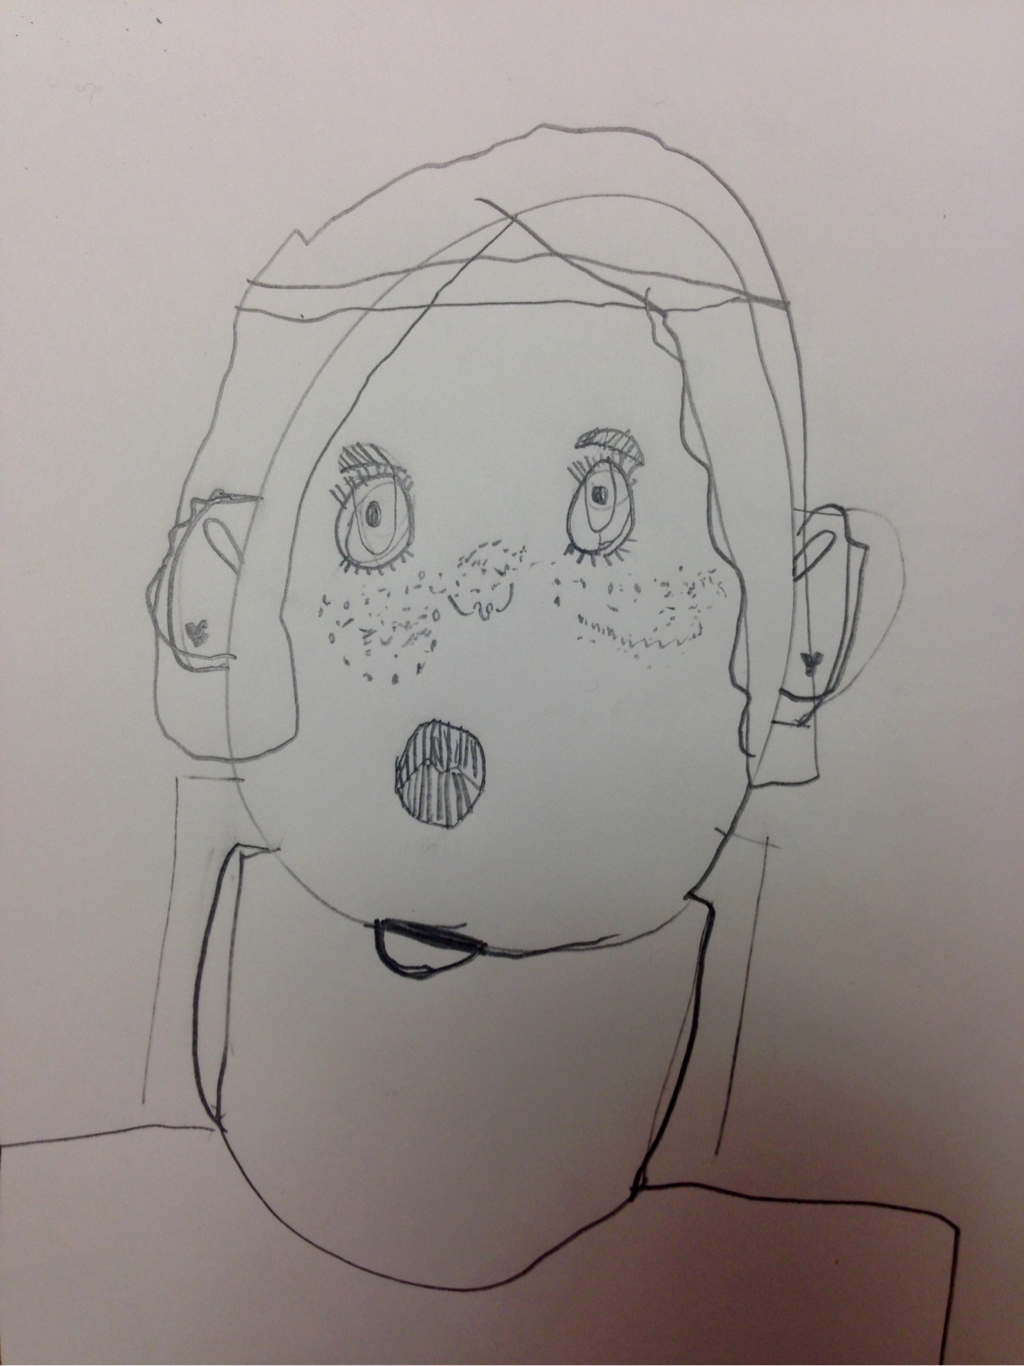
1. Learn the proportions
Before we drew ourselves, we learned how to draw a face using general proportions. We looked at this image I found online and it helped us to see that eyes are halfway down the face and general shapes of the facial features. We practiced in our sketchbook.

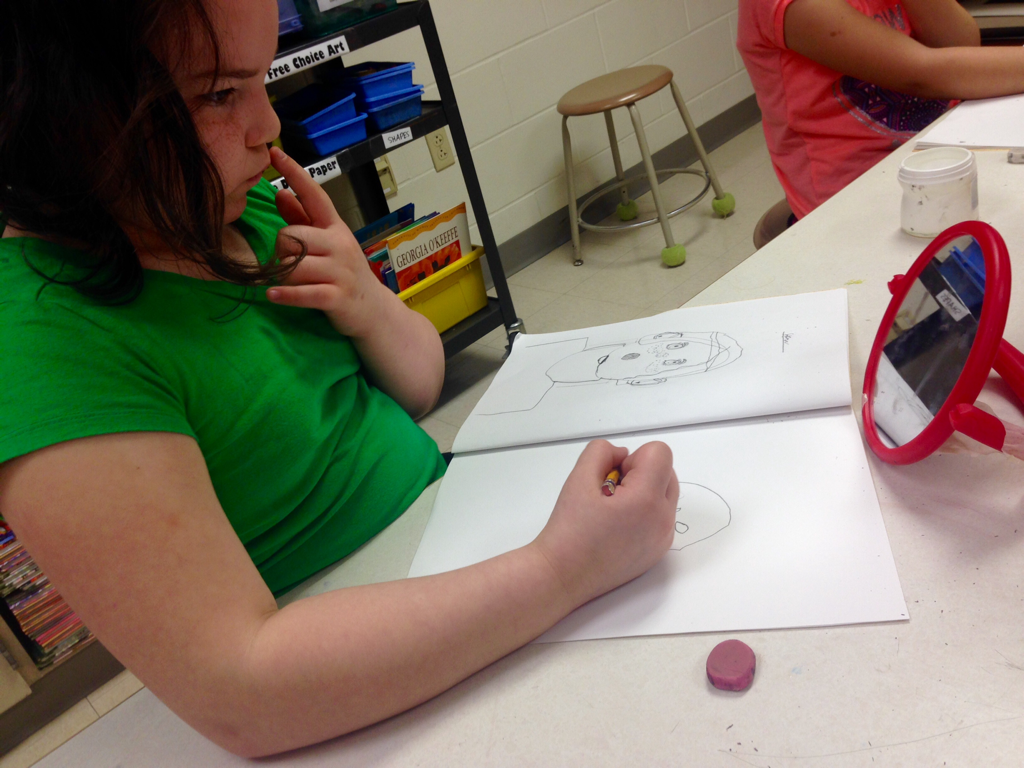
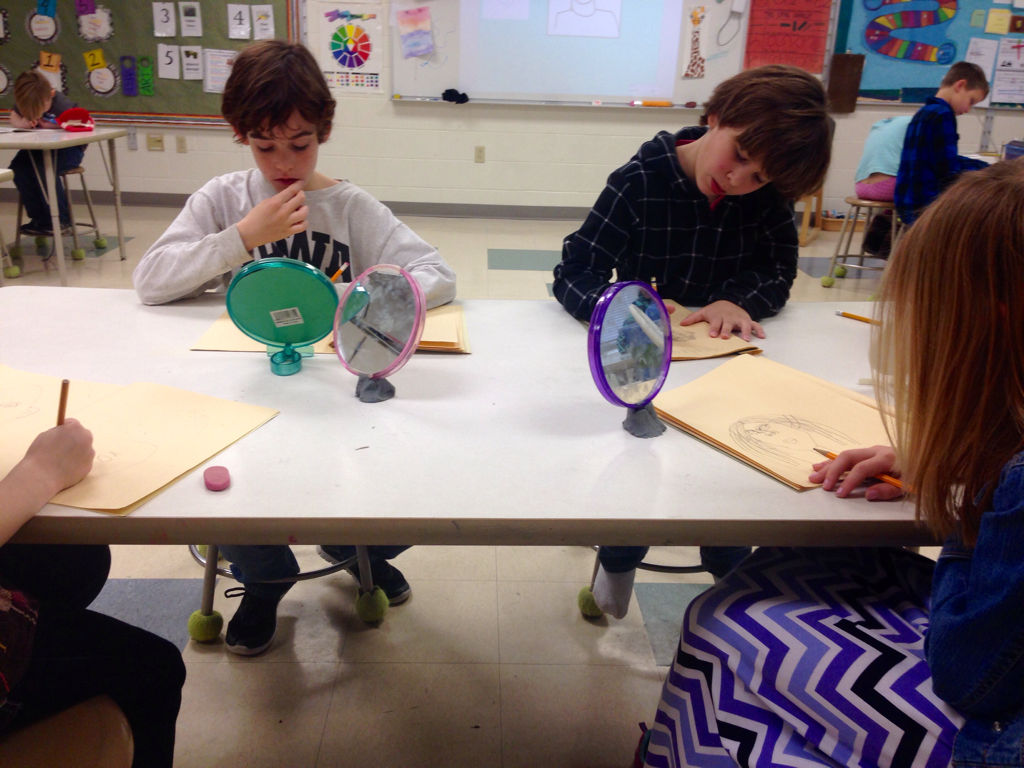
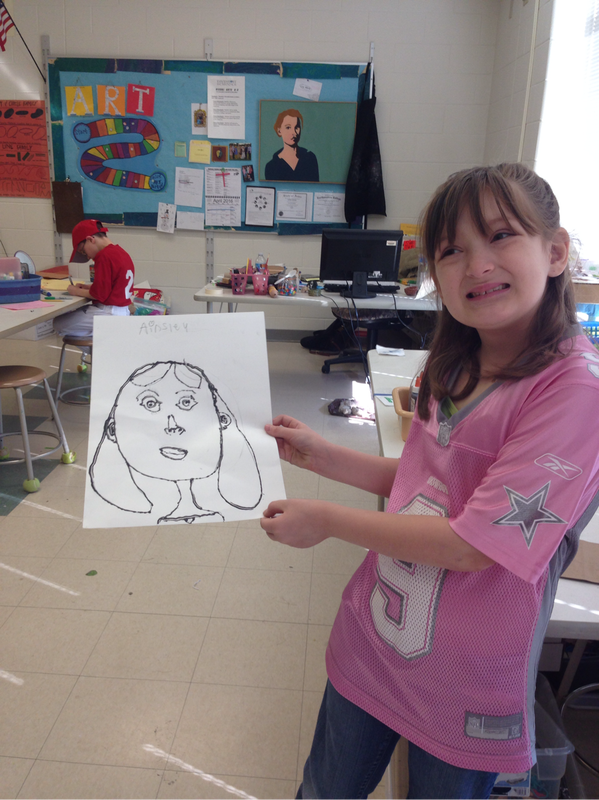
2. Practice with a mirror
We tried a new technique that I learned from star art teacher Cassie Stephens. She posted a video of a technique for drawing a still-life: following the outline of the item one is drawing with one hand and drawing with the other hand at the same time. Synchronized drawing! I thought I'd try it out with the kids for self-portraits. I knew it would be a little more challenging as they would be looking in the mirror and their hands would be further apart, but the kids were SO SUCCESSFUL!! I am so proud of them.
 |    |
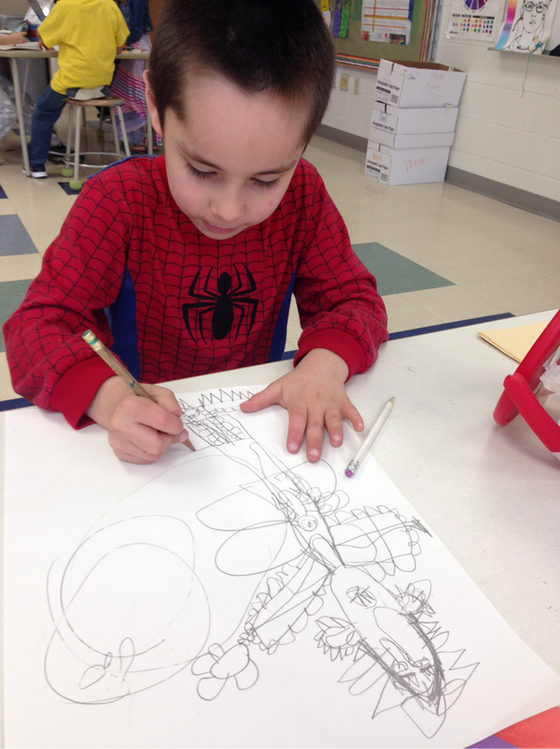
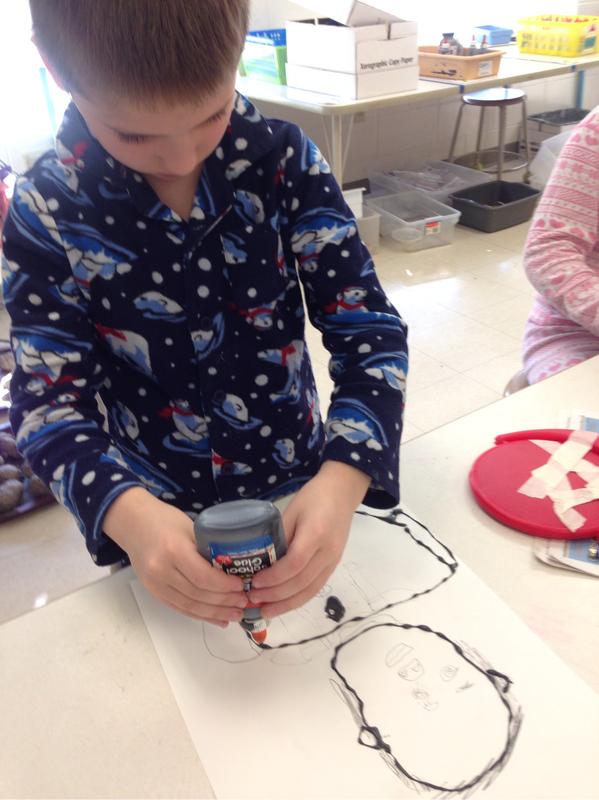
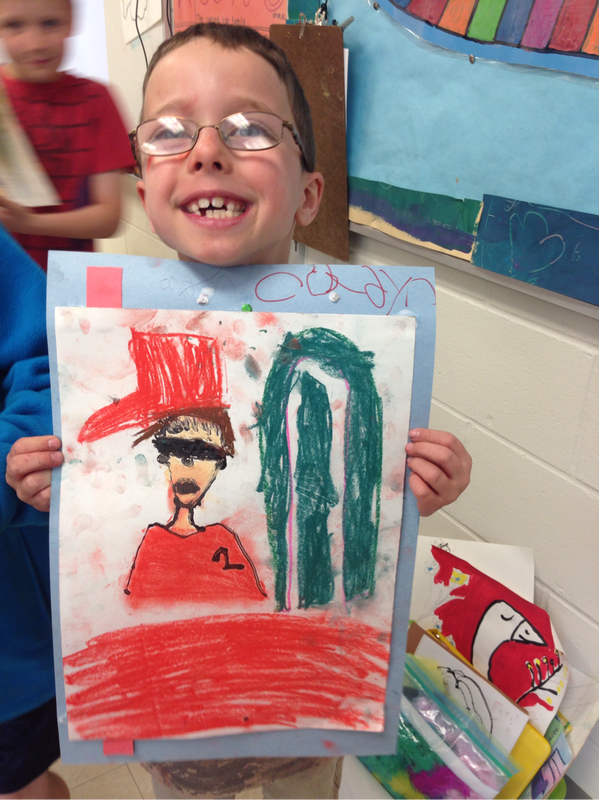
3. Earn three taps and draw BIGGER
Once a student had a successful practice portrait in their sketchbook, they raised their hand. If I saw something they could change or add, I made a suggestion. If they were ready for the BIG paper, I tapped my finger three times on their drawing--this was the signal to go to the art supply store table and get the BIG paper. They drew another portrait on this paper, using the drawing techniques they have learned and practiced and using their sketchbook drawing as a reference.
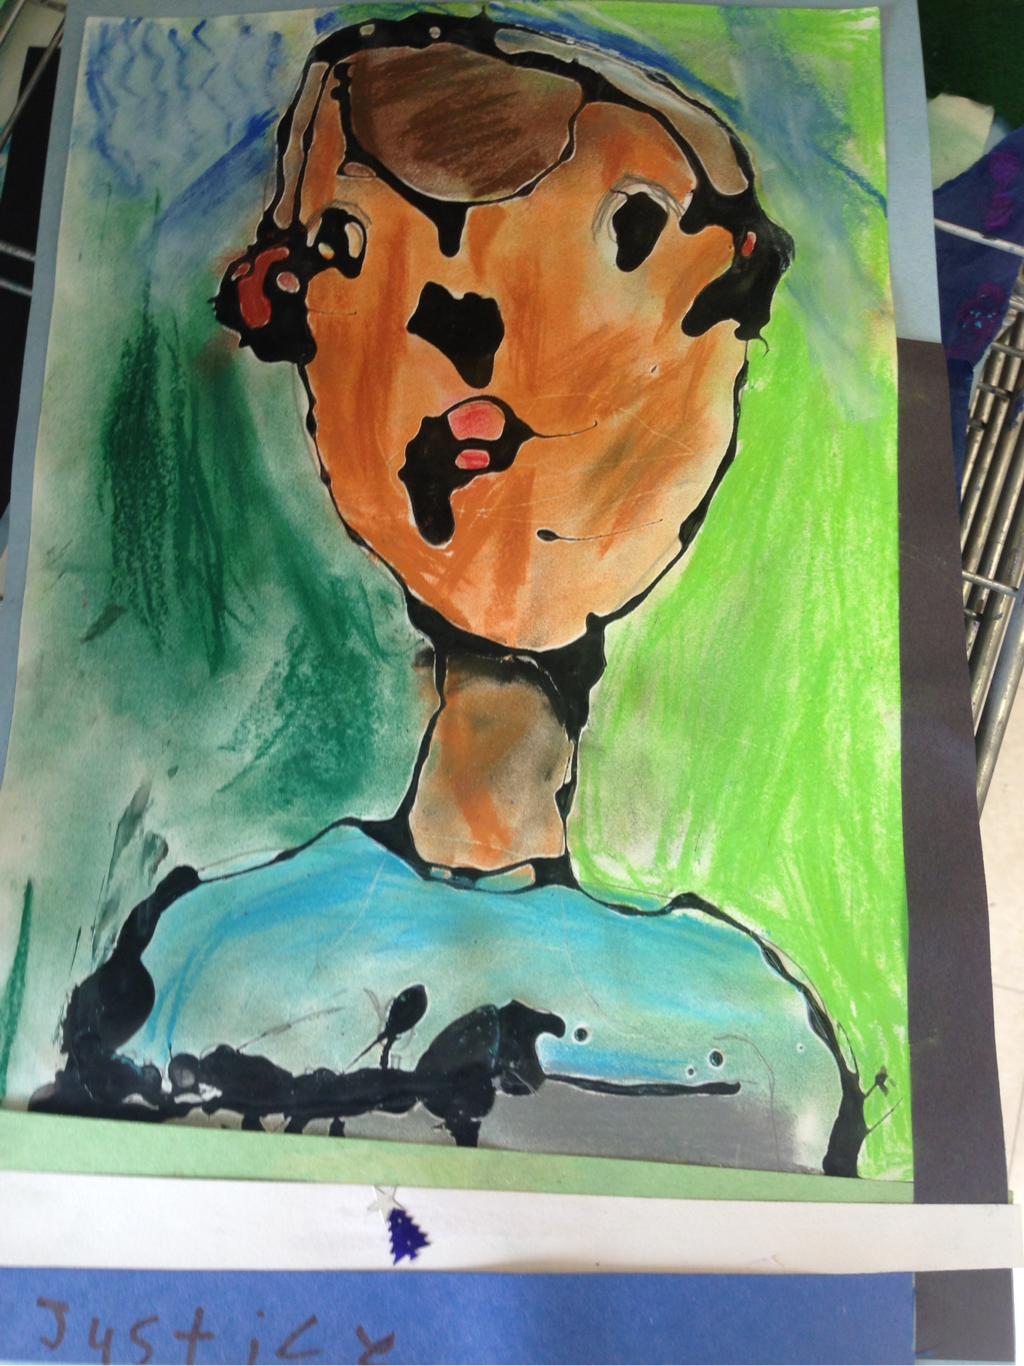
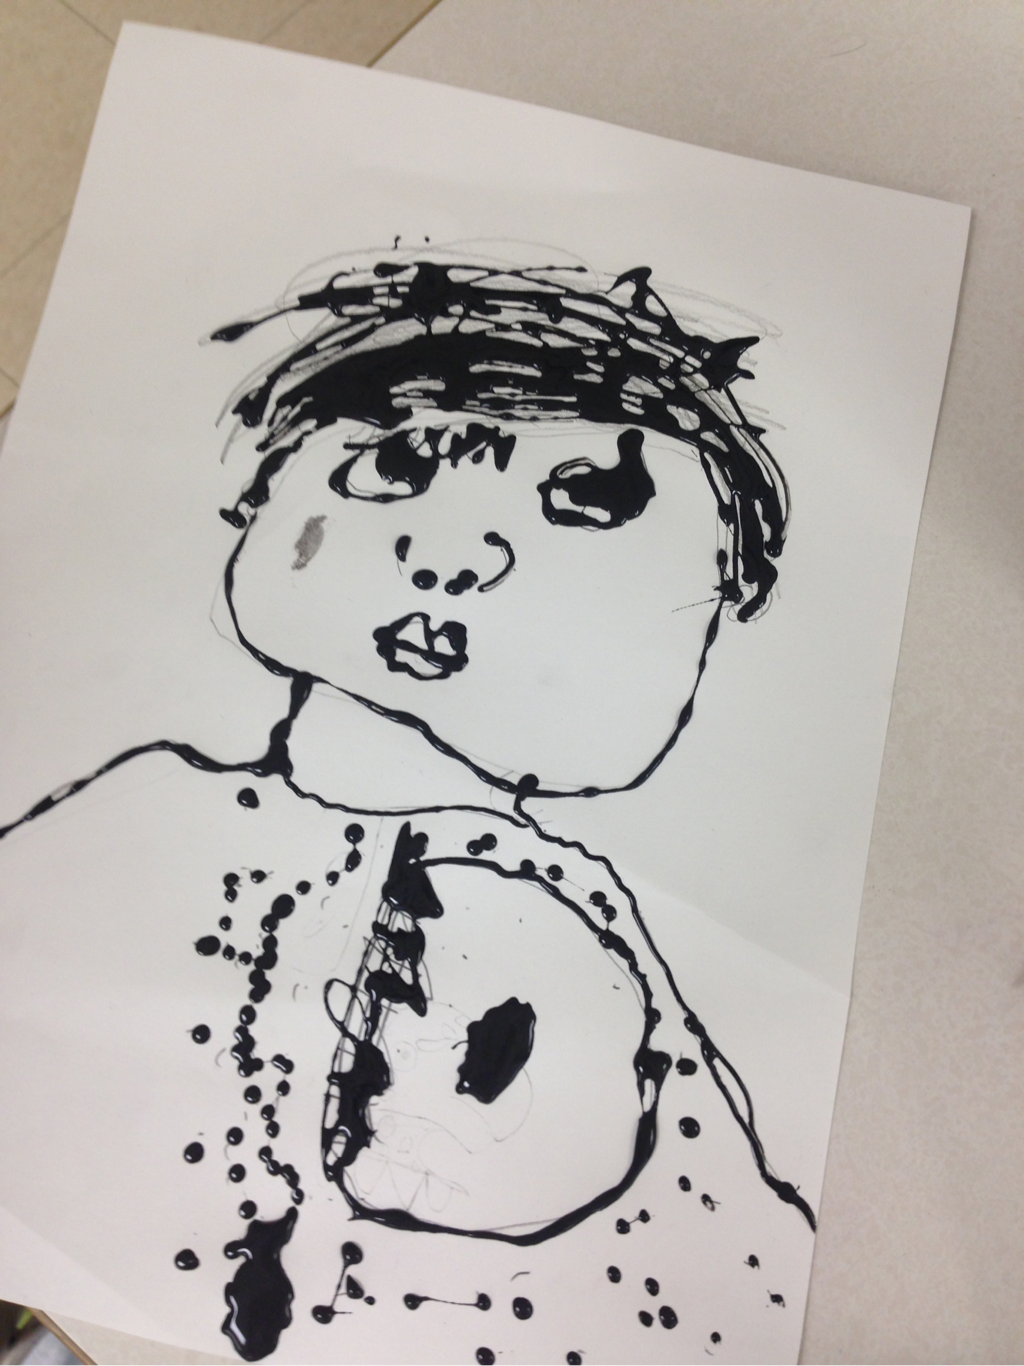
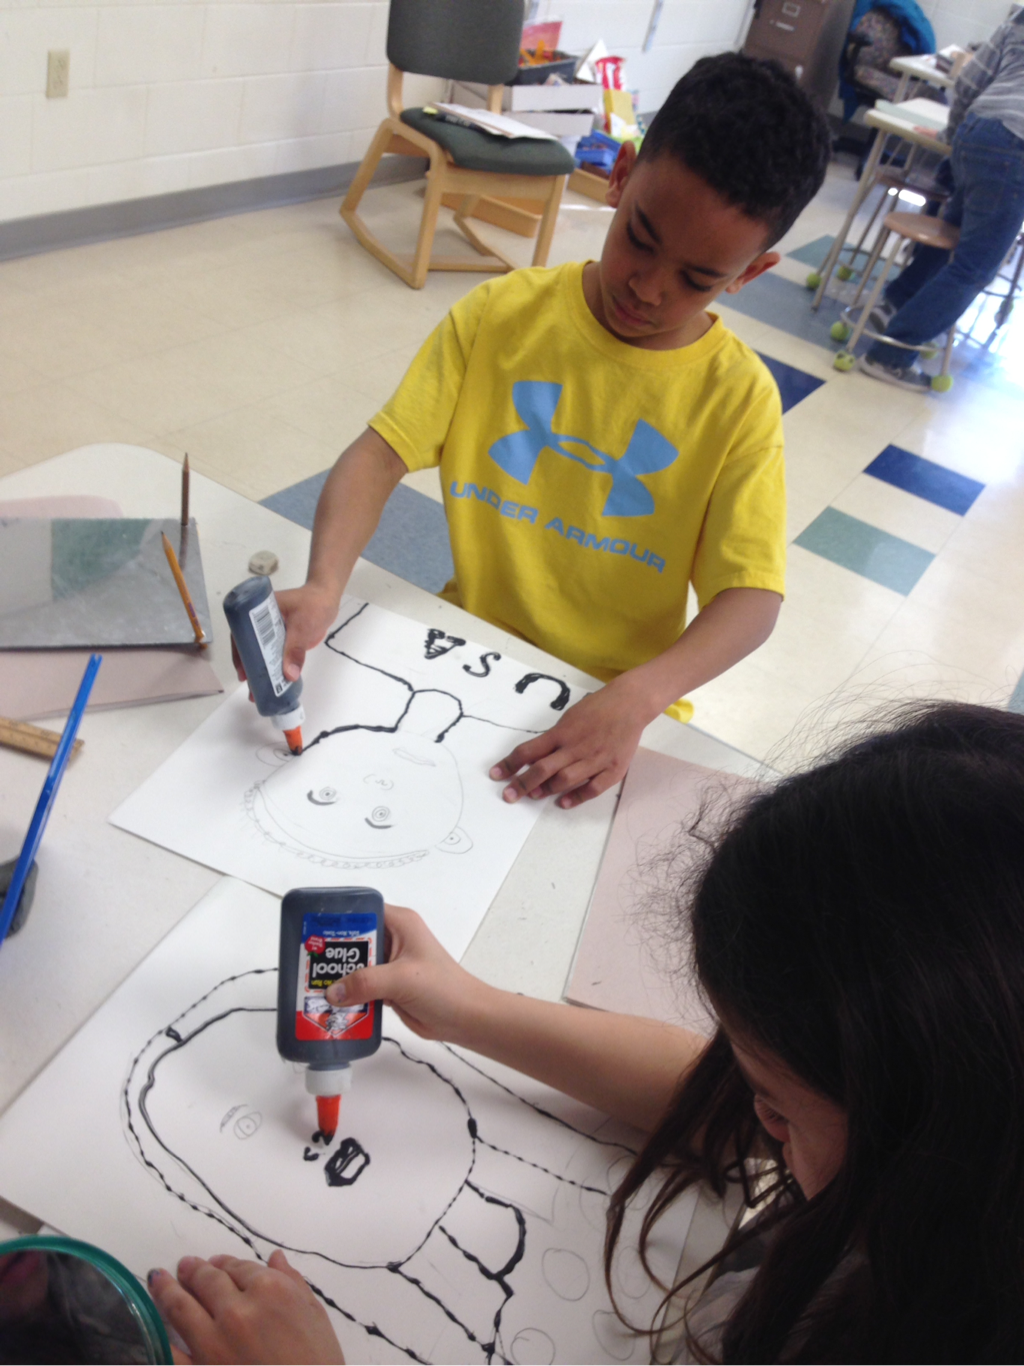
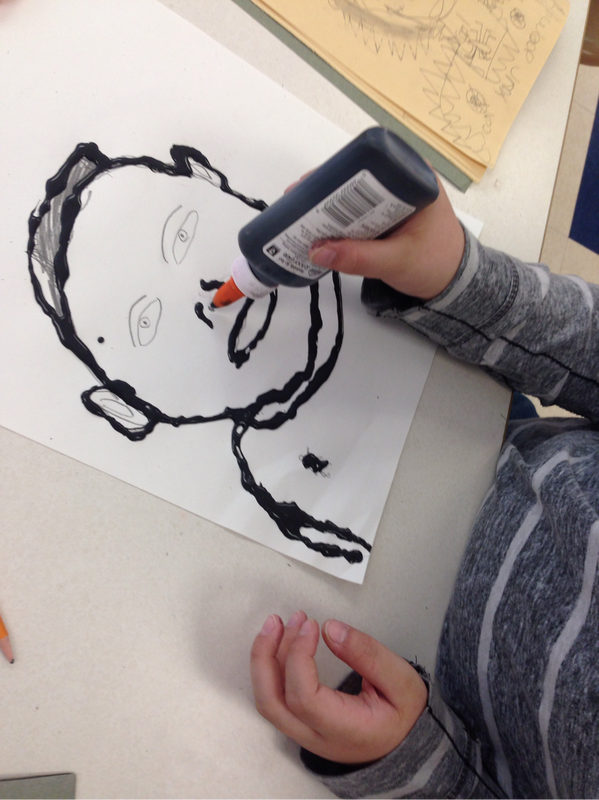
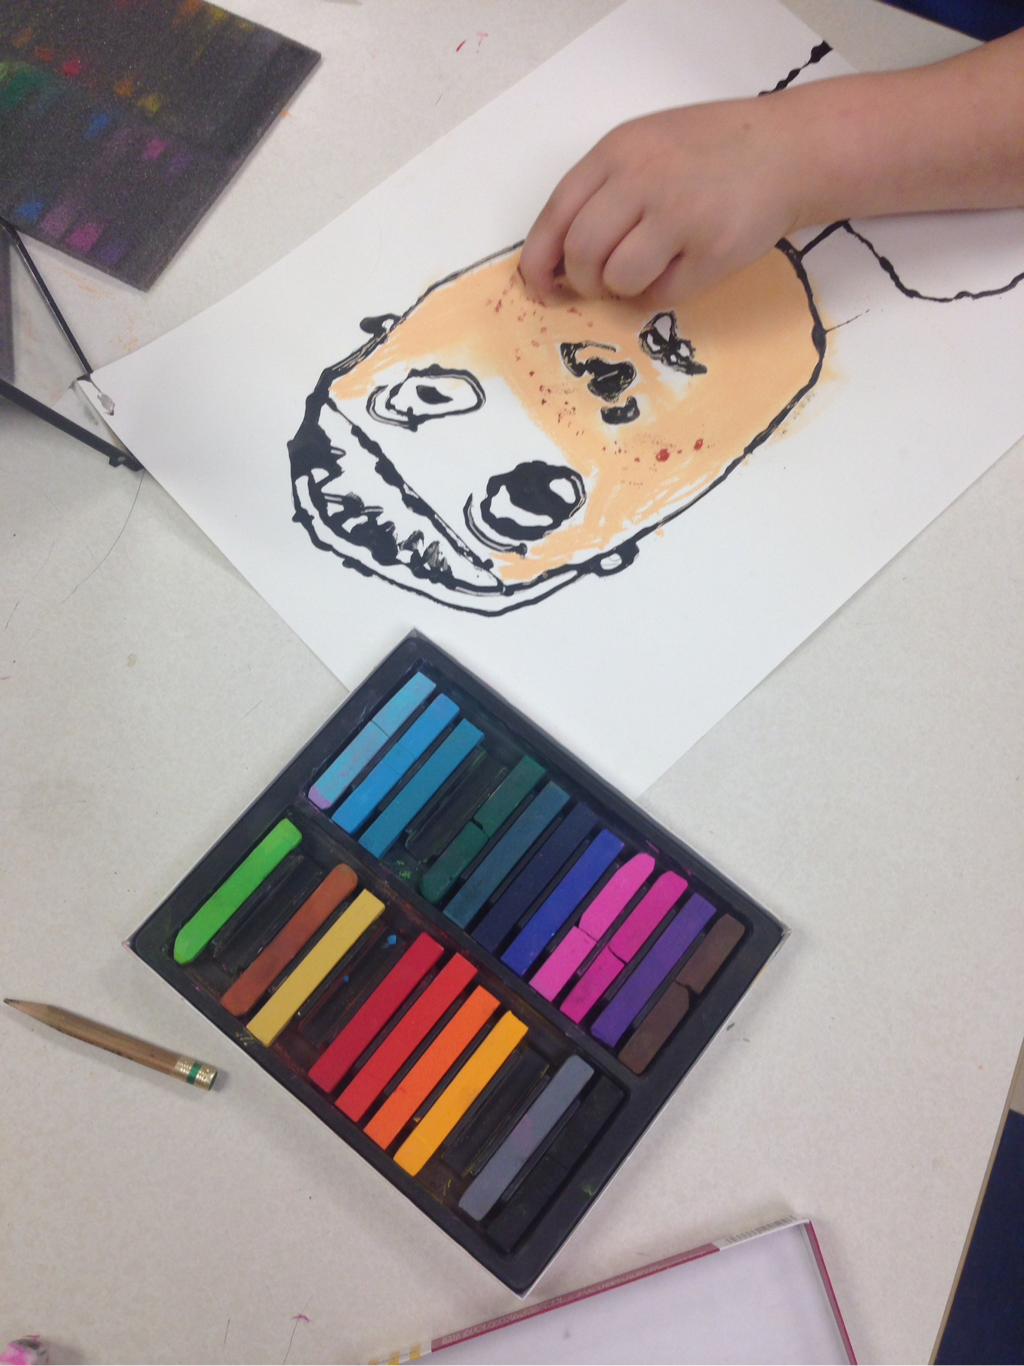
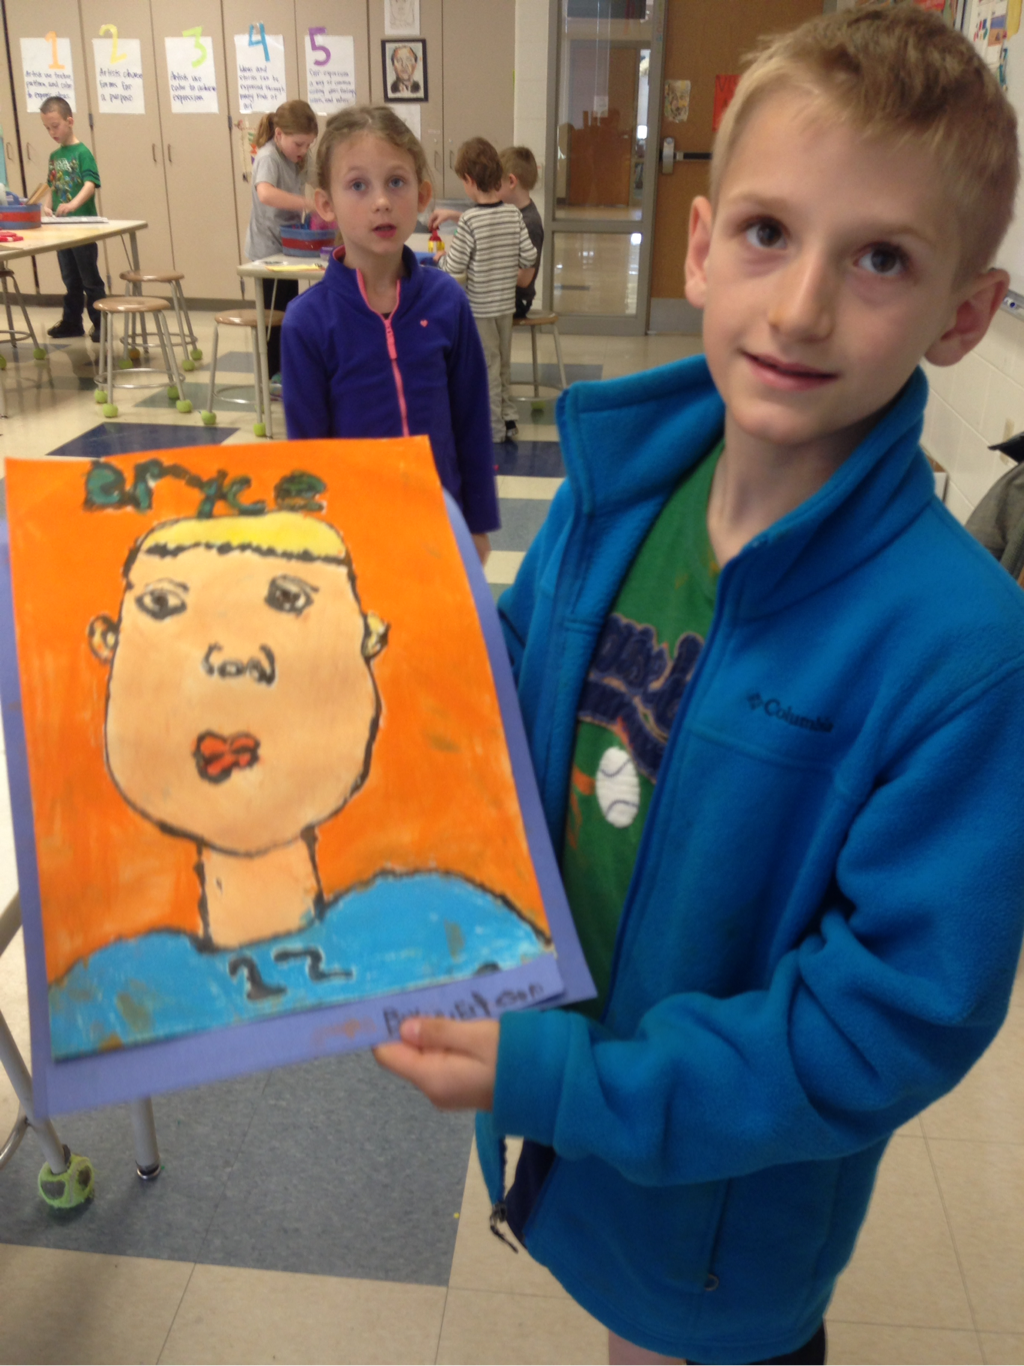
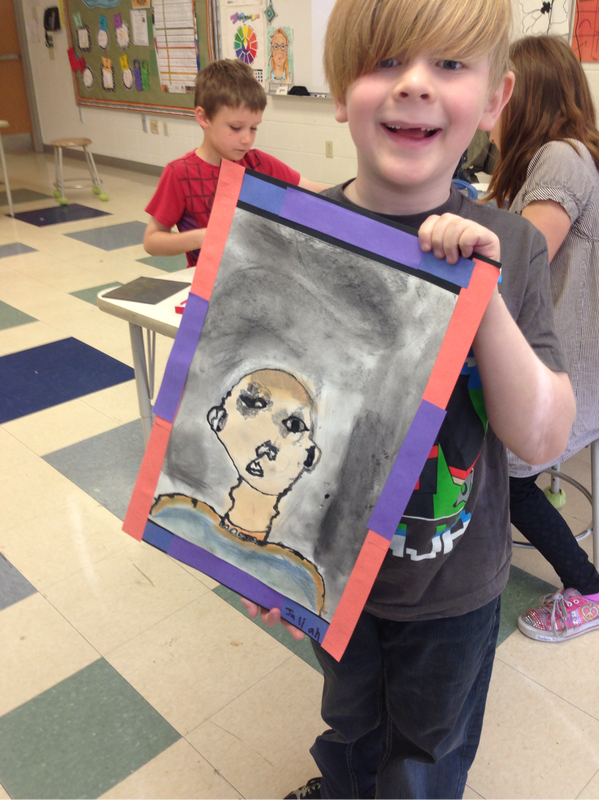
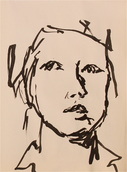
4. Black glue
The next step involved something the kids had never done before: draw with black glue! I mixed this glue using black powder tempera paint, a little water, and Elmers glue. Before we drew on our self-portrait, we practiced on some newspaper. We touched the tip of the glue to our paper and drew slowly.
 |  |

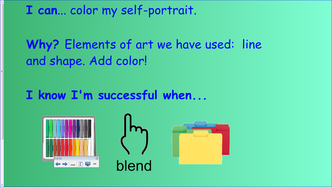
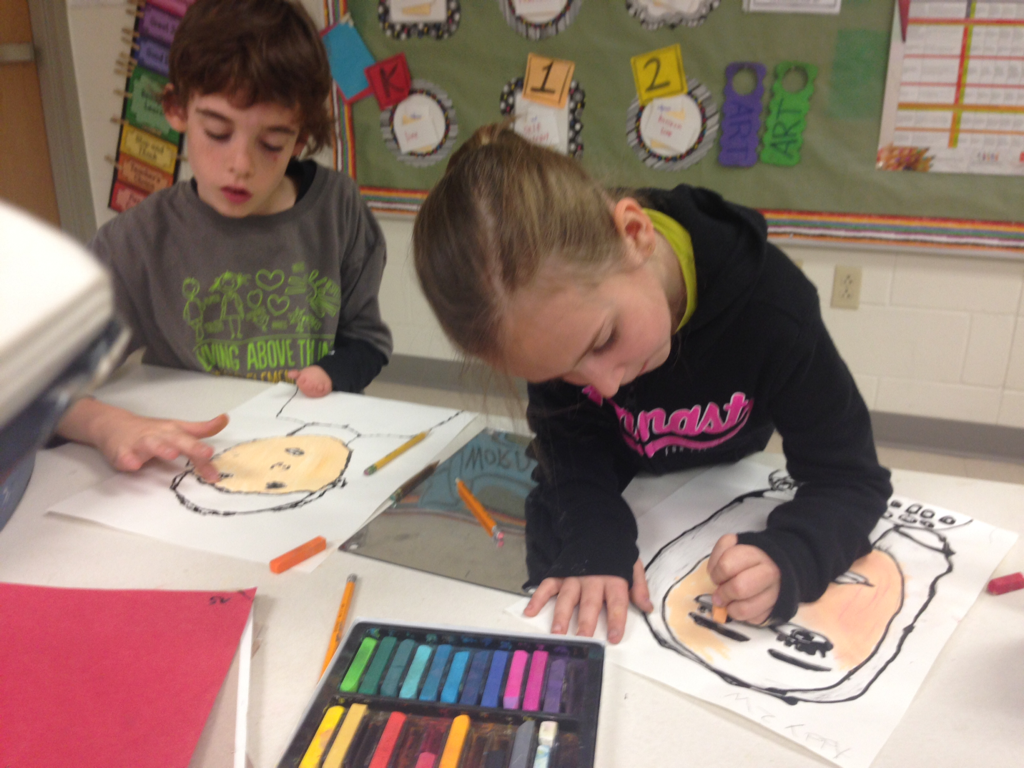
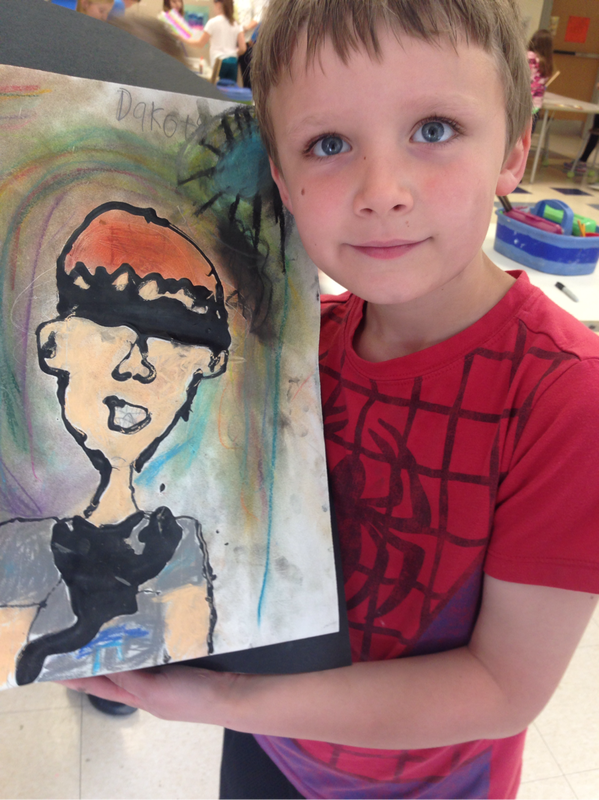
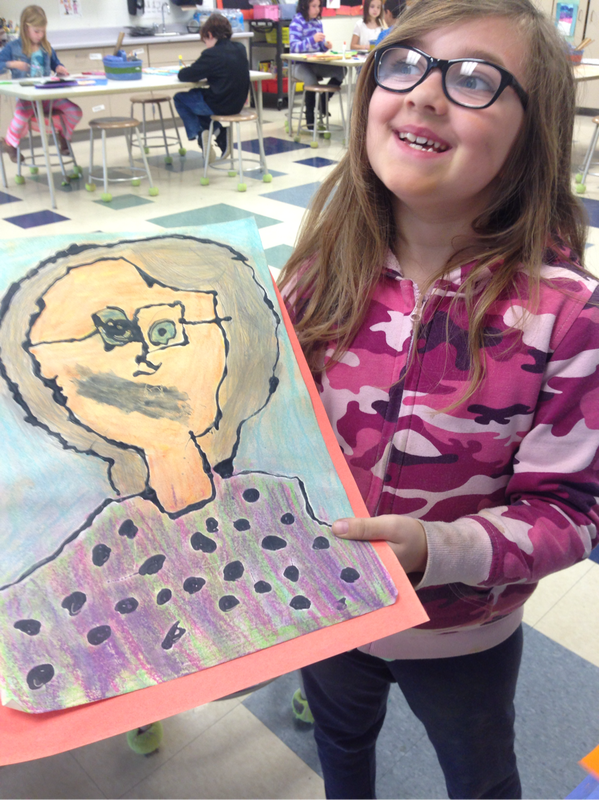
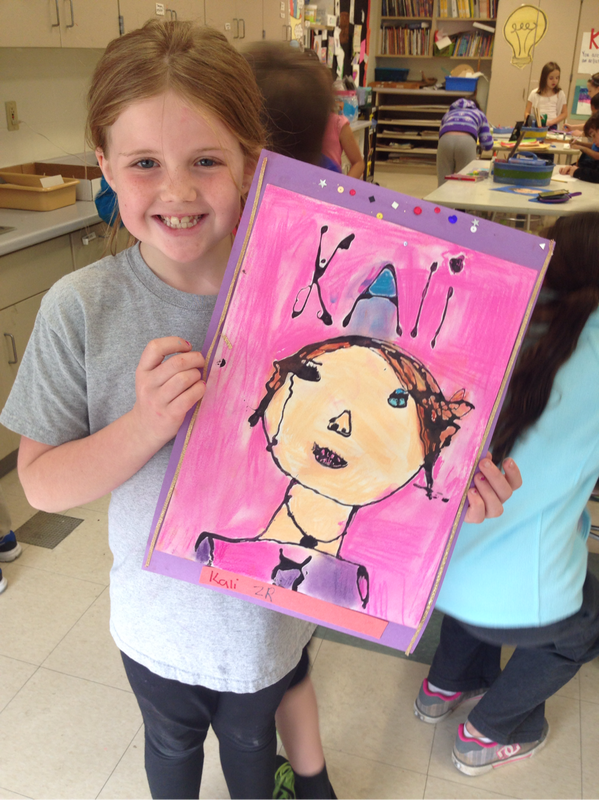
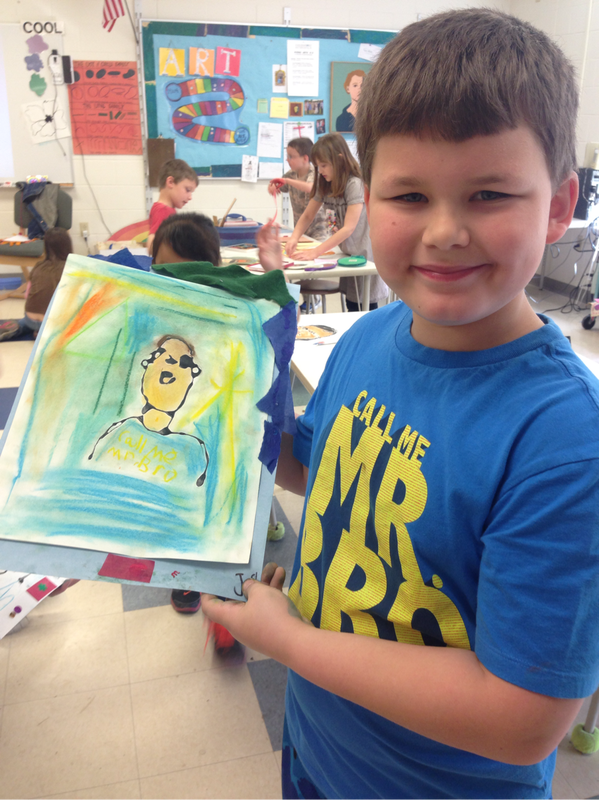
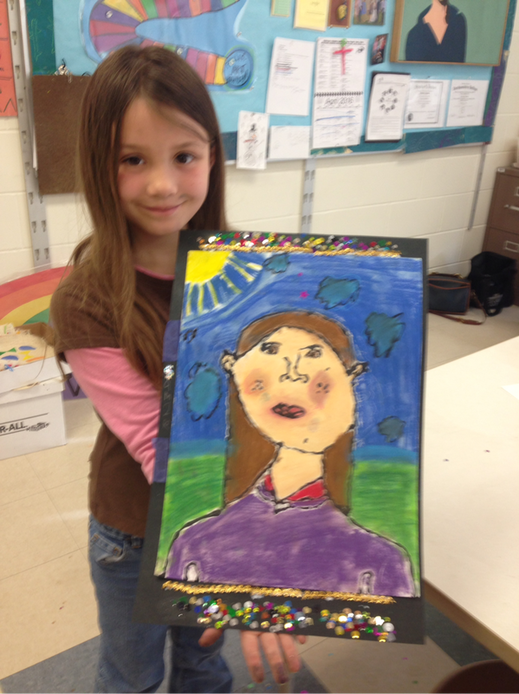
5. Chalk Pastel
Since the artists had already used chalk pastels this year, we just did a quick chat on how to blend the colors, how to bring a little red to our lips and cheeks without looking like a clown, and how to use multiple colors in our hair to show dimension. The kids still referenced the mirrors to help them choose realistic colors.
 |  |
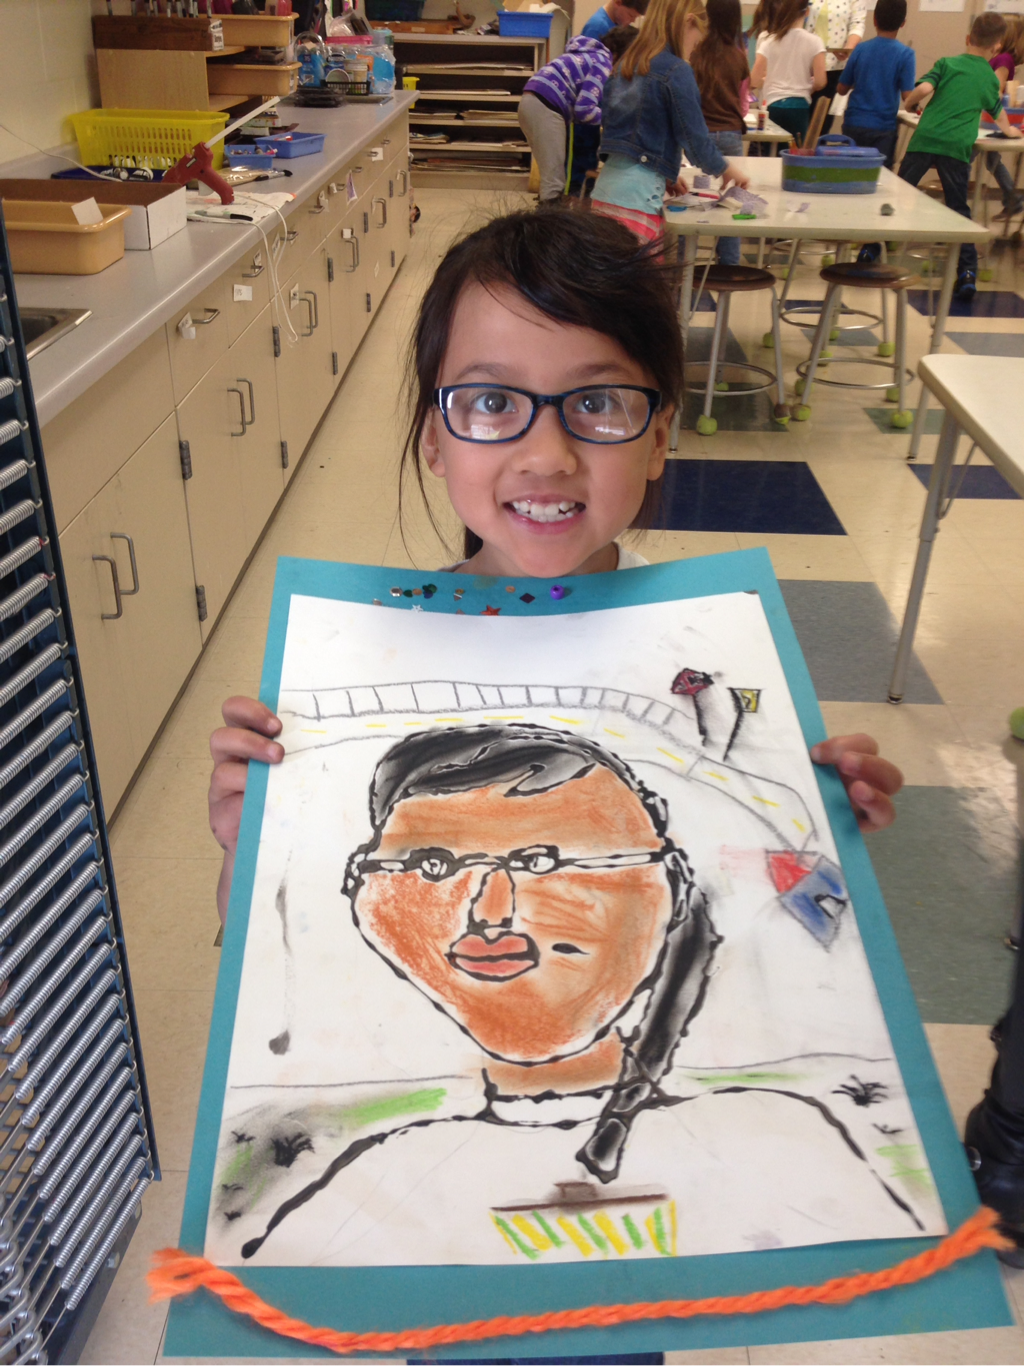
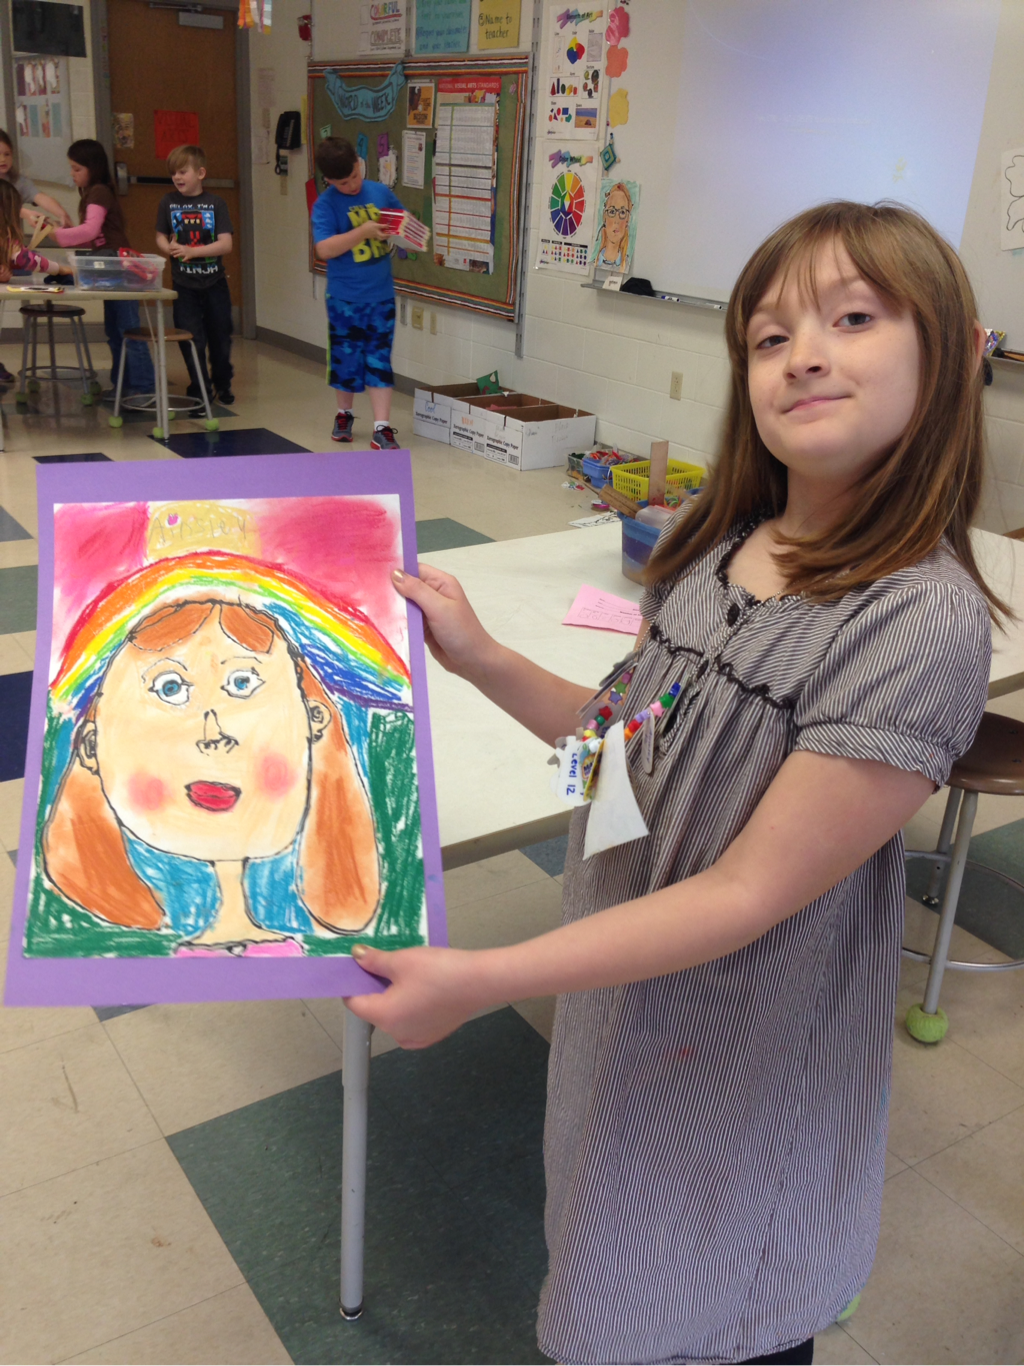
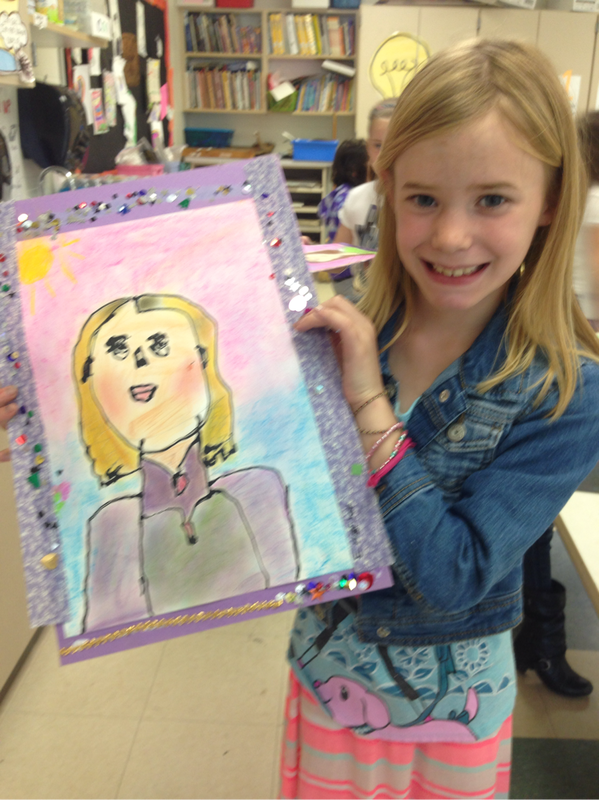
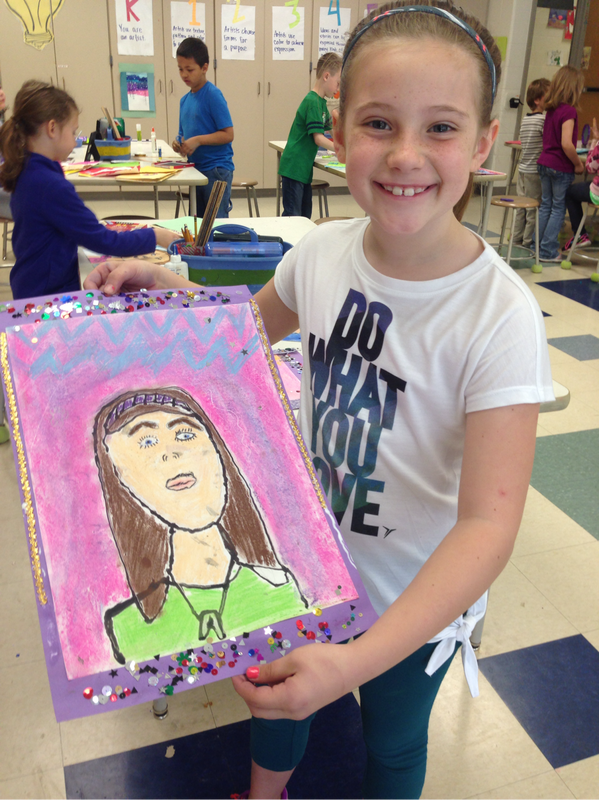
6. Frame!
Artists share their artwork! I usually have the artists frame their artwork and this time I also set out sequins (only a few ended up on the floor!), paper, tissue paper, and ribbon. They love embellishing the frame to bring even more personality to their artwork.
 |  |


 |  |
 RSS Feed
