Art with Mrs. White
  • Home
  • About
  • Blog

Art with Mrs. White

Check out what the artists at Buffalo Elementary are creating!

4th Grade Chalk Pastel Mandalas

6/27/2016

0 Comments

 
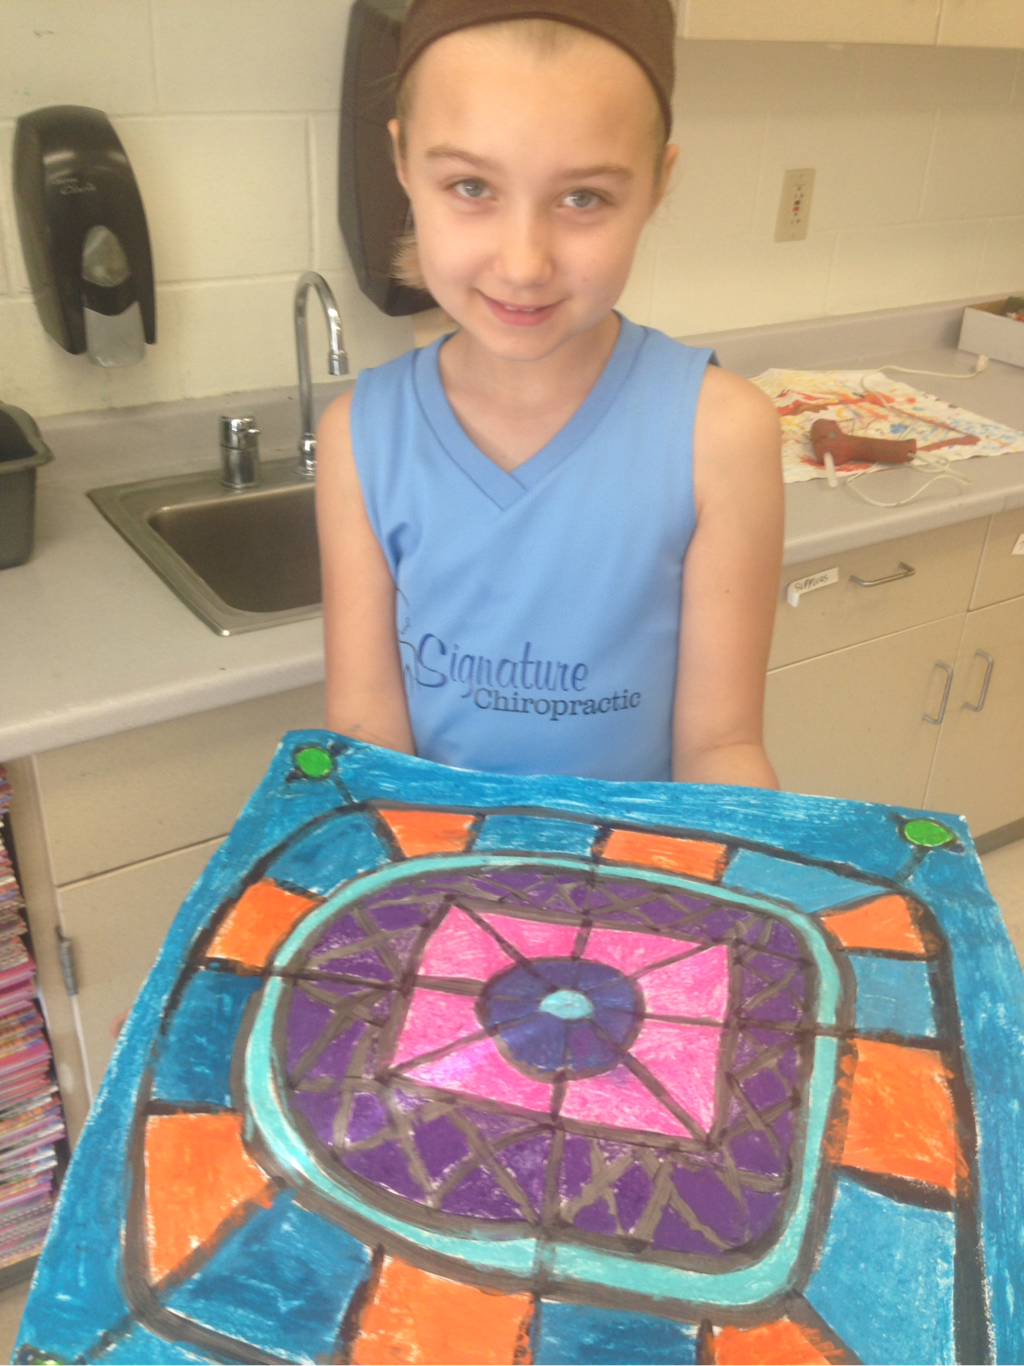
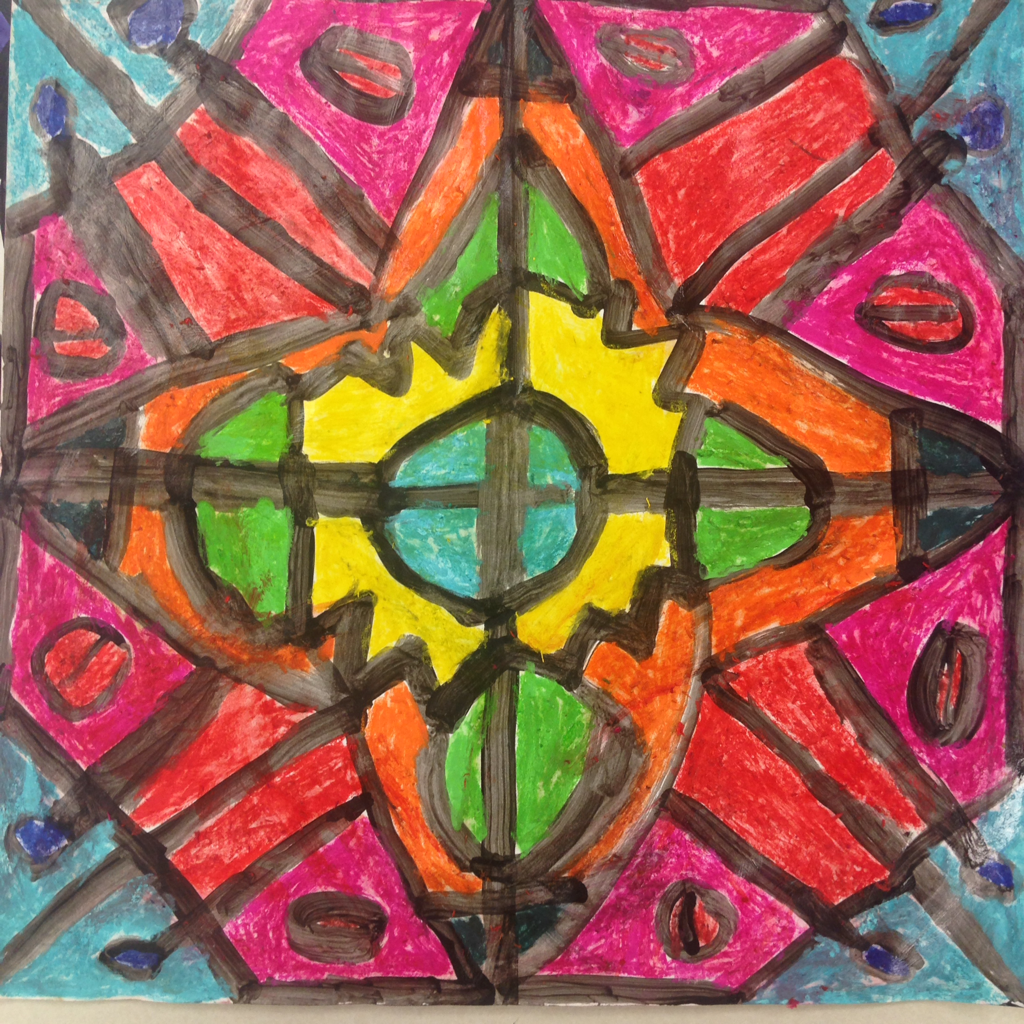
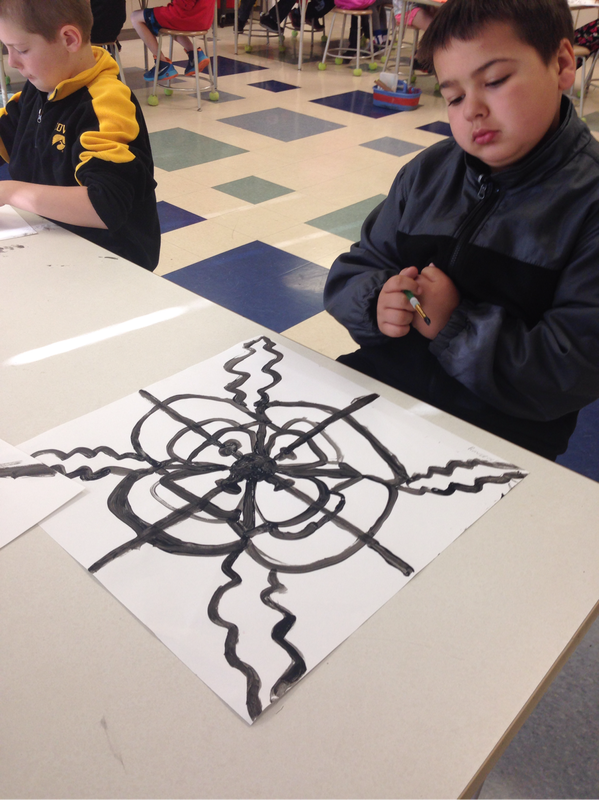
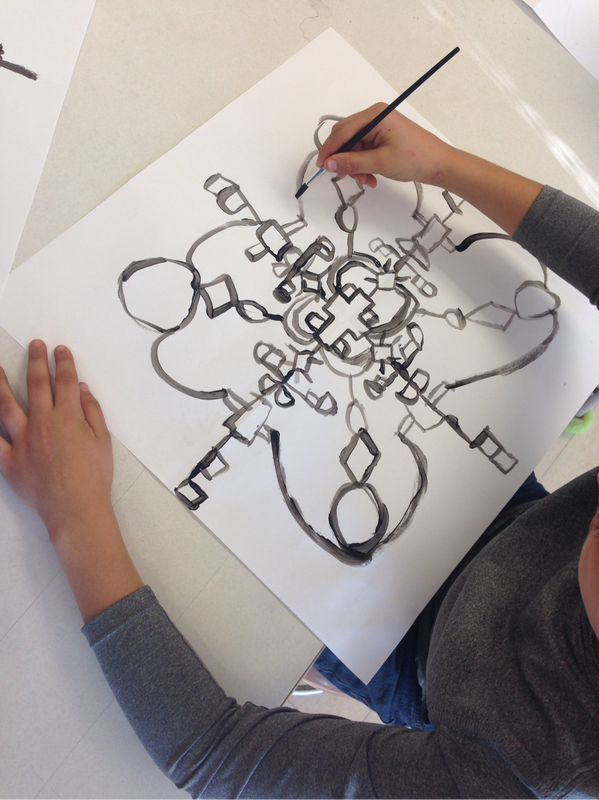
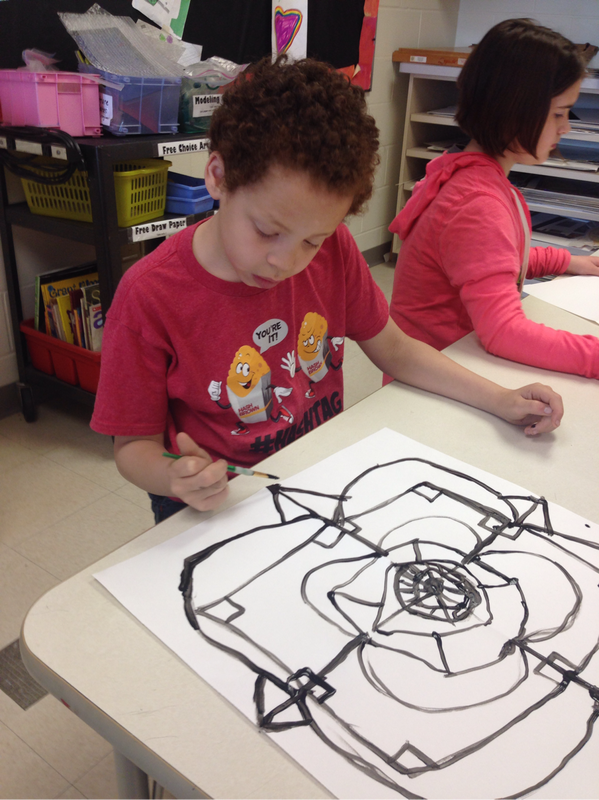
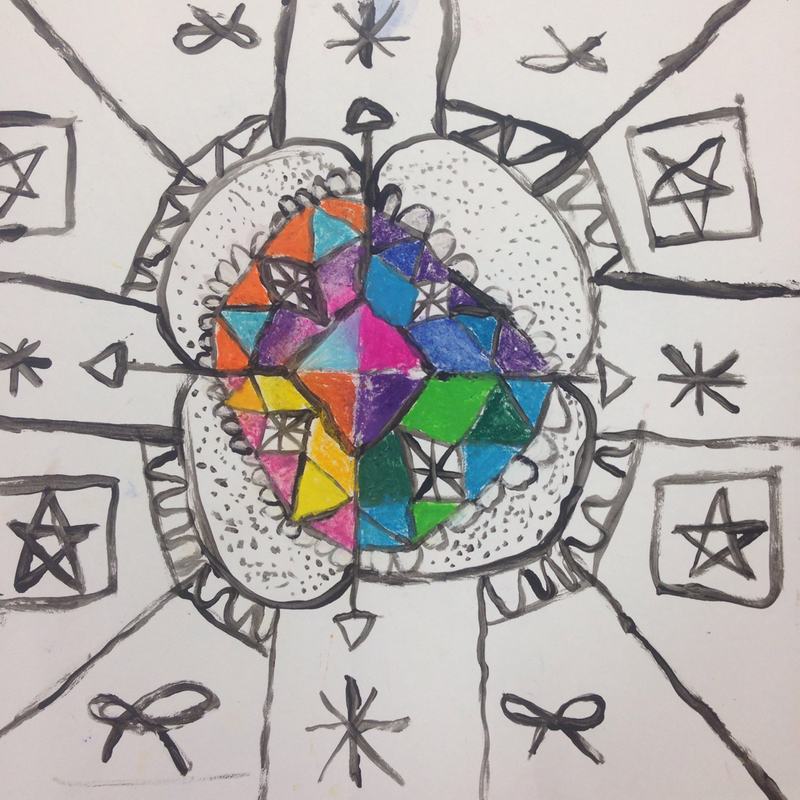
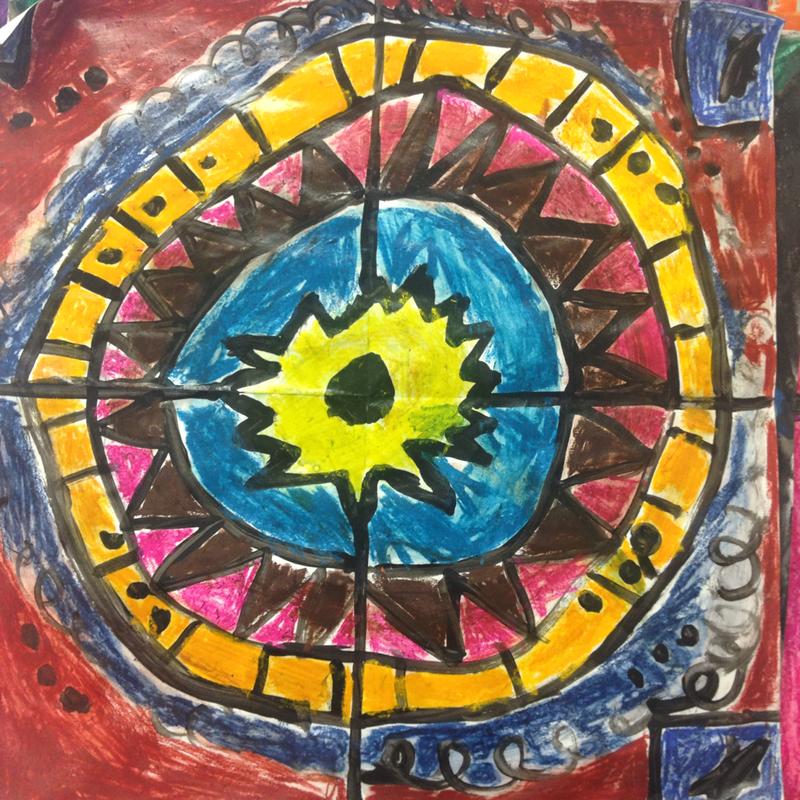
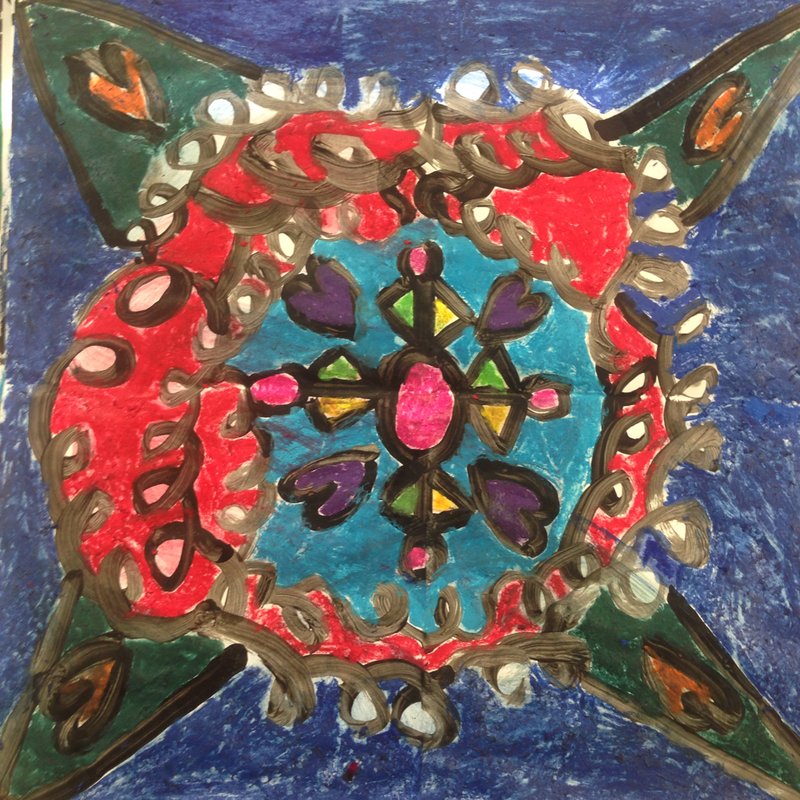
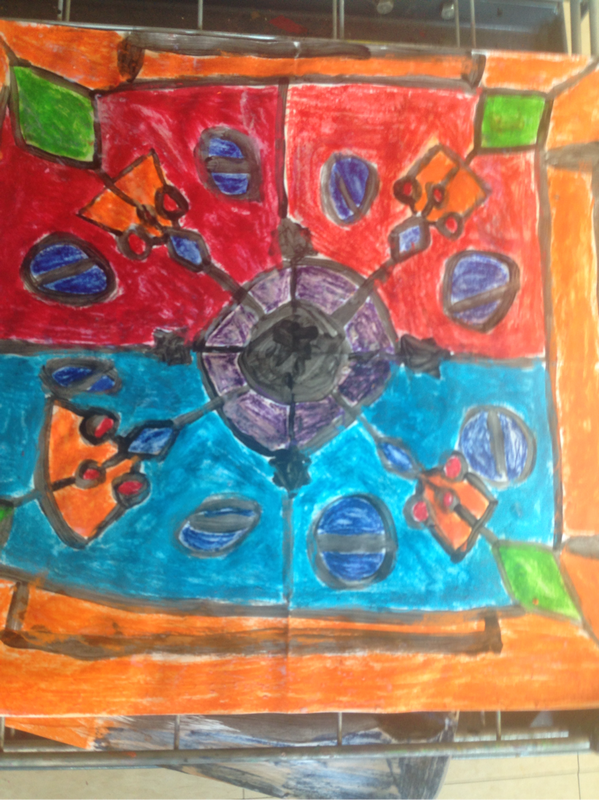
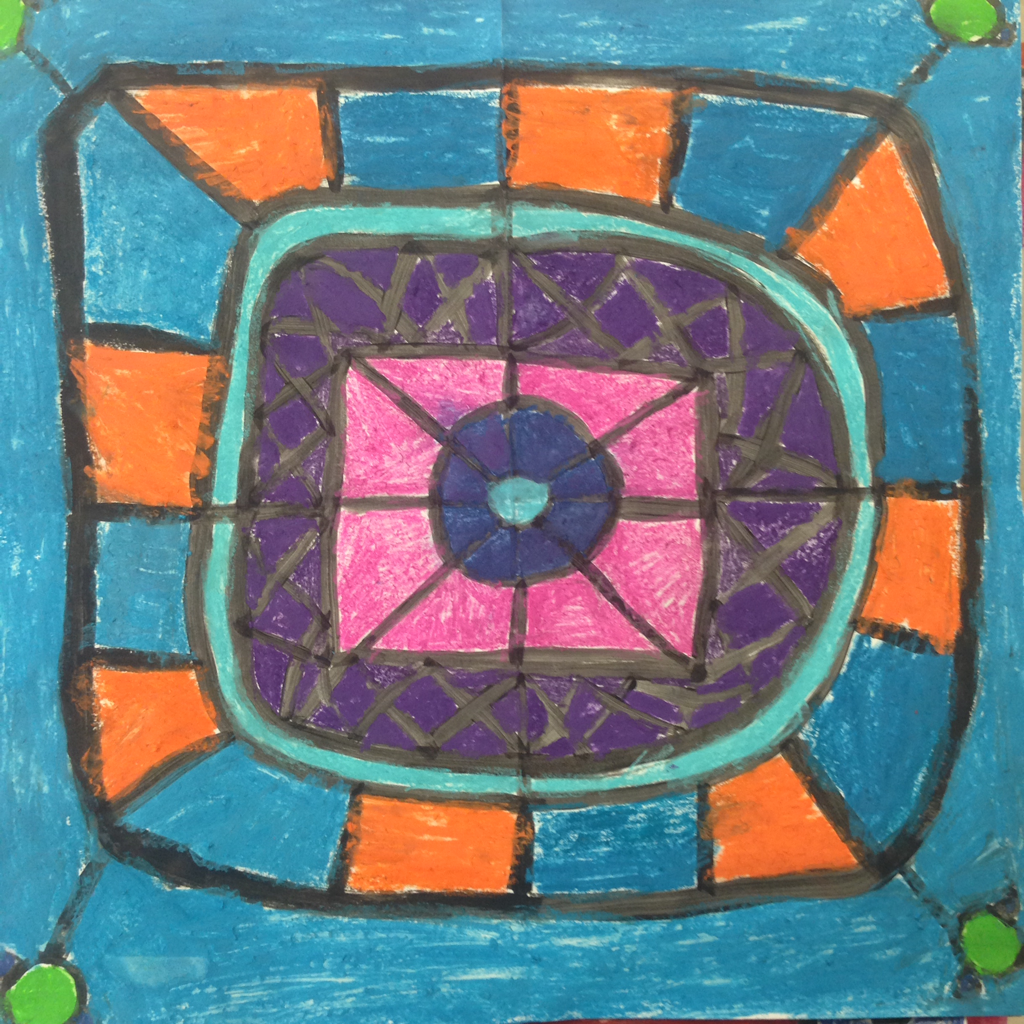
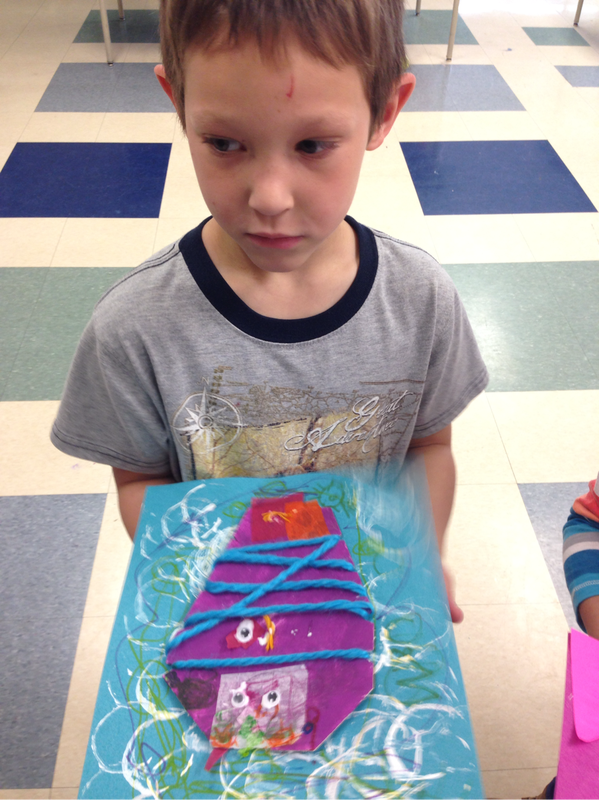
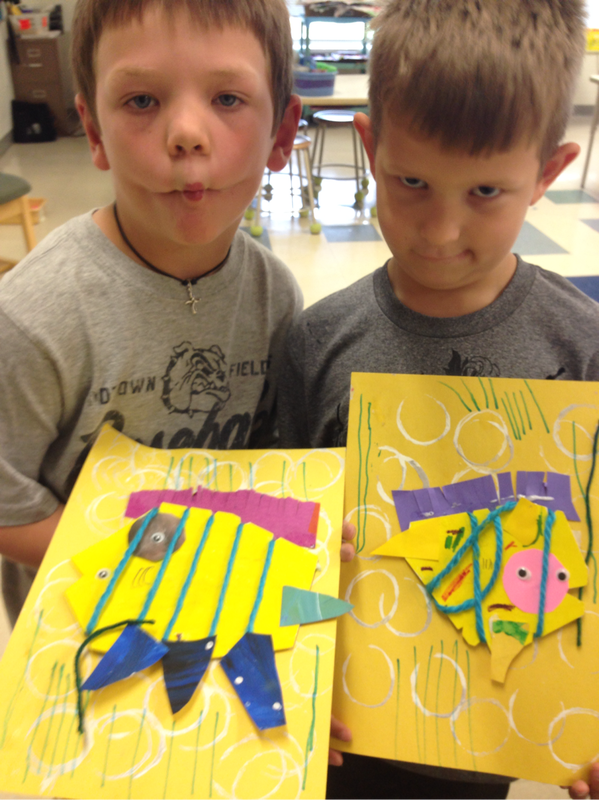
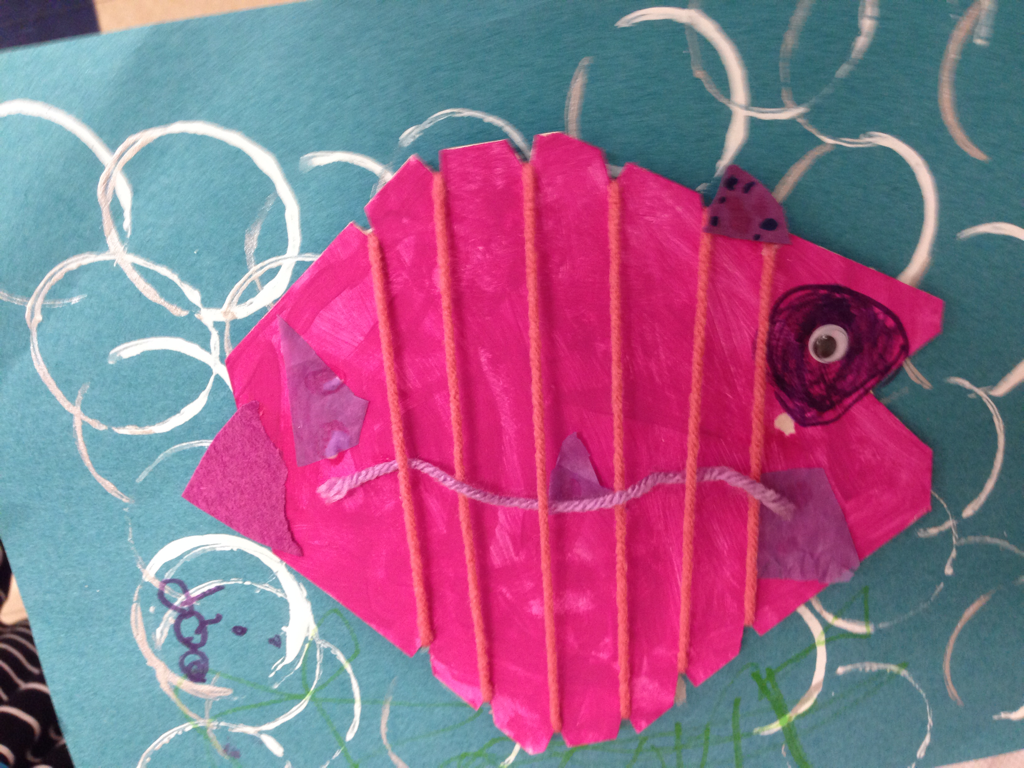
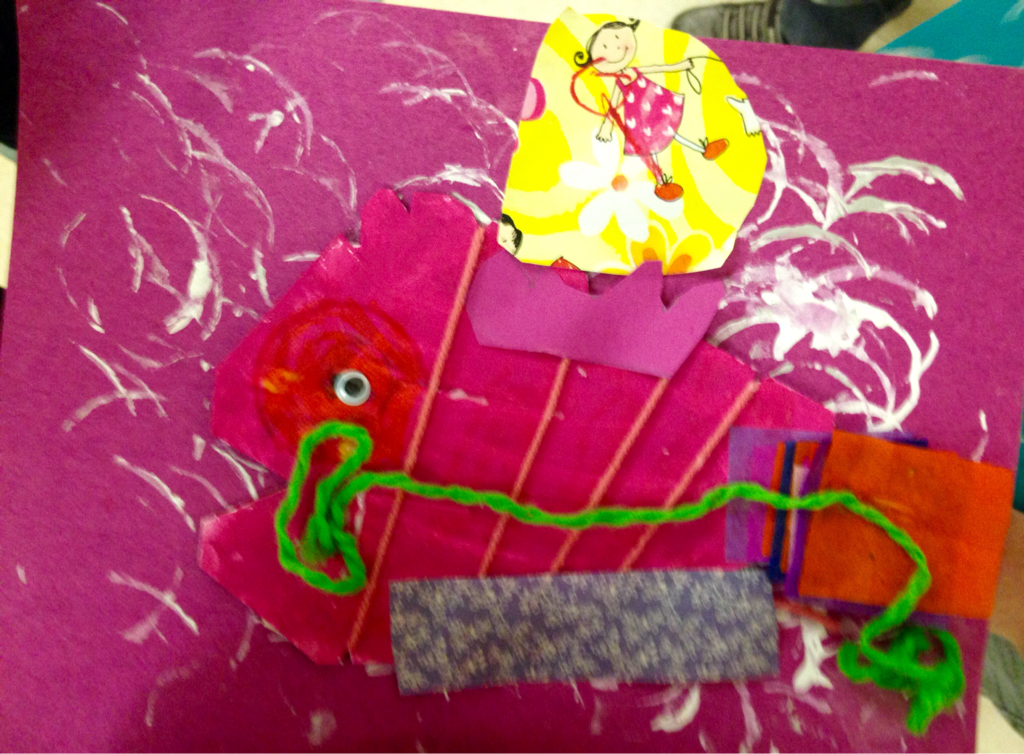
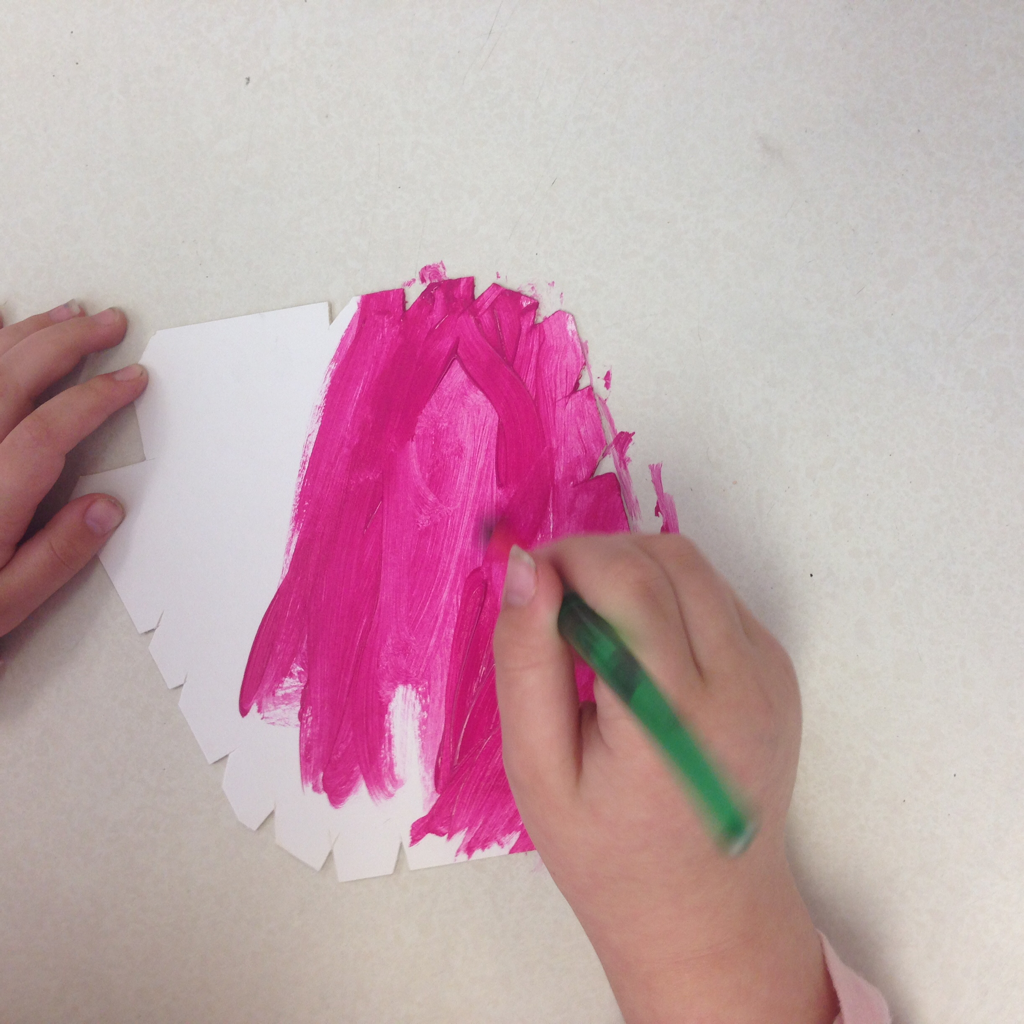
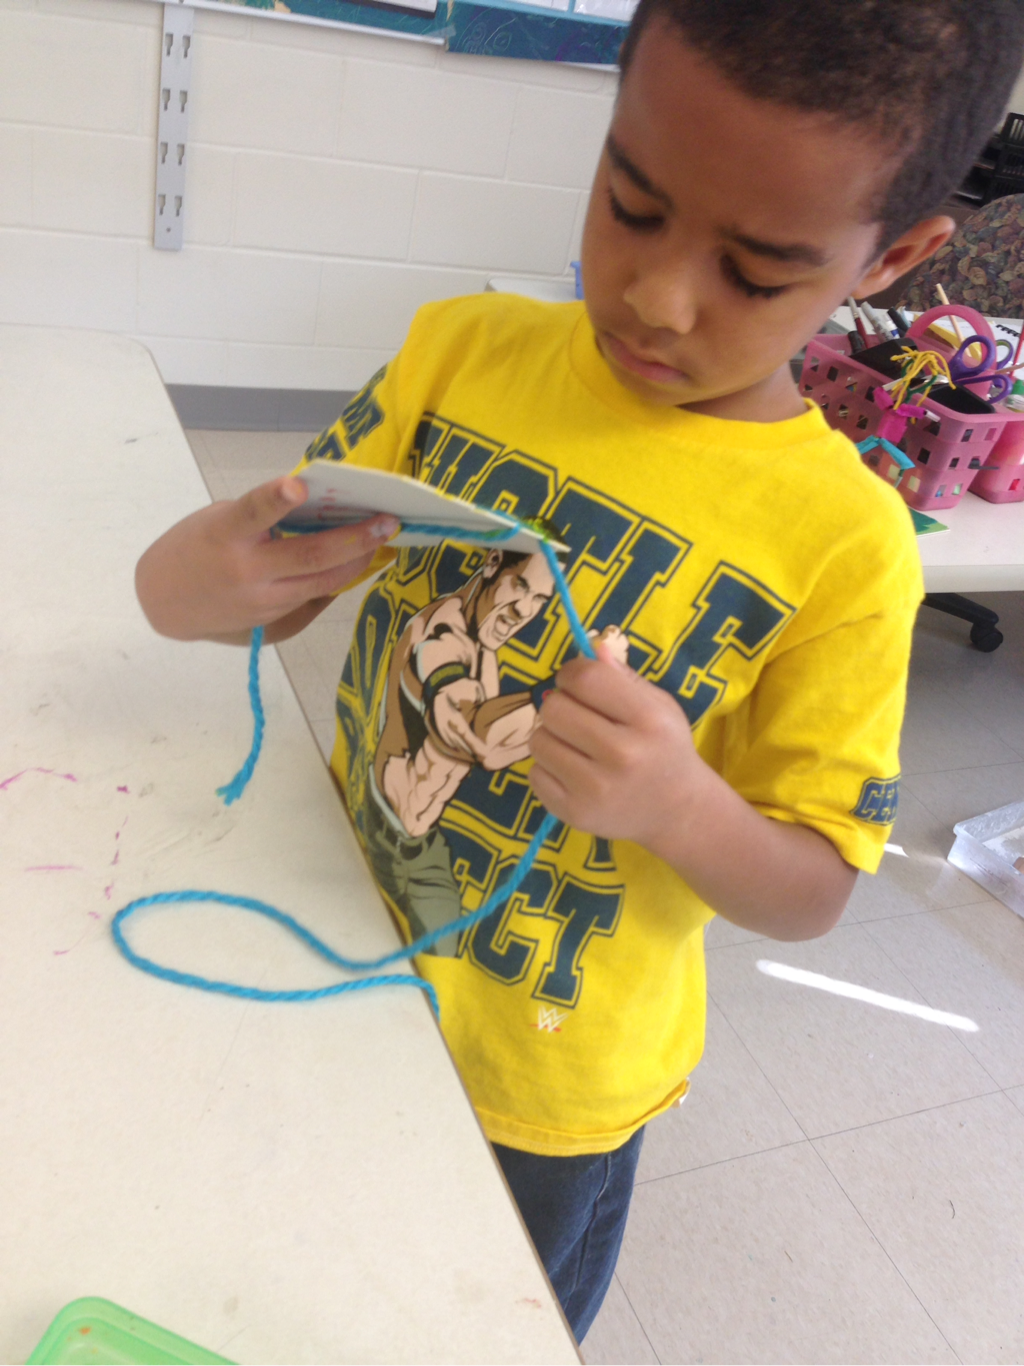
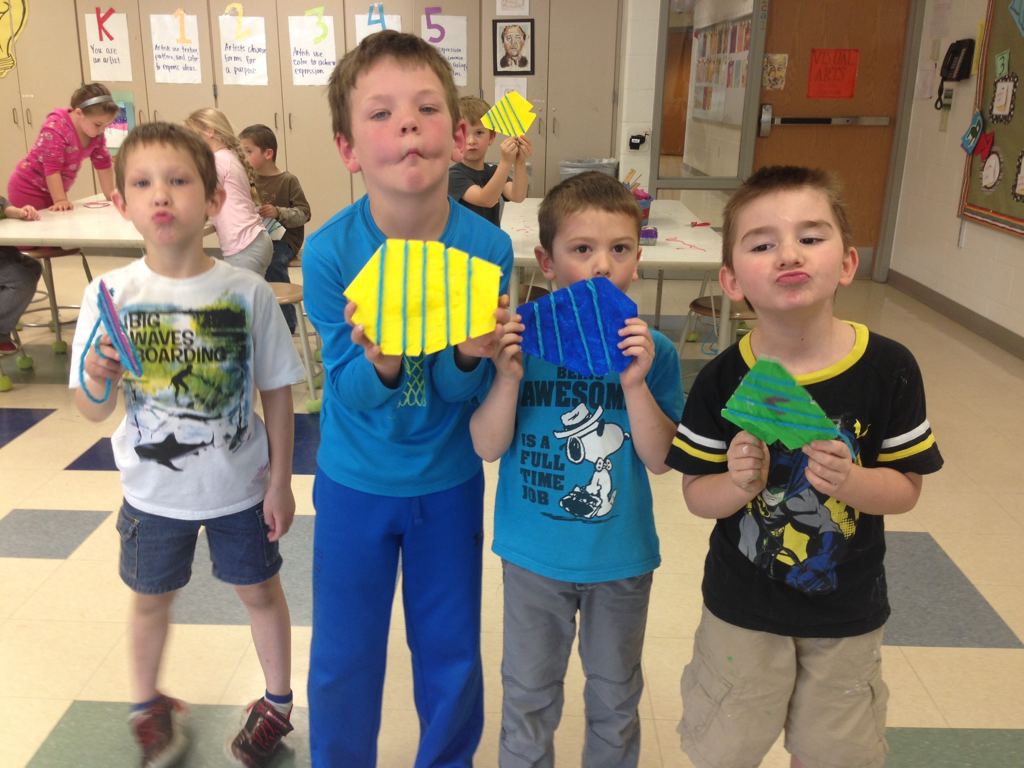
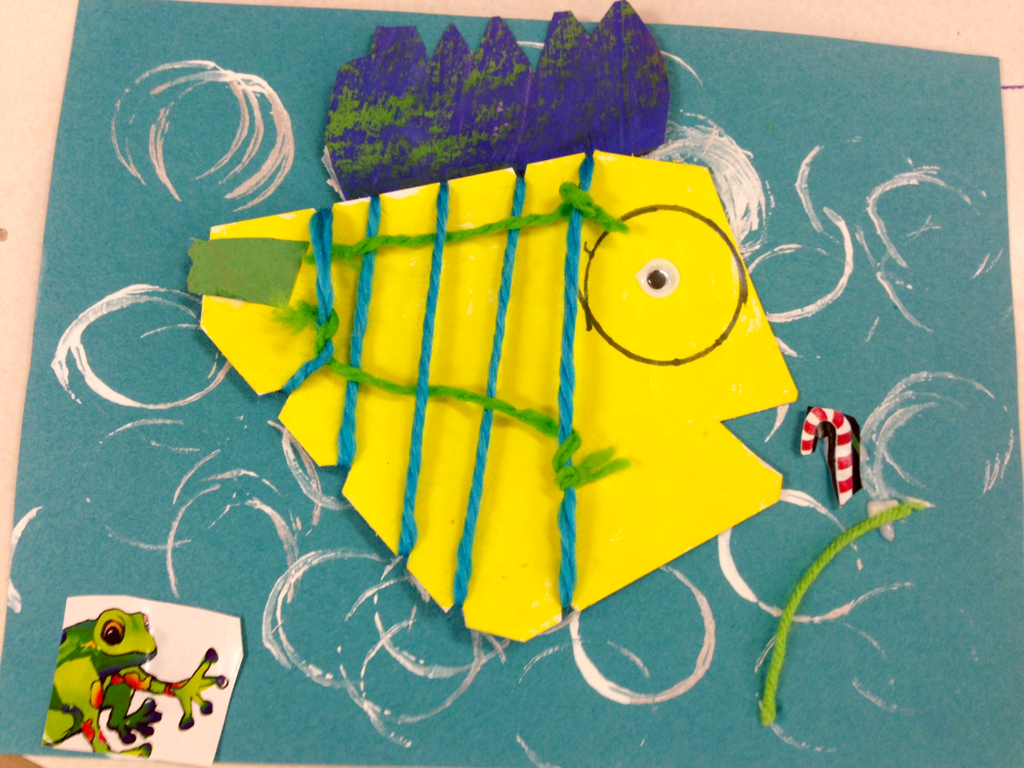
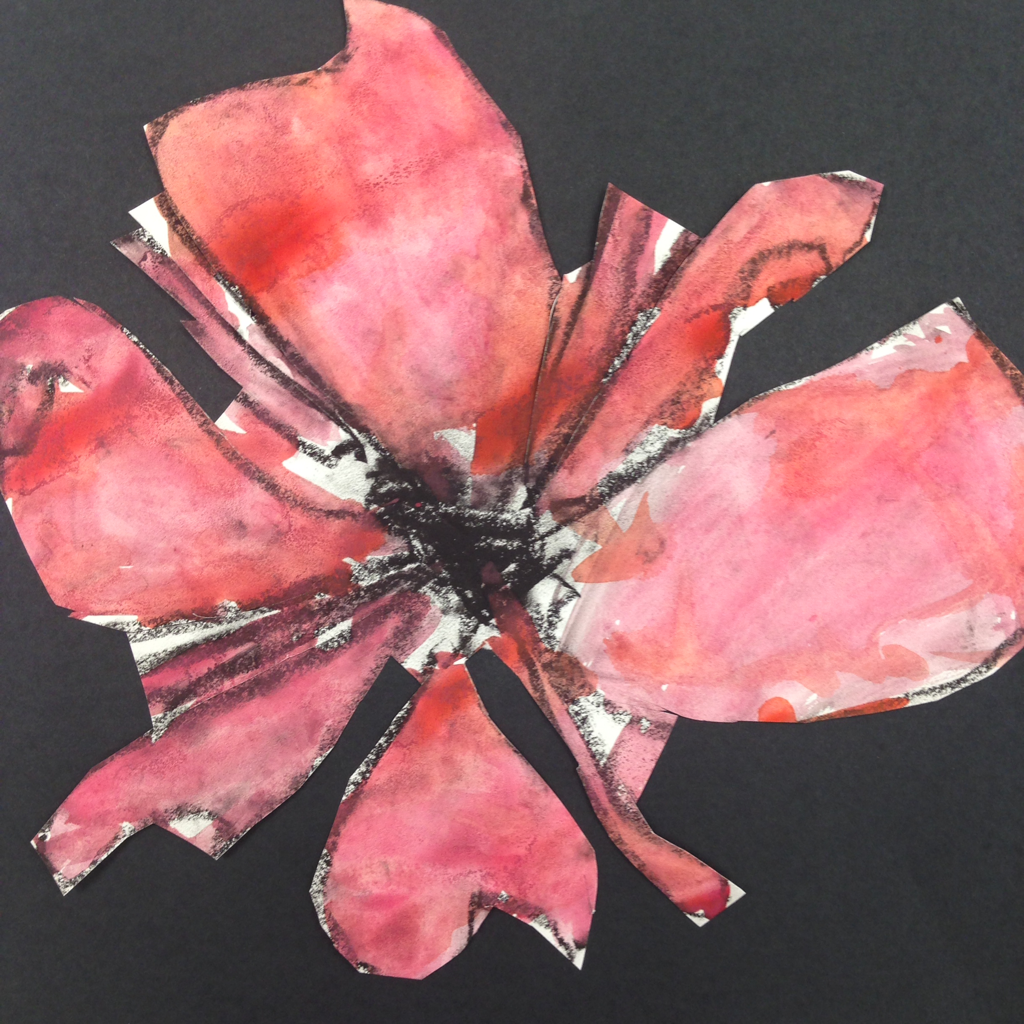
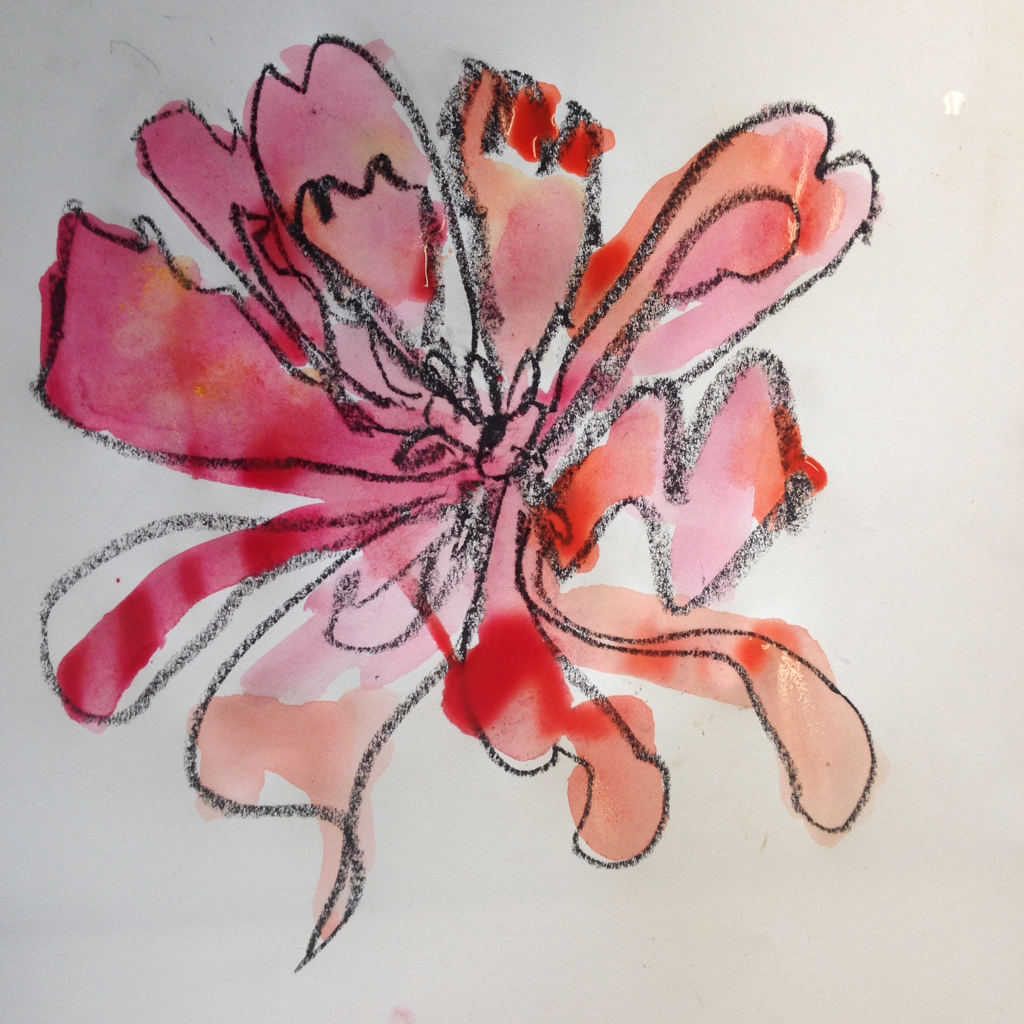
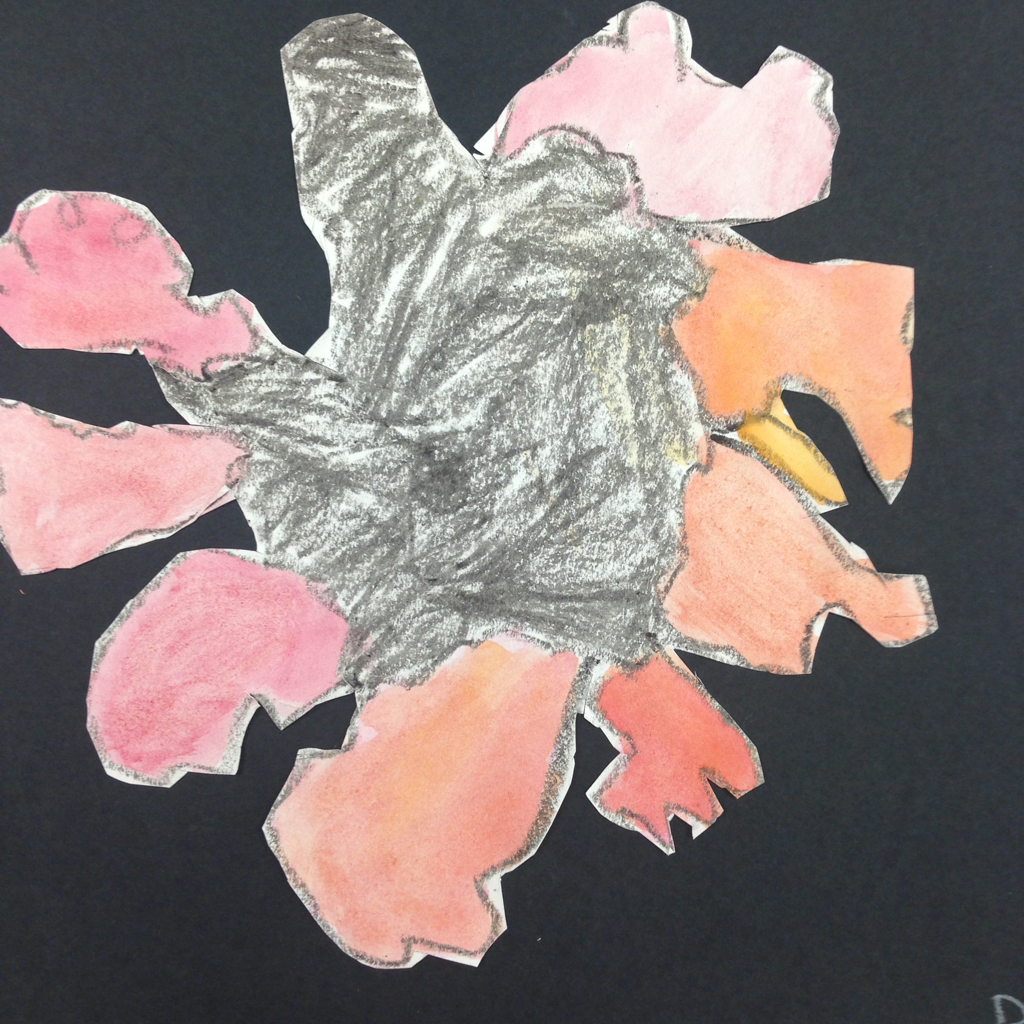
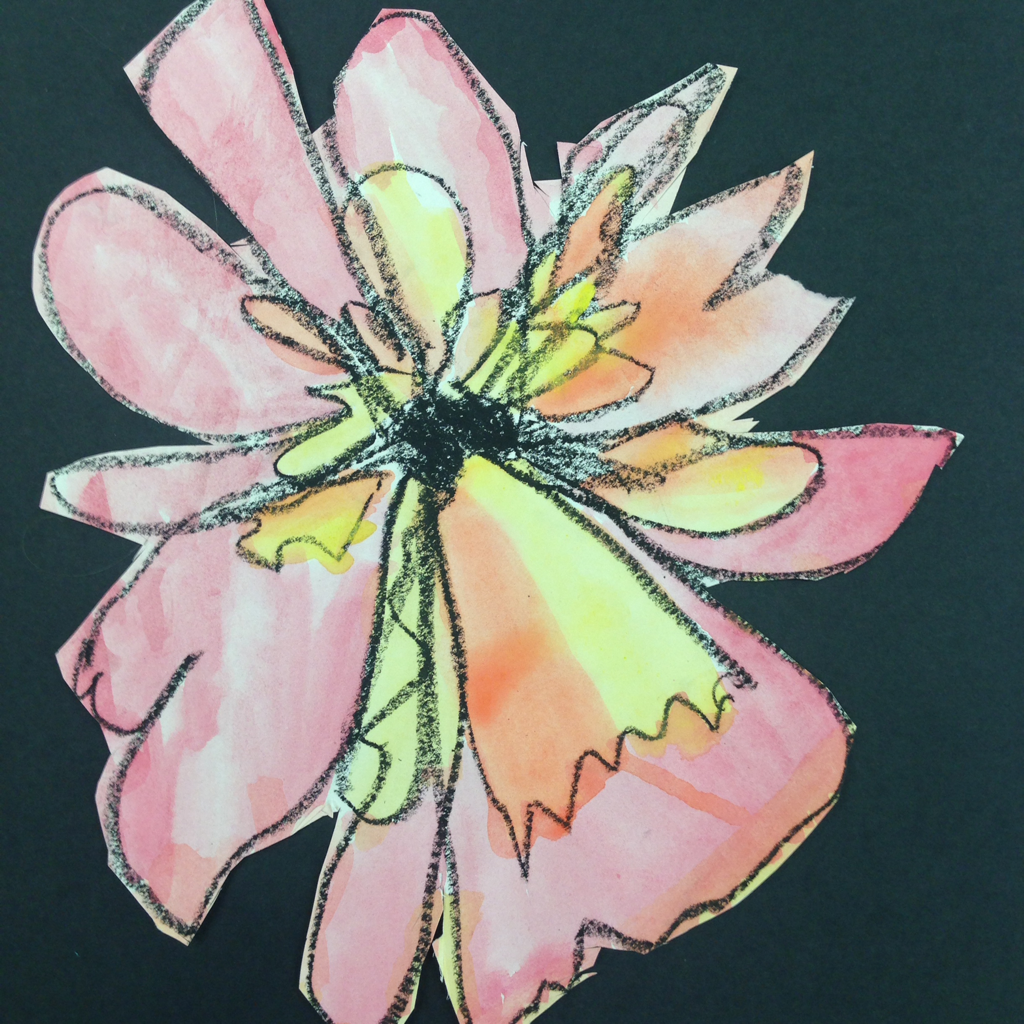
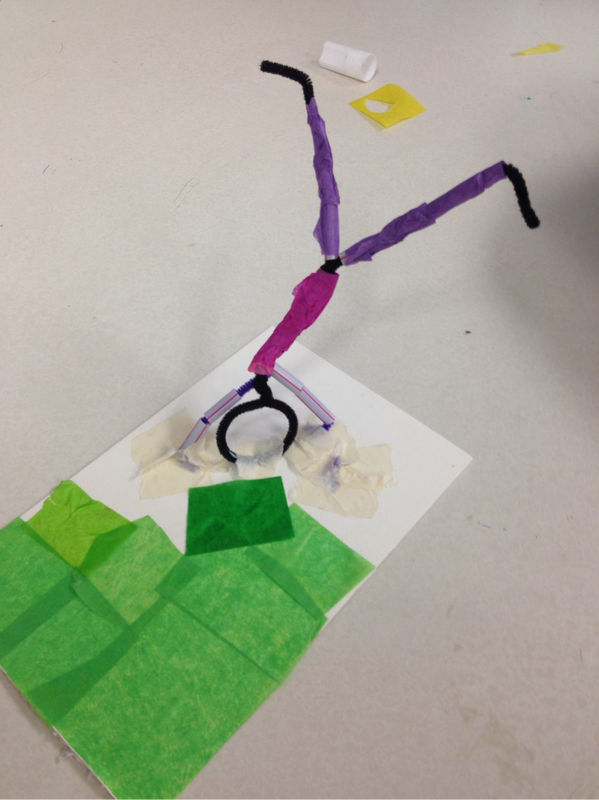
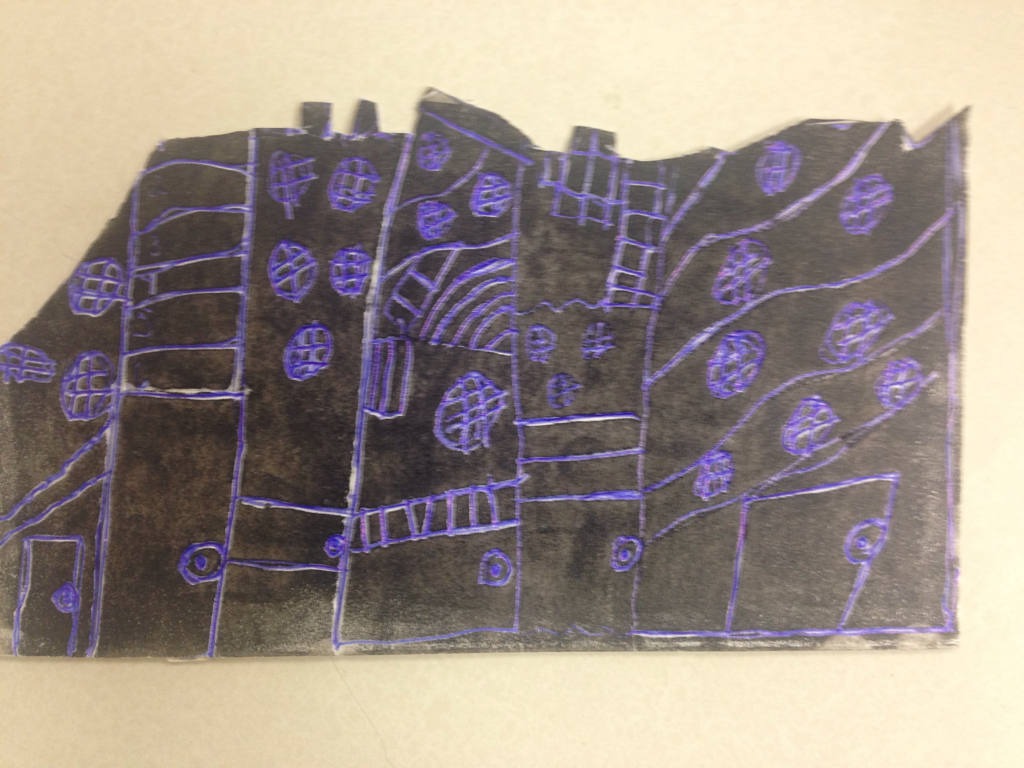
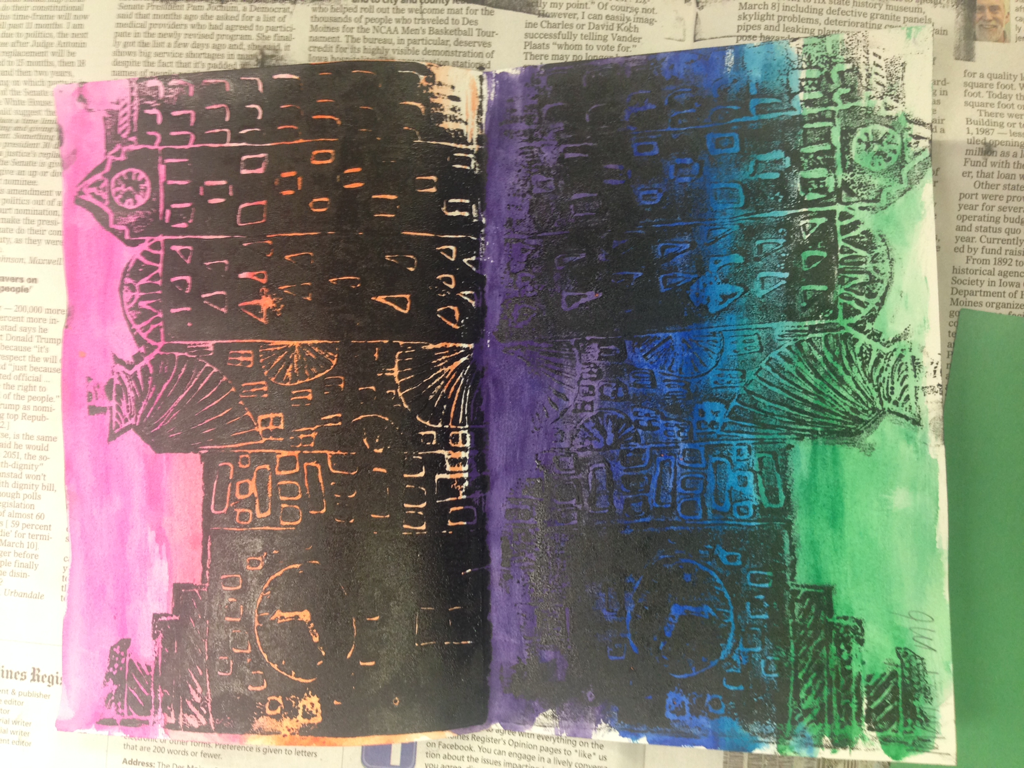
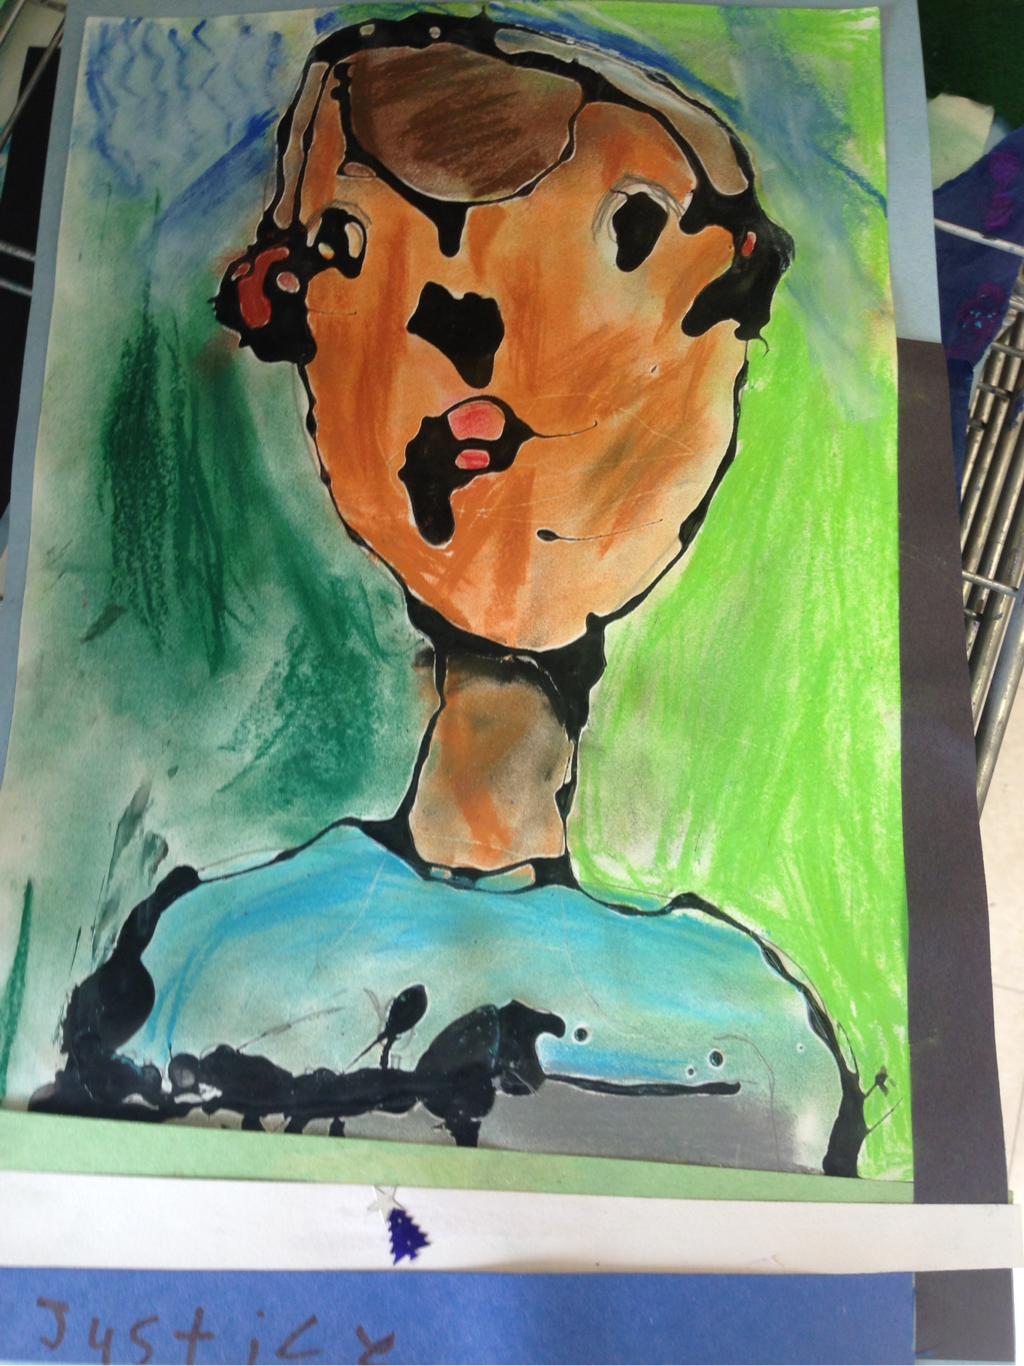
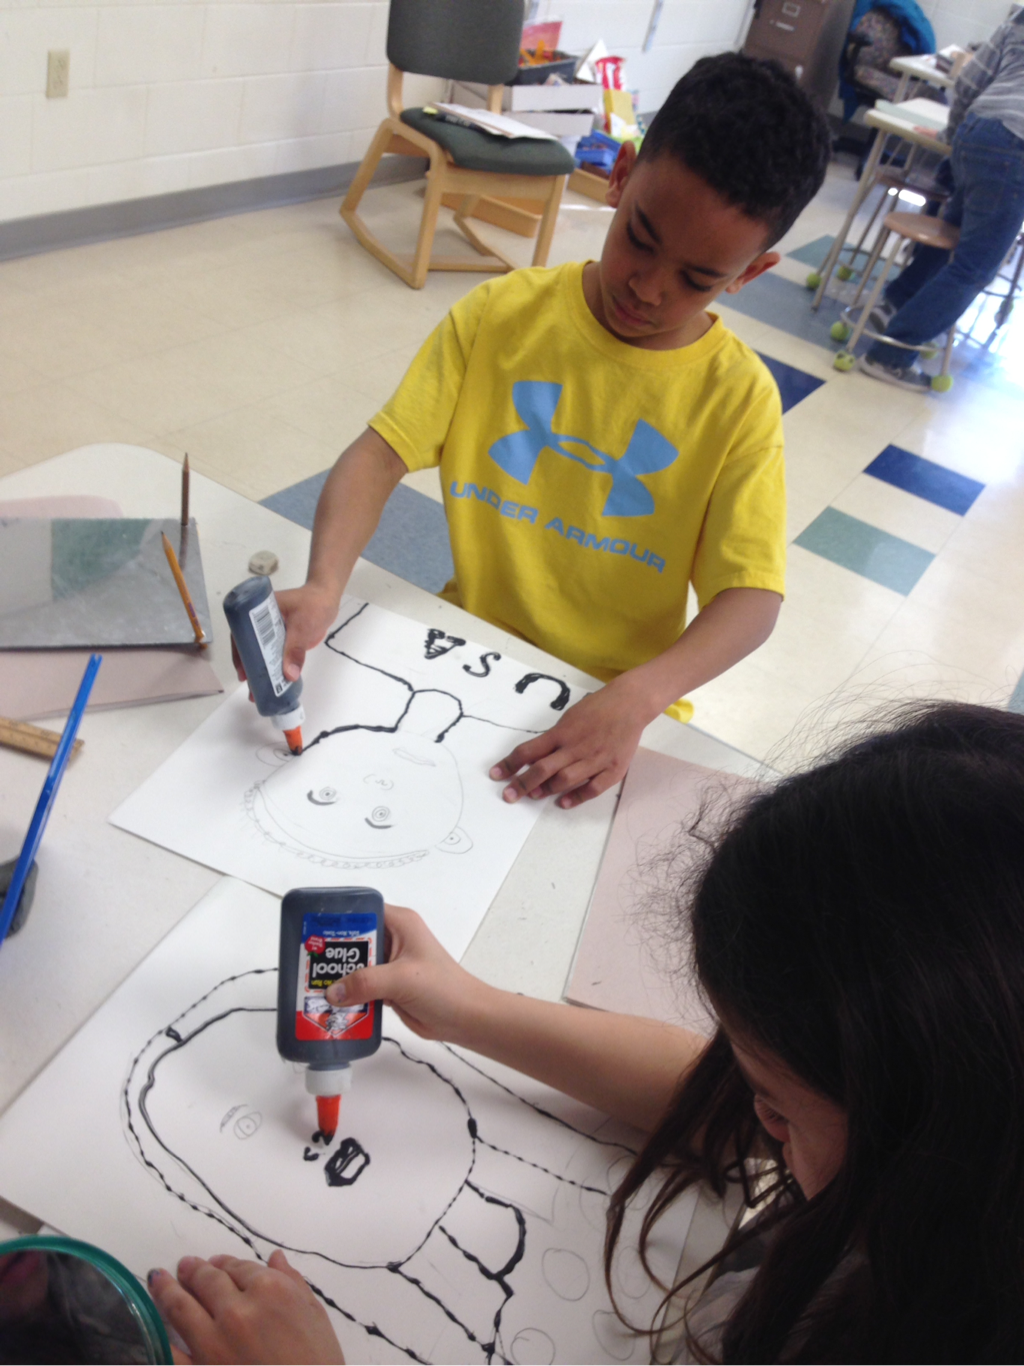
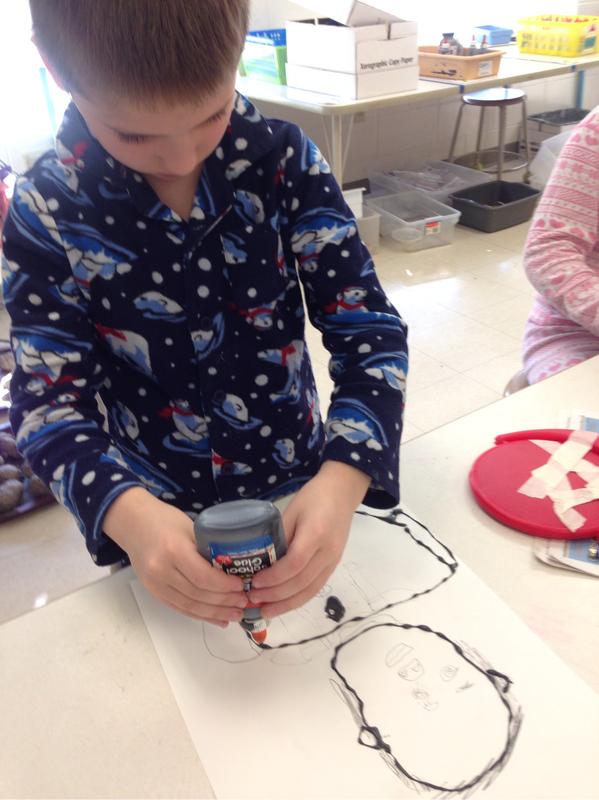
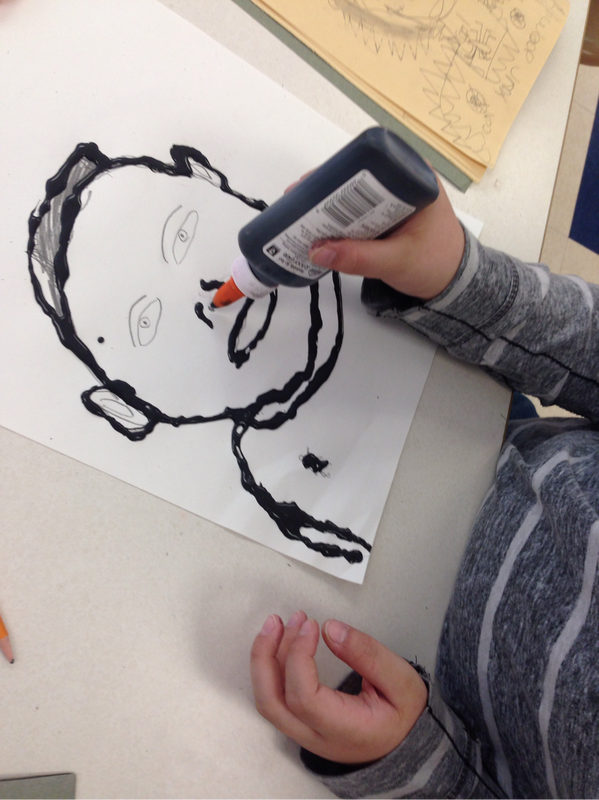
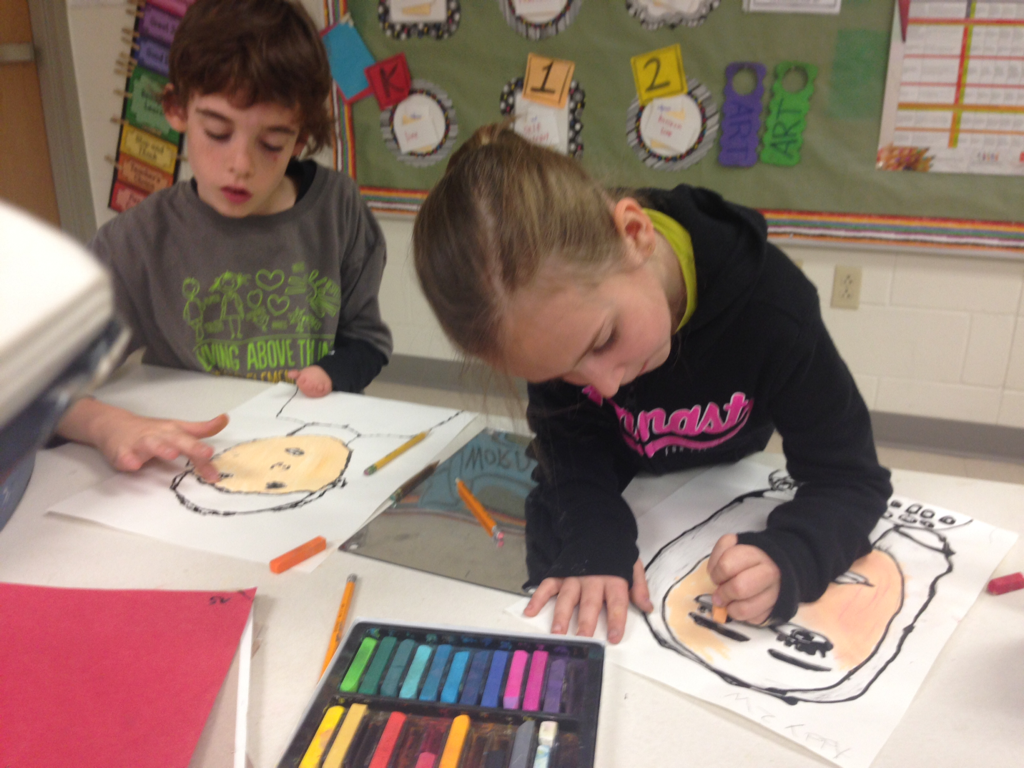
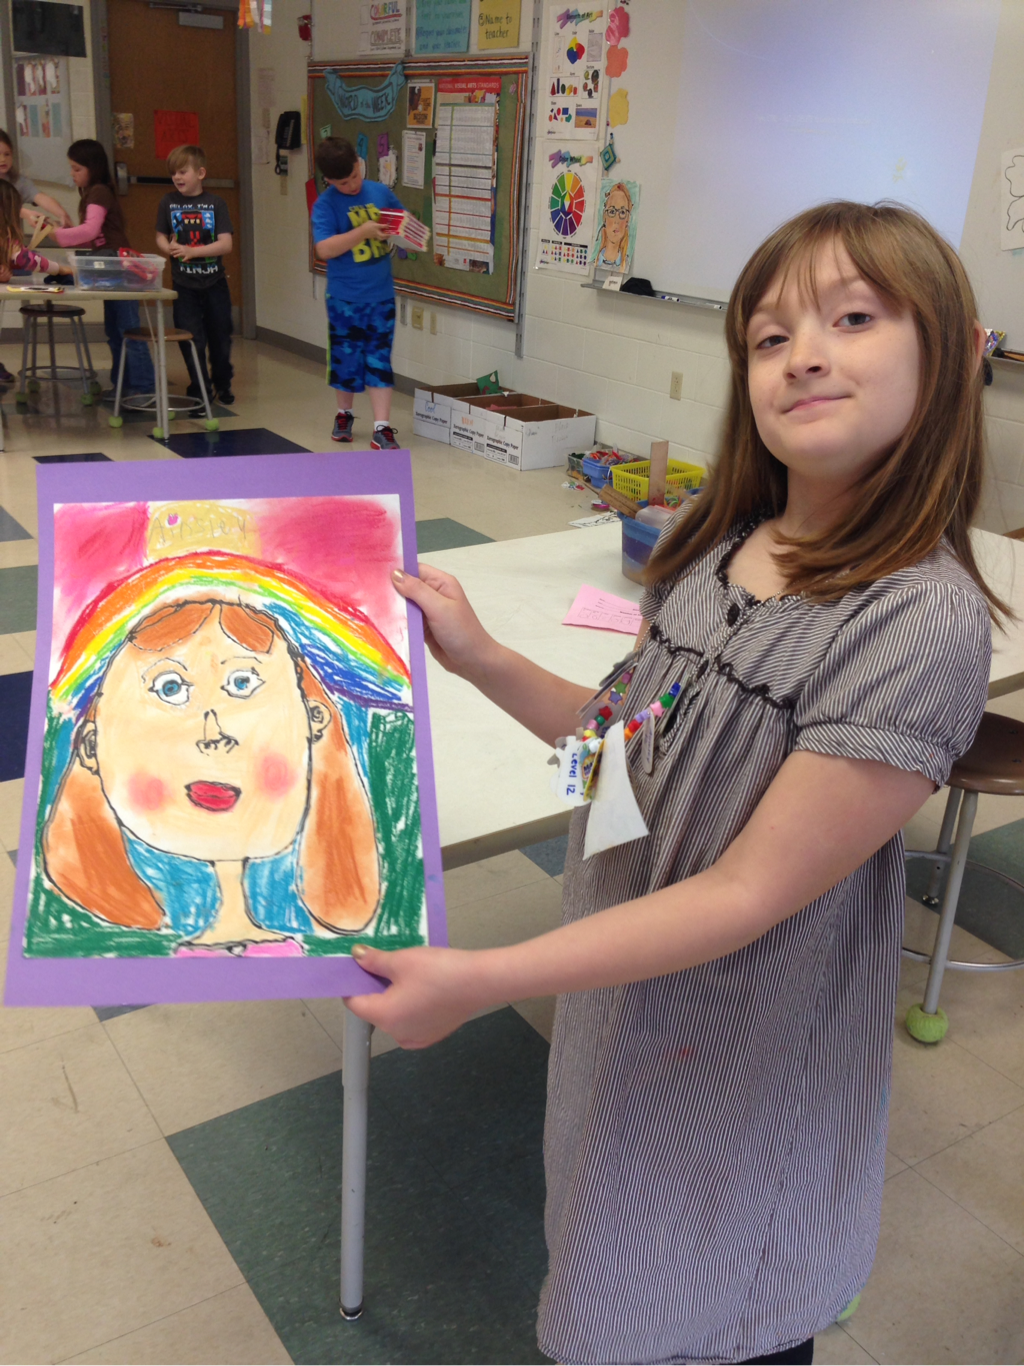
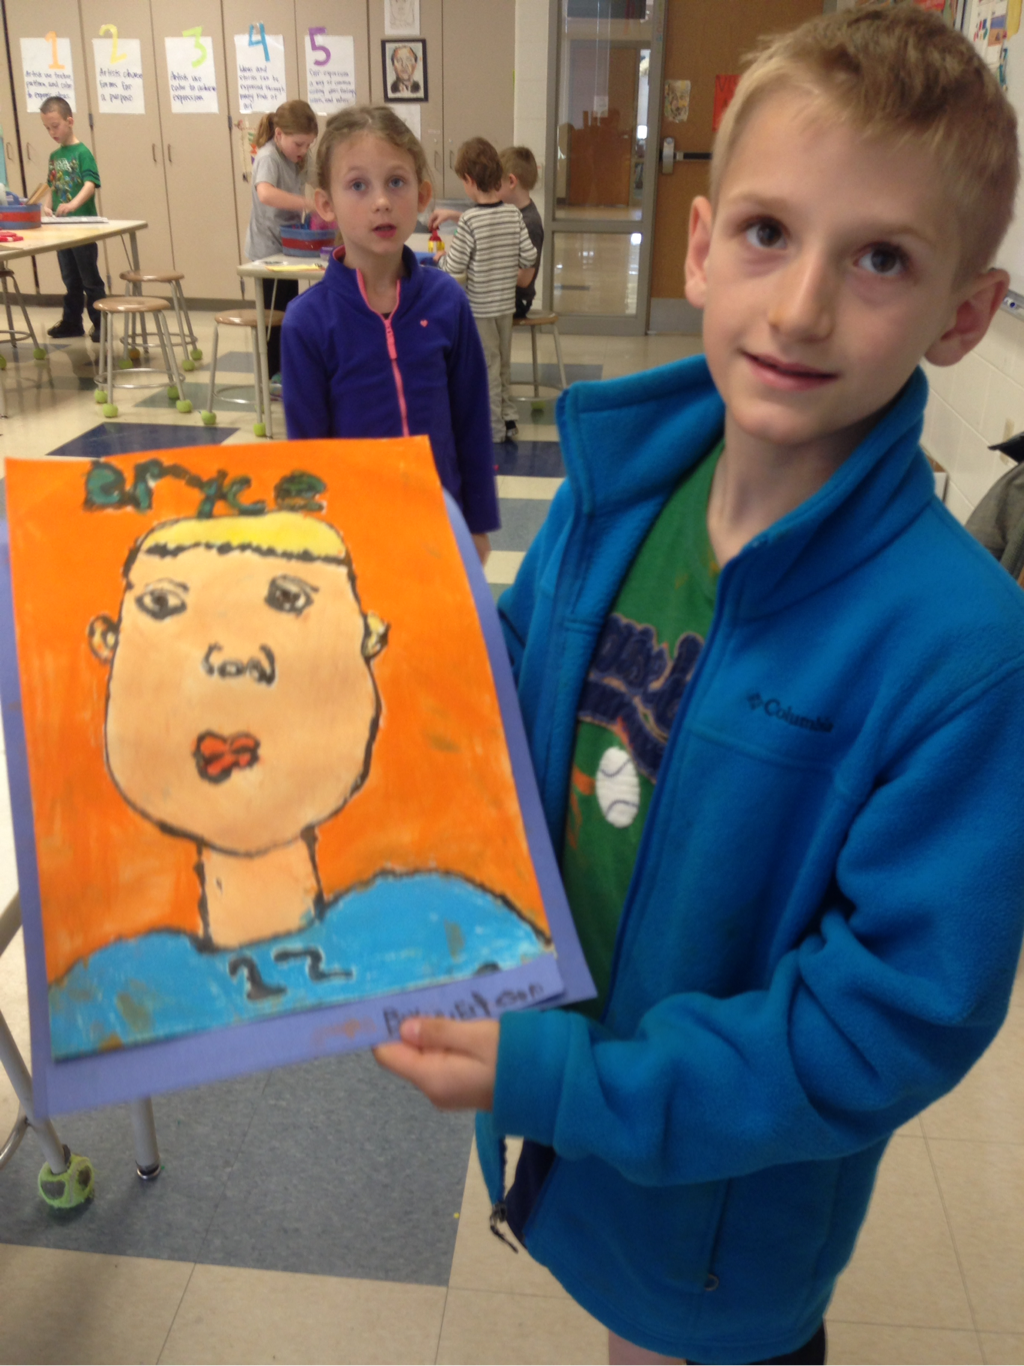
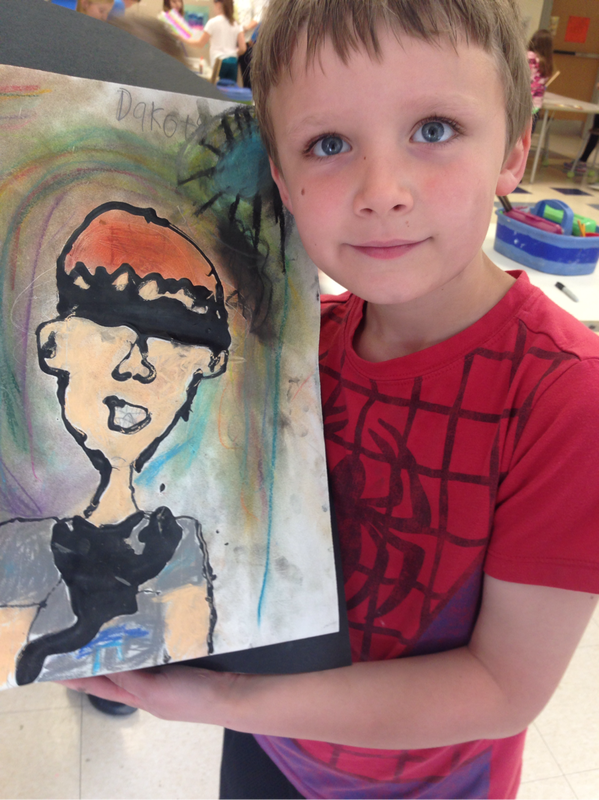
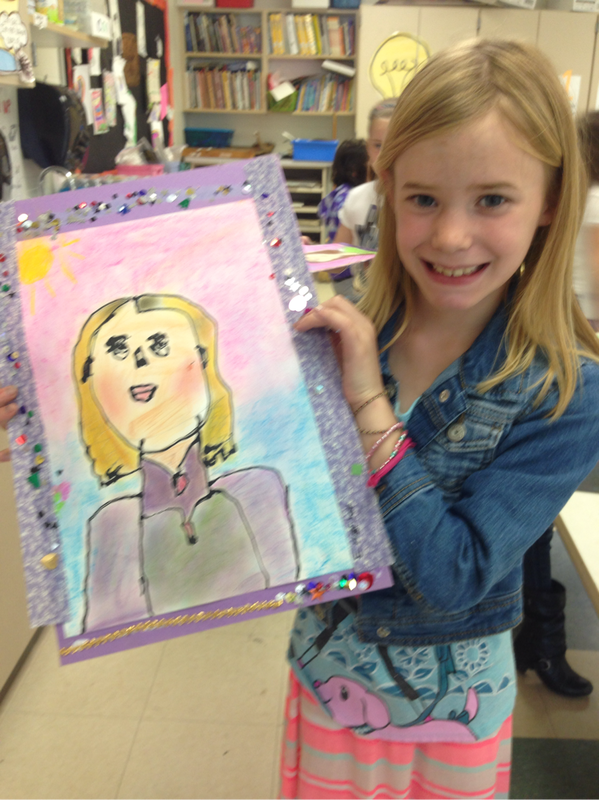
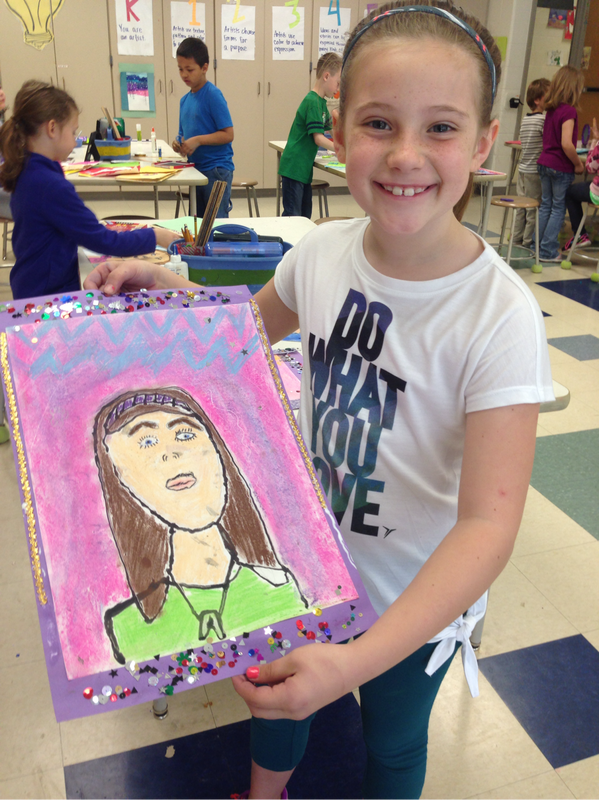
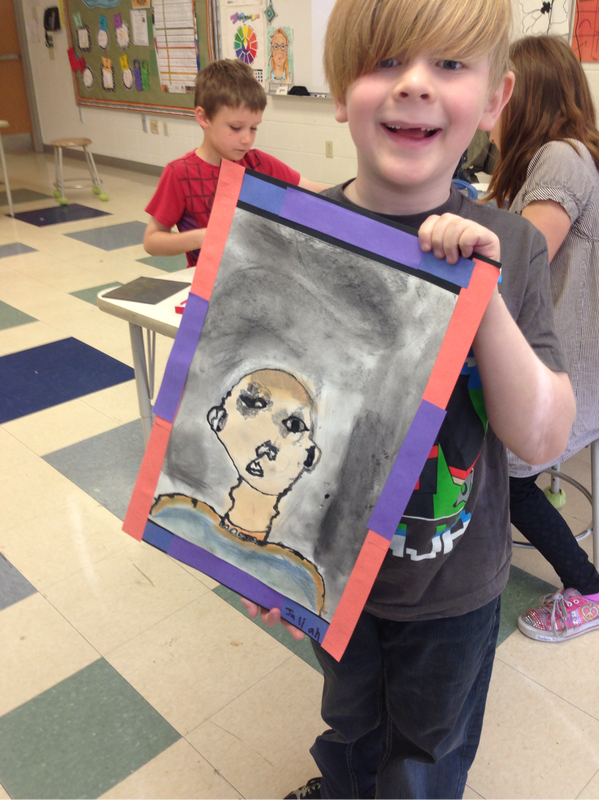
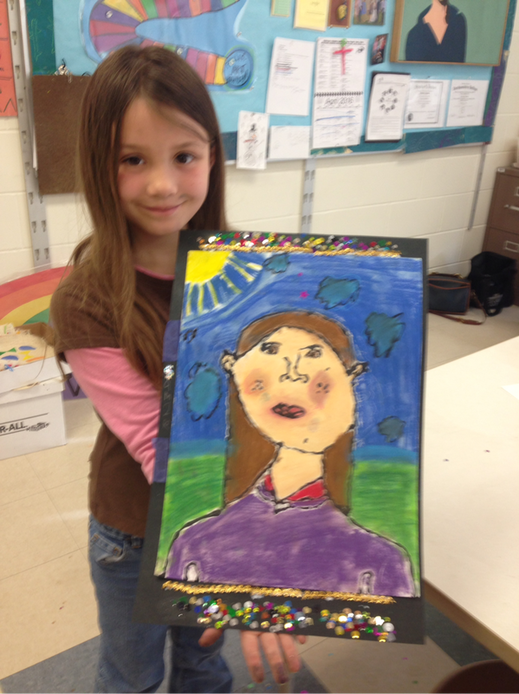
This project is from Paintbrush Rocket. Many of the students gasped "Whoa!" when I showed them the size of the paper we'd be working on (18 x 18). Students were highly successful. 

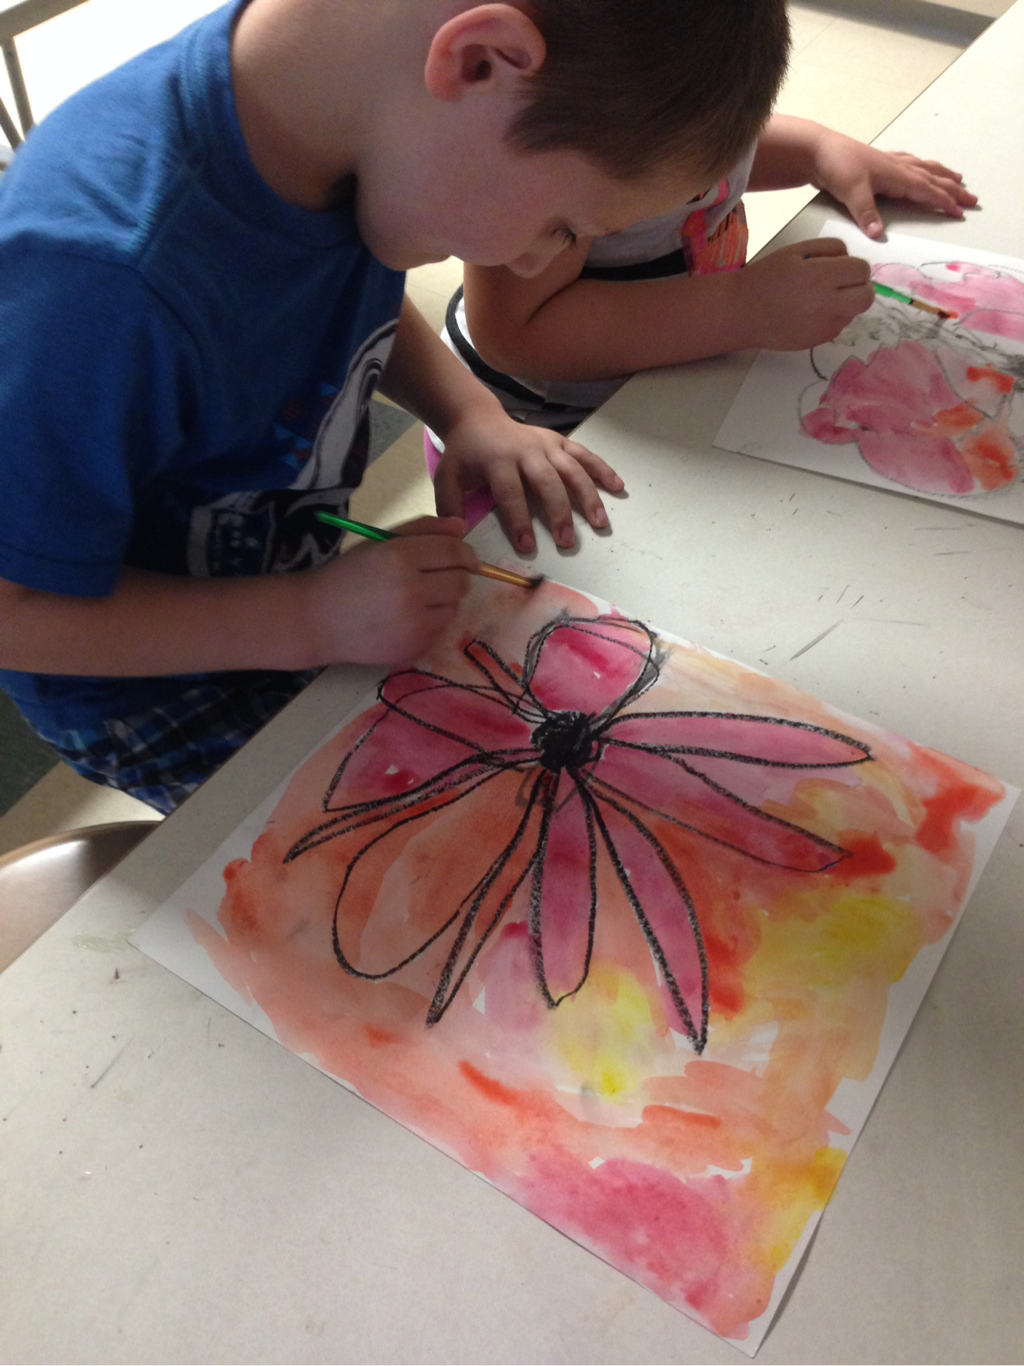
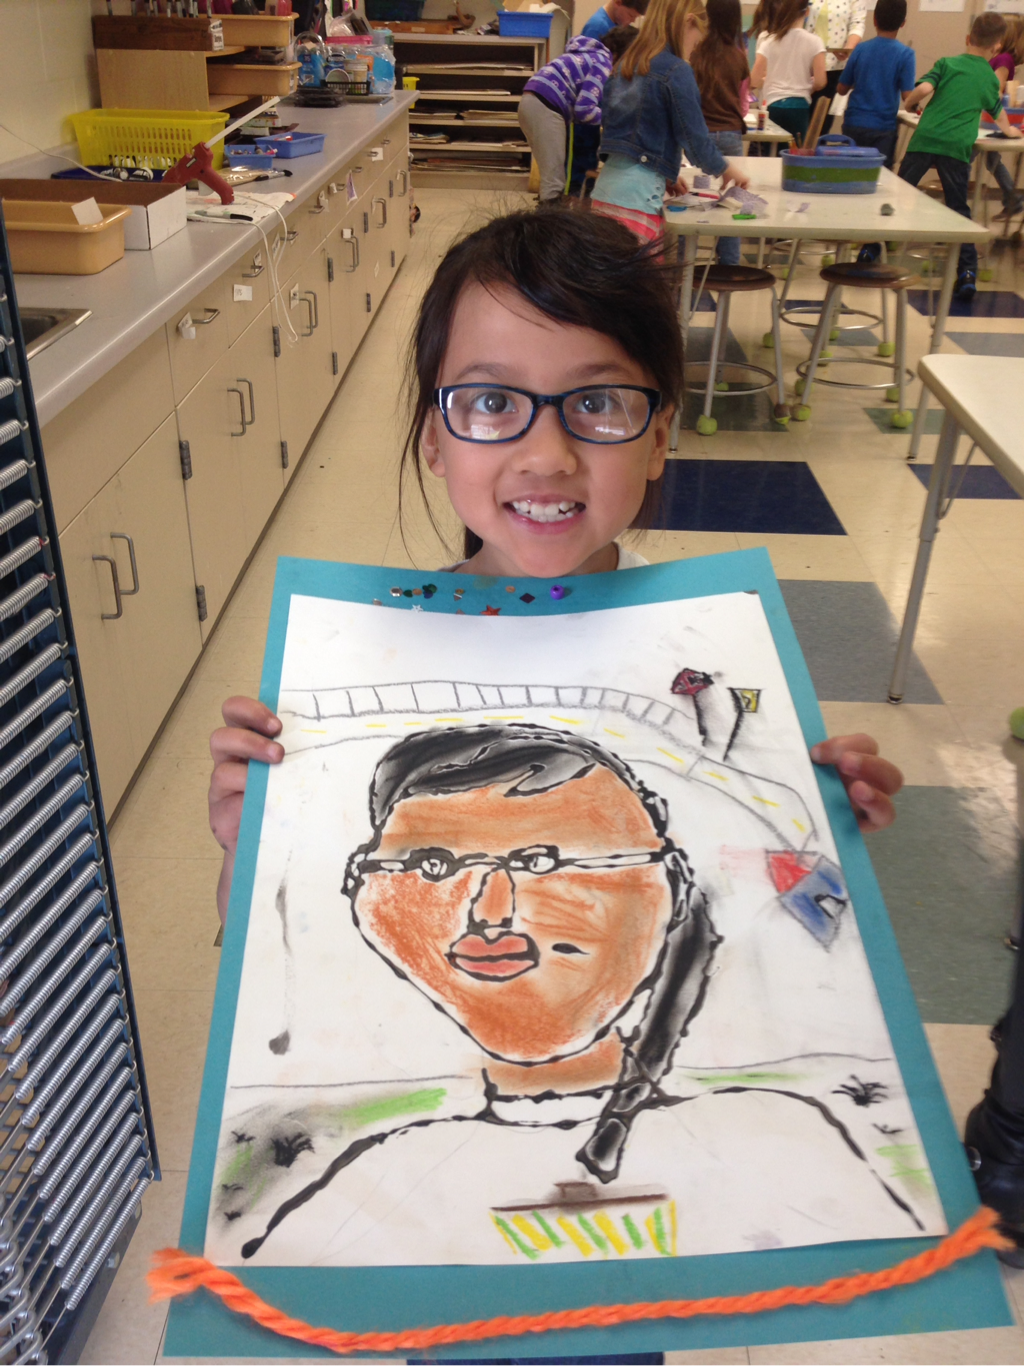
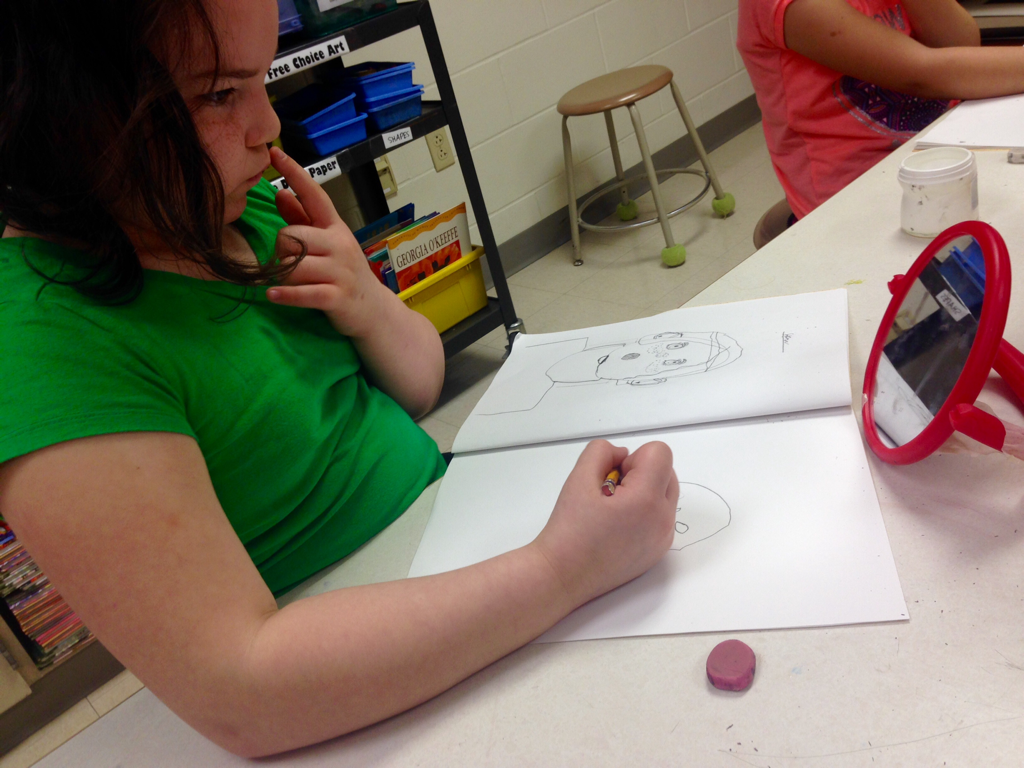
While the students worked, I read aloud the book "The Cay" by Theodore Taylor. We didn't have time to finish the book in class and I encourage you to read it at home! 
Picture
Picture
Picture
0 Comments

3rd Grade Turquoise  Necklaces

6/27/2016

0 Comments

 
Here is another project from my older sister Amy Clay! I am always surprised at how much the kids love making the turquoise splatter paper, rolling the beads, and creating their necklace -- especially the boys! They love working with their hands and fashioning 3D artworks. Some of them finished their necklace just in time to bring home to mom or grandma for Mother's day. 
Picture

1. Create turquoise paper. 

We talked about the stone turquoise and how the Native Americans oftentimes used it to make jewelry. I brought some turquoise from home  so they could see the beautiful colors! To create our paper, we first painted a 9 x 12 piece of paper blue and then splattered brown and black watercolor paint on top. The kids LOVED the splatter technique!
Picture
Picture

2. Begin creating the necklace! 

Here are all of the supplies we used: a plastic baggie to contain our supplies and necklace in between classes, beads, liquid glue, and string. 

I showed the students a magazine bead necklace that was purchased from a fair-trade store.   This necklace was created by a woman in a third-world country using pieces of paper from magazines.. The necklace was then shipped to the United States, sold, and the money was shipped back to her for her income. We used the same technique to create our own necklace!
Picture
Picture
0 Comments

Kindergarten Clay Butterflies

6/27/2016

0 Comments

 
This is another wonderful project courtesy of Cassie Stephens. Please check out her blog for more detailed instructions! 

1. Create clay butterfly

Picture

2. Add body, eyes, and mouth

Picture
Picture

3. Mrs. White bisque-fires the butterflies

4. Paint glaze

Picture
Picture
Picture

5. Mrs. White glaze-fires the butterflies

Picture

6. Add antenna and a loop to hang the butterfly

Picture
Picture

7. Wrap it up for Mother's Day!

0 Comments

Kindergarten Cardboard Fish

6/27/2016

0 Comments

 
Picture
This project is from Deep Space Sparkle. The kinders loved working with some new media. I held up a piece of yarn and asked the kids what it was and what it was used to make. They knew that yarn was usually used to knit or crochet blankets or for cats to chase. We are creative when we come up with a new use for the yarn! When they were working at their tables, I heard the kids tell each other it was "time to be creative" :).  They completed this project in about one art period and were very proud of their creations. Visit Deep Space Sparkle for more detailed instructions! 
Picture
Picture
Picture
Picture
0 Comments

Kindergarten Georgia O'Keefe Poppies

5/6/2016

0 Comments

 
Picture
I saw this project on Pinterest, but the link is broken so I am unable to share the source. It was a quick project that took less than a day. With the daffodils blooming outside and the warm weather finally here, I thought it would be a great in-between project painting. 

1. Draw a poppy

We looked at photographs of real poppies and described the kinds of lines and shapes we saw. The students used an oil pastel to draw their poppy. They did a great job using curved lines! Their flowers looked very organic.
​

2. Paint

We used warm-colored watercolors to add color.
Picture
Picture
Picture
Picture

3. Cut and glue

Picture
Picture
0 Comments

1st Grade Movement Sculptures

5/6/2016

0 Comments

 
This project is from Ann, the art teacher at Washington Elementary in Davenport. I spent an afternoon in her room a few weeks ago and saw her first grade students completing this project. She gave me the directions and we tried it out at Buffalo! I'd say it was a success.  

1. Create the person using pipe cleaners

We used 1 whole and 2 halves to create our person.  Ms. Zinn's class was so excited about this project that they clapped after each step!
Picture

2. Make our person stronger with straws

We talked about how our bones make our body stronger. In this case, we used straws. 2 on each arm; 2 on each leg. A joint was created in between the two straws.
Picture

3. Choose a movement

Running, dancing, handstand, karate, surfing...these are just a few examples of the creative movements these artists thought of. Once they chose their movement, they taped it down on a piece of cardboard.

4. Add color

I cut squares of tissue paper and the students glued them to the "floor" and also added clothes. 
Picture
Picture
Picture

5. Add hair and a label

Hair was optional. If students wanted to tie some yarn on the head to make some crazy hair (or for any other purpose), they could. Everyone was required to label their sculpture with their name and movement. 
Picture
Picture
"Mrs. White, this is me sliding onto home base. "
Picture
"I'm putting on green and purple yarn because when I was little my mom made my hair purple and green."
Picture
0 Comments

Ojo de Dios

4/27/2016

0 Comments

 
Picture
Picture
This early-finisher project was so popular, everyone wanted to do it! Every student 3-5 grade has started or completed a "God's Eye" this year and 2nd grade may make one soon, too. Cassie Stephens recently posted about creating Ojo de Dios in her classroom and I was inspired. I remember learning how to make a God's Eye in vacation Bible school at Land's Church in Canton, SD when I was younger. This little weaving project would keep me occupied if I was bored outside: I would find two similar-sized twigs on the ground and tie together blades of grass for my "yarn." For the classroom, I hot-glued together 2 pop sickle sticks and we used colorful yarn. 
Picture
Picture
Picture
Picture
0 Comments

4th Grade City Reflection Prints

4/27/2016

0 Comments

 
Picture
In order to prepare them for animal reduction prints next year, I wanted to expose my 4th grade artists to printmaking this year. This is another project from my sister, Amy Clay. She shared all of her art projects with me and I am extremely grateful to her for her help! 

1. Learn about printmaking

If an artist doesn't have any experience with printmaking, it is helpful to see the process from beginning to end to have a better understanding of what each step involves and why it is necessary. We use this website from MoMA to get a brief introduction to printmaking. 

2. Create 3 warm/cool colored background papers

Our city prints contained a warm colored side (representing the sunrise or sunset) and a cool colored side (representing the refection in the water).  Each student received 3 sheets of 9 x 12 sulphite. Each of these papers were folded in half and painted with warm colors on one side and cool on the other. We created three papers because we will create 3 prints! The first print one pulls usually doesn't turn out so well. This gives us 3 chances to get at least one successful print. 
Picture
Picture
Picture

3. Draw city on printmaking foam

To start this lesson off, we looked at a few interesting buildings in our world. I showed them out some buildings have clock towers, domes on the top, or diagonal lines. Each student received a 6 x 9 piece of printmaking foam. They wrote their name on the back with a sharpie, grabbed a pen, and drew 5-6 buildings on the foam. The buildings shared a vertical wall and I encouraged the students to use variety, one of our principles of art. Adding variety made our city much more interesting. They drew over each line twice to ensure the foam was adequately pressed down. 
Picture
Picture

4. Print!

I modeled the process of using the brayer to apply ink to the foam, flipping the paper over and massaging to transfer the ink, peeling off just a corner to see if the ink transferred, and folding the paper quickly to get a reflection on the other side. Most students pulled at least 1 successful print! The most frequent problem is not applying enough ink. The trick is to listen for a "sticky" sound and make sure every spot on the foam is wet. 
Picture
Picture
0 Comments

2nd Grade Self-Portraits

4/27/2016

0 Comments

 
Picture
Picture
As kids get older, self-portraits can become more and more frustrating. They so badly want their drawing to show likeness and get upset when the nose or the eyes or the hair just isn't looking right! A few of us experienced some frustration and confusion but we must remember: confusion is a natural and necessary part of ALL learning!

1. Learn the proportions 

Before we drew ourselves, we learned how to draw a face using general proportions.  We looked at this image I found online and it helped us to see that eyes are halfway down the face and general shapes of the facial features. We practiced in our sketchbook. 
Picture
Picture

2. Practice with a mirror

We tried a new technique that I learned from star art teacher Cassie Stephens. She posted a video of a technique for drawing a still-life: following the outline of the item one is drawing with one hand and drawing with the other hand at the same time. Synchronized drawing! I thought I'd try it out with the kids for self-portraits. I knew it would be a little more challenging as they would be looking in the mirror and their hands would be further apart, but the kids were SO SUCCESSFUL!! I am so proud of them. 
Picture

3. Earn three taps and draw BIGGER

Once a student had a successful practice portrait in their sketchbook, they raised their hand. If I saw something they could change or add, I made a suggestion. If they were ready for the BIG paper, I tapped my finger three times on their drawing--this was the signal to go to the art supply store table and get the BIG paper. They drew another portrait on this paper, using the drawing techniques they have learned and practiced and using their sketchbook drawing as a reference. 
Picture

4. Black glue

The next step involved something the kids had never done before: draw with black glue! I mixed this glue using black powder tempera paint, a little water, and Elmers glue. Before we drew on our self-portrait, we practiced on some newspaper. We touched the tip of the glue to our paper and drew slowly. 
Picture
Picture

5. Chalk Pastel

Since the artists had already used chalk pastels this year, we just did a quick chat on how to blend the colors, how to bring a little red to our lips and cheeks without looking like a clown, and how to use multiple colors in our hair to show dimension. The kids still referenced the mirrors to help them choose realistic colors. 
Picture
Picture
Picture

6. Frame!

Artists share their artwork! I usually have the artists frame their artwork and this time I also set out sequins (only a few ended up on the floor!), paper, tissue paper, and ribbon. They love embellishing the frame to bring even more personality to their artwork. 
Picture
Picture
Picture
Picture
0 Comments

1st Grade Geometric & Organic Shape Color Wheel Mobile

4/27/2016

0 Comments

 
On the first day of this project, we reviewed geometric shapes and the first graders created 3 different geometric shapes on primary colored construction paper (red, yellow, and blue). To create their shapes, they folded a 6 x 9 piece of construction paper in half, drew their shape, and cut it out with the paper still folded. This created 2 matching shapes. On the second day, we focused on organic shapes and they were responsible for creating 3 different organic shapes out of secondary colored construction paper (green, orange, and purple). We stored our shapes in plastic baggies to keep them organized. On the third day we got to put all of the shapes together in a mobile. We watched this silly video to learn the ROYGBIV order and I demonstrated how to glue their shapes on a string. We ended with a loop and bead to create some weight at the bottom of our mobile. 

Thank you to my sister Amy Clay for the lesson! We are pros at organic and geometric shapes now:)
Picture
0 Comments
<<Previous
Forward>>

    Author


    ​Welcome! My name is Lisa White. I teach art at Buffalo Elementary, a small rural school in the Davenport Community School District.

    Picture

    Archives

    June 2016
    May 2016
    April 2016
    March 2016
    February 2016
    January 2016
    December 2015
    November 2015
    October 2015

    Categories

    All
    1st Grade
    2nd Grade
    3rd Grade
    4th Grade
    5th Grade
    Classroom Management
    Events
    Kindergarten

    RSS Feed

Powered by Create your own unique website with customizable templates.
  • Home
  • About
  • Blog